Charger light repair. || Problem: battery and circuit damage. || With a video tutorial.
Assalamu alaikum Everyone. I am @imranhassan From #Bangladesh
.png)
A few days ago, an elder brother in my area gave me a charger light to repair, and he told me that when it was charged with 220 volts, there was a very loud noise inside, and then it was not working anymore. Then it was given to me for repair, and I brought it home. You know, I do my repair work at home, so let's open this charger light step by step and see how the problem arose and how to repair it.
Step -01

Now you can see that I have taken the charger light in my hand and am observing which side to unscrew. Then I turned the light upside down and saw that the screw had to be unscrewed from the back side. So let's unscrew the screw and see what the problem is inside.
Step -02

You can see that I have removed the circuit from the light cover, and in my hand, you can see that some parts are damaged and a capacitor has exploded and the burnt parts are in my hand.
Step -03

Since this charger light is charged through 220-volt AC current, a four-volt water battery has been used here. I have measured this battery and found that it is not effective, so I will throw it away and throw the circuit away as well.
Step -04

Now the charging circuit that you are seeing has been reviewed earlier by me. This is a 3.7-volt lithium-ion battery charging circuit. I have reviewed a post on the model number and quality of battery I used, and I will give its link below.

And apart from the four-volt water battery, you can see that I am using a 3.7-volt lithium battery here, and there is no problem in charging it.

Now you can see a Type C charging pin in my hand; it is newly available in the current market. I will use this pin to charge with the Type C charging mobile pin, and it will be charged through DC voltage.
Step -05
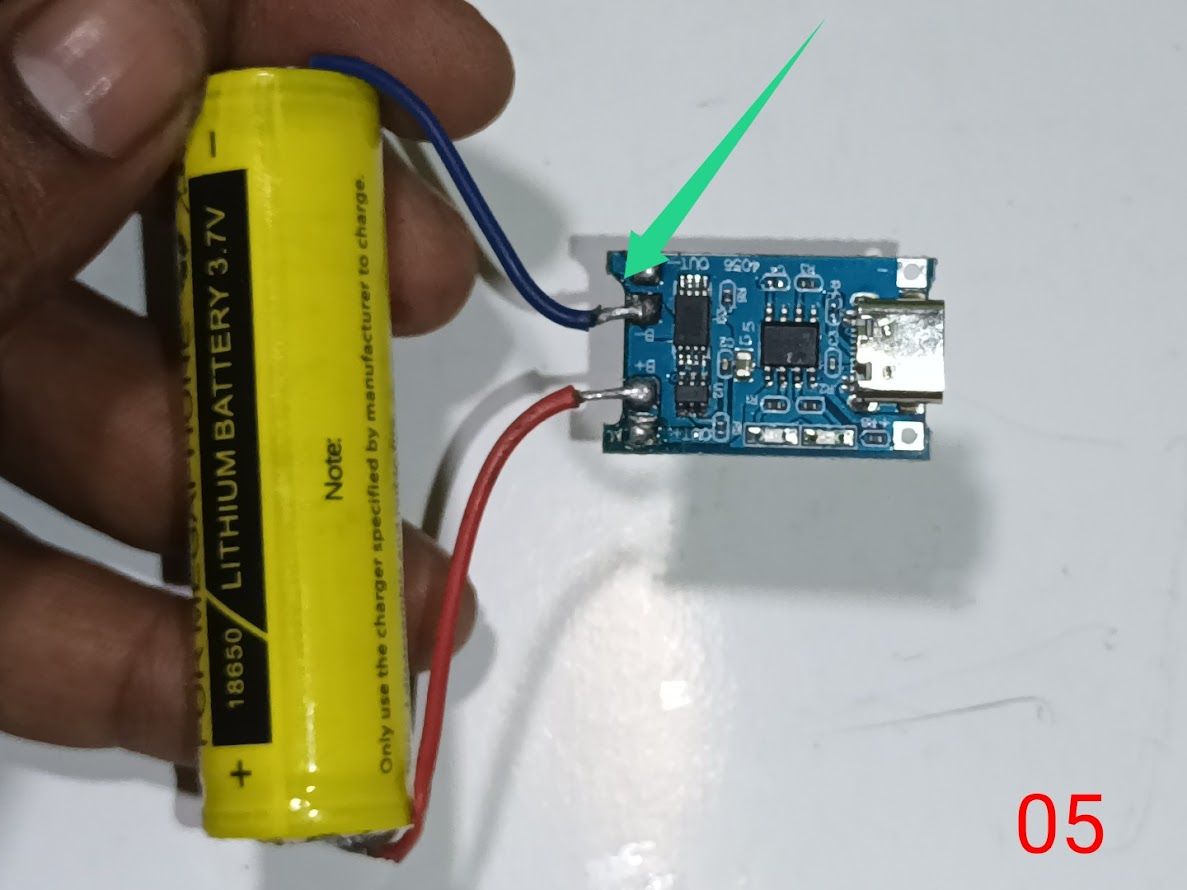
Now you can see that I have connected the battery to the charging circuit, and from here I will take the output and light my LED and give the switching connection.
Step -06

So now you can see that I have combined the LED and charging circuit with the battery type C charging pin. With this setup, I will now modify the charger light. And convert it from AC to DC.
Step -07

First, you can see that I have placed the battery and charging circuit inside the body cover, and for charging from outside, I have replaced a separate charging pin there by cutting the body cover.
Step -08

Then I pasted it with a 5-volt mobile charger before fitting, and you can see that after giving a DC 5-volt input voltage, a red light is indicating in the circuit, and here it is being explained that the battery is charging.
Step -09

In this phase, I have connected the LED to the battery, and I have connected a line to the switching for switching. I have connected the negative line coming from the LED directly to the negative of the battery, and I have connected the positive line coming from the LED to the positive of the circuit by switching.
Step -10

Now you can see that I have done the body fitting after setting up everything completely, and I have glued around the charging pin of Type C, which I have attached from the outside in a messy manner, and there is a line where the 220-volt input voltage is, but it will not work.
Step -11
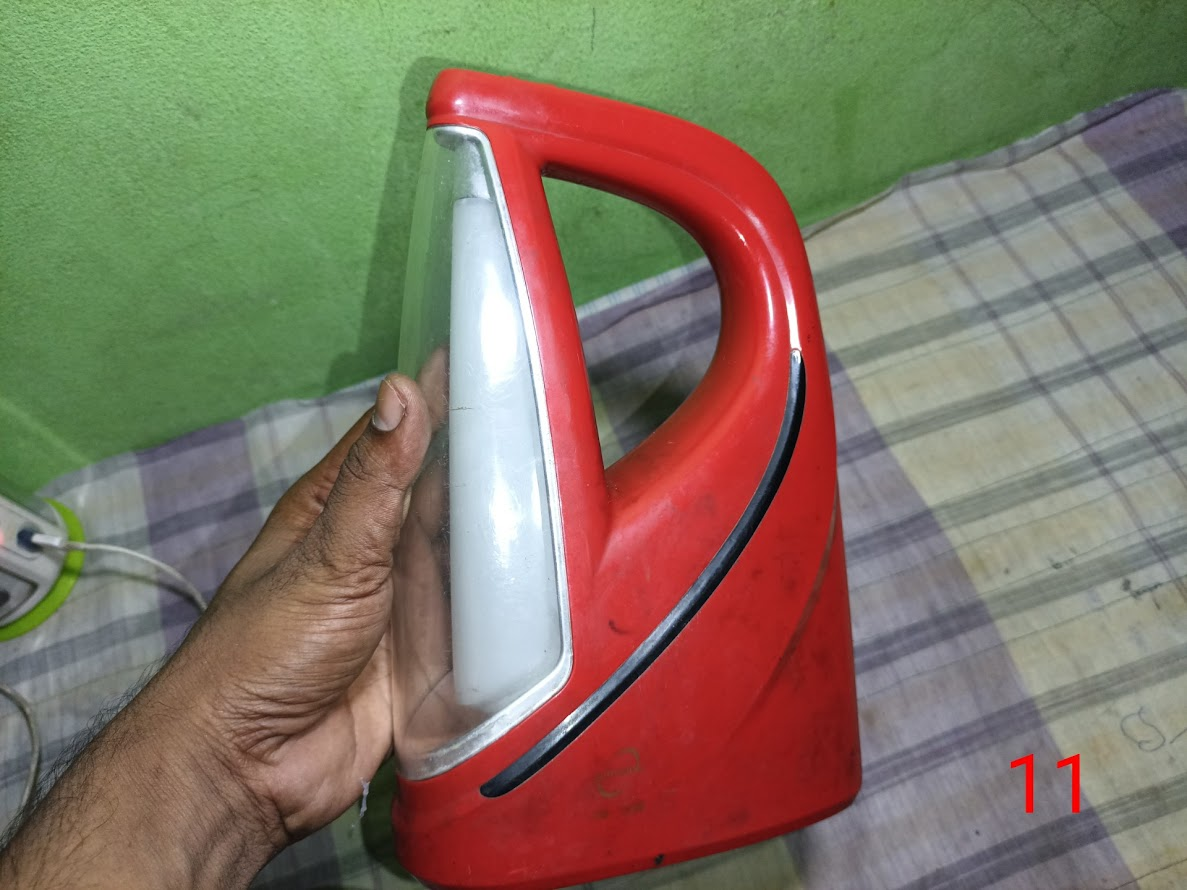

Now my charger light has been converted from AC to DC and has got its new life back, and I have given it a new life with the new time, and now it can be charged through the mobile charger and serve at night when the current goes out.
Step -12


After completing the entire work, I also felt very happy to do this work, and I took a selfie with this work, and shortly after completing this work, there was load shedding at home, and due to lack of current, I used this charger light for about an hour, and you can see that it is giving a lot of light, and my entire house was illuminated, and I put a little obstacle in front of the light because so much light was coming from the light that my camera could not cover me.
| Video Tutorial: To better understand the practical part of this tutorial, you can watch the video below. |
|---|

✅ CC: My friend @rmm31
✅ We support @pennsif and @pennsif.witness for the growth of this platform. pennsif.witness his contribution to the Steemit community. Vote for him as a Witness here: Click to Vote
| Photography Details | 📱 Device: Walton Xanon90 | 📍 Location: Narayanganj, Bangladesh | 📷 Captured By: @imranhassan |
|---|
https://x.com/ImranHosen98536/status/1972662713454063993
Congratulations! This post has been voted through steemcurator03.
Here is your content summary:
By improving the marked items you could get Higher Votes!
Curated by @marvinvelasquez