SC-S26W1/Video Editing, Getting Started
 Designed with Canva
It's another exciting season of Steemit Learning Challenge and of course I am starting with Video Editing class where we are given the opportunity of learning how to use CapCut App with ease.
I have learnt the basic tools used in editing video on CapCut App for week 1 course which includes; how to import videos/ images, how to crop, what timeline is, the use of main button, function of the menus, use of overlay, aspect ratio, how to removeor delete clips from the video and lastly how to export video.
I will be displaying the practical details below;
| How to Import Videos/ Images |
|---|
I opened my CapCut App, clicked on new project and it took me directly to my gallery ( I already given the app permission to access my photos),
 Starting a new project
My gallery was open, I selected the preferred images and videos for use. They were all numbered and arranged accordingly.
 |  |
|---|
| Crop Videos |
|---|
Most of the videos were longer so I decided to trim them by; long clicking the video ( one after the other), it opens and I clicked on trim, adjusted from both ends before moving to import them by clicking "add"
 |  |  |
|---|
| Timeline |
|---|
After adding the videos and pictures, the timeline appeared on my screen showing all the videos and pictures selected in that same order.
 Display of timeline
| Main Buttons |
|---|
Still on the work interface, play & stop can be seen. Both buttons plays an important role throughout my editing process.
 |  |
|---|
In addition, while editing my video, I spotted a plus icon that can be used to add extra clip to the already existing video on the timeline.

I didn't make use of it because I carefully selected all the preferred images and videos for this project without skipping any.
| Menu |
|---|
In menu, I was able to locate different buttons that is very useful ranging from "edit to background".
 |  |
|---|
| Aspect Ratio |
|---|
I clicked on "aspect ratio" on the menu, then selected the "16:9 ratio" which changed the position of my video by centering it due to the fact that it was vertical.
 |  |
|---|
| Delete Clip |
|---|
While using the play & stop buttons, I noticed an extra clip at the end of my video so I clicked on it, then clicked delete to remove it.
 Before Before |  After After |
|---|
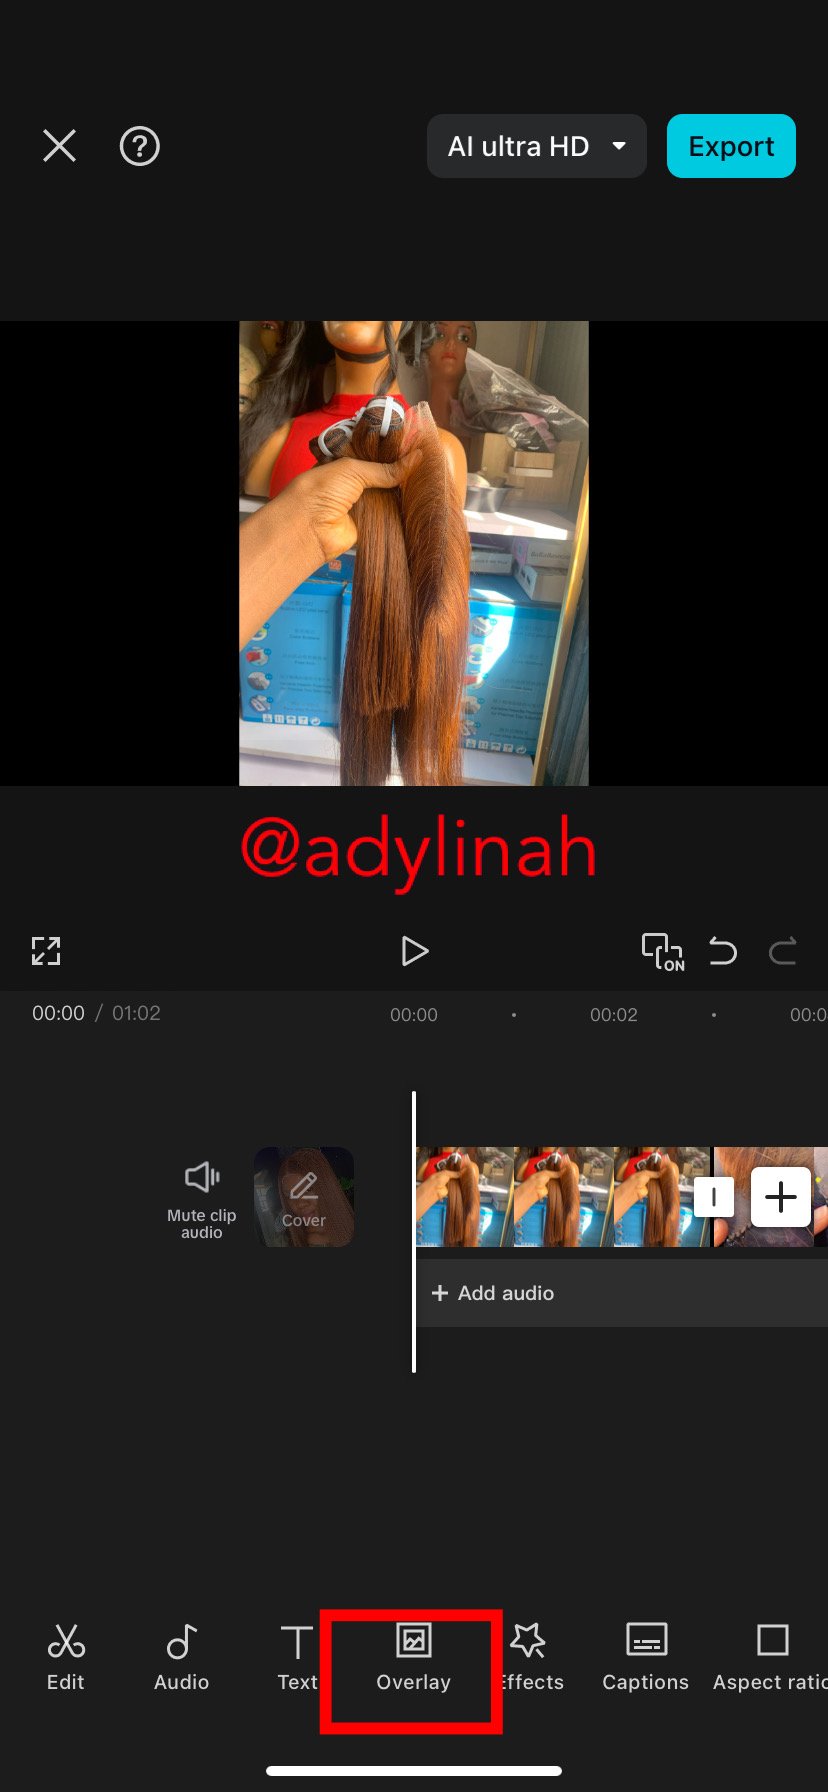
| Overlay |
|---|
I clicked on the overlay button on the menu to add an image which serves as watermark to my video.
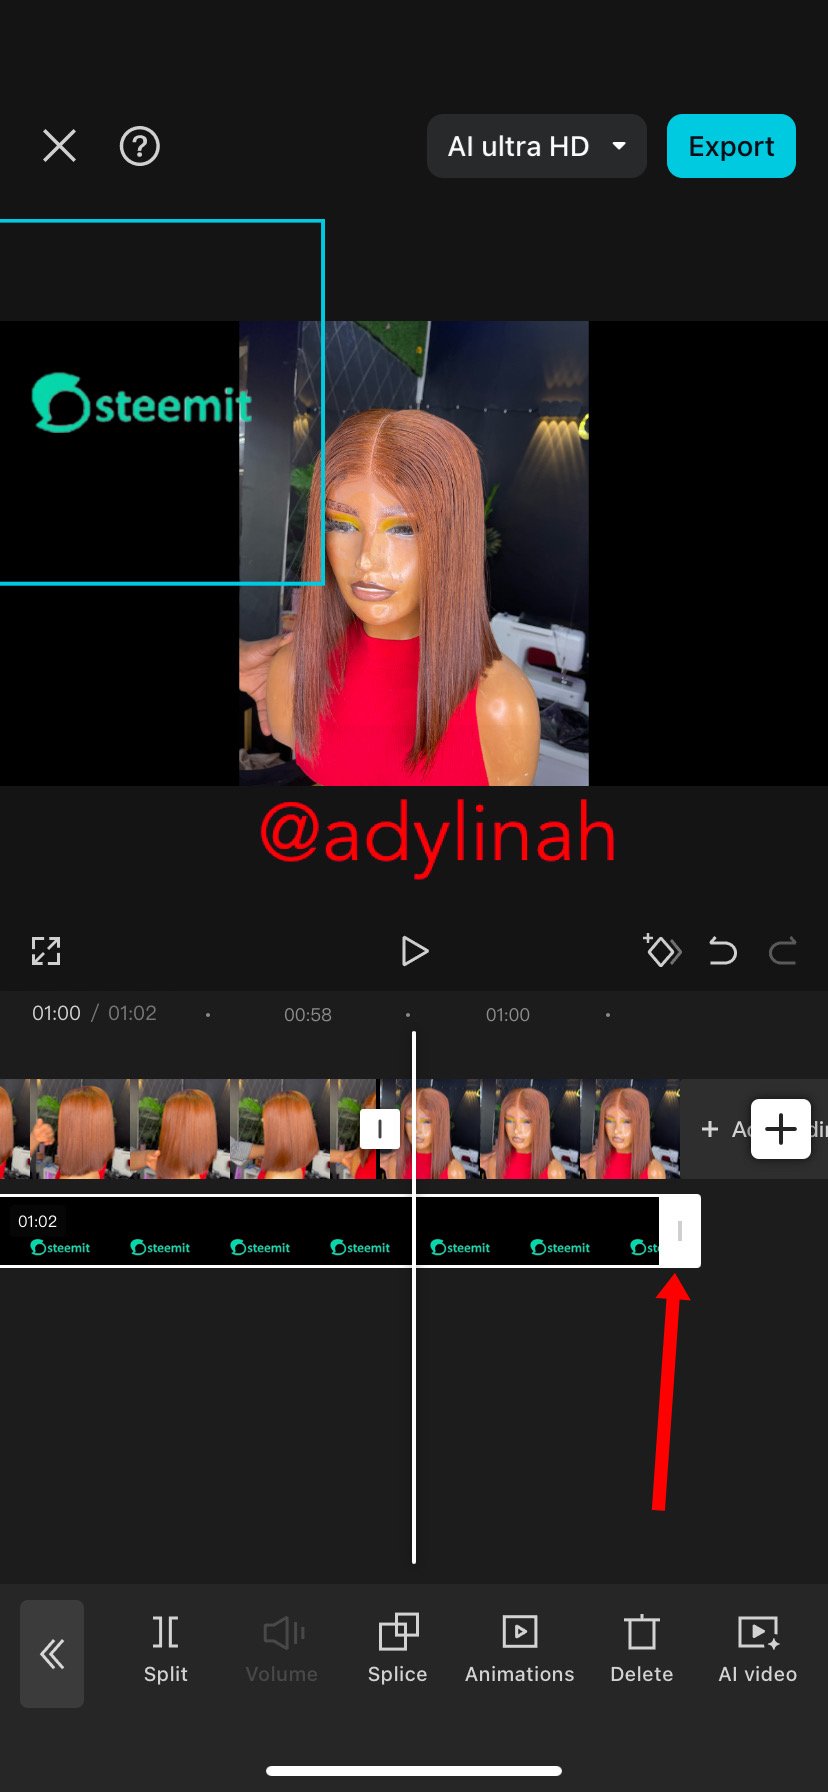
When my gallery was open, I selected image of Steemit logo, positioned it and dragged out to cover the entire clip in the timeline.
 |  |  |
|---|
| Export Video |
|---|
After editing the video, I added sound, use my photo as cover and readjust the Steemit logo positioning to the center. I carefully checked and played the video before clicking "export"
The video was exported to my phone so I posted it on YouTube to able me upload on Steemit platform.
 |  |
|---|
The result after editing;
Posted with Speem
| The Description of my Video |
|---|
The short clips I joined together to form a useful video were just the step by step process of how to customize a wig from bundles. The video started with me holding two bundles of chestnut bone straight hair (10&12 inches) paired with closure.
I started by sewing the 2by6 inches closure to the cap using needle and thread. After which I adjusted the cap with pins because it was too big for my customer's head size. I stitched up the pinned area with machine and sew the hair bundles to the cap (starting from the back till it gets to the closure area in front). The wig was then stretched and trimmed; it was fully styled on the mannequin head before snapping and making videos . I also checked the fitting on my head and it was perfect and ready to be delivered.
Thank you teacher @anailuj1992 for putting this course together, I must say that I've learned something new today on CapCut.
I will invite @josepha, @suboohi and @dequeen to join the class.
Oh my gosh!!
I so much love this hair please how much is it, I hope it is affordable from mothers Lols 😆
Your video is very neat straight to the point and it's nice. Reading up your post I enjoyed the step-by-step explanation on how you carried out the video using capcuts app.
Well checking the fitting of the wig, it really looks good on you. I love it
Wishing you success 👍
Thank you so much for your valuable contribution!
For chestnut brown
The wig is #180,000 (900 steem) ( 12 inches paired with 2by6 closure); this is exactly what is on this post.
#160, 000( 800 steem) for 10 inches paired with 2by6 closure.
For natural color (black)
12 inches: #155,000 (775 steem)
10 inches: #140,000 ( 700 steem)
Hair type: bone straight
That’s the current price
Delivery is nationwide 🚚 📦
Oh really 900 steem 😲
That's affordable it is beautiful, thanks for sharing
Excelente resultado, me ha gustado mucho la presentación de las imágenes que sobresale para cualquier de clip comerciales o de enseñanza. Me parece muy útil y sencilla esta App.
Te deseo mucho éxito..!
Thank you so much for your valuable contribution!
You have learned so fast @adylinah. The steps you have taken are clear and easily understood. You choose clips and photos of the same purpose and this way, it has served as a means of advertisement for your wonderful hairs. The hair looks really good on you according to what I saw in the video. Let's keep learning!
Yes, you are right; the video served as a means of advertisement and educational purposes. I have a strong feeling that those who are interested in wig making will find it useful not just on Steemit but also on YouTube; they might be curious about the Steemit logo and research about the platform as well.
Thank you ma’am for stopping by!
Dear @ninapenda, thank you so much for the support 🙏🏻
Saludos
Un bue video .ideal para negocios.
Te deseo éxitos
Holaaa, un gusto saludarte.
Un video muy bien hecho, me gusta porque puedo ver como realizan las pelucas, estoy segura que seguiras editando buenos trabajos para las siguientes asignaciones creadas por el profesor.
Te deseo mucho éxito en tu entrada
Saludos