Tutorials: Easy Way to Use Facebook Pixels with Weebly
If you use Weebly for your website and want to install Facebook pixels,
follow these steps:
In this article
Get your Facebook pixel code
Add pixels to your site
Track events that occur on your site
Make sure your pixels work correctly
1.Get your Facebook pixel code
If you have not created a Facebook pixel yet
Go to the Facebook Pixel section in Ad Manager.
Click Create Pixel.
Type a name for your pixels. You can only have one pixel per ad account, so choose a name that represents your business
Check the box to accept conditions.
Click Create Pixel.
(Optional) Click the switch button icon to enable Advanced Match.
- Click on the Facebook Pixel code to copy it.
if you already made pixels Facebook
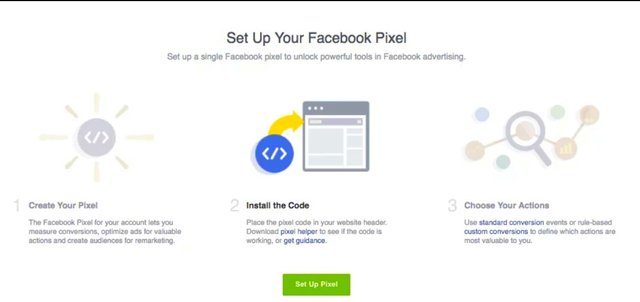
Go to the Facebook Pixel section in Ad Manager.
Click Setup Pixel.
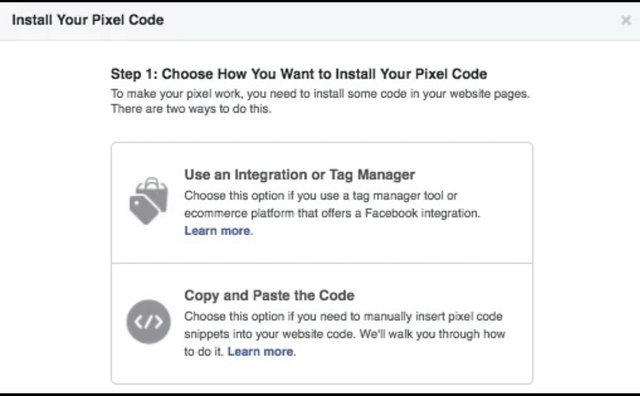
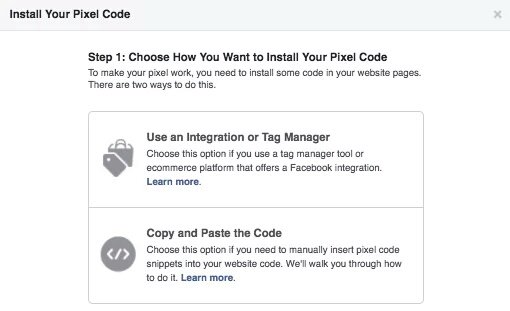
- Click Copy and Paste Code.
- (Optional) Click the switch button icon to enable Advanced Match.
- Click the Facebook Pixel code to copy it.
2. Add a Facebook pixel to your website
Sign in to Weebly.
Choose the site where you want to add your pixels.
Click Edit Site.
- Click Settings.
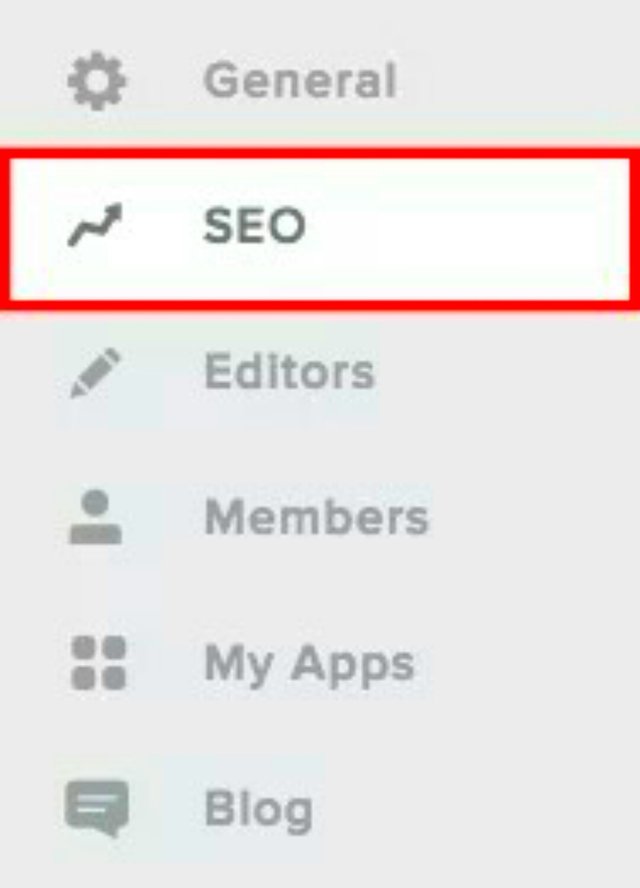
- Click CEO
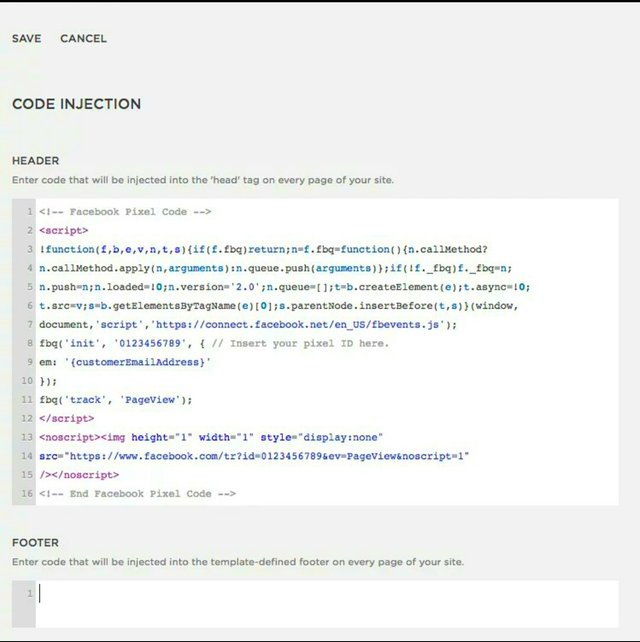
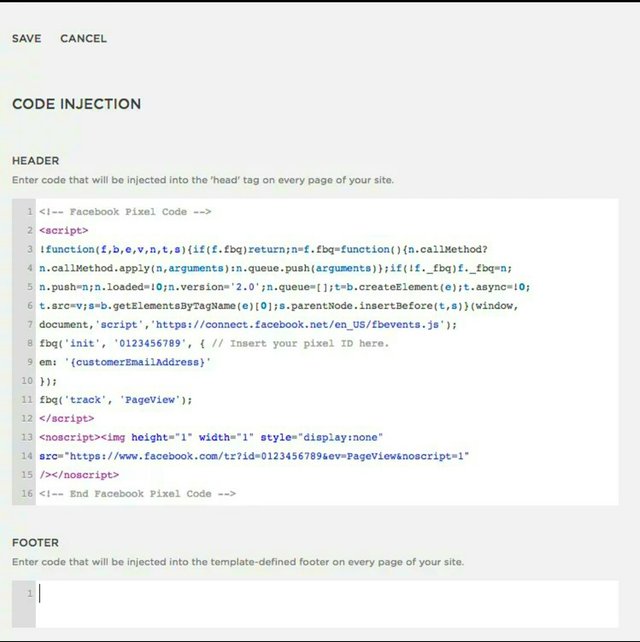
- Scroll down and paste your Facebook Pixel code in the Header Code section.
Note: If you already have code in this section for other sites (like Google Analytics), just place your Facebook Pixel code before or after the code already in this section.
3. Track events that occur on your site
Once you've created a Facebook pixel and installed it on your site, you'll have access to audience targeting options and more detailed measurements by placing the event code into the core pages of your website.
Create new audiences based on actions taken by people on your site. For example, you can create audiences using people who visited your store page but did not convert, and then set up a Facebook remarketing campaign.
Find potential customers similar to those who have taken valuable action on your site, such as making a purchase, by creating similar audiences based on the people who completed the purchase event.
Start
Add event code to your site to track actions that matter to you, like purchases, page visits, and the number of items people add to their shopping carts.
Go to the Pixel tab in Ad Manager
Click Setup Pixel
- Click Copy and Paste Code
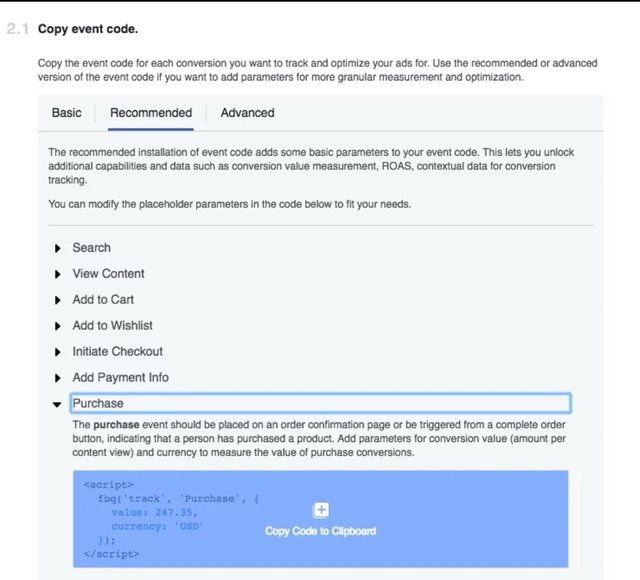
Click Install Event Code
Select Purchase and click to copy Purchase code.
- Log in to Weebly and choose your website.
- Click Edit Site.
Select Create.
Drag the Insert Code into the section of your page that you want to track.
Click the box that appears to paste your event code.
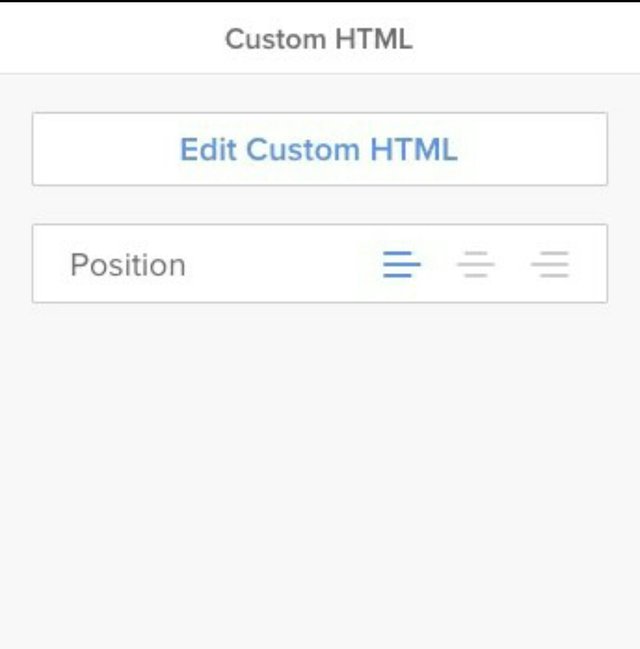
Click Edit Custom HTML.
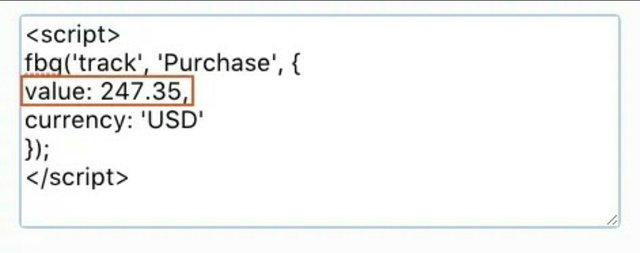
- Paste your Facebook event code in the box. See the following example:
Change the value of the purchase into a value that you think is the value of the sale.
Click Publish
4. Make sure your pixels are working
After you click Save / Publish at the top of your Tealium dashboard, you must make sure your pixels work correctly. To ensure that your pixels work properly:
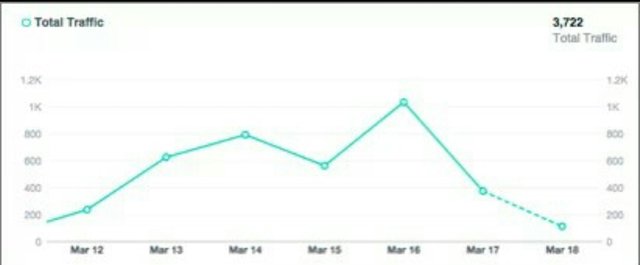
- Open the web page where the pixels are located. If it works, the pixels will send information back to Facebook and you will be able to see activity on the Facebook Pixel page in your Ad Manager. Your pixel status will also be set as On. Note that the activity column reports all conversion events regardless of whether these events are related or not related to the ad.
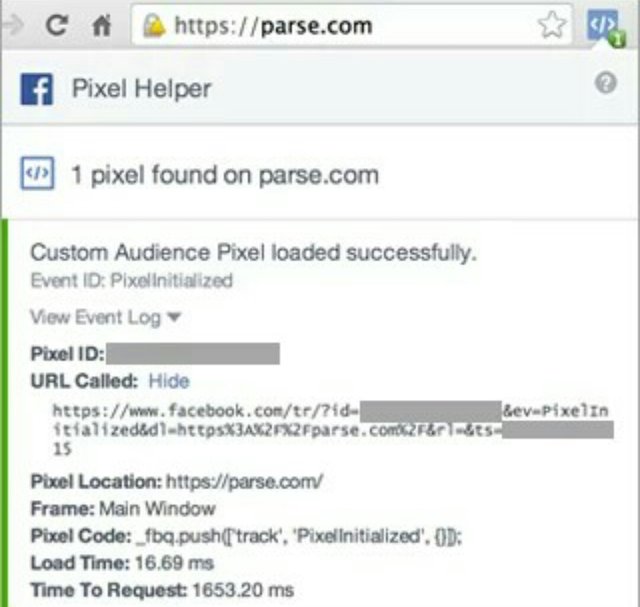
- If it's not working (No activity yet, No recent activity), use the Facebook Pixel Helper to fix the problem. Please remember that you must use Chrome browser to work. Once the Pixel Helper is installed, a small icon will appear next to your address bar. Go to your website in the Chrome browser and click the Pixel Helper icon.
The pop-up window will tell what pixels are found on the page, and whether they have been successfully loaded.
Thank you for your time
Posted on Utopian.io - Rewarding Open Source Contributors







Your contribution cannot be approved because it does not refer to or relate to an open-source repository. See here for a definition of "open-source."
You can contact us on Discord.
[utopian-moderator]