Learning 3D Graphics With Three.js | Raycasting Part 2
What Will I Learn?
- You will learn how to use a
Raycasterin three.js to fake gravity - You will learn some of the advanced methods in three.js's
Vector3object
Requirements
- Basic familiarity with structure of three.js applications
- Basic programming knowledge
- Basic 3D math knowledge (vector, ray)
- Any machine with a webgl compatible web browser
- Knowledge on how to run javascript code (either locally or using something like a jsfiddle)
Difficulty
- Intermediate
A Recap
In the last tutorial we created a ball which appeared to roll down a slope. We did so by doing a single raycast per frame and then snapping the ball onto the terrain.
Here is what that looks like:
Notice how rigid it looks. Although the ball follows the contours of the terrain there is nothing fluid about the way it moves. It isn't responding to the slope of the terrain. It is simply tracing its surface. We can do better. In this tutorial we will build on what we did last tutorial and extend it using some more built in three.js functionality to look like the ball is being affected by gravity without coding an entire physics system.
As a refresher here is the code from the last tutorial:
var terrain_geometry = makeTile(0.1, 40);
var terrain_material = new THREE.MeshLambertMaterial({color: new THREE.Color(0.9, 0.55, 0.4)});
var terrain = new THREE.Mesh(terrain_geometry, terrain_material);
terrain.position.x = -2;
terrain.position.z = -2;
terrain.updateMatrixWorld(true);
scene.add(terrain);

var sphere_geometry = new THREE.SphereGeometry(0.1, 32, 32);
var sphere_material = new THREE.MeshPhongMaterial({color: new THREE.Color(0.9, 0.55, 0.8)});
var sphere = new THREE.Mesh(spheregeometry, sphere_material);
scene.add(sphere);

var raycaster = new THREE.Raycaster();

var animate = function() {
    requestAnimationFrame(animate);
    sphere.position.z += 0.01;
    raycaster.set(sphere.position, new THREE.Vector3(0, -1, 0));
    var intersects = raycaster.intersectObject(terrain);
    sphere.position.y = intersects[0].point.y + 0.1;//radius of sphere
    renderer.render(scene, camera);
};
We will be building off of this code for this tutorial. So if this seems unfamiliar to you I would suggest you go back to the previous tutorial and familiarize yourself with the Raycaster before proceeding.
Faking Gravity
Before getting into the code, let's get a few conceptual issues out of the way. We want to know what direction the ball will roll given an arbitrary position on a terrain. So far all we have done is figure out the height of a terrain at a given point. What we want to know is what the height and slope of the terrain is at a given point so we can determine the direction for the ball to roll.
To get this information we are going to take advantage of the data passed back from the Raycaster when we call intersectObject. Remember from the last tutorial intersectObject returns an object with 5 properties distance, face, faceIndex, object, and point. Last tutorial we only used point, but this time we will make use of face as well.
face stores a Face3 object. The Face3 object contains a few valuable pieces of information. It stores 3 vertices under the properties a, b, and c. It stores its normal either under the property normal or, if vertex normals were specified, it stores an array of three normals under vertexNormals. Similarly it stores a color under color or an array of vertex colors under vertexColors. Finally it stores a material index under materialIndex, this is used if you are using multiple materials within the same model. We are just interested in the normal.
Be careful at this point. If you have specified that your geometry should use vertex normals then the normal property will be empty. Not to worry though, three.js can calculate normals for you. Just call computeFaceNormals on your geometry. If you are generating the terrain yourself then you should call it on your geometry right after creating it. If you are loading a terrain then you can still call it after you have initialized it so long as it is stored in a Geometry object.
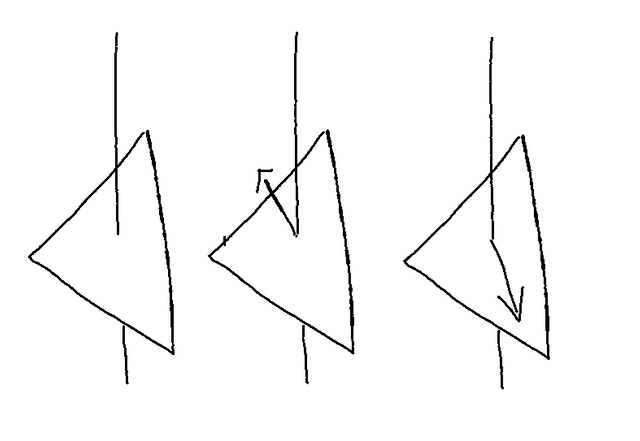
So why do we want the normal anyway? Well At any given point in time the ball is over a single face. Therefore the normal of that single face can give us the slope at the point that the ball lies on. This is illustrated below. In the first diagram you see a single triangle orientated in 3D space. This is represented as a Face3 by three.js. The second diagram shows the normal protruding from the face. And lastly we have the direction we want to derive from the normal.
Let's organize what information we have access to right now. We know the position of the ball. We know the normal at the point of intersection. And we also have the direction of the force being applied to the ball. Gravity is a force that works in the negative y direction. We can leverage this in three.js to compute the slope of the face.
Essentially what we want to do is project the force applied to the ball onto the face. That is to say we want to compute a vector that moves along the surface of the face but still takes into account the direction of the force applied. Luckily three.js has a function that does just that. It is a method of Vector3. We call projectOnPlane on the Vector3 defining the force of gravity Vector3(0, -1, 0). This gives us a vector that moves along the surface of the face. We can use this to increment the position of the ball. Now to make some sense of this, let's move on to the implementation.
Raycast
First we obtain the normal of the face that the ball is on.
var normal = intersect[0].face.normal;
Then we obtain our slope vector using the projectOnPlane method described above.
var slope = new THREE.Vector3(0, -0.01, 0).projectOnPlane(normal);
projectOnPlane takes the normal as an argument. This is because a plane can be defined simply by a single normal vector. Here we are defining a mathematical plane that extends infinitely and has the same slope as the face the ball is on. But that is unimportant, what is important is that this takes our gravity vector, Vector3(0, -0.01, 0) (it is scaled arbitrarily with the scene, a lower value gives slower acceleration and a higher value gives faster acceleration), and rotates it to face down the slope.
Gravity works by accelerating objects towards the center of the earth. So it is not enough for us to just increment the position of the ball by the slope. We instead increment the velocity by the slope. So outside of the animate function we define a velocity variable.
var velocity = new THREE.Vector3();//initiates a Vector3 to all 0's
Then inside animate we increment velocity by slope.
velocity.add(slope);
And finally we move the ball by the velocity:
sphere.position.add(velocity);
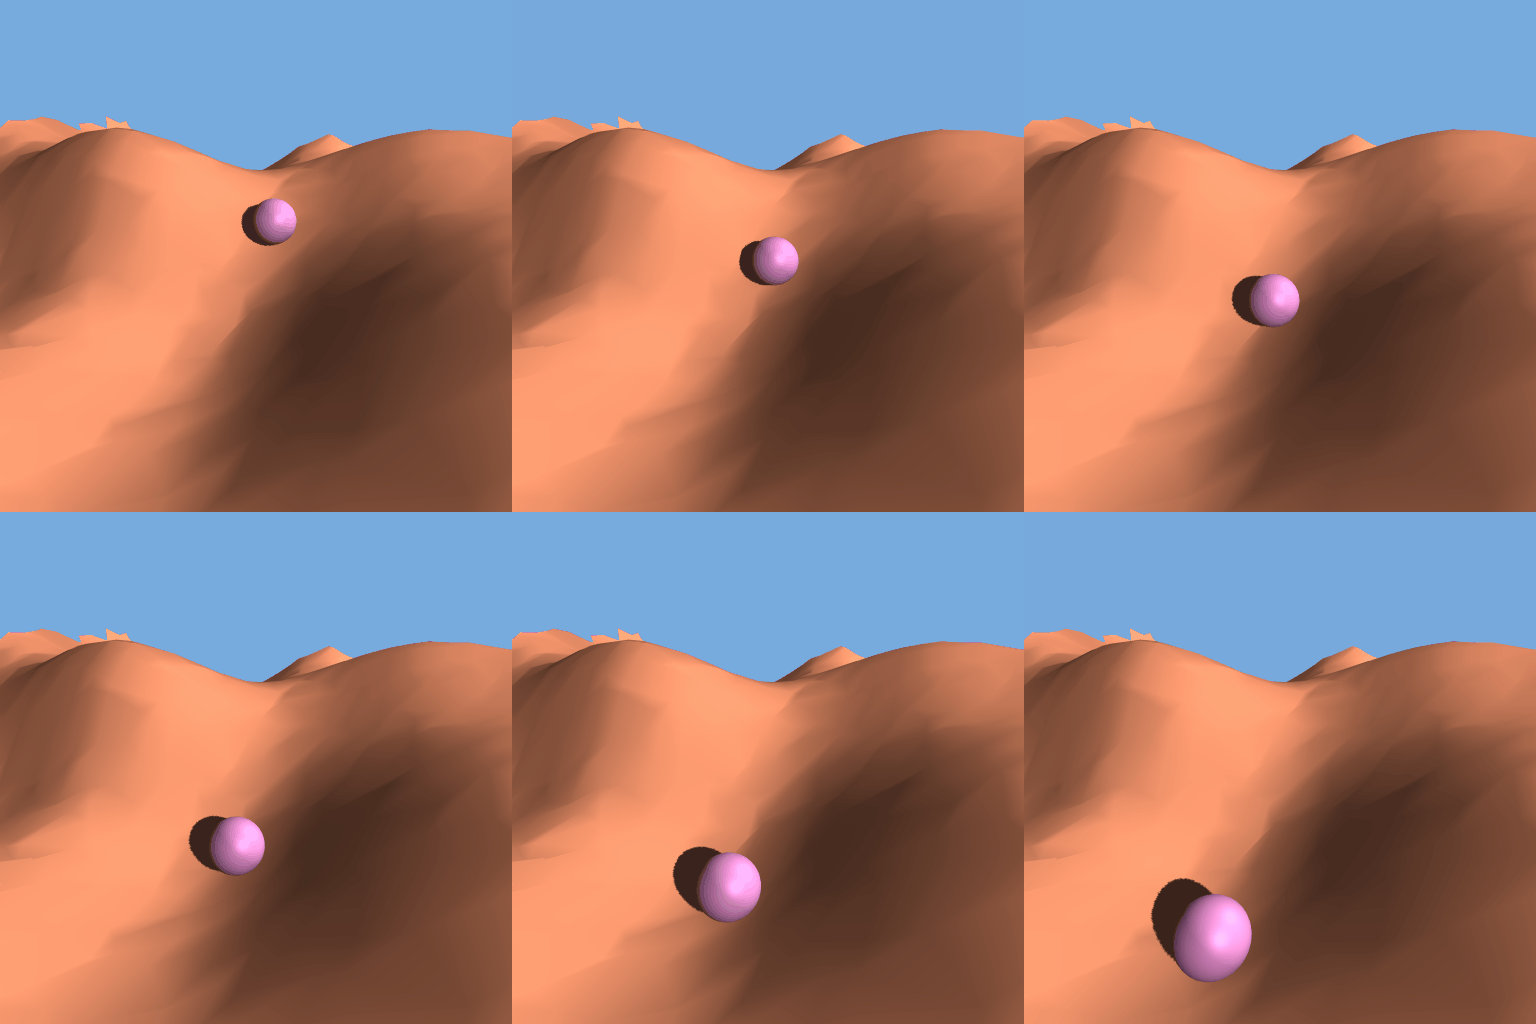
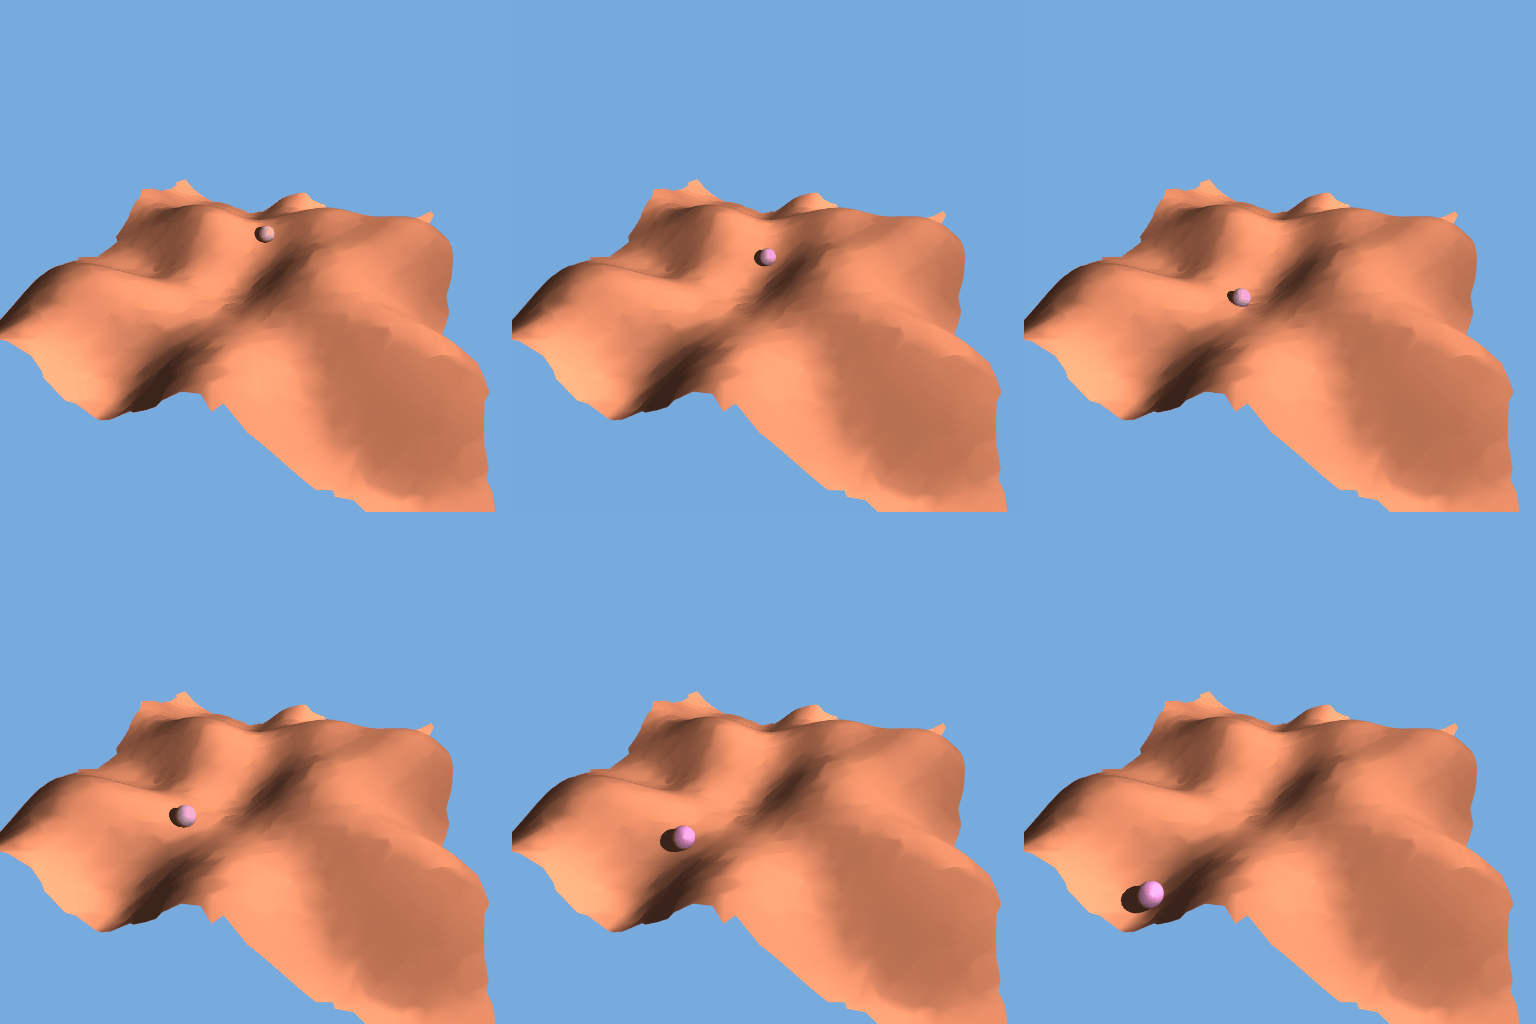
That gives us the following:
Looks much better now. You can see the ball is now moving along with the slope. Let's look at what happens when it starts moving up a hill.
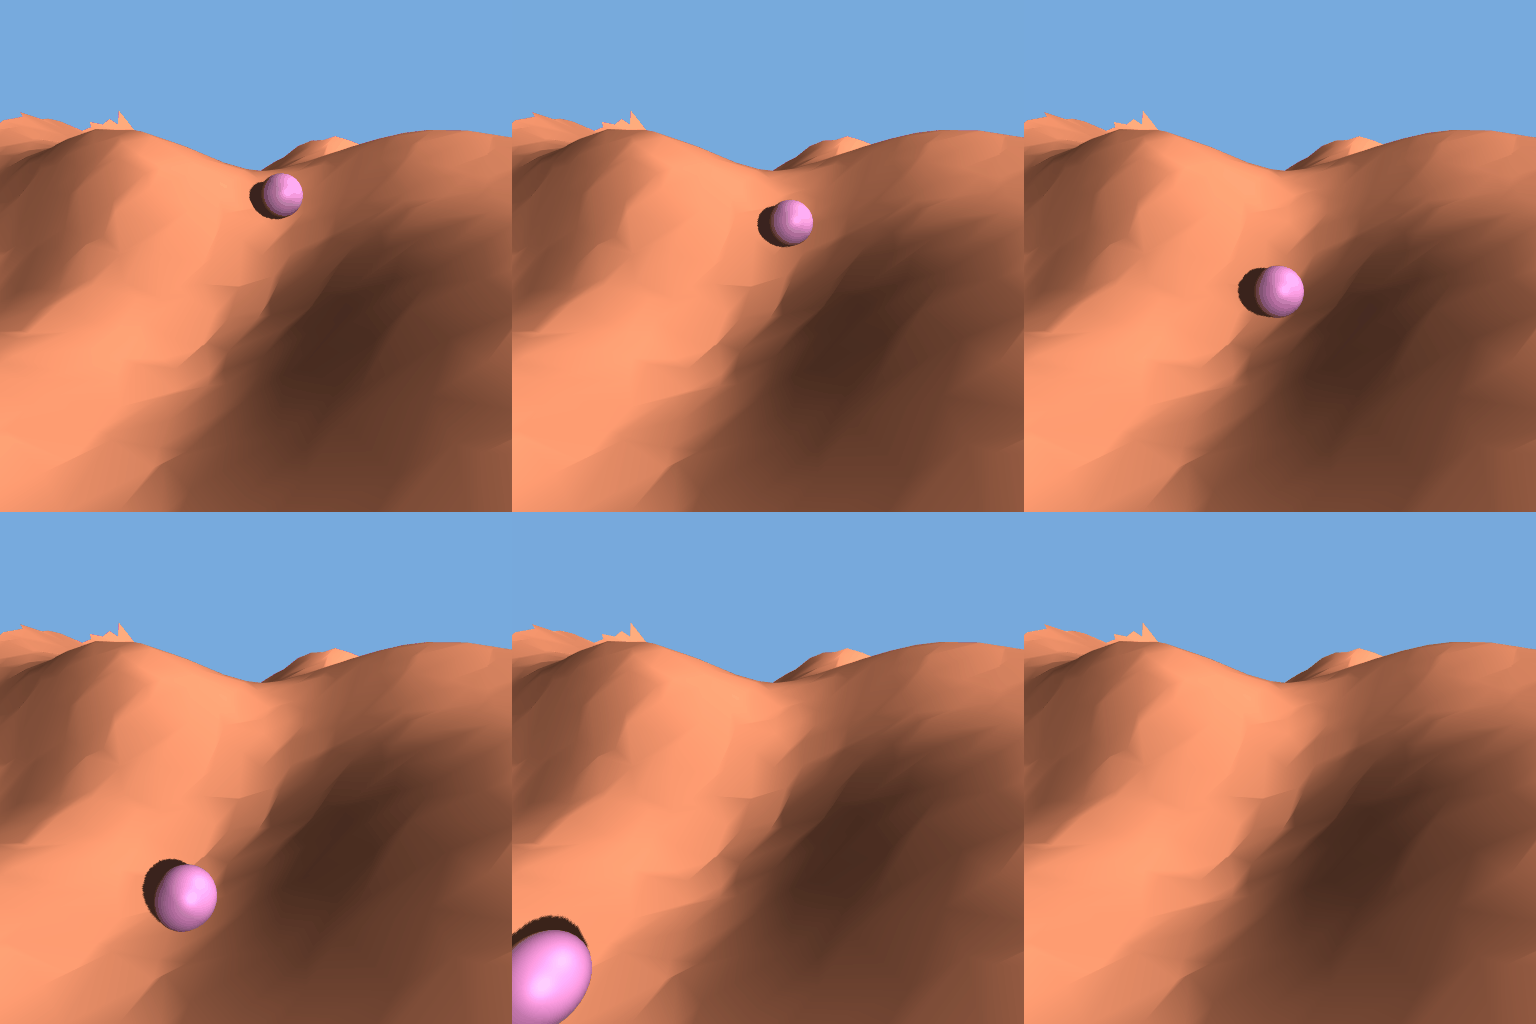
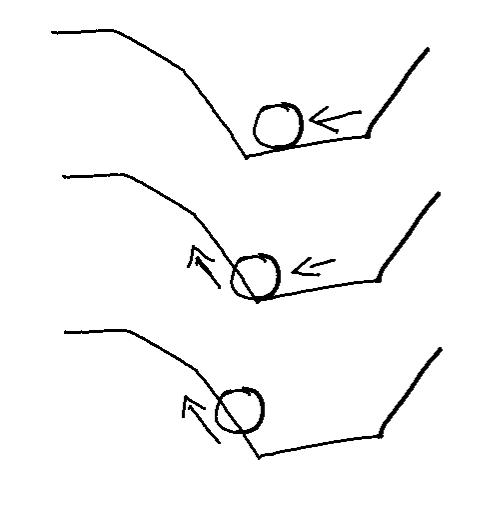
You can see it slowing down while moving uphill and curving slightly as it follows the curves of the terrain. But there is a big problem forming if you look closely. When the ball hits the uphill slope it sinks into the terrain quite far. This problem is illustrated below.
The ball moves along the slope until its center is above the uphill face. You can see that by this time it is intersecting the hill pretty bad. This is a necessary failure of faking gravity the way we are. If we were using real physics, when the outside of the ball touched the slope it would start moving up it. We need to fake this. Luckily we can get close by shuffling our operations around. Look back at the diagram, you can see the problem arises when we increment the position by the velocity along the original slope. We are pushing the sphere right through the other face. We can alleviate this by shifting the y position of the sphere after incrementing by the velocity. Instead of setting the y position of the sphere to the point of intersection we will take the maximum value between the intersection and the current position of the sphere.
sphere.position.y = Math.max(sphere.position.y, intersect[0].point.y + 0.1);
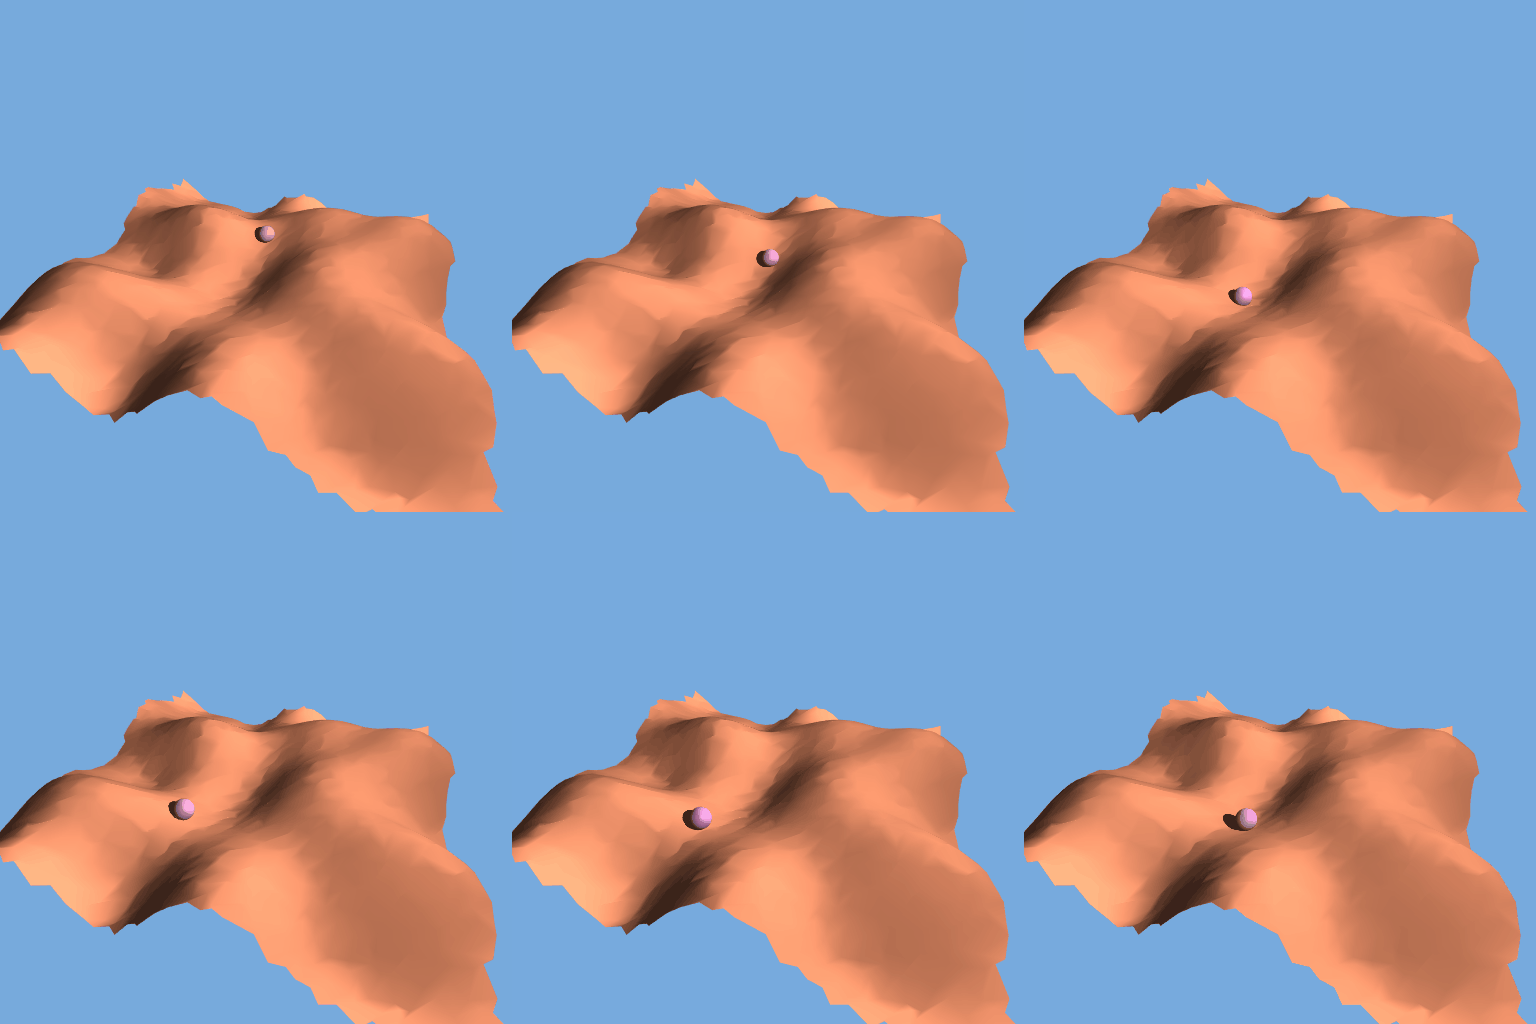
This won't avoid all intersections, but it will keep them small enough that they will not be as noticeable.
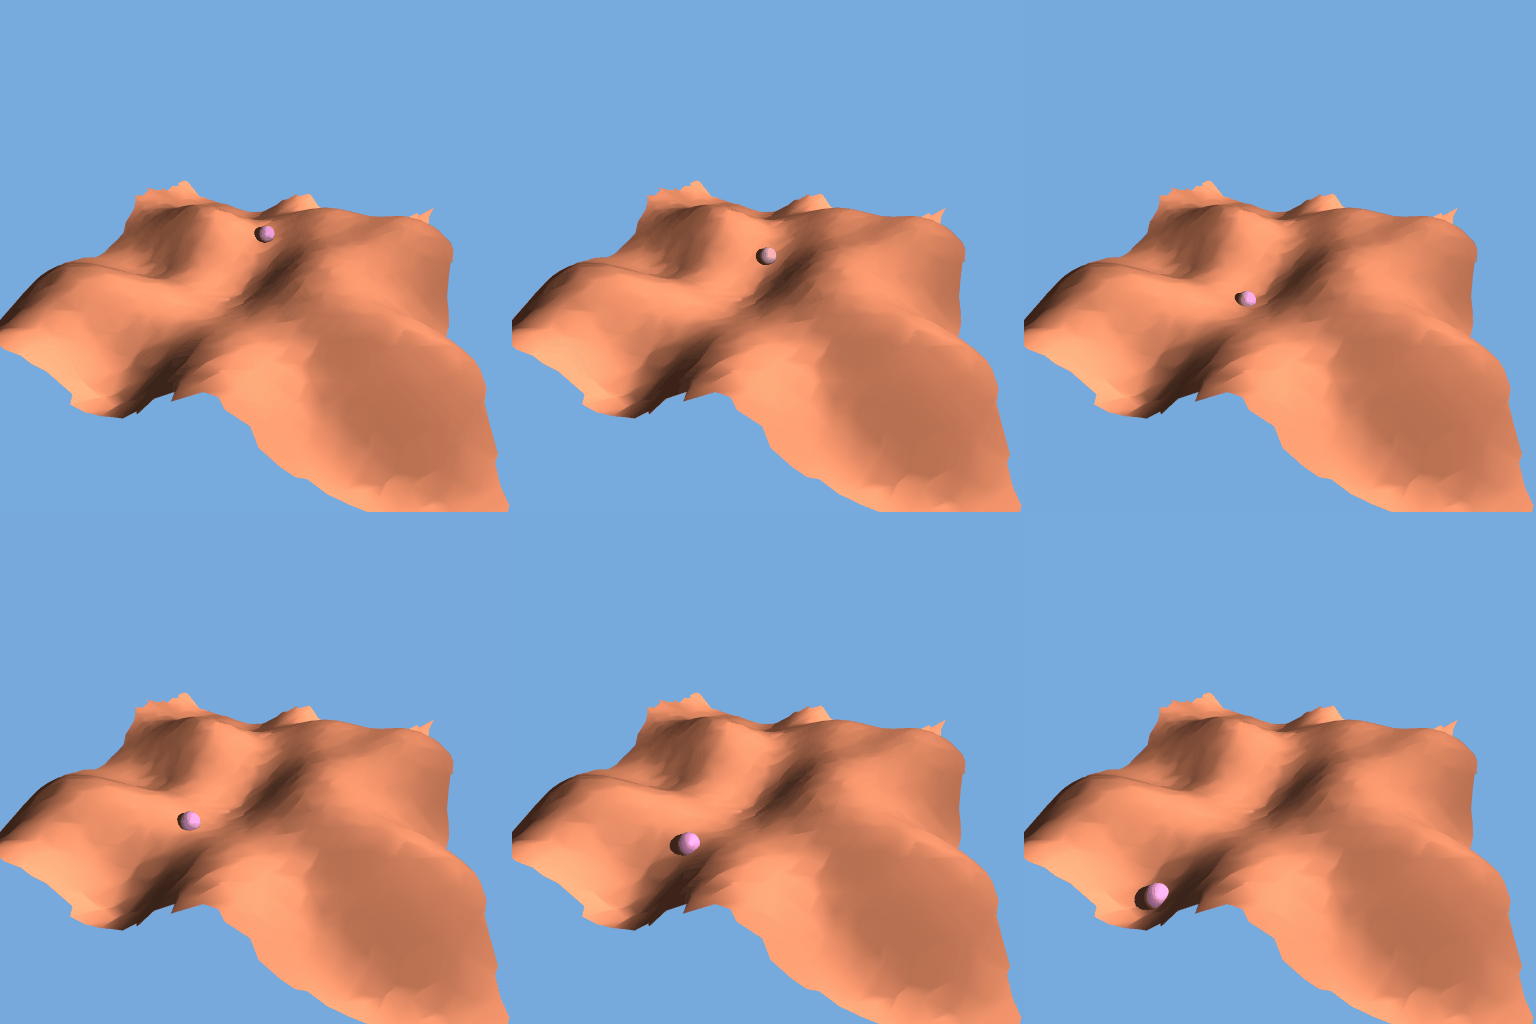
Much better now. You can see the ball slow down to a crawl as it crests the hill and then accelerate again as it goes down. Due to the nature of the terrain I am using the ball does not always follow the same path. Oftentimes it rolls back into the center.
This is exactly the kind of behavior we are looking for out of the gravity system we have implemented here.
Putting all the above code together we get:
raycaster.set(sphere.position, new THREE.Vector3(0, -1, 0));
var intersect = raycaster.intersectObject(mesh);
var normal = intersect[0].face.normal;
var slope = new THREE.Vector3(0, -0.01, 0).projectOnPlane(normal);
velocity.add(slope);
sphere.position.add(velocity);
sphere.position.y = Math.max(sphere.position.y, intersect[0].point.y + 0.1);
Summary
By now you should have a decent understanding as to how you can leverage the Raycaster in three.js to fake gravity and get a ball rolling around as if it was affected by a physics system without incurring the costs associated with calculating accurate physics. Hopefully you have learned:
- How to calculate the slope of a face using
projectOnPlane - How to increment
Vector3's in order to achieve real looking acceleration due to gravity
Curriculum
Necessary to understand this tutorial:
Useful for understanding this tutorial:
- Procedural Geometry in three.js
- Dynamic Geometry in three.js
- Materials in three.js
- Manual Matrices in three.js
Posted on Utopian.io - Rewarding Open Source Contributors
Thank you for the contribution. It has been approved.
You can contact us on Discord.
[utopian-moderator]
Hey @clayjohn I am @utopian-io. I have just upvoted you!
Achievements
Community-Driven Witness!
I am the first and only Steem Community-Driven Witness. Participate on Discord. Lets GROW TOGETHER!
Up-vote this comment to grow my power and help Open Source contributions like this one. Want to chat? Join me on Discord https://discord.gg/Pc8HG9x