HOW TO DRAW 3D: #ULOG ART
Hi guys I'm back again after my long break, for those who have been wondering why haven't I posted anything for a long time. I lost my phone, and know I bought a new one TECKNO SPARK K7.
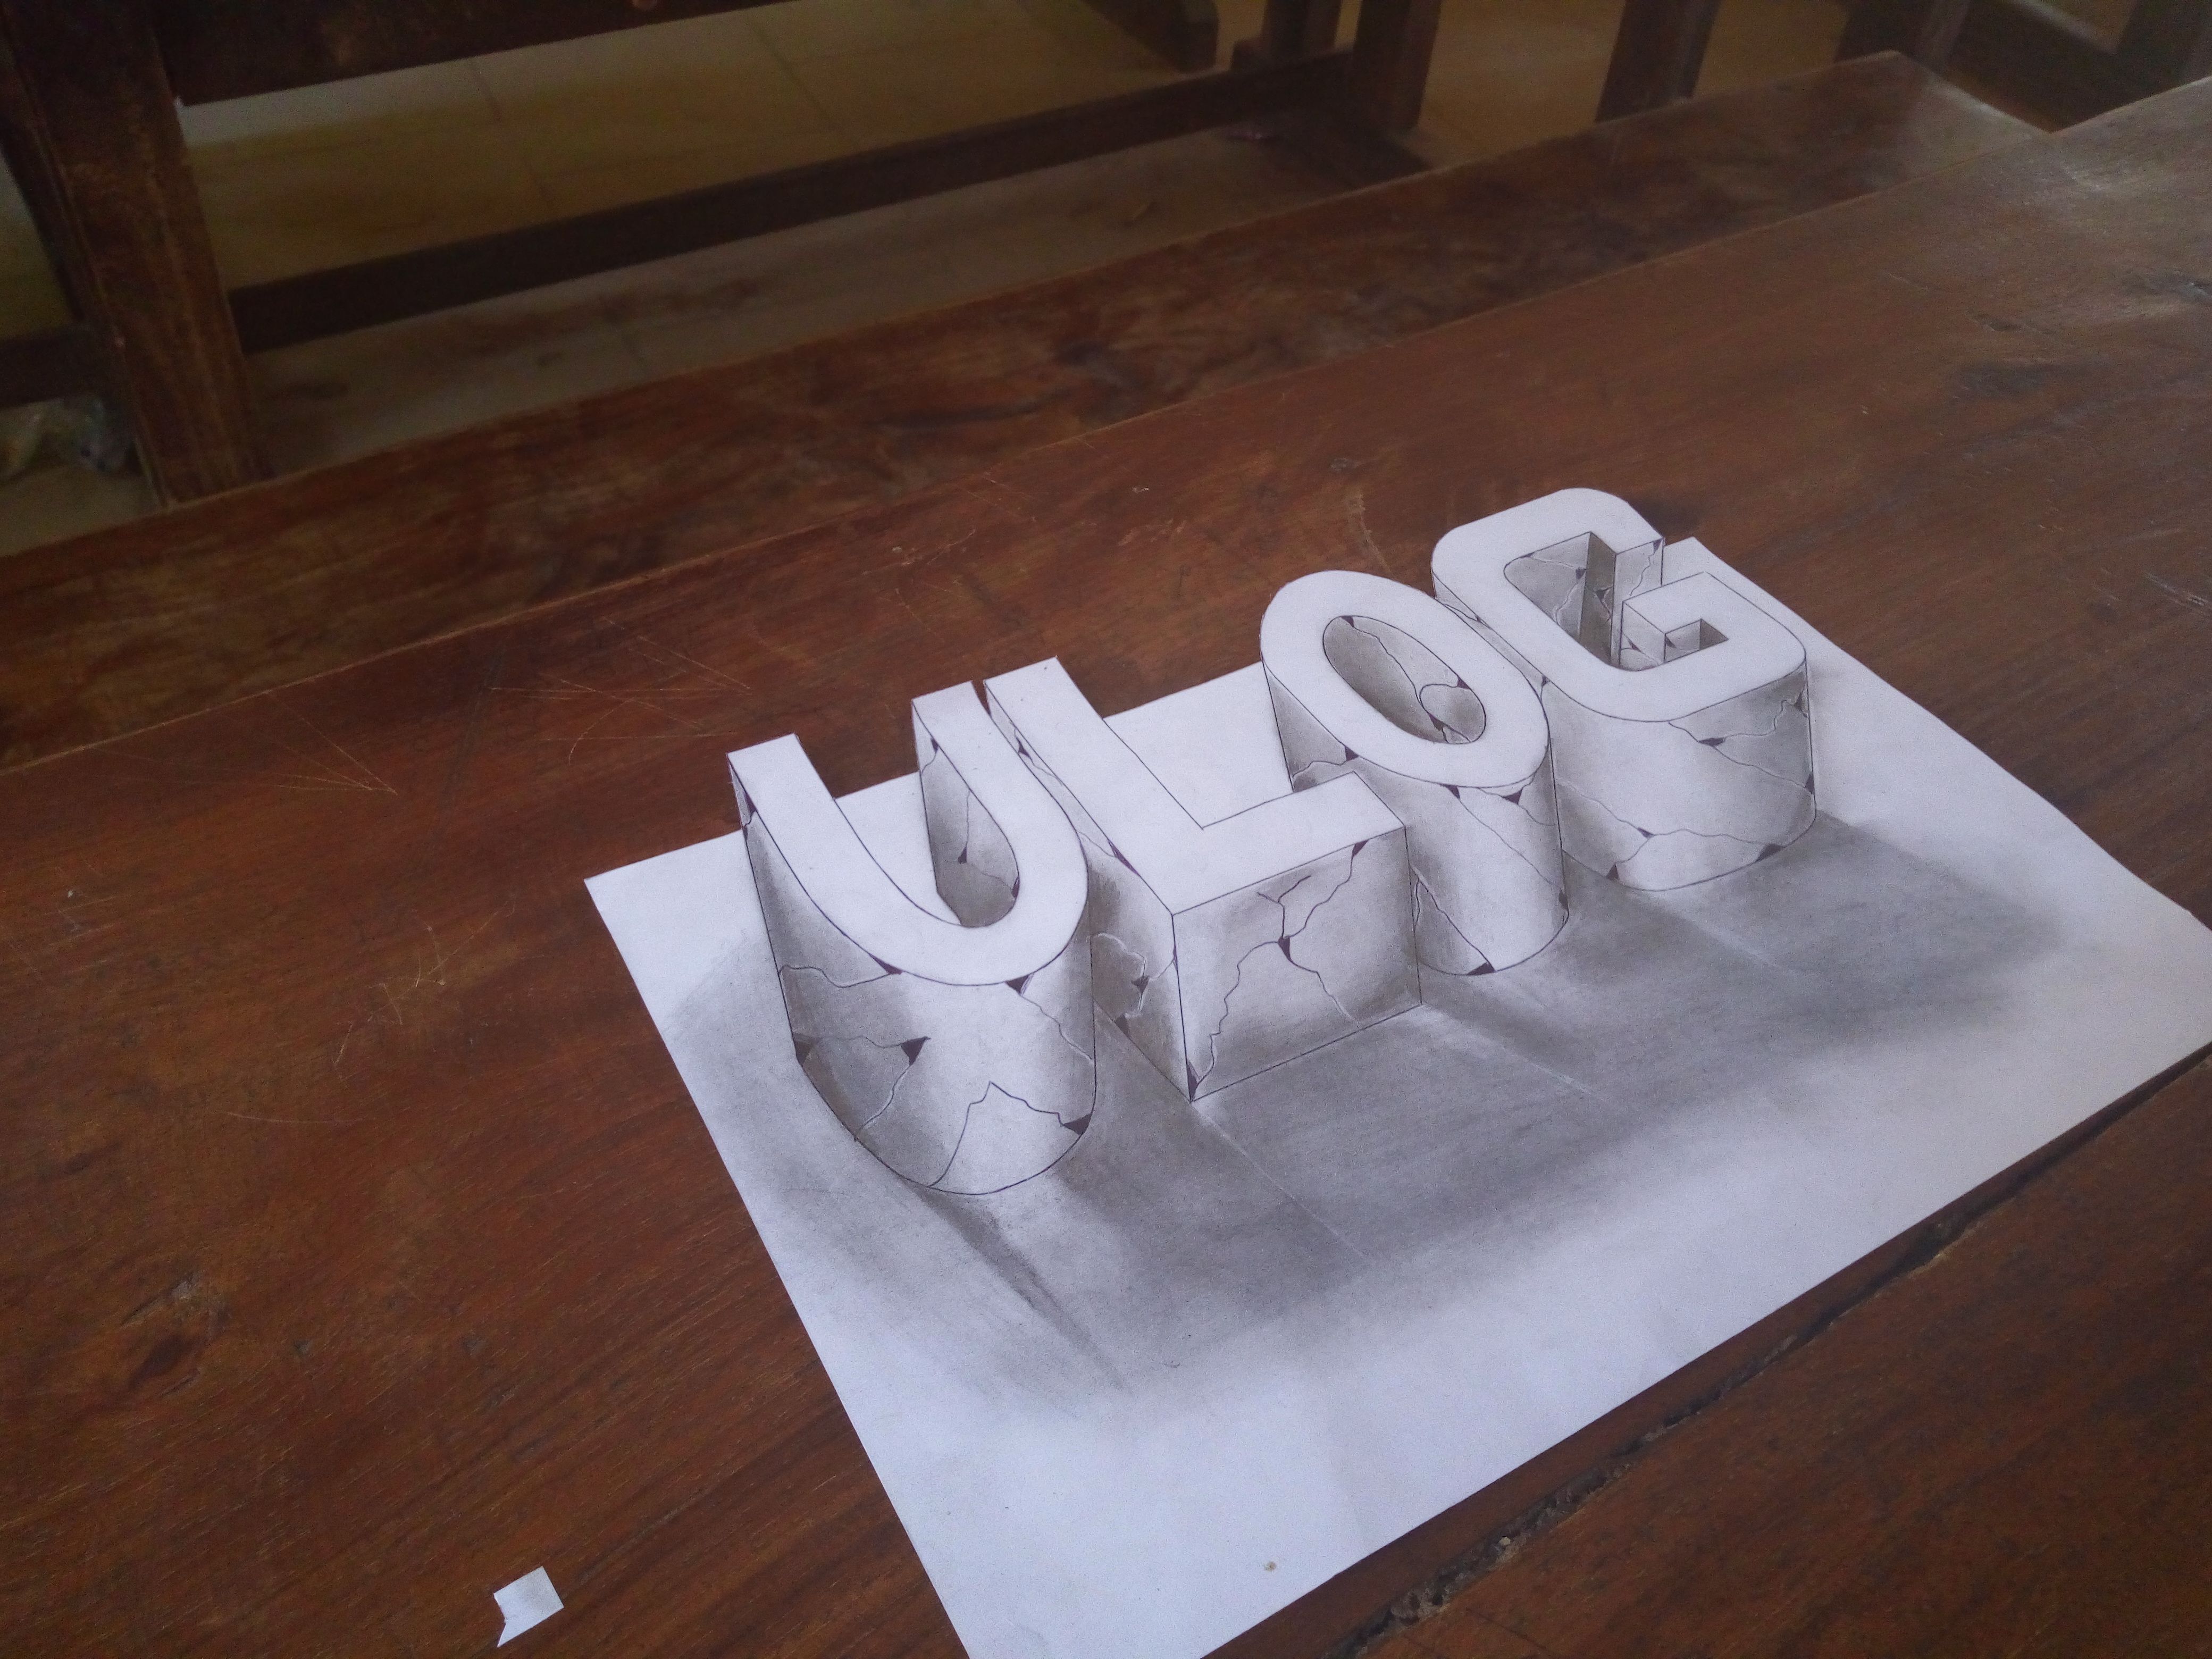
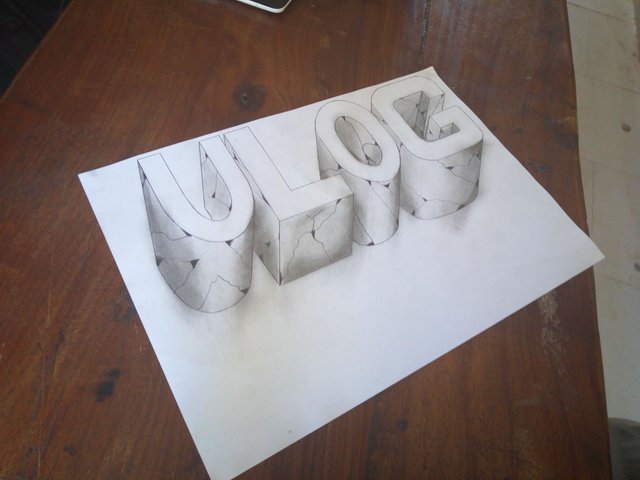
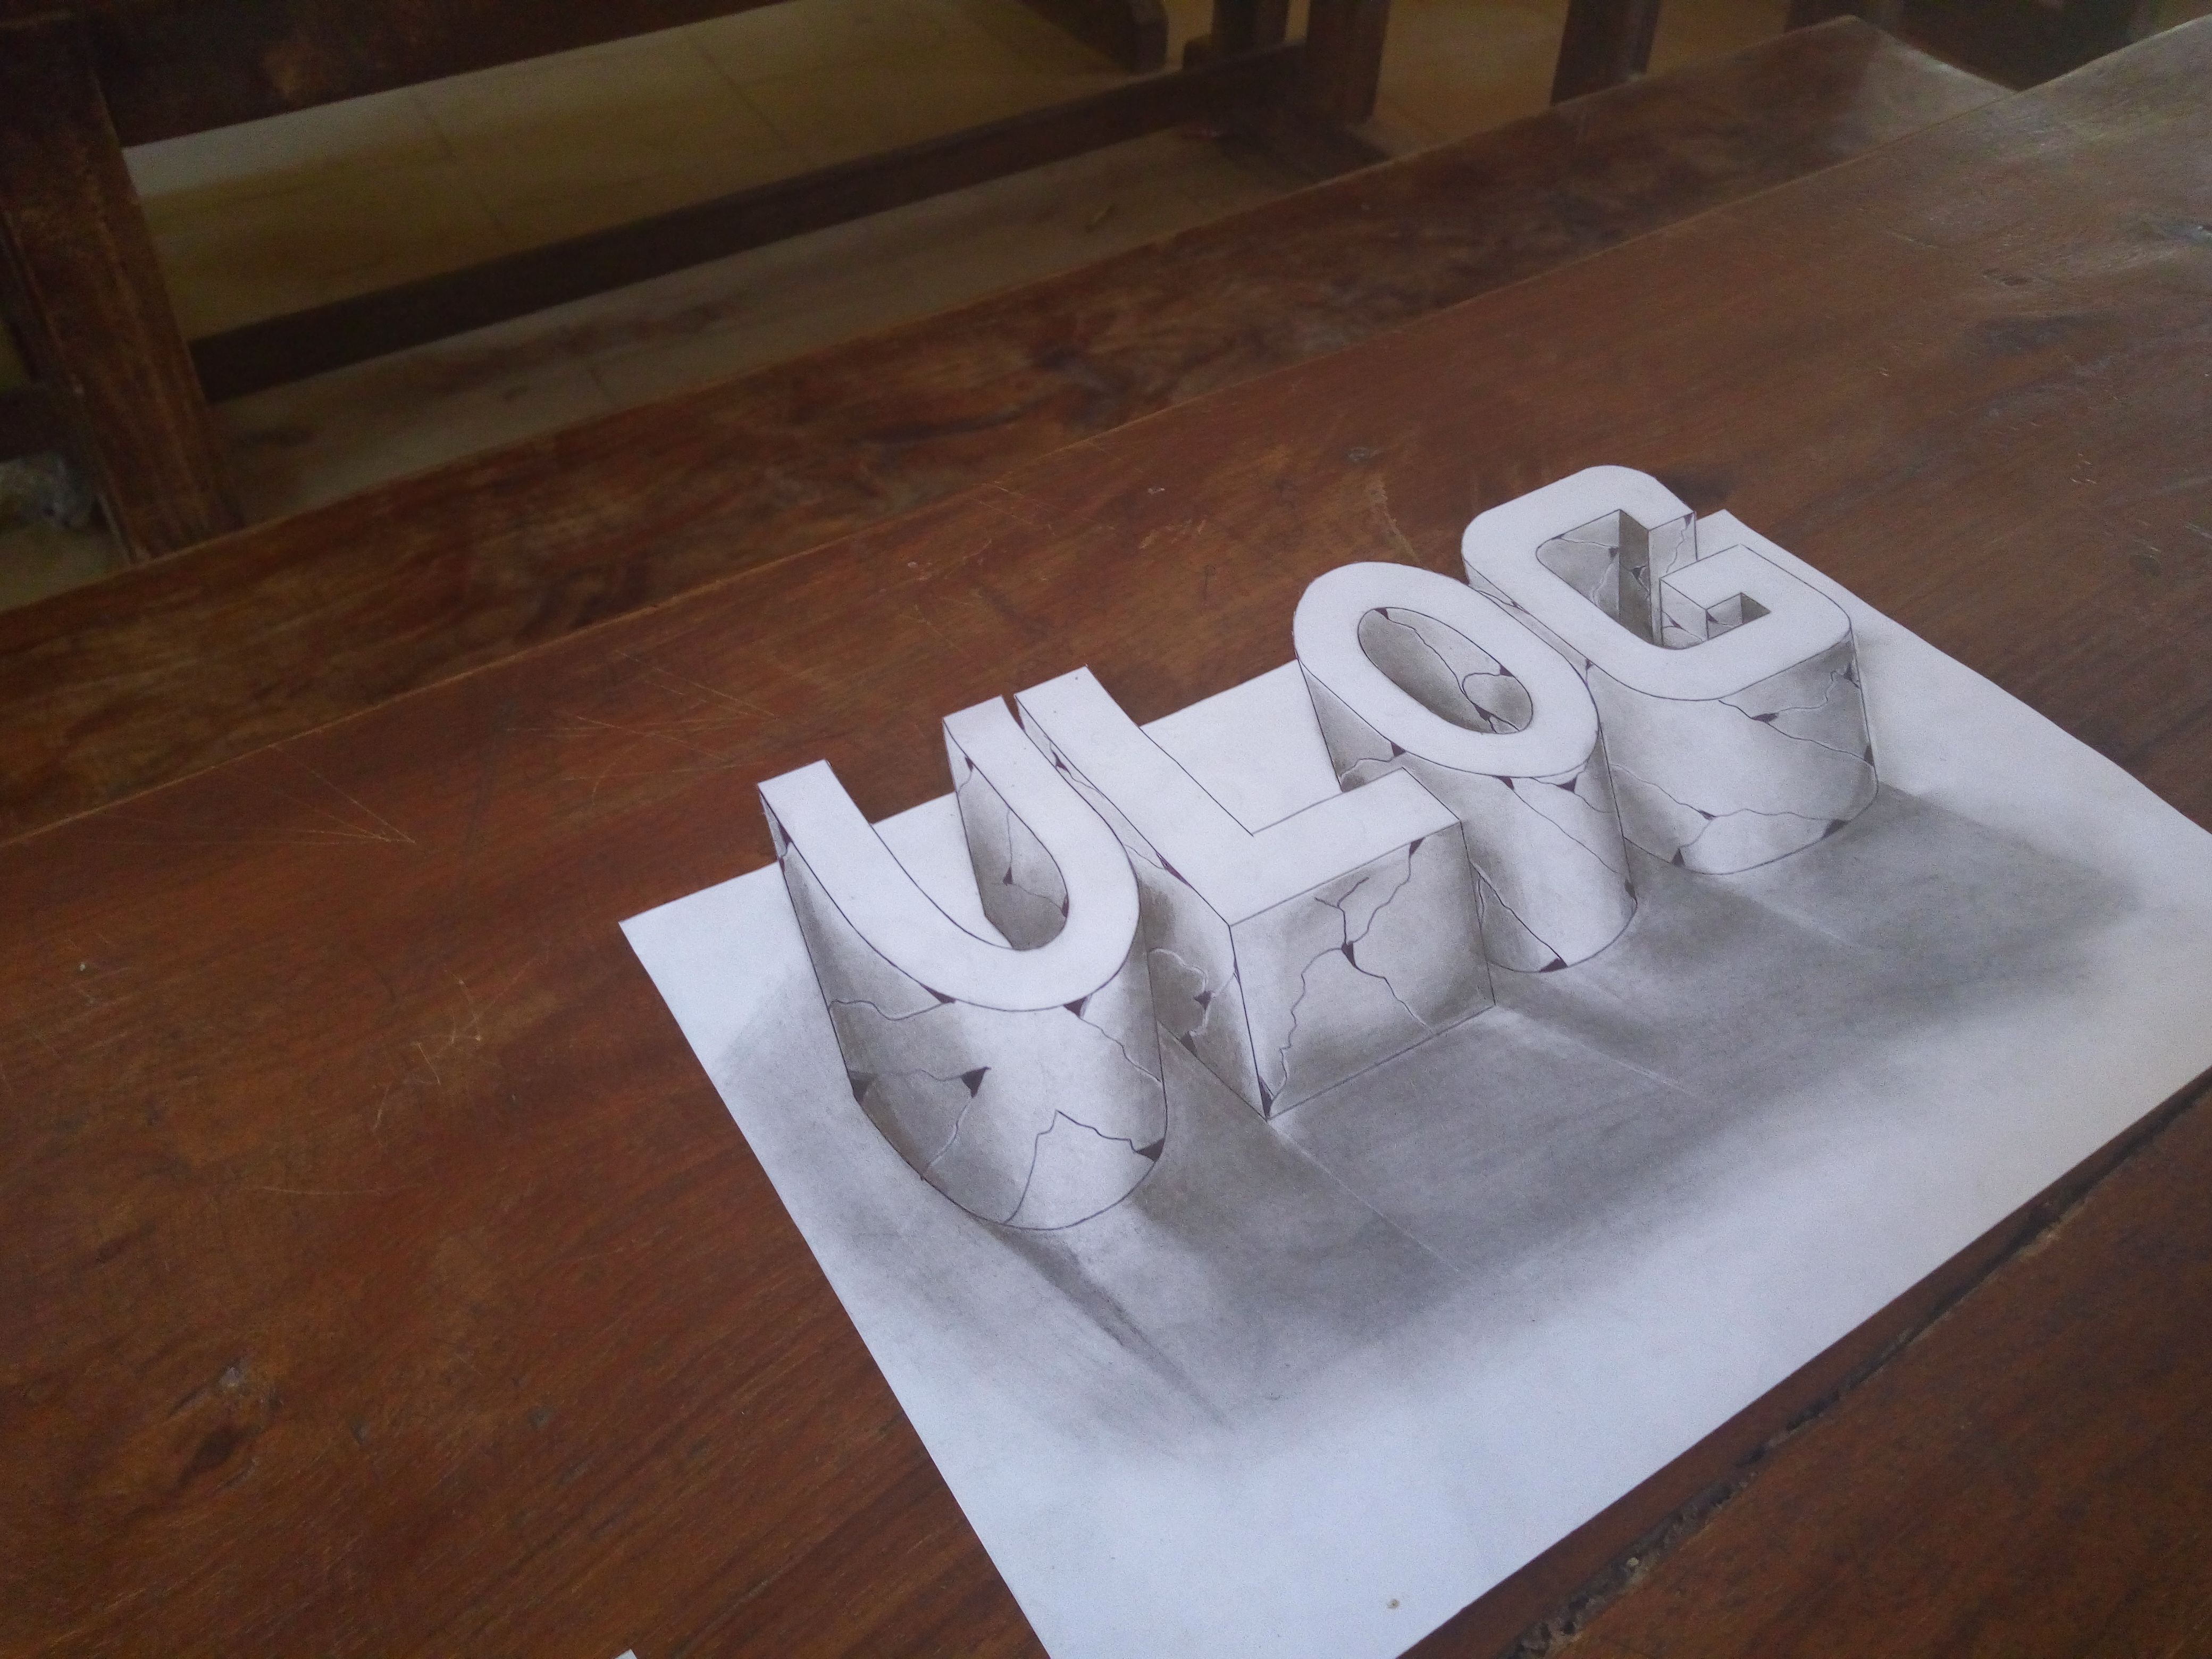
Furthermore, I'm here to talk about how I drew #ulog in a 3D (three dimensional ) form. Here below is the full image of my drawing 👇.
Before I begin draw I watched few 3D drawings which gave me few ideas on how to make my own 3D #ulog drawing.
MATERIALS USED
A4 paper
Easter
Foam
HB 6181 and
Earaser
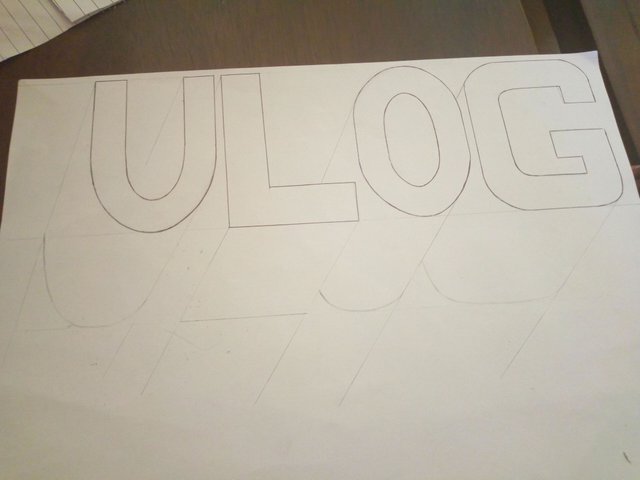
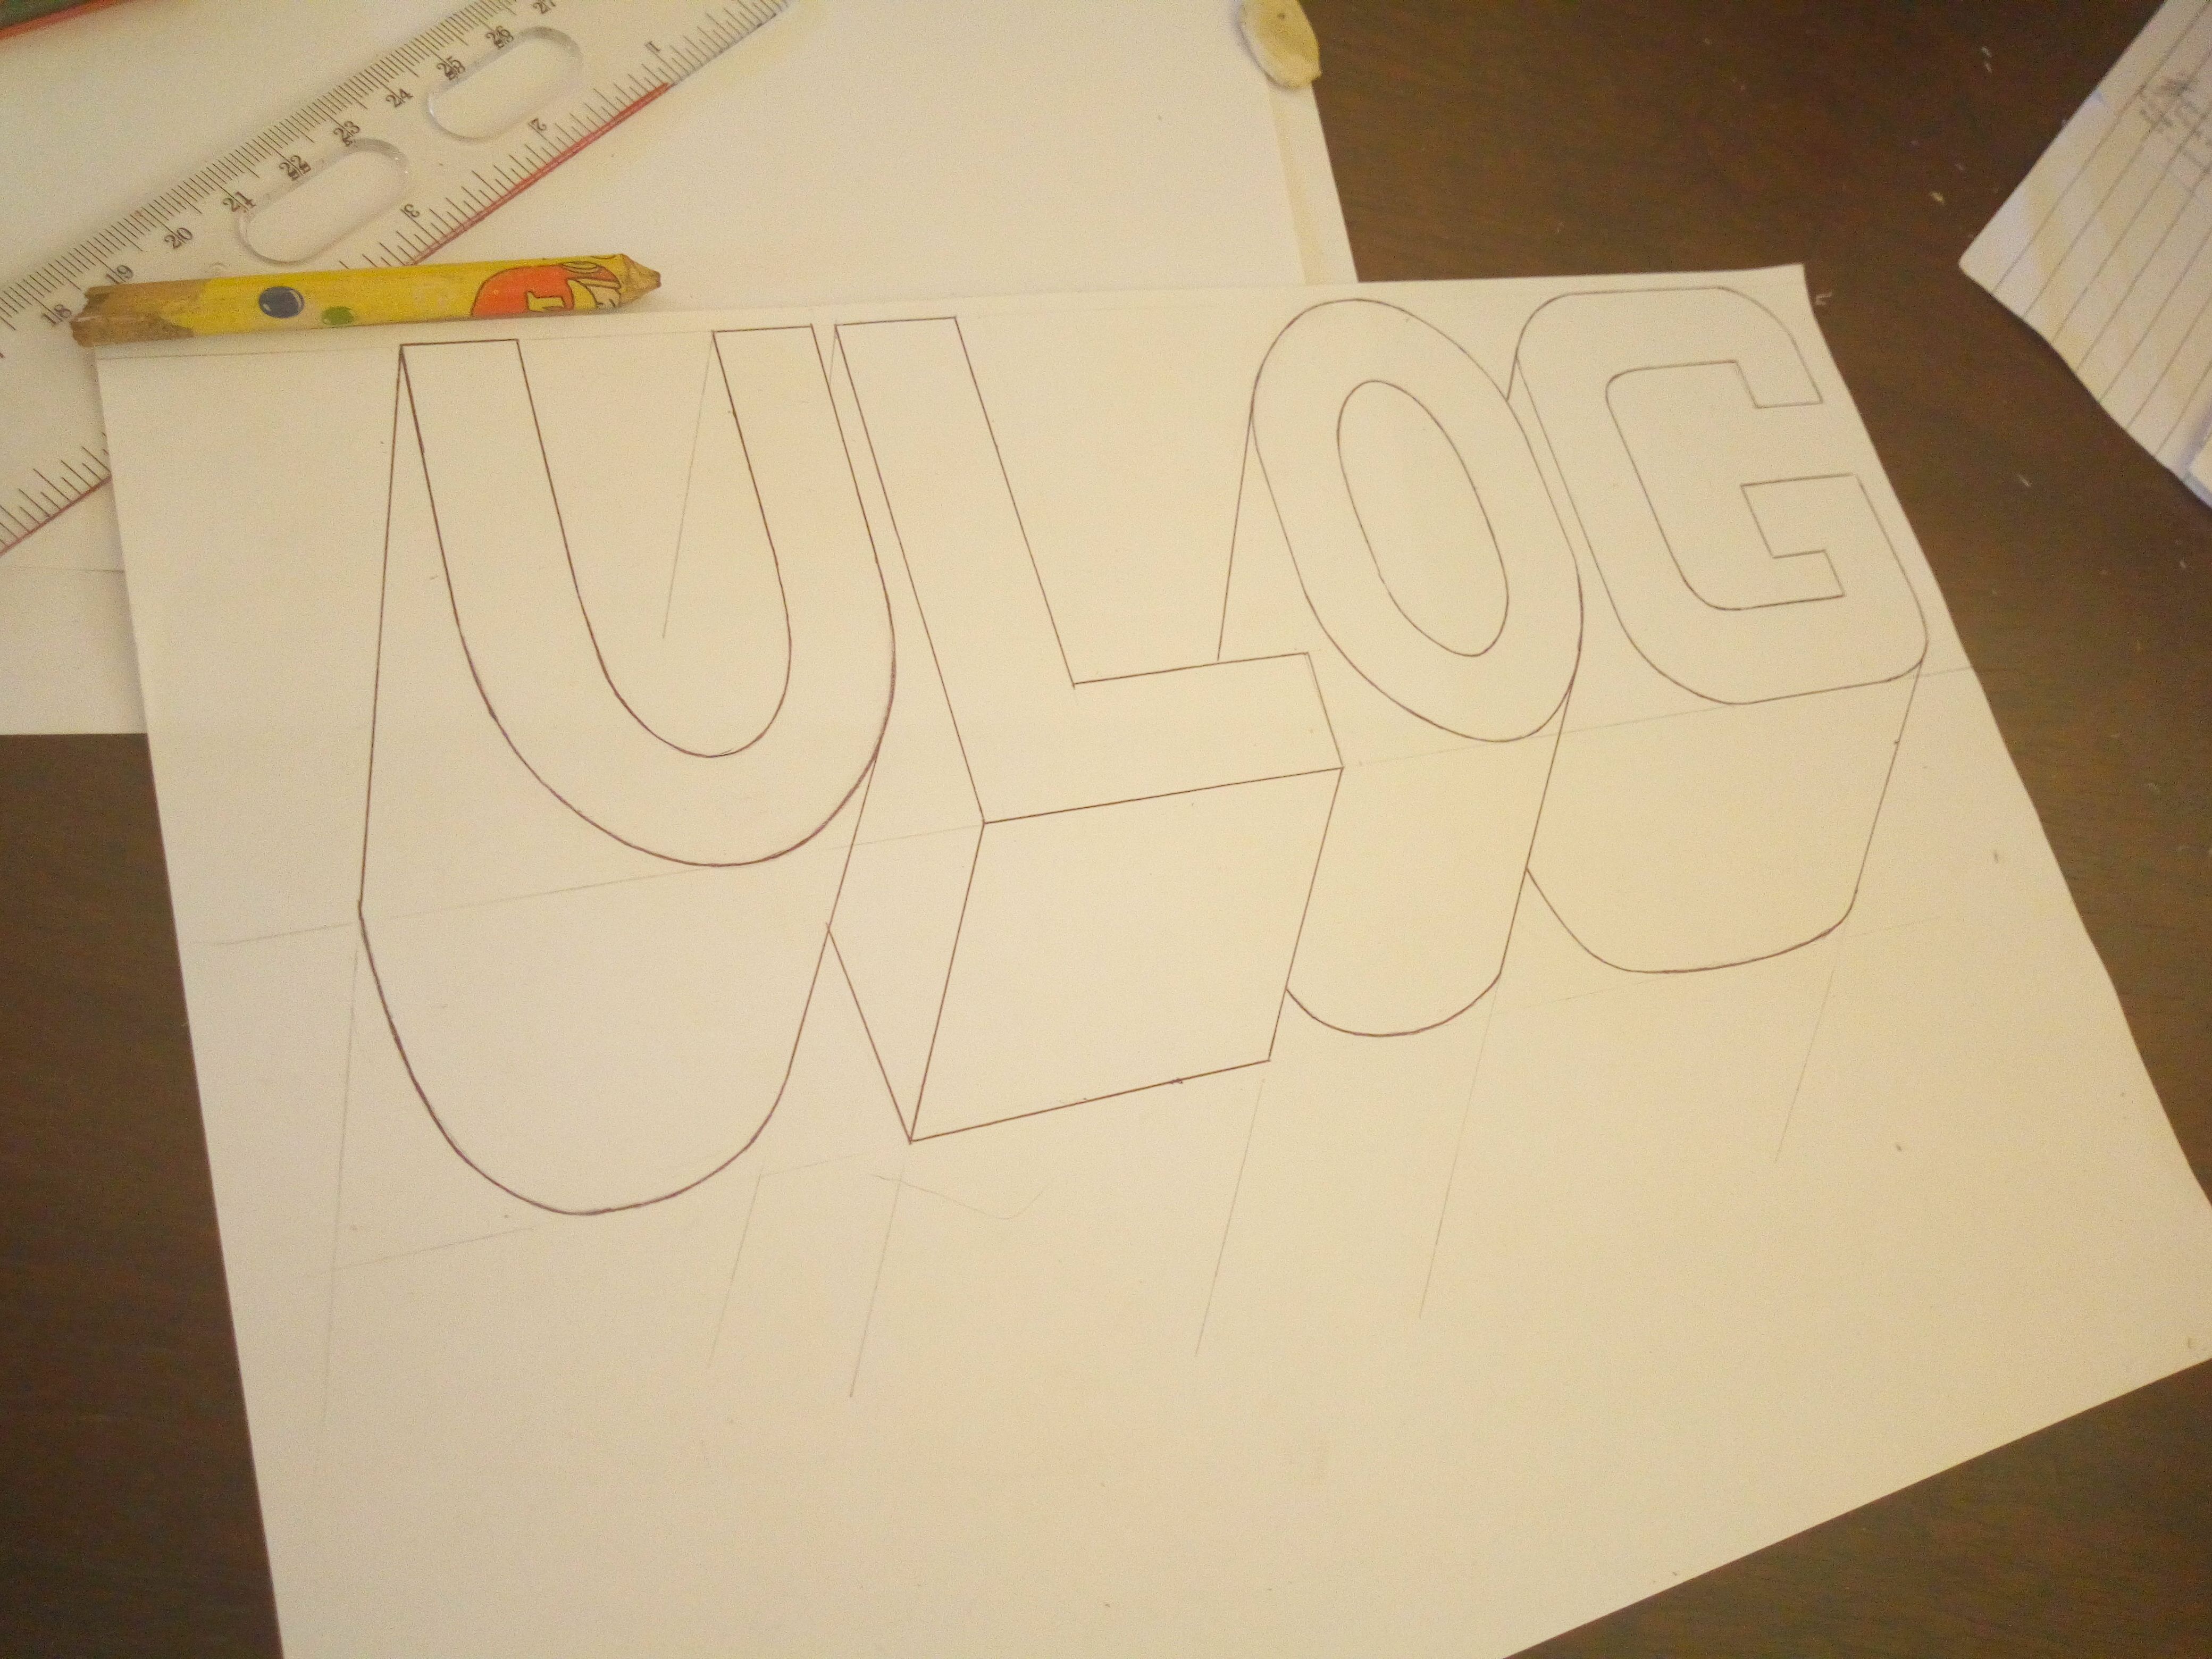
FIRST STEP: Base of the drawing
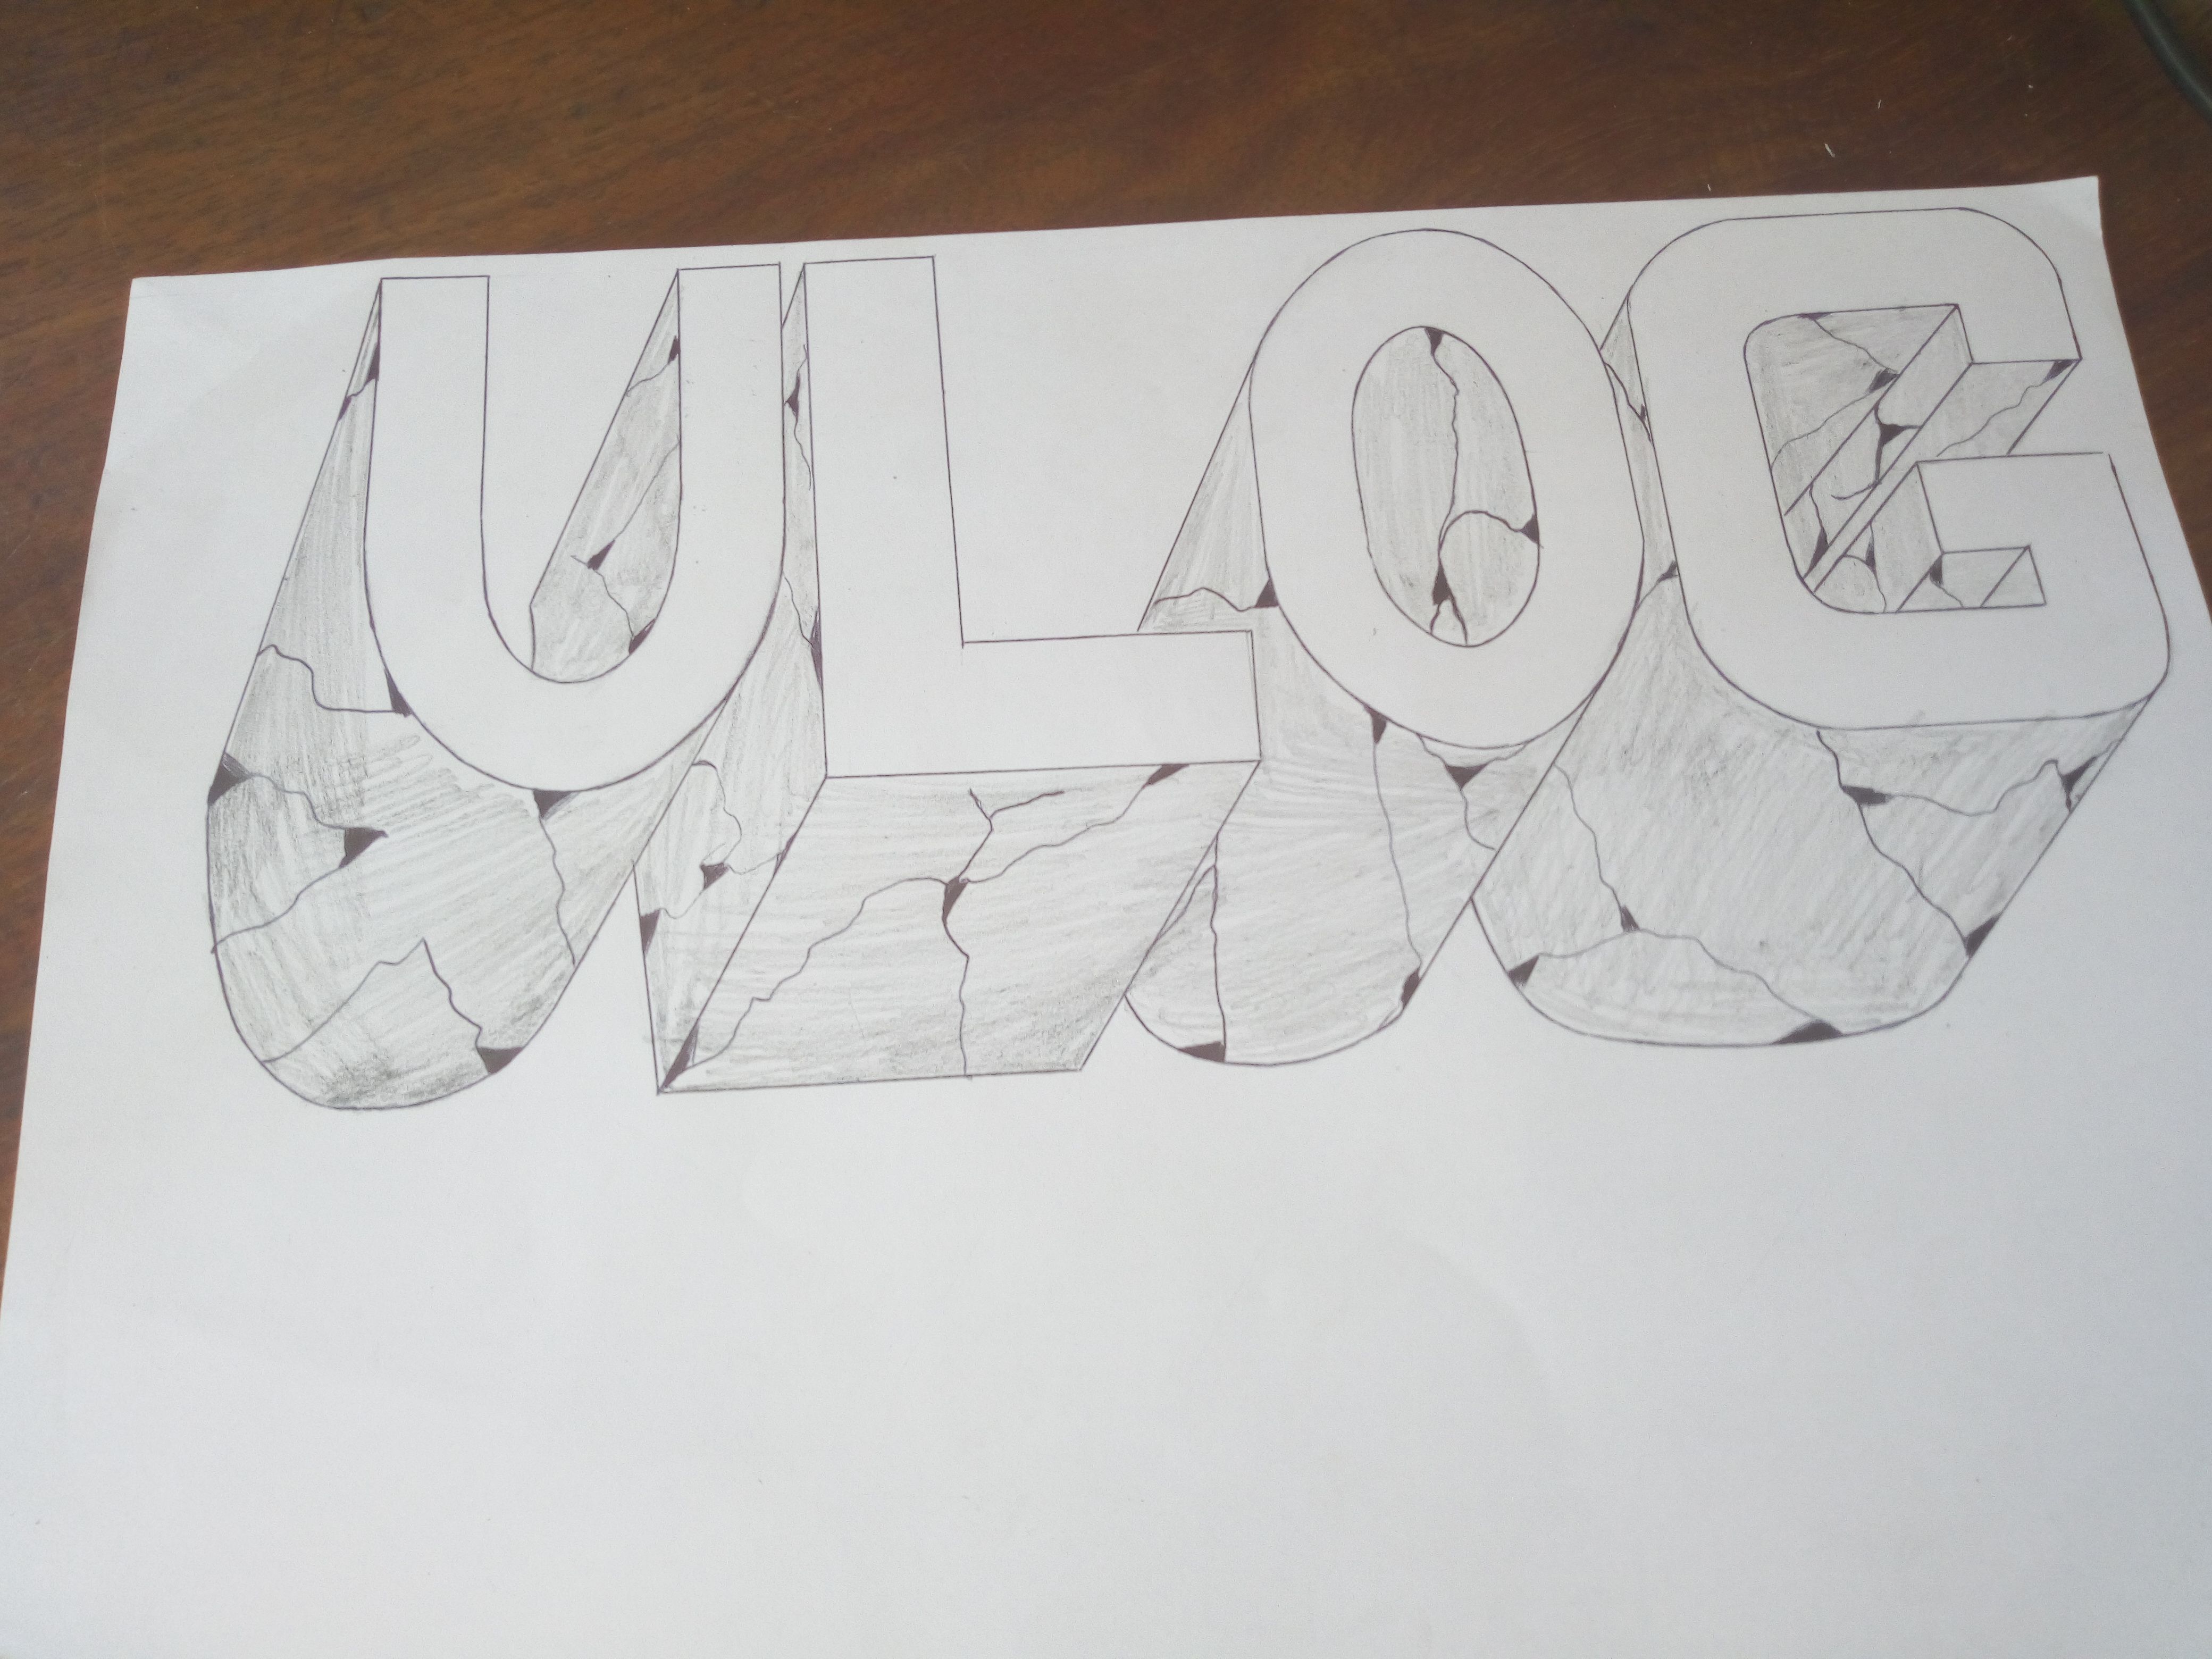
I first of all trace the ulog on the paper which is the base for the drawing, then give a slant line on the ulog traced to make it look like this
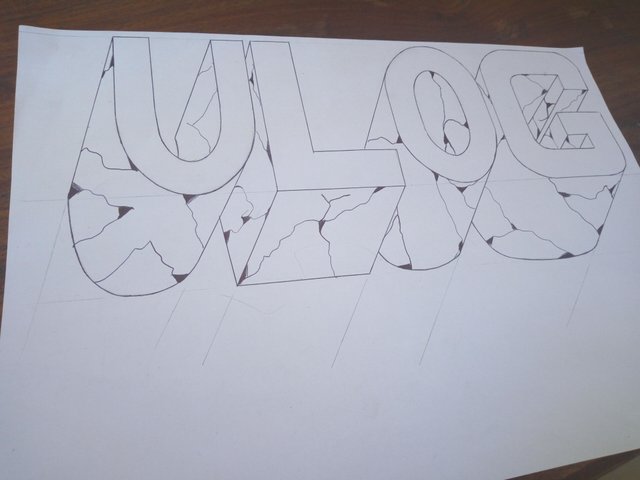
SECOND STEP:Adding of crakes
Use a black pen to trace cracks on the ulog and out line it making the the ink on it more darker. By doing that you will make the drawing look like this
THIRD STEP:First shadings
use the hb pencil to shade the drawing lightly ,then use the foam to make the shading smother.rember do not shade the first traced or outline drawing.
FOURTH STEP:Final shading for the ulog
know shade all corners of the drawing make it more thicker and use the foam to make it smoother . Use the eraser to make part of the drawing look lighter than the others
FIFTH STEP:Adding the ulog shadows
use the pencil to shading below the drawing to give it shadow,using also the foam to make it smoother and more realistic to make your drawing complete
Thanks for the review,if you like it invite @juniorohaekwe
Resteem
Upvote
Follow me @juniorohaekwe
