*Balfore's Builds* TerrainCraft Tutorials 005: Columns Part 2
Hello again fellow crafters!
Today, I'll show you how to make a different style of pillars than last week in Tutorial #4.
https://steemit.com/terraincraft/@balfore/balfore-s-builds-terraincraft-tutorials-004-columns-part-1
These will have a Dwarven look to them. They will also have a good amount of detail, and are a higher skill level.
But, I'm confident that you'll do just fine!
Depending on your needs and how many pillars you want to make, this project may take a while to do.
It took me a month, working about 4 hours a night. But that included design research, and trial and error.
Hopefully, it wont take you that long to make.
I'll apologize in advance for not having some of the 'transition' pictures, but you can always ask me, and will be happy to answer your questions.
Supplies for this project will be:
*1 inch thick XPS foam (this is the pink foam I showed you in the first tutorial)
*Hot wire cutter OR sharp box cutter (see 1st tutorial)
*A nice metal ruler, T-Square or straight edge of some kind
*A cutting mat (only if you don't have a hot wire cutter), you don't want to mess up your table with the razor
*Base coat sealant (a mixture of about 50/50 acrylic black paint and ModPodge, you should make a large batch and store it, see first tutorial)
*Two varying shades of gray: I use Pewter Gray and Granite Gray
*Crafting paint brushes
*Paper towels, paper plate, water cup...stuff for cleaning up the paints
*White glue
*A ball of aluminium foil
*Chipboard (this can be any kind of pressed card stock. Cereal box material works fine
I used this image for inspiration from Deviant art, by an artist named Faradon

To start, you need to cut your XPS pink foam into several sizes. Again, depending on how many pillars you want to make determines how many pieces you will need.
In the images below, you can see the breakdown of sizes you'll need.
So, lets just start with an example for 1 pillar...
1 inch thick XPS pink foam:
*1 base piece: 1-7/8 in. x 1-7/8 in. x 1 in. thick.
*1 middle piece: 1-3/8 in. x 1-3/8 in. x 1 in. thick
*2 top pieces: 1: 1 in. x 1 in. x 1 in. thick
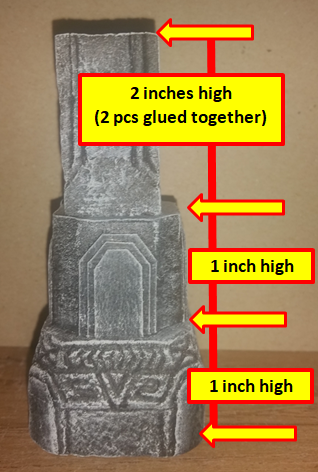

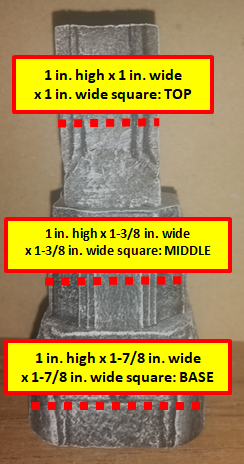
I know, I ruined the surprise on how they would look
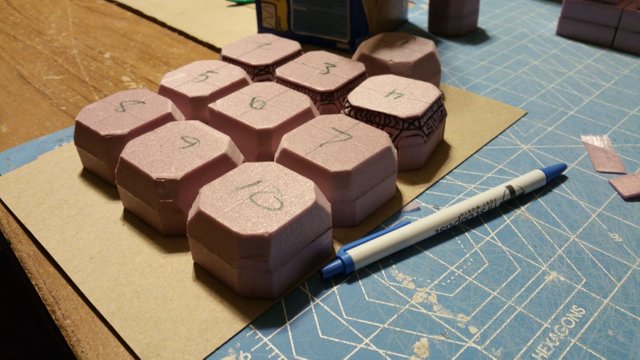
Get your pieces lined up and only glue the 2 top pieces together.
DO NOT GLUE THEM ALL TOGETHER!
In the image below, I was using 1/2 inch thick foam, I didn't have any i inch foam at the time.
The apologies come in to play now, I don't have any 'transition' pics to show you what to do next... all I can do is explain here.
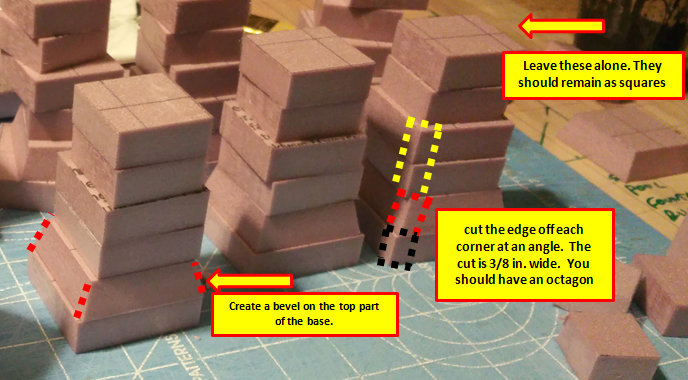
1.Create a bevel on the top half of the base on all 4 sides.
2.Cut all 4 edges off at an angle on the beveled edge, the cut is 3/8 inch
3.Carry that cut down the rest of the 4 edge of the base, the cut is 3/8 inch
4.Cut the edges of middle section the same way, 3/8 inch all the way down the 4 sides
They should fit together like this...
BASE:
The entire pillar (disregard the designs for now)

Here, I began the long process of detailing the pieces. All I used was an ink pen. I free-handed all the designs, and tried to get as close the the artwork as I could.
Oh, the corners? I just traced them out FIRST, then connect all the rest of the detail as you do all four sides.
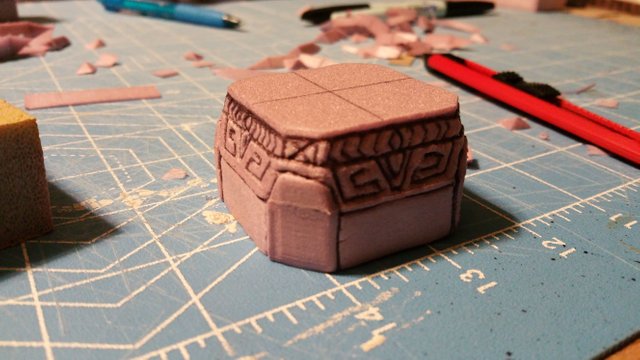
The Dwarven Embellishments
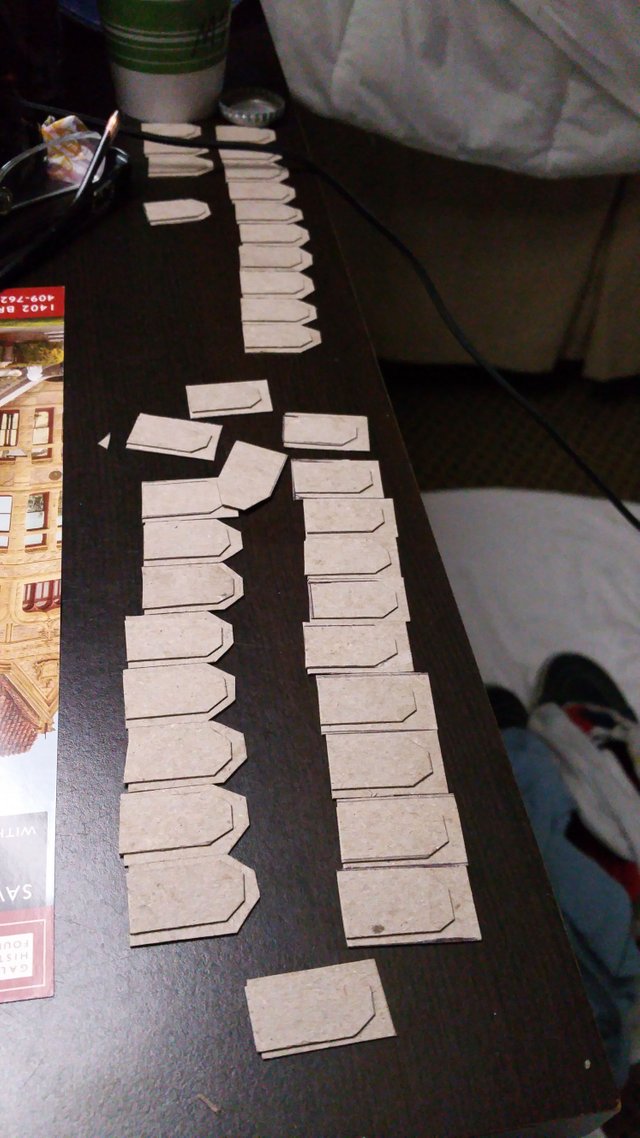
Now grab your chipboard, or cereal box cardboard, and start making some shapes like this. You want to start with the smaller one on the top, and work your way down to the larger one.
- Start by making 1/4 inch wide strips, and then cut them into pieces that are 1/4 in. wide x 1-1/8 in. long.
You will need 4 of these per pillar - Next strips will be 3/8 in. wide (this should be 1/8 inch larger than the ones you just cut out)
- Last strips are 1/2 inch wide (this should be 1/8 inch larger than the ones you just cut out)

Eventually, you will have a 3 layered embellishment.
Each layer spaced and centered with approximately 1/16 in. spacing for each layer.
You need 4 embellishment for each pillar.
The process should look something like this:
(LOL, I actually took these pieces on vacation with us, and was cutting them out while watching TV...and the wifey was asleep)
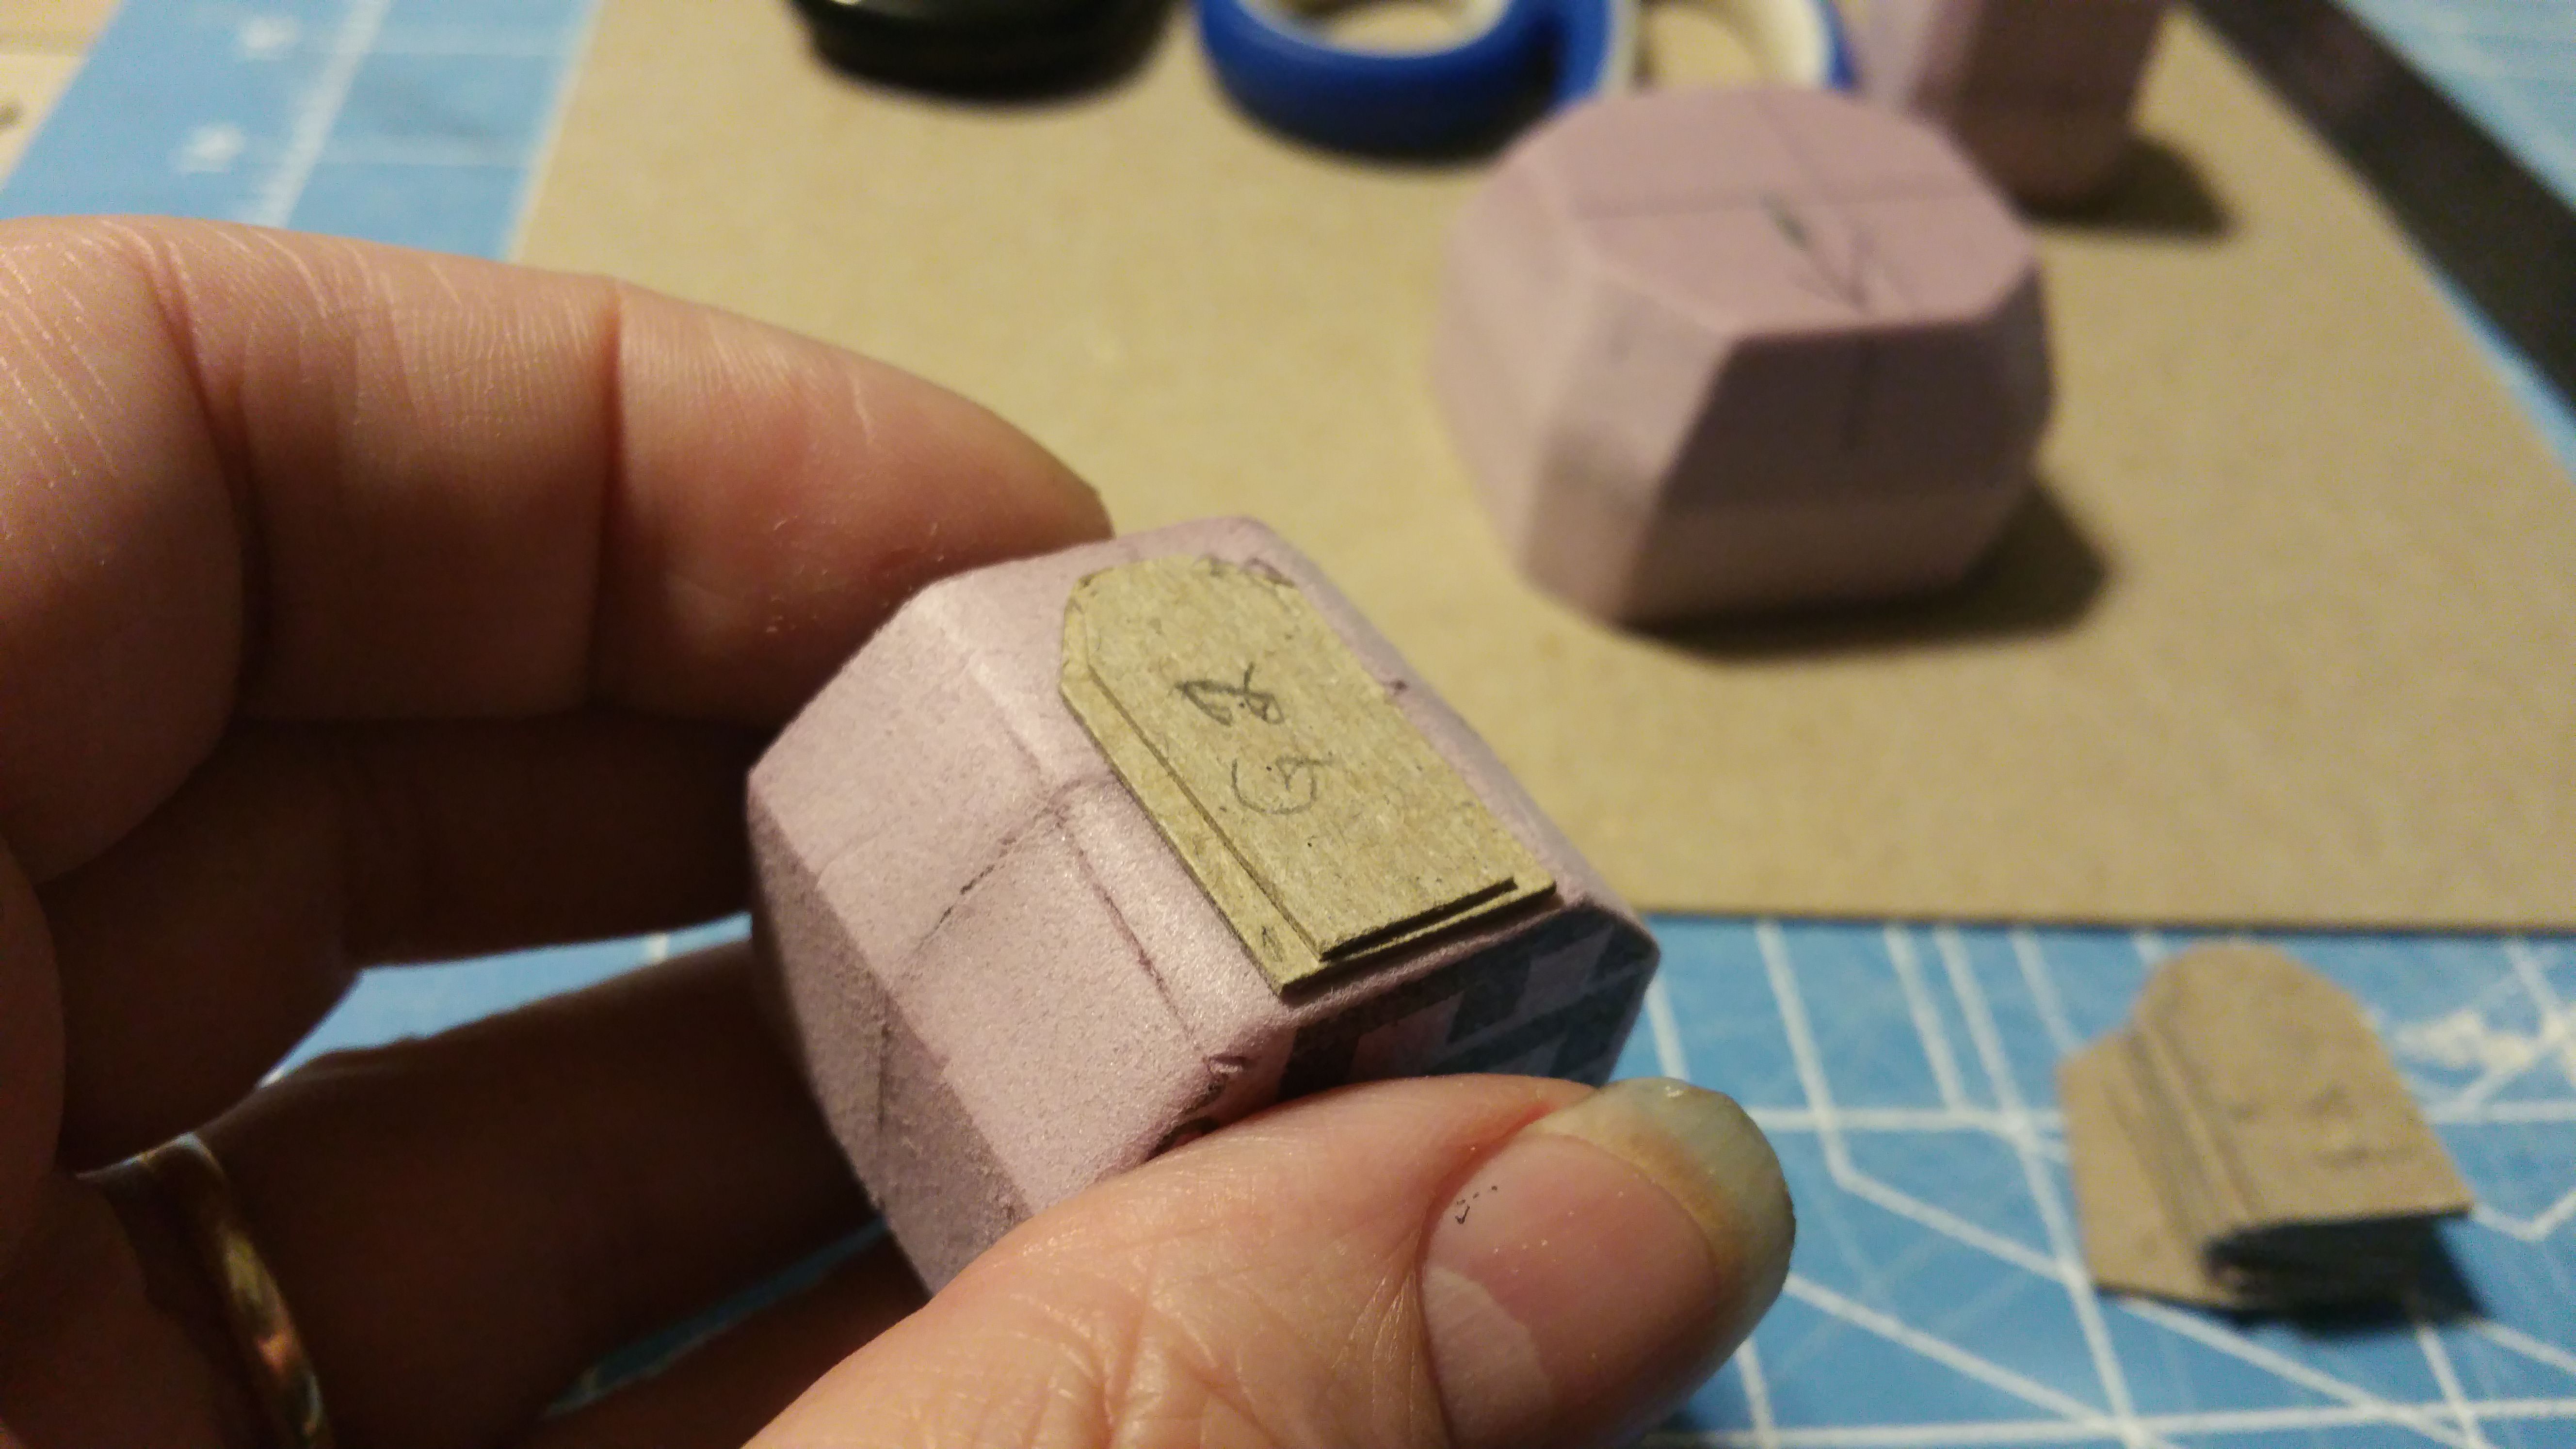
Measure down from the top of the MIDDLE section, approximately 1/16, in keeping with the spacing on the embellishments. Snip off the bottom so that it is even with the bottom.
This is what a 2 layer embellishment looks like:
Now, take your ball of aluminium foil, and roll it over all four sides to give it some texture. It really is amazing how you can make XPS foam can look like anything. Wood, stone, tile, rocks...hmmm... maybe I'll do a post about various textures. Tell me what you think?
All you need is an ink pen to draw the Dwarven designs. Make sure to press hard enough to make a dent in the foam for all the lines of your detail work.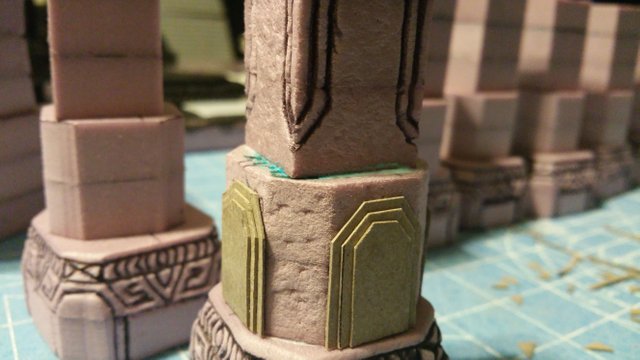
Anyhoo... Here is what the texturing, detail and embellishments should look like:
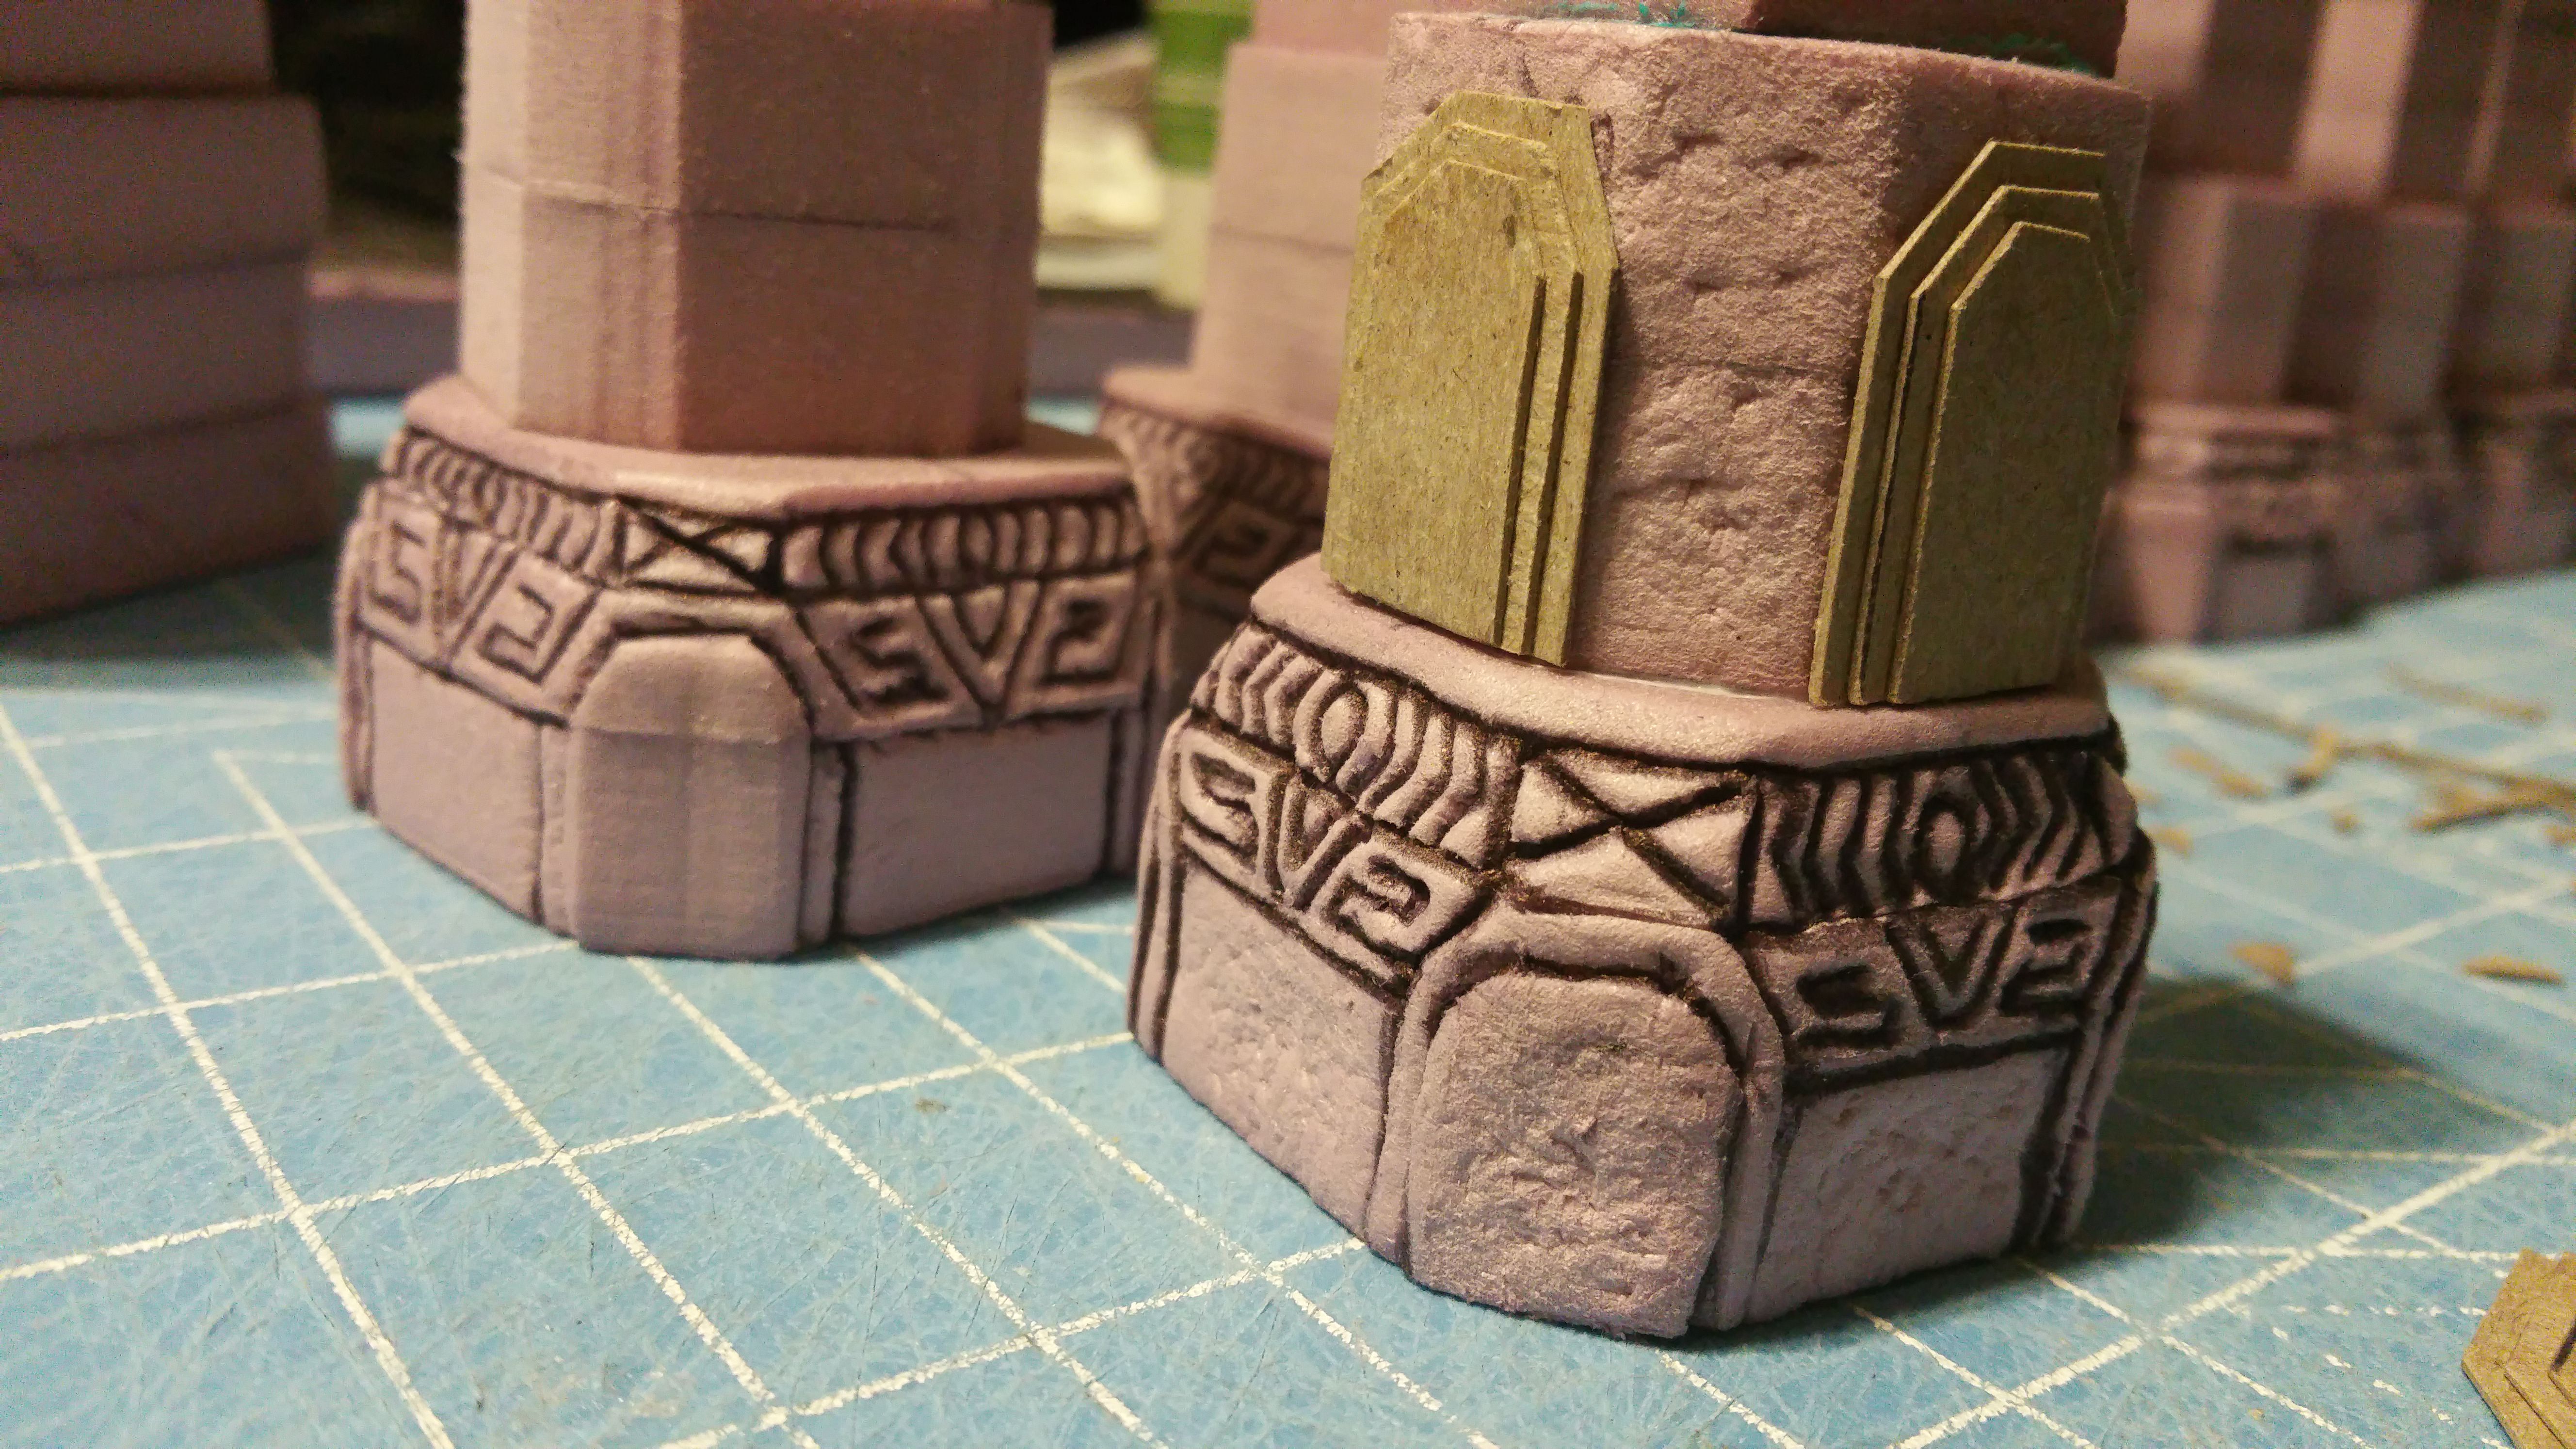

Now, repeat the process for all your pillars:
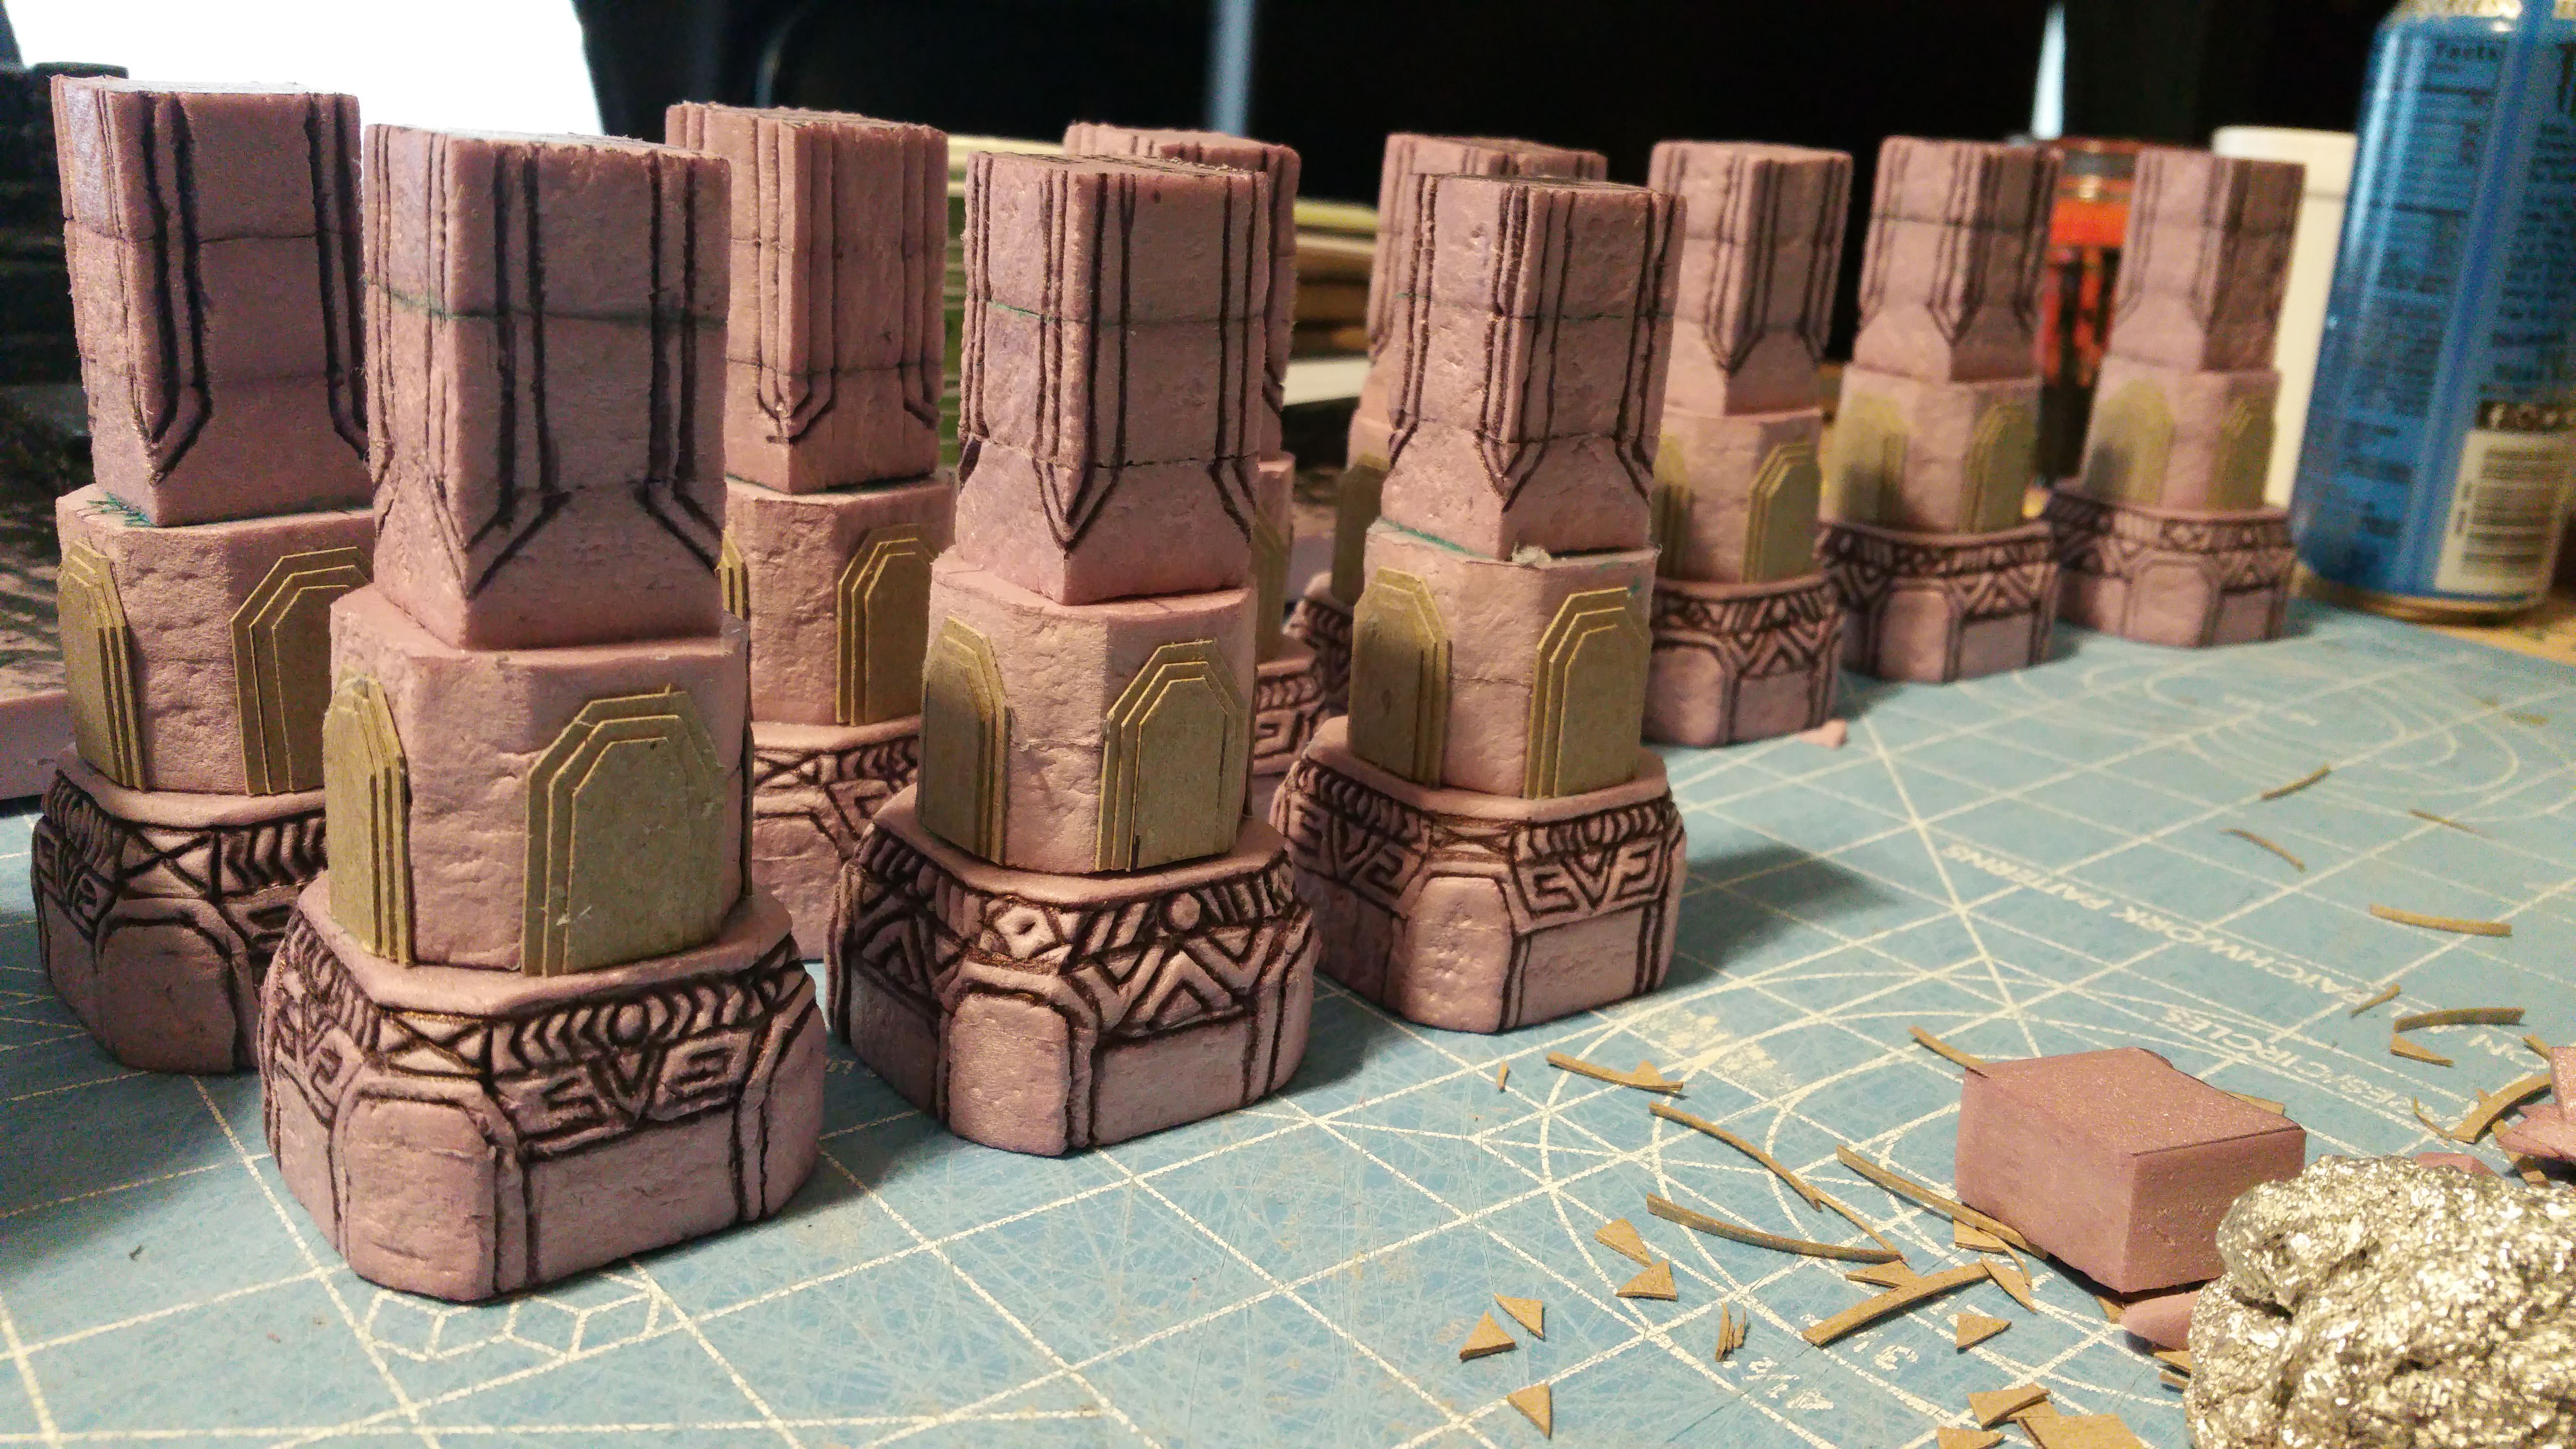
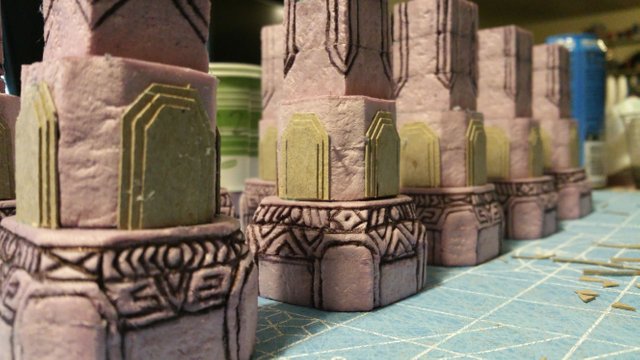
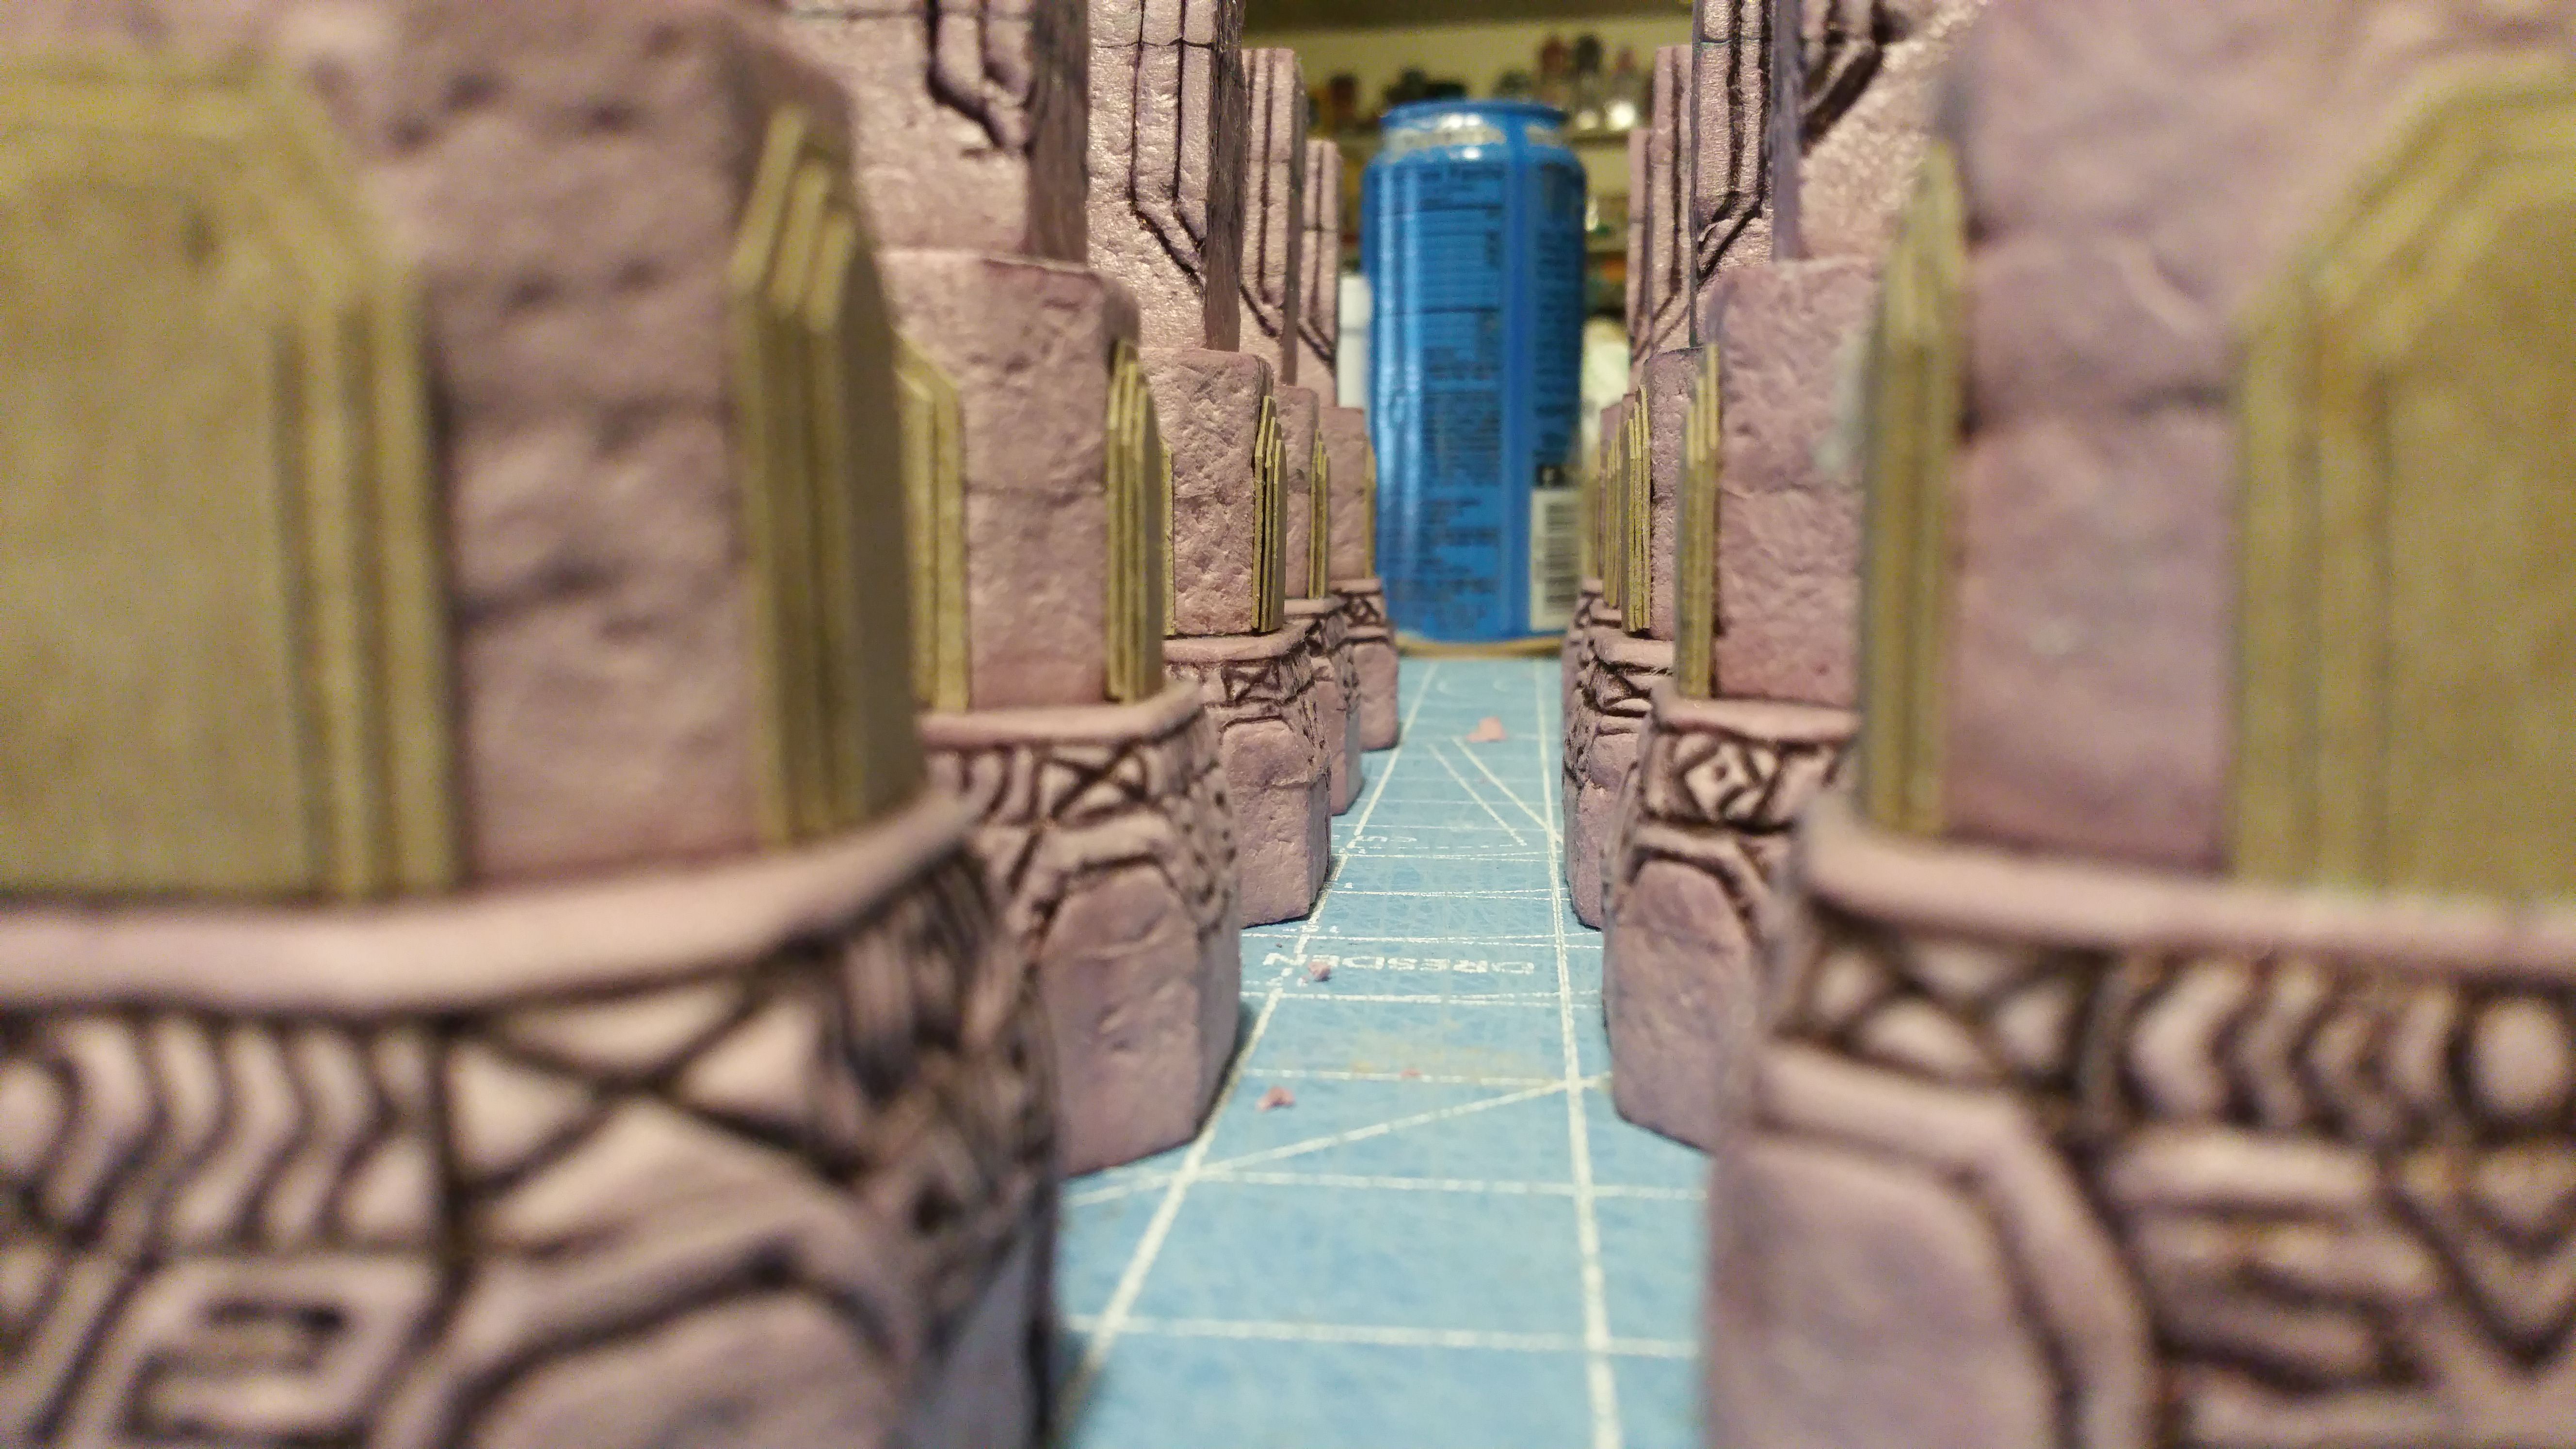
Now lay down your basecoat of that 50/50 mix of ModPodge and black acrylic paint (you should have some already made up), and base them all out like this:
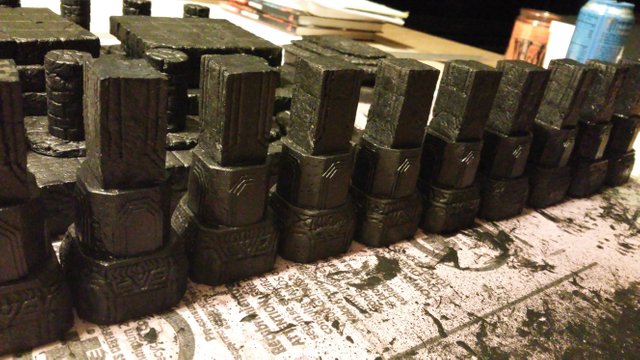
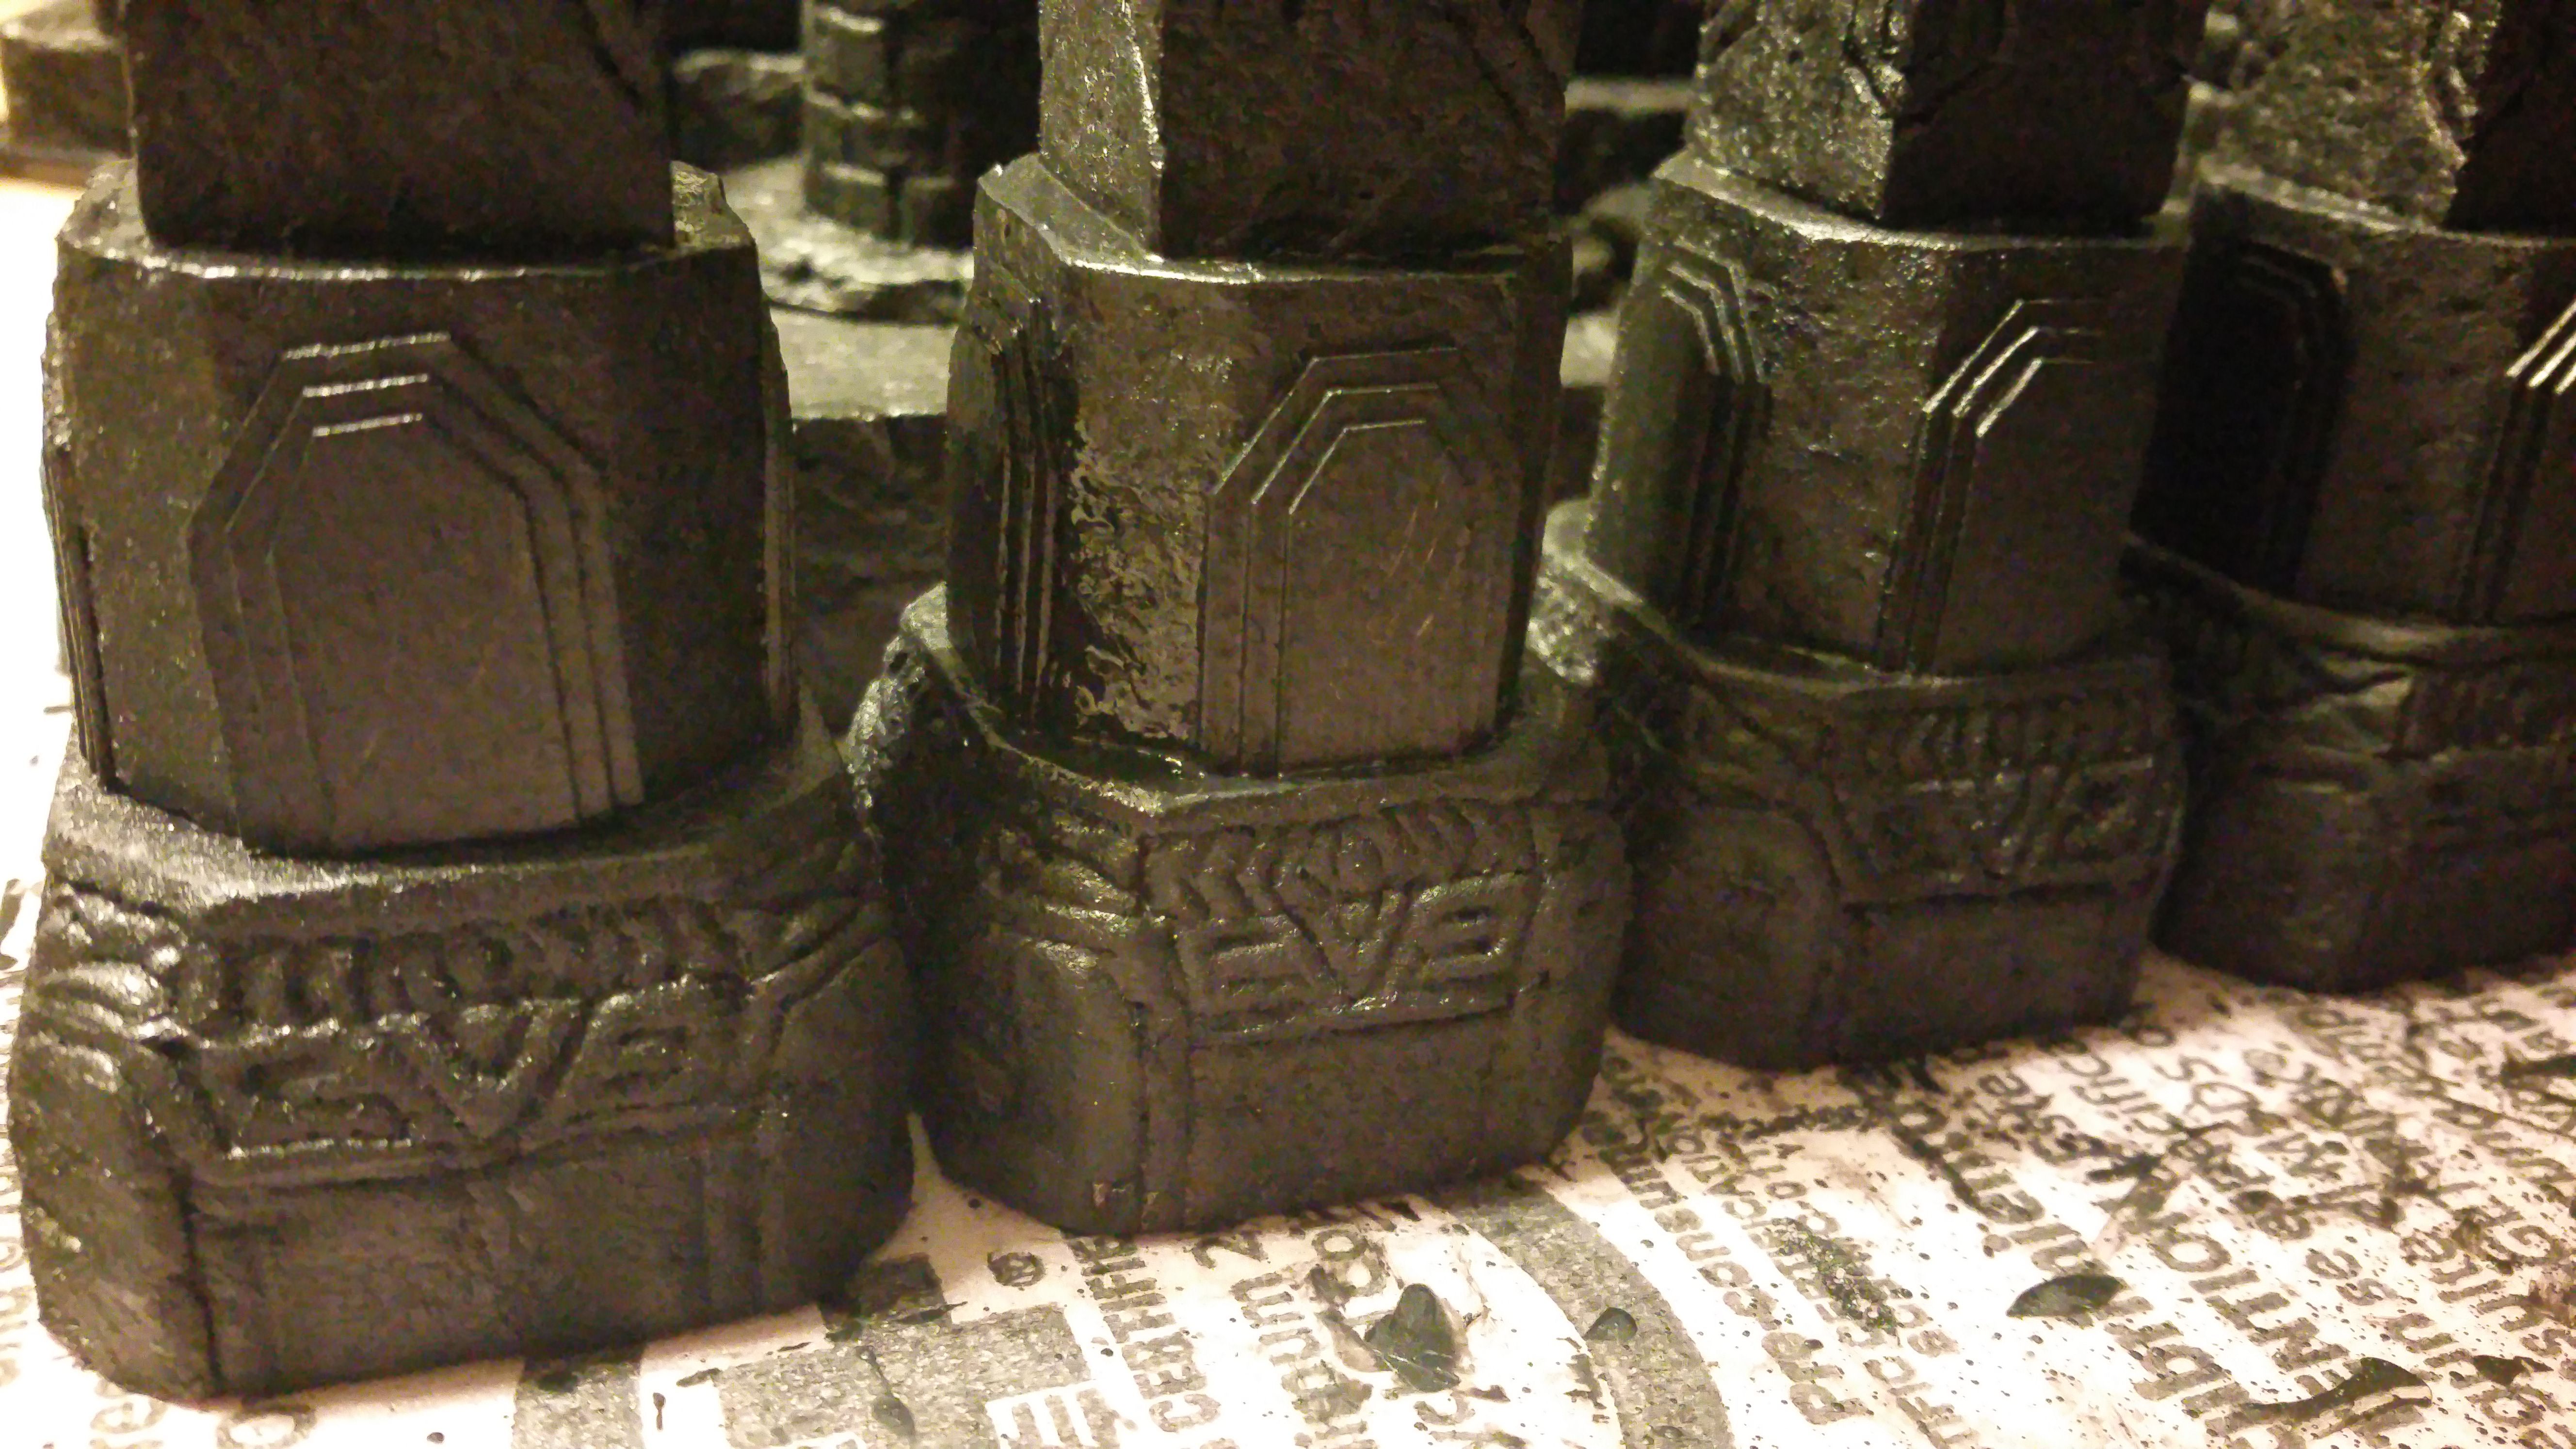
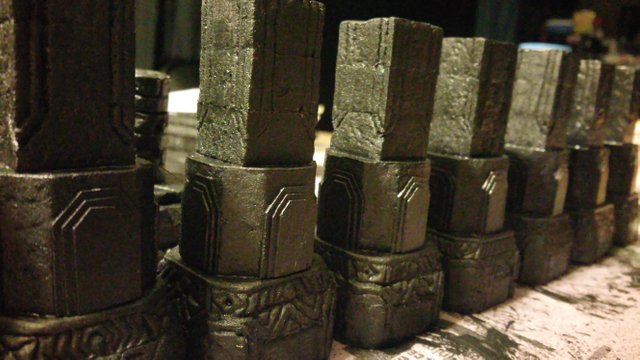
Now you're ready to paint. You can paint them whatever color you like...
The most common, is gray. For a tutorial, see Tutorial #4 for painting techniques:
https://steemit.com/terraincraft/@balfore/balfore-s-builds-terraincraft-tutorials-004-columns-part-1
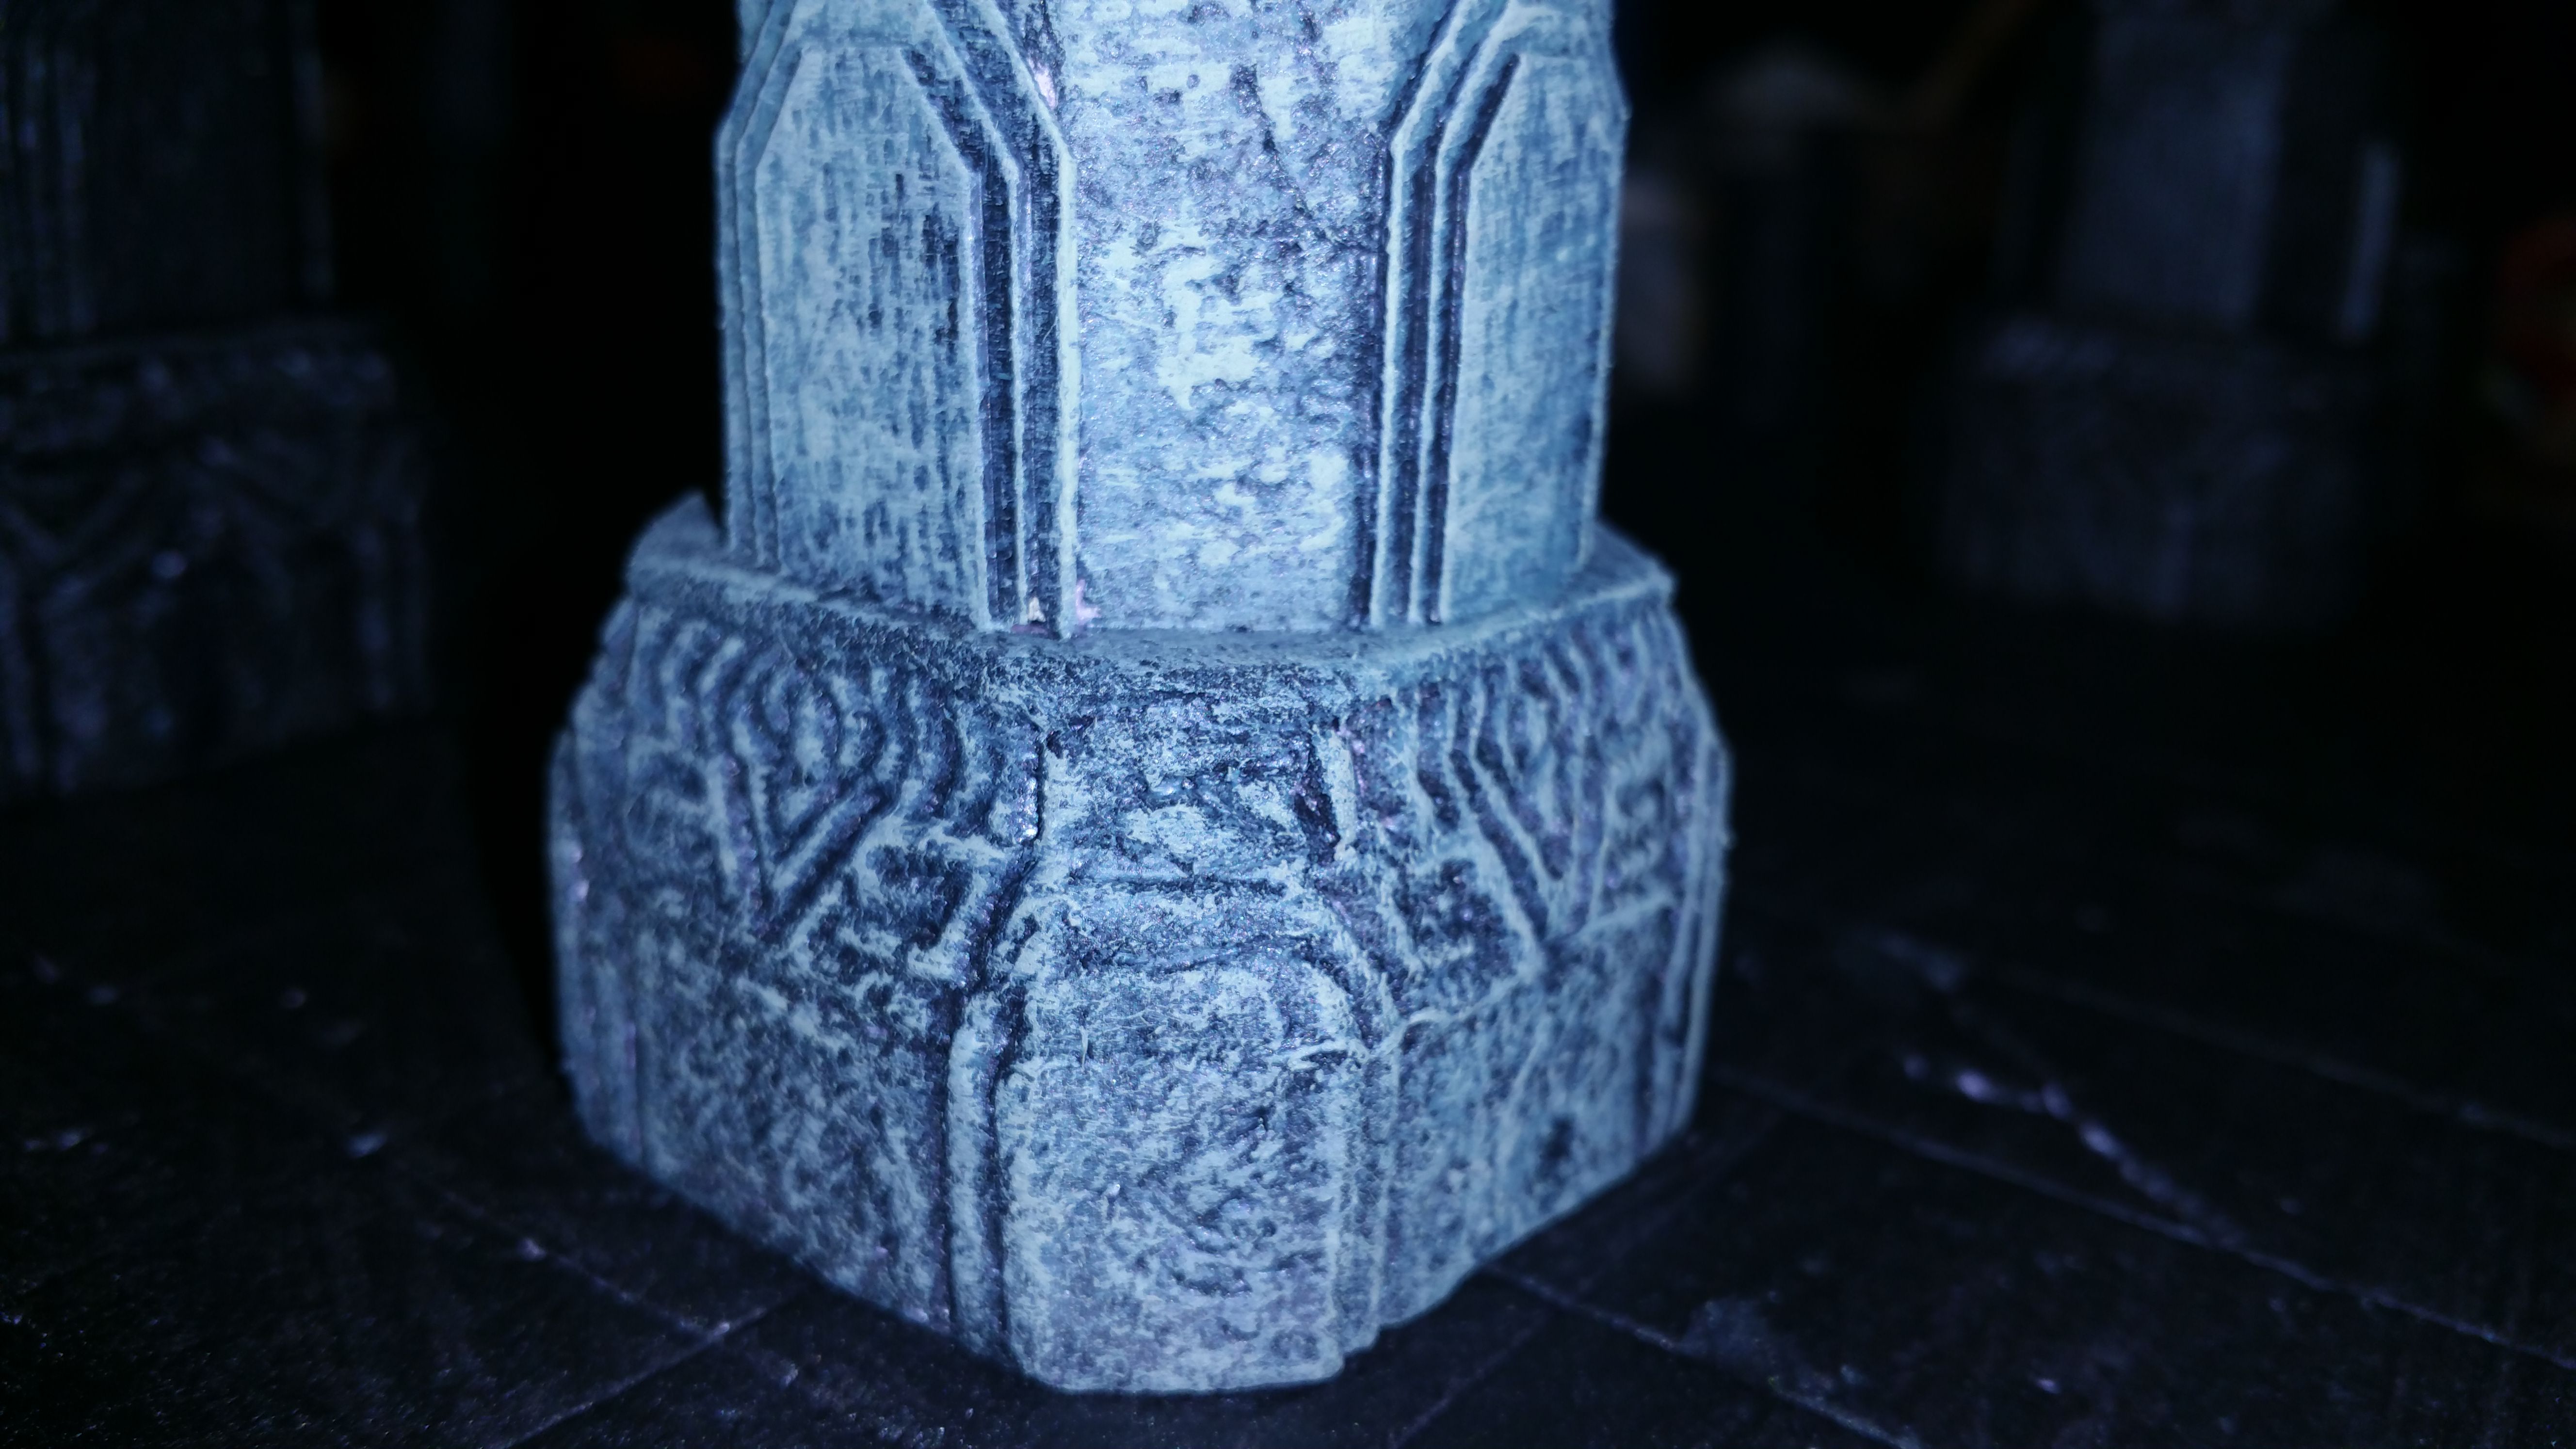
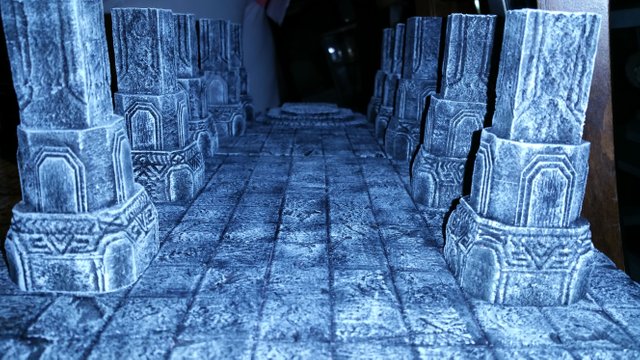
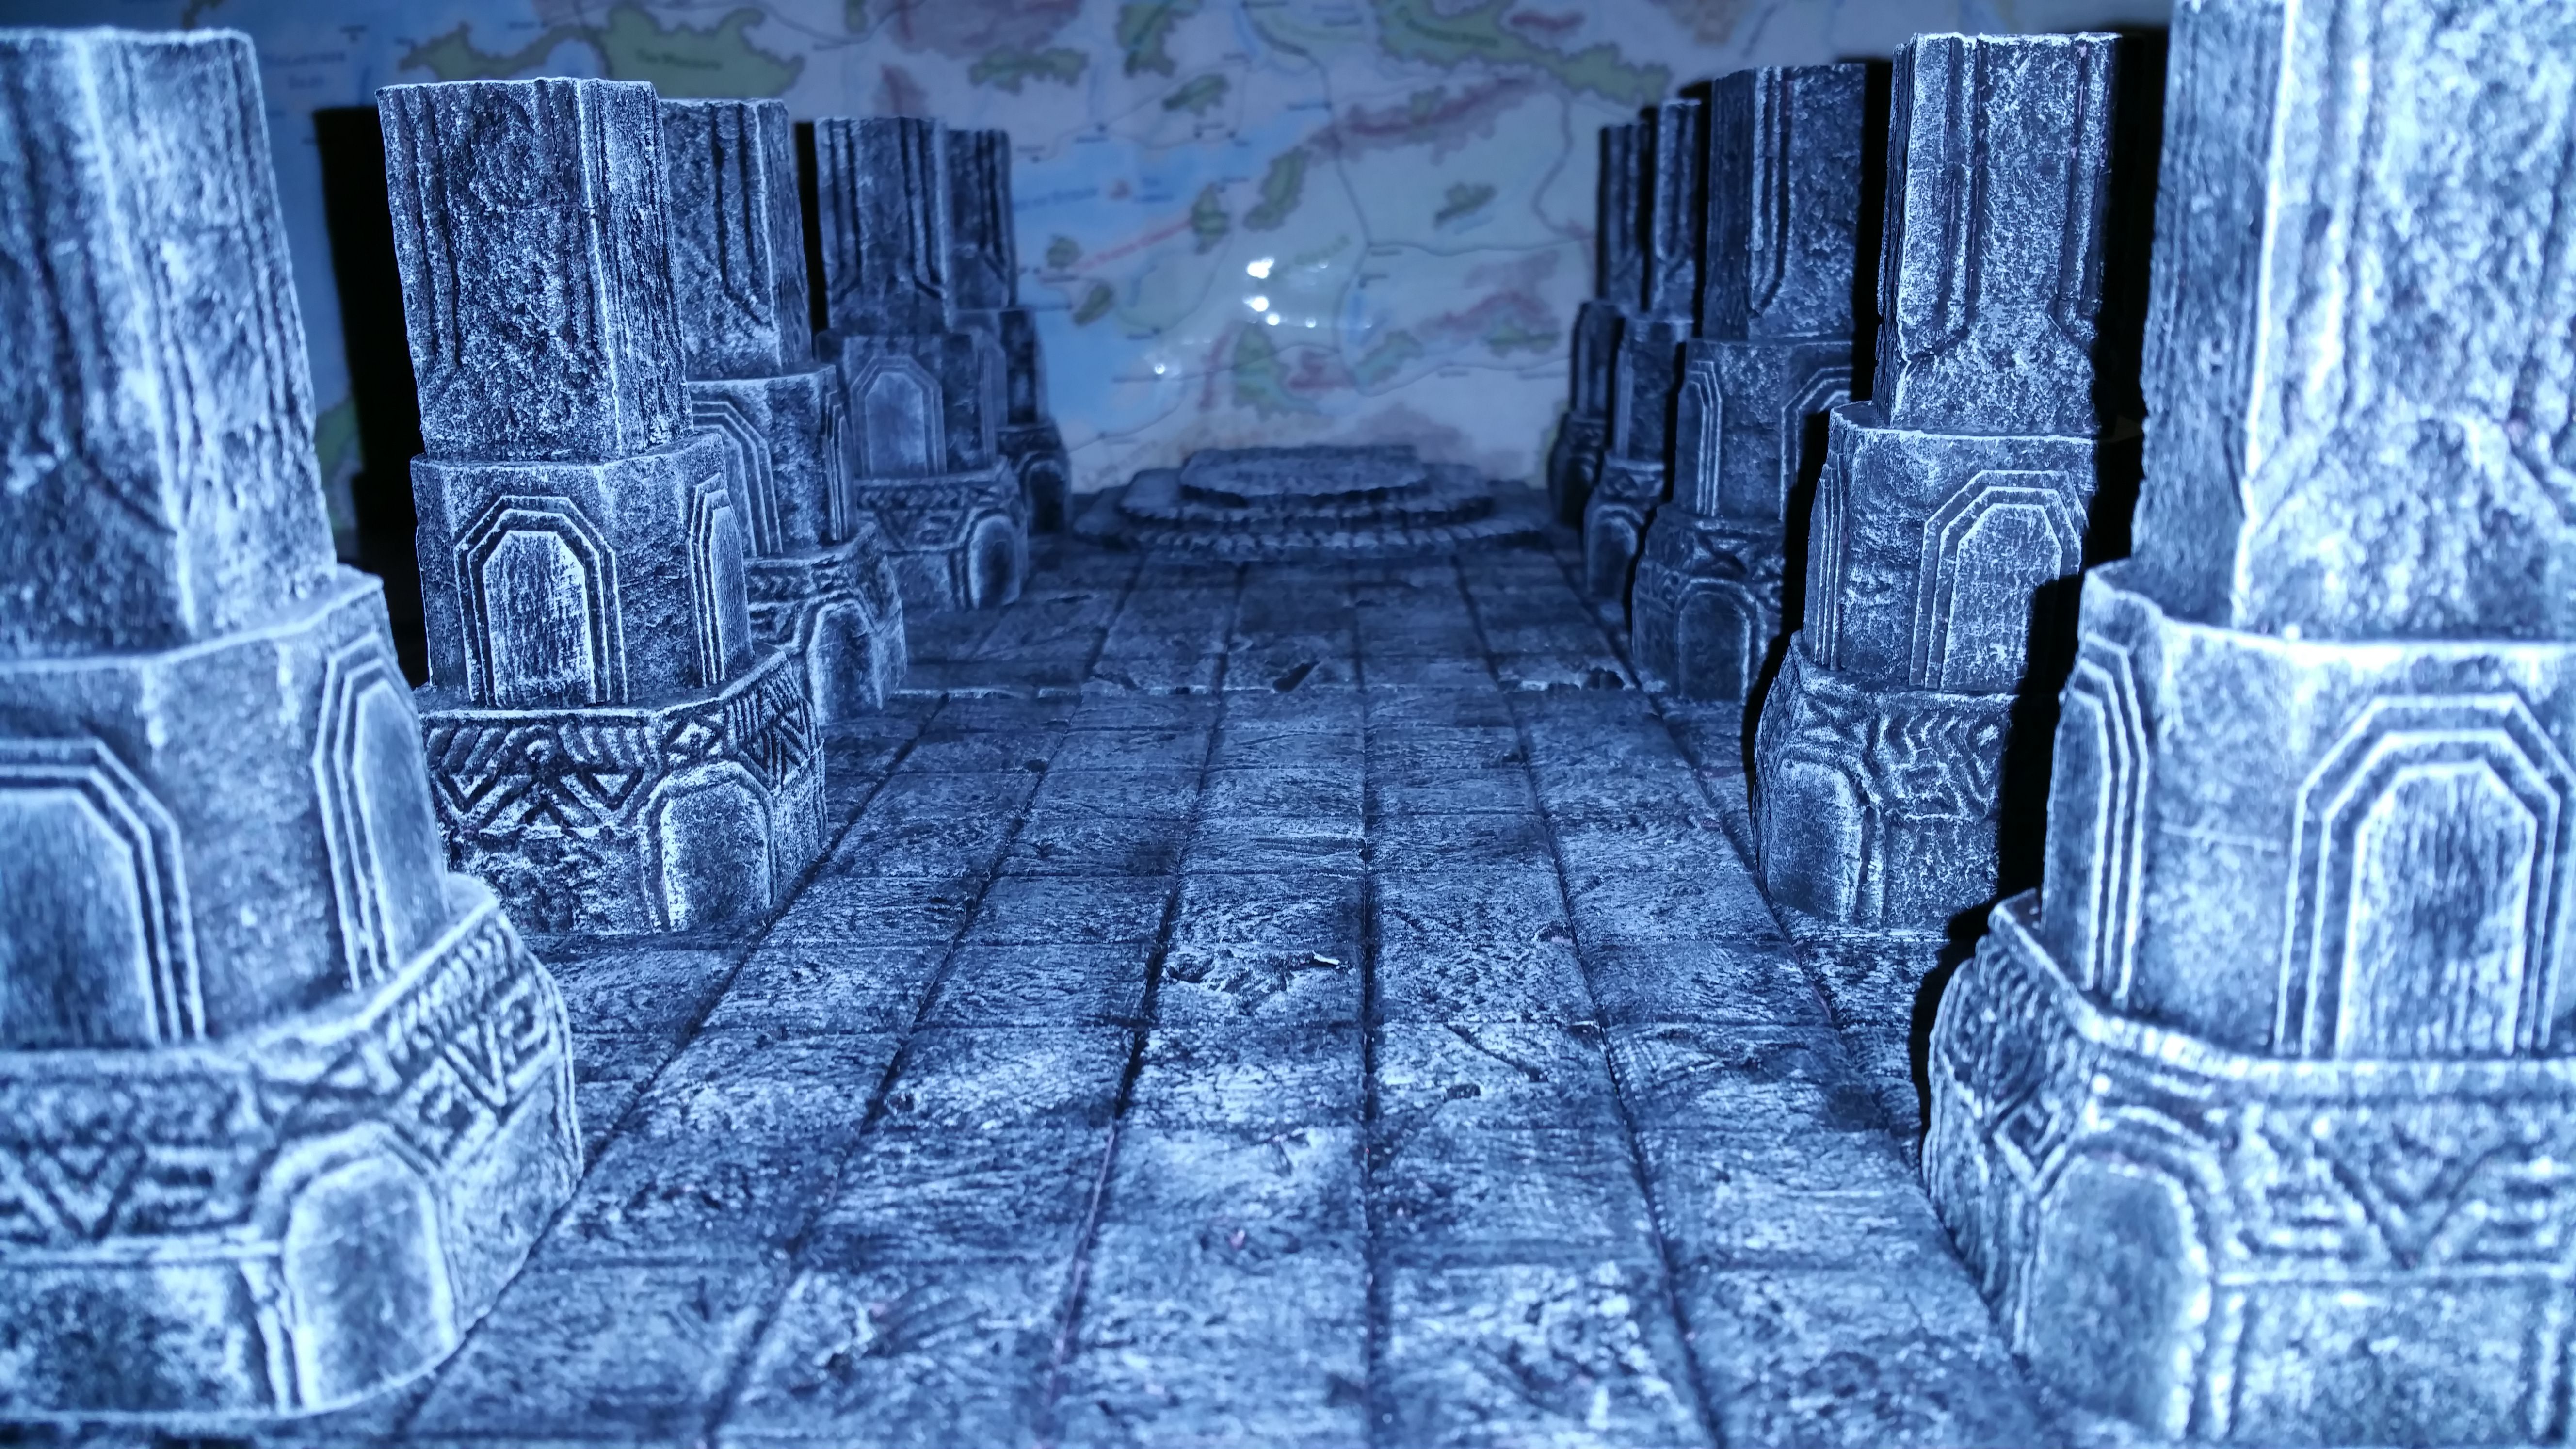
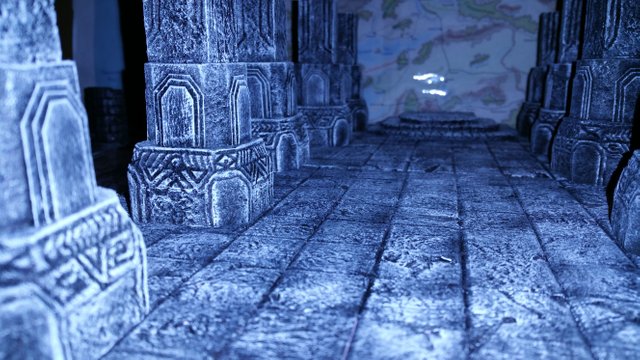
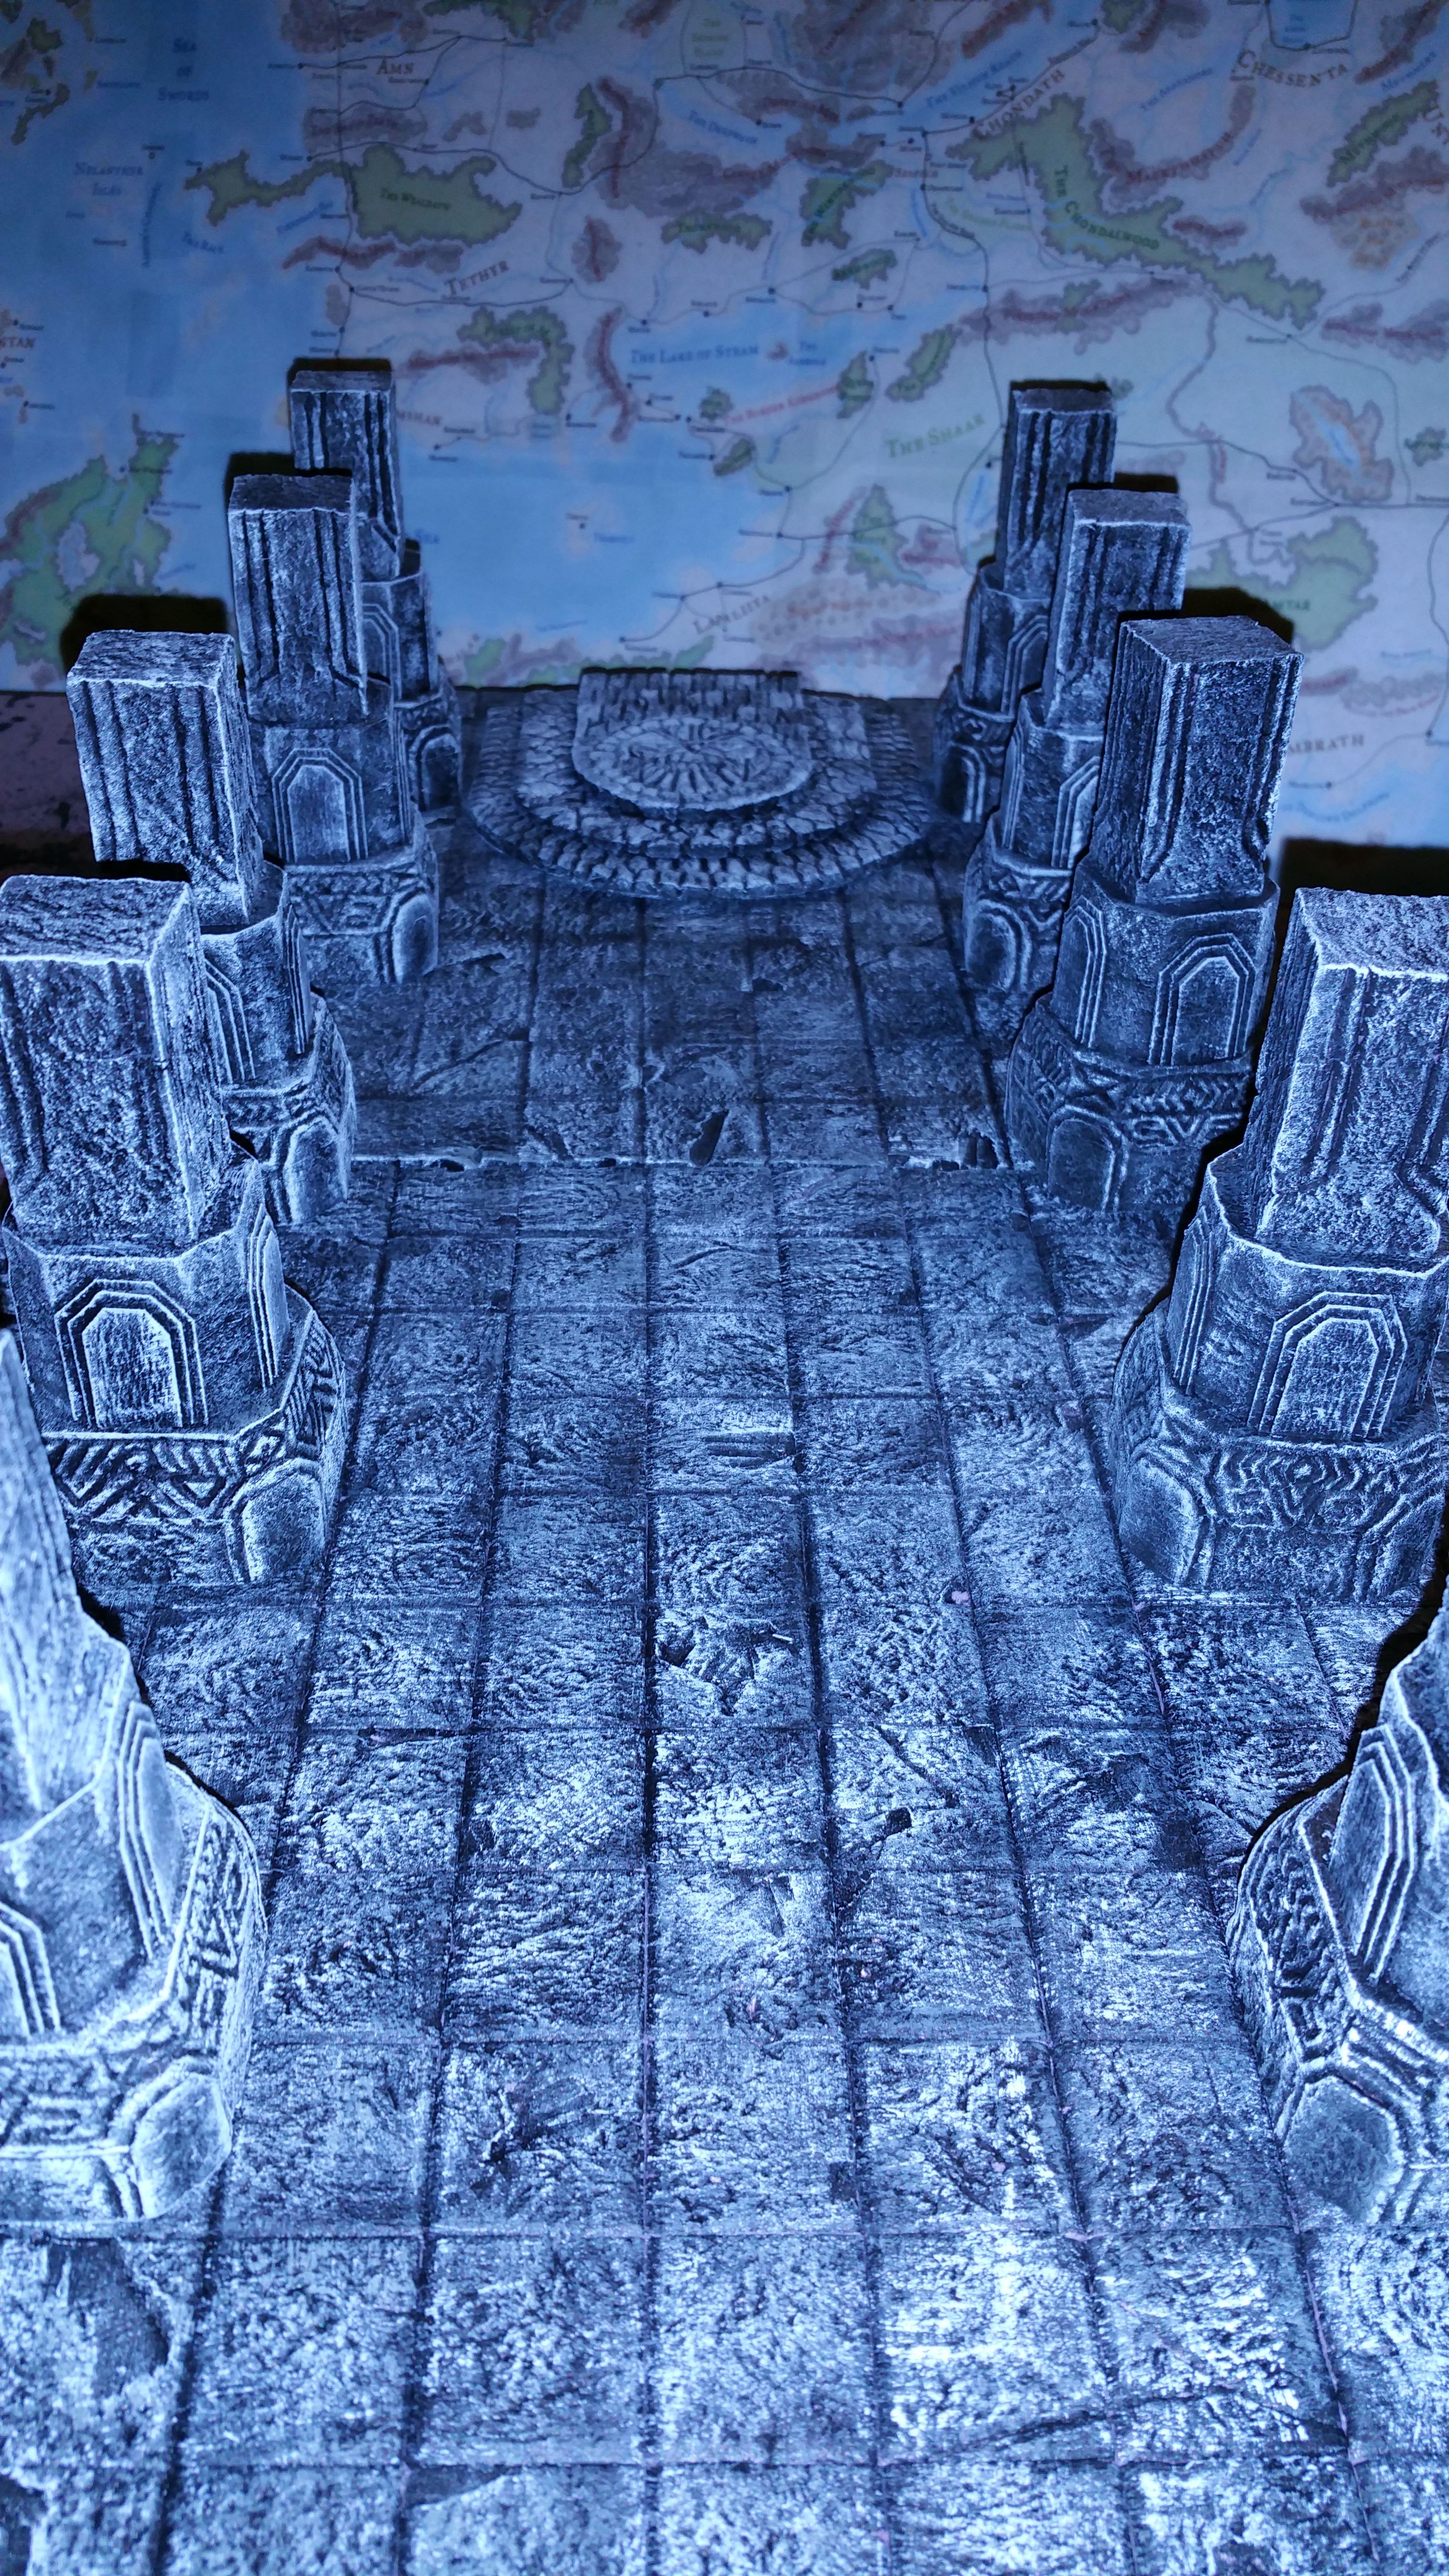
Now you should be ready to set up the main room where the adventurers meet the King of the Dwarves, or travel into a long forgotten treasure room with magnificent architecture.
It's your world (Bob Ross voice-happy little pillars}.
Well, I sincerely hope you enjoyed this build, and I hope you give it a shot.
Let me know what you think? Ask questions.
I'd love to hear from you! 
Very well done!!! Always a pleasure to read your Blog!
Most appropriate buddy!
I meant 'most appreciated' LOL
Great stuff, thoroughly enjoyed reading your process.
Thank you so much!
wow nice craftsmanship. This is pure talent i must say or did you learn how to do it.
I really want to know. Hope to hear from you soon
I believe we all have a creative spirit. Through trial and errror, we can all become better at our craft...whatever it is.
Thank you so much for the accolades!
My mom actually taught me to draw, and make things out of ordinary household junk.
Then she taught me to draw, and she was always my worst critic..lol or best critic, depending on how you look at it i guess.
Then, when i started to plan DnD, i wanted to make things to put on the battlefield.
With hundreds of hours of research, i cant take all the credit.
There are many fantastic fantasy artists and crafters out there from whom I've learned most of what i build.
Without them, i would have never learned about foam. Dude, that stuff is the cornerstone of a terrain crafters arsenal.
Thanks again for the comment!
My vote is the number 100, great work!
A hearty thank you, to you!