My introduction to 3D design. About preparing a model for 3D printing
A long time ago, I was inspired by the possibility of earning real money from selling photos and started taking pictures. Since photo stocks had certain requirements for images, I eventually bought a DSLR camera. After two years, I got a bit tired of coming up with ideas for photos, as well as creating the conditions to realise those ideas. Despite the fact that some of my works sold fairly well, I still saw many flaws in the results of my creativity. And I was looking for alternatives. Any kind.
At some point, I came across the work of one contributor on Shutterstock — it was graphics done in 3D. I was deeply impressed by his work: various geometric abstractions in a technological style, with a high-tech concept, simulated motion, and blurred camera focus (DOF – depth of field). I’m not talking about the kind of abstractions you find hanging in museums that look like beetroot salad with sour cream, the kind that makes grey-haired, boring fans of "high art" wet their pants. No. This was different. I realised that the works were done in 3D, but I’d no idea what software was used.
In Photoshop I could only achieve about 20% of the desired result using all sorts of blurs and lighting tricks. But these were unsuccessful attempts that burned a lot of my time. Back then I felt like a kid who really wants to ride a bike, but doesn’t have a bike or the skills . Over time I got familiar with the available software and settled on Blender, it’s a free program distributed under the GNU GPL license. I had to start from scratch. The only help I had were video tutorials on YouTube. During one of my work holidays I seriously started learning 3D.
Achieving any goal takes time and desire. It was difficult. At first, I made simple models that I rendered into .png images and polished in Photoshop. Over time, I started producing more complex works.
Rendered in ~55 minutes
NVIDIA GeForce GTX 1650 (4 GB)
3840×2160 px
Max samples: 1500
In 2018, my employer suddenly got tempted to buy a 3D printer. He told me, “Why is it that today you can print practically anything — from clothes to human organs, and we’re still modelling lenses and parts of the face by hand?” Around that time, we began a long search for a suitable printer model and materials that also had to be biocompatible. In the end, we chose the Asiga Max model. When getting acquainted with the printer before purchase, I told my boss that I had some experience working with 3D editors, and from that point, there was no turning back. I was made to dive into this area more deeply, since I already had some idea of what and how to do things. It was a new challenge for me, one that took a lot of time, drained a lot of energy, but also led to a salary increase. So I’m not complaining.
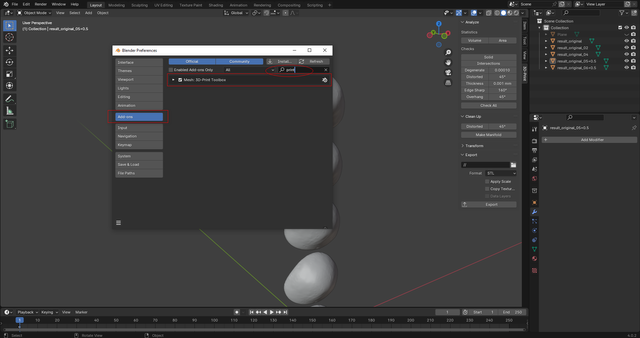
Why am I writing all this... I just wanted to tell the story. Why did I bring up 3D again? Recently, I installed the latest version of Blender on my home computer. I reinstalled Windows on a new drive after my SSD decided to start dying after six years of heavy use. Naturally, this meant a complete reinstallation of all software. A few days later, I started working in Blender on an assignment from work. I was very surprised when I couldn’t find the familiar add-on 3D Print Toolbox in version 4.4.3 it wasn’t displayed by default in the add-ons list; you have to find and download it somewhere to install manually. I didn’t have the time or mood to search. Because there’s another way to make a 3D object suitable for printing.
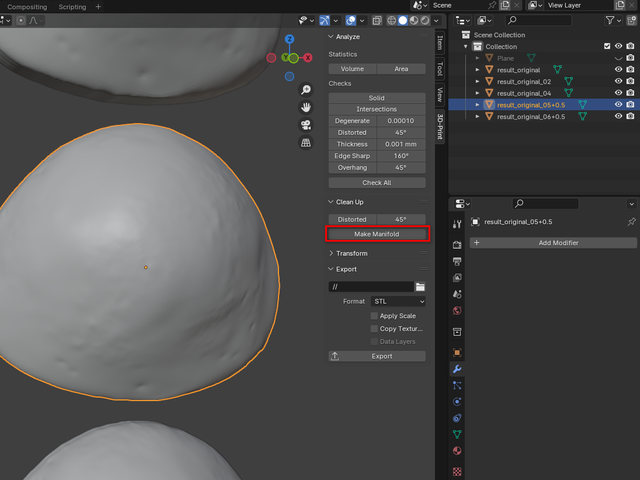
Let me briefly explain what this is about. The 3D Print Toolbox add-on is designed to quickly prepare a model for printing by pressing one button. What needs to be done before sending a virtual model to a printer? The model must be a manifold mesh. What does that mean? The model must be "watertight", with no holes. Each edge must be connected to two faces, with no "loose" vertices or unconnected elements in the overall volume. Well, in this add-on, by pressing the "Make manifold" button, all errors get corrected and the object becomes suitable for 3D printing.
But it’s absolutely not necessary to use this tool to get the desired result. There are other ways — both automatic and manual.
Let’s first go over a few automatic methods.
Delete loose vertices and edges:
Mesh → Cleanup → Delete Loose (X → Delete Loose)Fill holes:
Mesh → Clean Up → Fill HolesMerge nearby vertices:
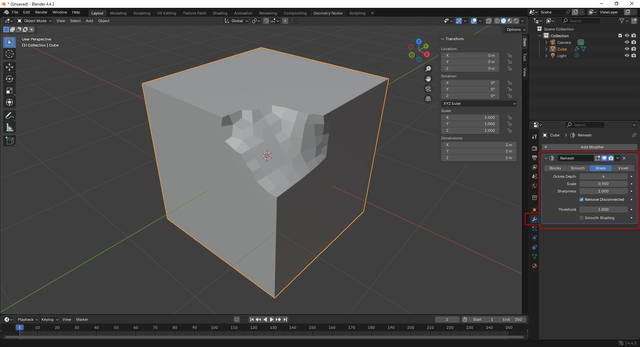
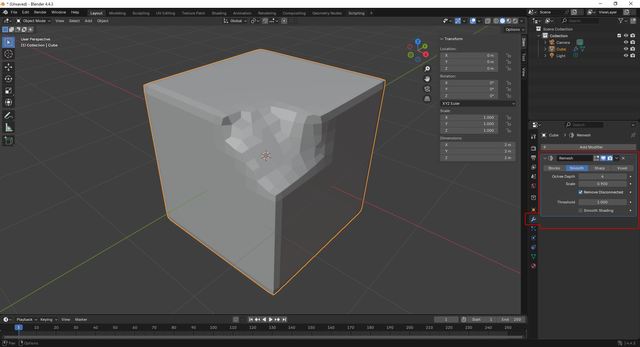
Mesh → Clean Up → Merge by DistanceRebuild topology based on the existing one. This is a very handy tool. In my opinion, it even replaces points 1, 2, and 3 if you need to fix a lot of errors at once. But you should remember that using it slightly reduces the model’s detail level:
Modifier → Remesh
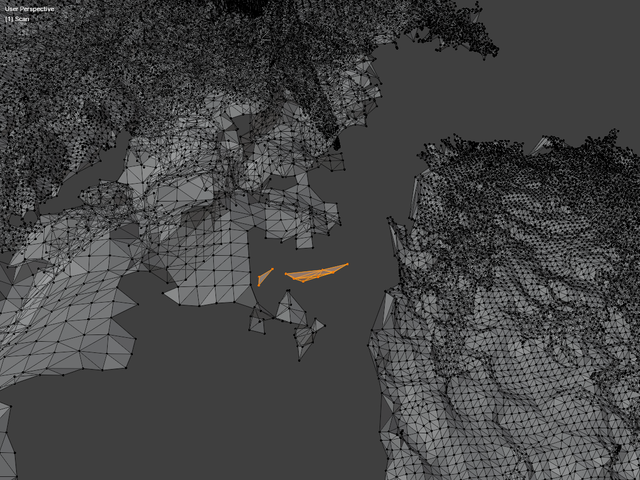
If you want to prepare the model for 3D printing manually, switch to Edit Mode (Tab) and use Select → Select All by Trait → Non-Manifold to highlight problematic areas. Then fix the flaws using the commands F (fill), Alt+M (merge), E (extrude), X (delete) — depending on what needs to be corrected.
Overall, it’s not that complicated. Sometimes models can be incredibly complex — like a scanned ear with many folds and unscannable zones, with dozens of holes and "loose" vertices that need to be found, selected, deleted. That all takes a lot of time, and it’s easier to use the automatic methods of object processing.
As you can see from the methods described above, preparing a model for 3D printing isn’t all that difficult and only requires a few simple actions. The disappearance of the 3D Print Toolbox add-on in Blender 4.4.3 is probably justified by the availability of built-in, straightforward tools.

I find 3D creations fascinating as well. How is your experience with Blender? It looks a bit tough from my end. However, I found this software that gives me all the chills — Nomad Sculpt.
Blender also seemed too complicated to me at first, but gradually I got used to the interface until everything started to work properly. And many settings just get memorized over time, and in the end you realize that there’s nothing complicated there, as it seemed at the very beginning. I haven’t heard about the Nomad Sculpt software. Thank you, I’ll take a look.