5 TIPS AND PHOTOGRAPHY TECHNIQUE MODELS
hello steemit friends
this time i will explain some ways of photography
Photo technique model is a technique that all photographers deserve. Wherever we are, as a photographer, we are often required to produce portrait or portrait photos of someone well. And also, shooting a beautiful model has now become a hobby for many photographers of today. Here are 5 tips you can try in the next model shooting session, to produce an impressive portrait:
Step 1 - Composition
Surely you have often heard the term "rule of thirds", where you imagine your frame is divided into 3 parts vertically and horizontally. Then the intersection of these lines is the place where you should put the "point of interest" of the photo. For model shooting, the model's eyes are often the focal point of the photo. So, by positioning the model's eye on the 1/3 line, or in the intersection of those lines, you will help to highlight the model's eyes, and capture the attention of the person who enjoys the photos.
Step 2 - Pair with background (background)
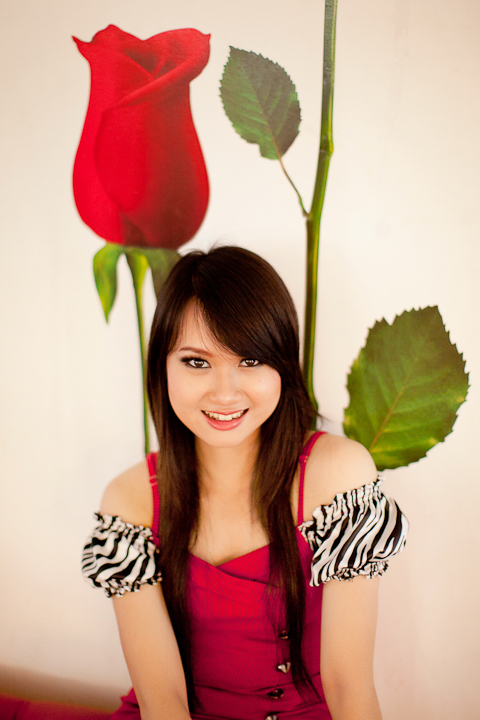
This is what often separates an amateur photographer with a professional and experienced. A photographer should be sensitive to choosing a background for model shooting. Do not be obsessed to produce bokeh for your model background, but be careful looking for colors or elements that can add aesthetics to your photos. The following example, using the harmonization of the model's shirt color as well as the flower color picture on the wall. And also, the connotation of roses is perfect to accompany a beautiful woman model
Step 3 - Interesting Bokeh
Contrary to tip number 2, the following tips suggest that you look for a background that does not disturb the portrait of the model. Separate the model some distance away from the background, and open the diaphragm of your lens. This will produce a more "creamy" and soft bokeh, so the model is completely separate from the background and as it appears from your photo.
In the next example, I shoot the model from a rather low angle. This I did because I wanted to catch lamps from the cafe where the photoshoot hanging on the twigs of trees. The flickering lights and flickers of the leaves will produce a nice bokeh for the setting.
Step. 4 - Play white balance
In a photo shoot with this model, we selected a location in a yellow light cafe, and a sunlit terrace section. With the blend of available light temperature, I want to produce a more unique photo. I then placed the model very close to the yellow light, and changed the white balance setting to "cloud" or cloudy temperature. Thus, I will highlight the yellowish light of the lamp, and other backgrounds that are only sunlight will be "cold" or cold. The mood of the following photos changed is not it?
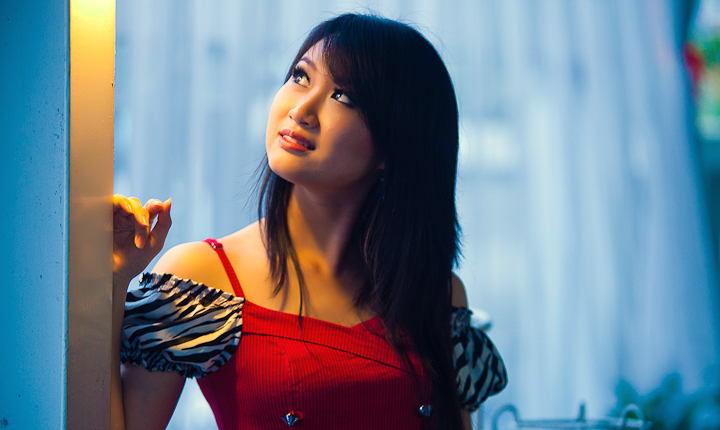
Step 5 - Posed by hand
It would be nice to photograph a model that is smart to pose. The photographer just needs to snap while the model berganti2 pose, and finally get a lot of interesting photos. However, not all models can pose by themselves, and the task of a reliable photographer is to help the model to pose that adds to her beauty.
To explore the technique to set the model pose need more deepening, but do this tip and I am sure your model photo will be more interesting. Sometimes the photographer does not notice the hand of the model when shooting close-ups. Yet with a little extra hand model that just holds her hair or touch her cheeks slightly can add elegance from the photo is doubled.
Extra tip - experiment with tone
The following tips are more applicable when "post processing", or when editing on a computer. There are 1001 kinds of tone that can be achieved, with so many techniques and presets obtained from photoshop and Lightroom. Try experimenting, and find the best tone for you. The tone or color of your photo can separate you from other photographers, and you can make your own distinctive features. Here are some tones that I created using Photoshop. Not much change I do, because I prefer a natural tone. But you can see, a little "tint" with a certain color can change the mood of your photo.
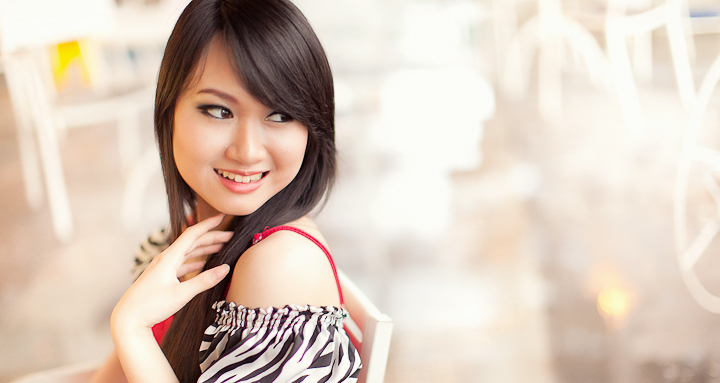
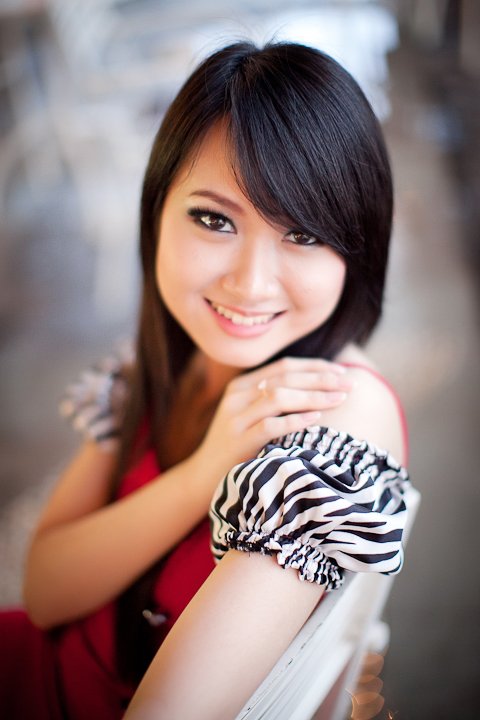
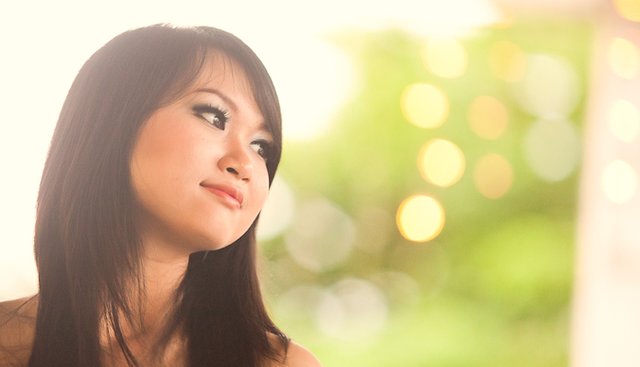
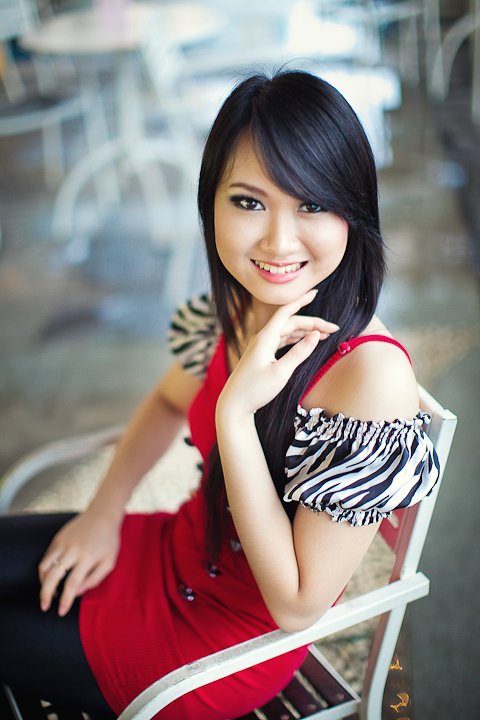

Extra extra tip, angles.. some angles are more or less flattering than others. Great advice, post and pix... Well done. You must be a portrait photographer.
thanks bro
Oh my.. what a beautyful model!! Your photography skills are very impressing. Thanks for sharing your advise!!
thanks also for visiting
It takes me 100 shots to get 2 decent ones that still need filters lol #humor
<3
thank my friend