Steemitbanner.com - a new innovating uploading and image editing platform !
Hello my name is Alex and i would like to present to my contribution to this amazing community, a new image hosting and editing platform free to use.
Steemitbanner.com features:
1. Easy photo uploading
2. Powerful integrated photo editor allows the creation of new photos or easy editing of already uploaded photos
3. Each uploaded photo has direct, preview, embed, forum and more links.
4. Uploaded photos can be shared easily to all the most popular social services and keeps also under a password protection.
How to use it
1. Account creation and uploading images
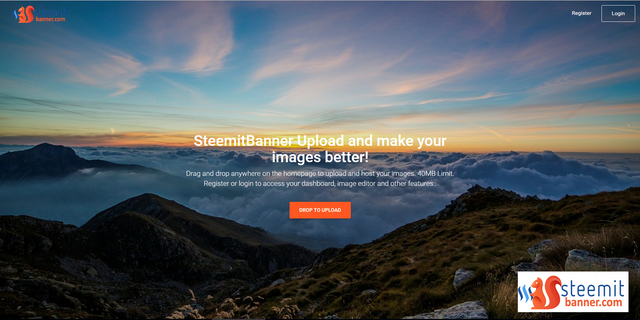
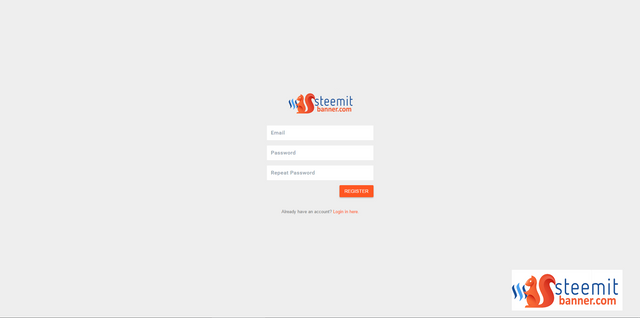
First go to the main page ( steemitbanner.com ) and create an account, you will not need an verification, the account will be created instant.
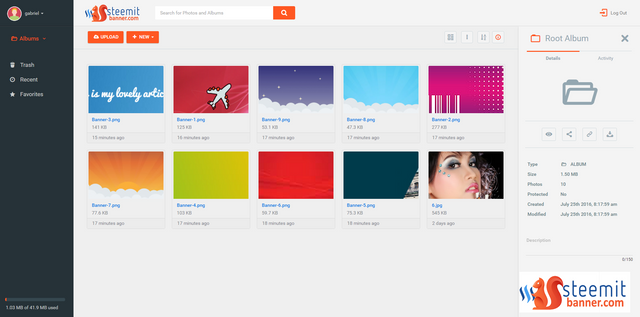
After you log in you will be redirected to the dashboard were you can start uploading your images.On the left side is a small menu (albums, trash, favorites,recent) , on the top right side of that menu you will see 2 buttons ( UPLOAD and NEW ).If you want to create a new image just press NEW but if you would like to upload new photos press the UPLOAD button and choose you files from the computer, you can upload a maximum of 10 in the same time.
2. Editing images
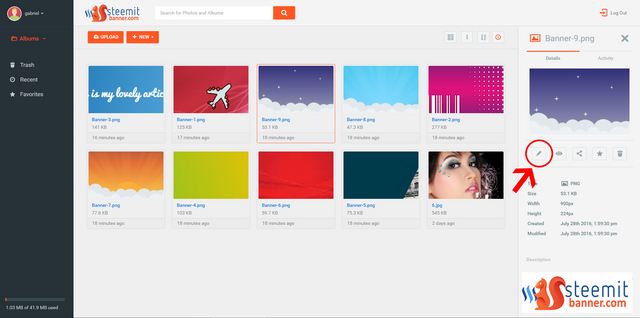
After you uploaded the images ,clicking on a image will bring in the right side of the screen an panel with information ,options and a small thumb image of the one selected, under that image you will find a menu with multiple choices under the form of buttons (Edit, View, Share, Favorites, Trash), here the one that interests us is the first,Editing.
After you clicked on it you will be redirected on the Editing page
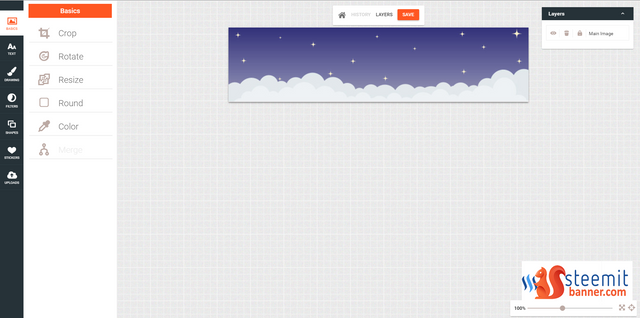
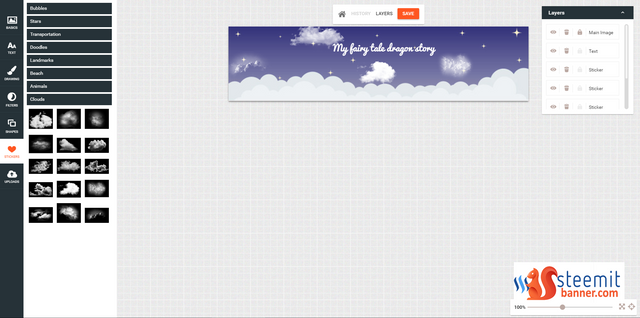
Here we have on the left side a menu that helps us to modify and edit our photo how we desire and on the right side of the screen you will find the layers that have been added thru editing.After you have finished modifying your photo click the SAVE button from the top middle of the screen and to return to dashboard click the home button that is the little house (you will find it on the left side of the save button)
3. Sharing it on steem it
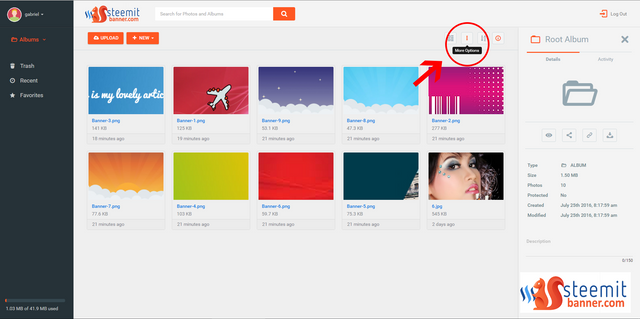
The last step is to embed the images in the steemit post.on the same line with the 2 buttons ( UPLOAD and NEW) in the top right side of the page you will see 4 square buttons, you will need to press the second one called "more options"(look in the following image)
After that a sub-menu will open and then select the "get links" menu item
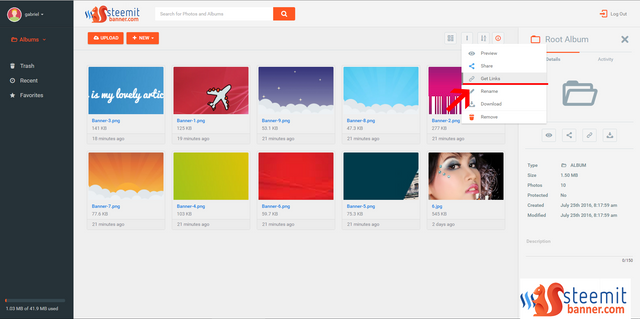
After selecting the "Get Links" menu item a pop-up will appear with multiple links but we are interested just in the second one called "Direct Links"
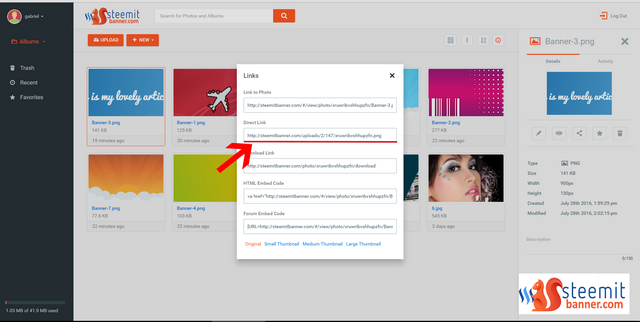
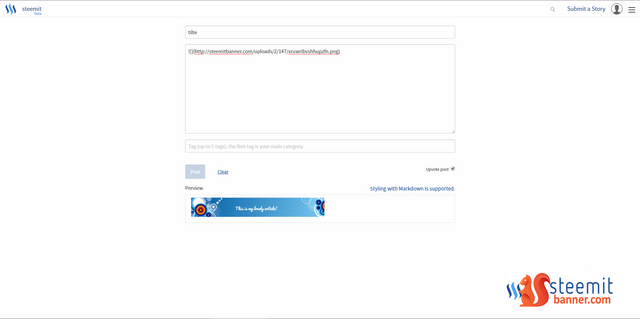
After you copy the link go in the steemit post and insert it line like a normal image
If you find this hard to follow check the video below and see how i did it.
I would like to state that the limit per user is 40 mb and the upload of images is set to 2 mb (this limit it imposed by the hosting company)
This is a great concept, hopefully you can make some STEEM and get some real hosting so we can host vids on there too without having to lick the GoogleTube...
hope that too
Seems like a great idea. Where are the pictures kept though?
There are keept on my hosting, each user individualy
Already 47+ Upvotes in the first 40 Sec. means nobody was reading the post and voted only because the heading and prepicture ? ( me incl)
Anyway Looks promissing !
Im going to read it right now
The votes come from bots, they appear to be following the #steemit tag
I hope it would be a tool use by this community, it s very easy to use and saved a lot of time in uploading images and editing them.
Used to deal with steemimg.com
Now i find your service tool way more useful ! I suggest you submit it to Steemtools.com
You get my upvote and support
btw: your last .zip file will not work because of the redirection ;)
Thx for the info and vote:):)
Excellent post!