Building a lightsaber (from paper) + Contest (10 SBD)!
Allright, this is a tad different than my usual content. But let me explain myself. Friend of mine is leaving the city for some time and she thinks that Star Wars is utterly silly. So, I decided to build her a lightsaber – from paper! Because it is cheap, and I had all the necessary components at home already (and you probably have as well!). And while building it I thought: I could write an article about this.
In this article you will be guided how to finish your jedi training by building a lightsaber – one step at the time. Don’t worry its super easy! And the important part – there is a contest and the winner gets 10 SBD! More info at the bottom of the article.
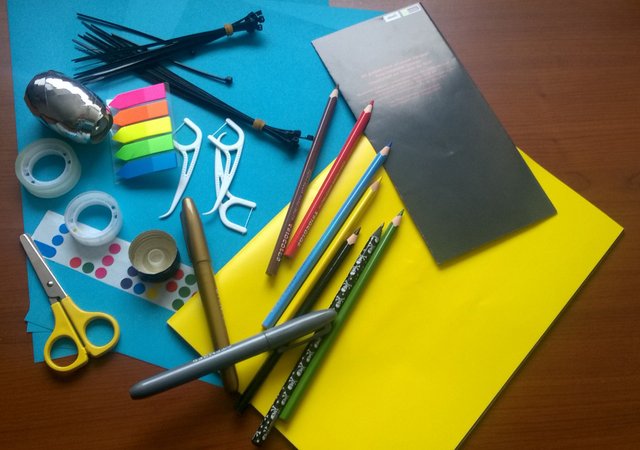
Parts:
Tape – transparent plastic tape is a must!
Scissors
Coloured papers – your blade will be made from these
Magazine – some kind of magazine that you can destroy, ideally with a cover made of a bit thicker paper
Stickers, various stuff, foils, papers, etc – some components that will be used to decorate the hilt of your lightsaber! You can use virtually anything – for example zip ties, aluminium foil, wrapping paper, sharpies to create some symbols, pencils, caps from drinks, etc.
1. Creating your blade
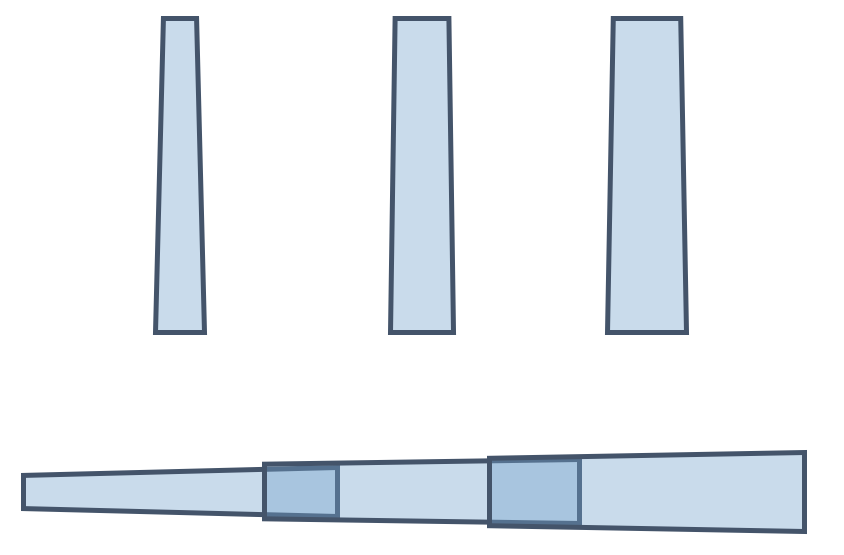
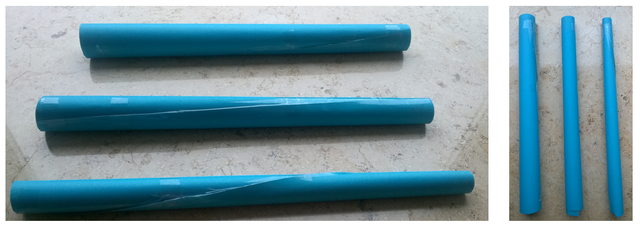
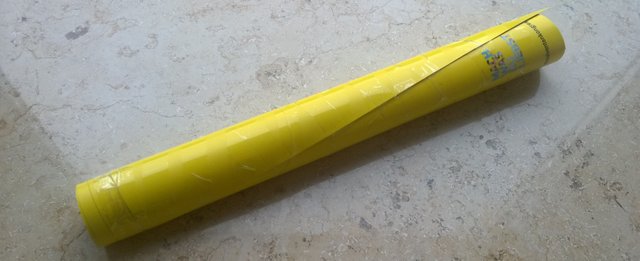
This is probably the most important part of whole process. You will need three A4 papers in the colour of your preference. The point is to roll them and create three segments as shown below. But! They have to be wider on one end than the other. And the end of the smaller segment has to be wider than the beginning of the bigger segment! This is crucial and might take some time. You should also try to make the difference delicate – so you do not end up with super wide blade at the end! You can do it with three papers, but also more and with different formats – it is really a choice of preference and does not matter (as long as you stick to the design of “blade mechanism”). I used tape only at the borders of paper, but you can probably tape the whole segment if you want.
At the end put your segments into one another. You should be able to extend the blade without the fear of extending it too much. But please, do not try its limits – it is only paper!
2. The hilt
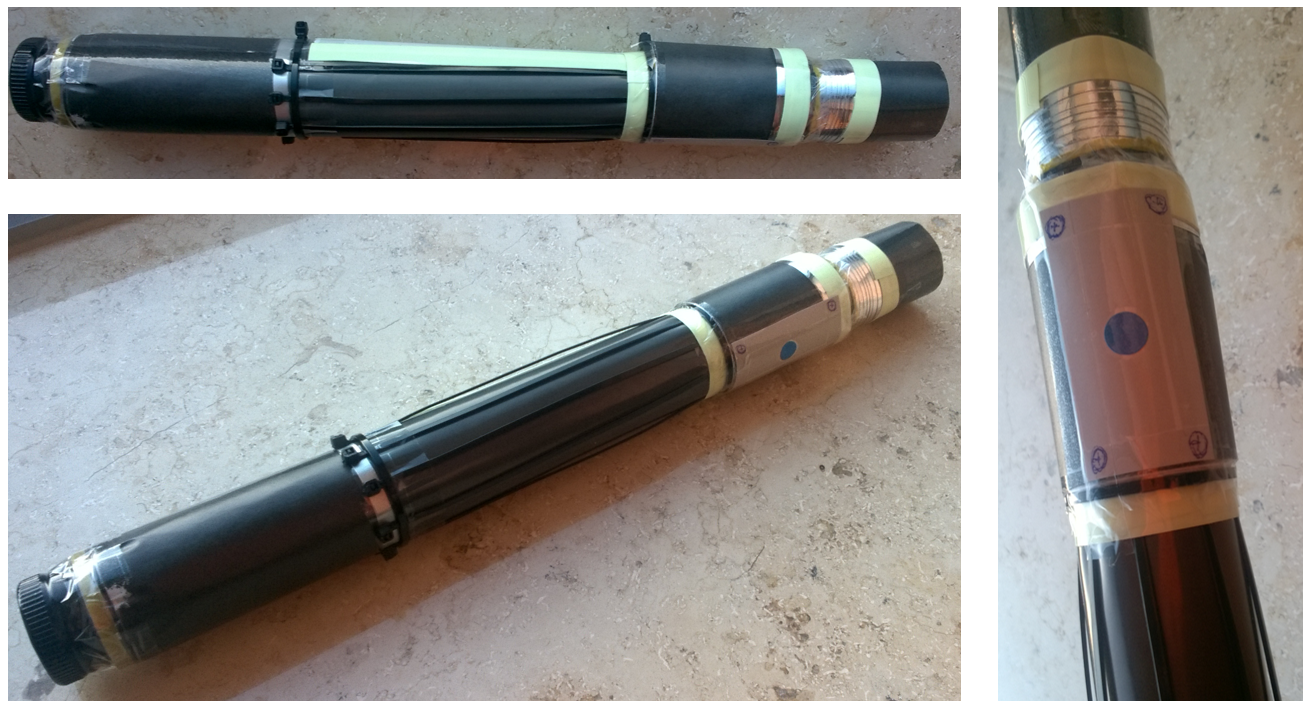
So, hopefully you were successful and are ready to create your lightsaber blade. Now to the hilt. I used cover of a magazine as a material for the hilt – because it is a bit thicker and thus harder. Use the same principle as with blade segment – the beginning of the hilt should be thinner as the end of the last segment, but the end of the hilt should be wide enough for the whole blade to slide in (see schematics below).
When you have your desired hilt use the tape to strengthen it even more (it means I taped the whole thing with hopes of making it harder). Here is how it looked prior customization.
3. Customization of the hilt and assembling the lightsaber
All right, now for the probably lengthiest part – customizing your hilt! In this step you actually do whatever you want to, haha. The point is to turn the ugly magazine cover into an elegant weapon. If you have no idea how a lightsaber hilt should look like google some images.
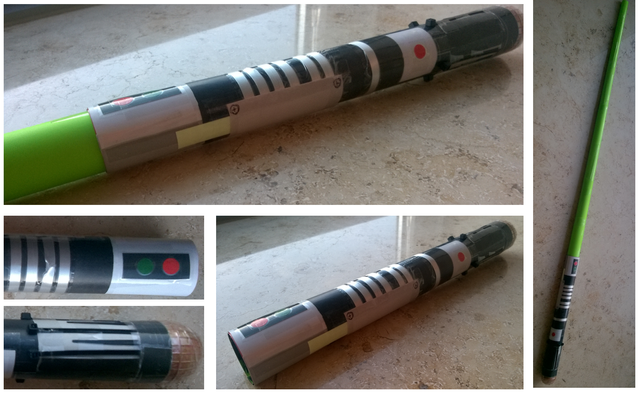
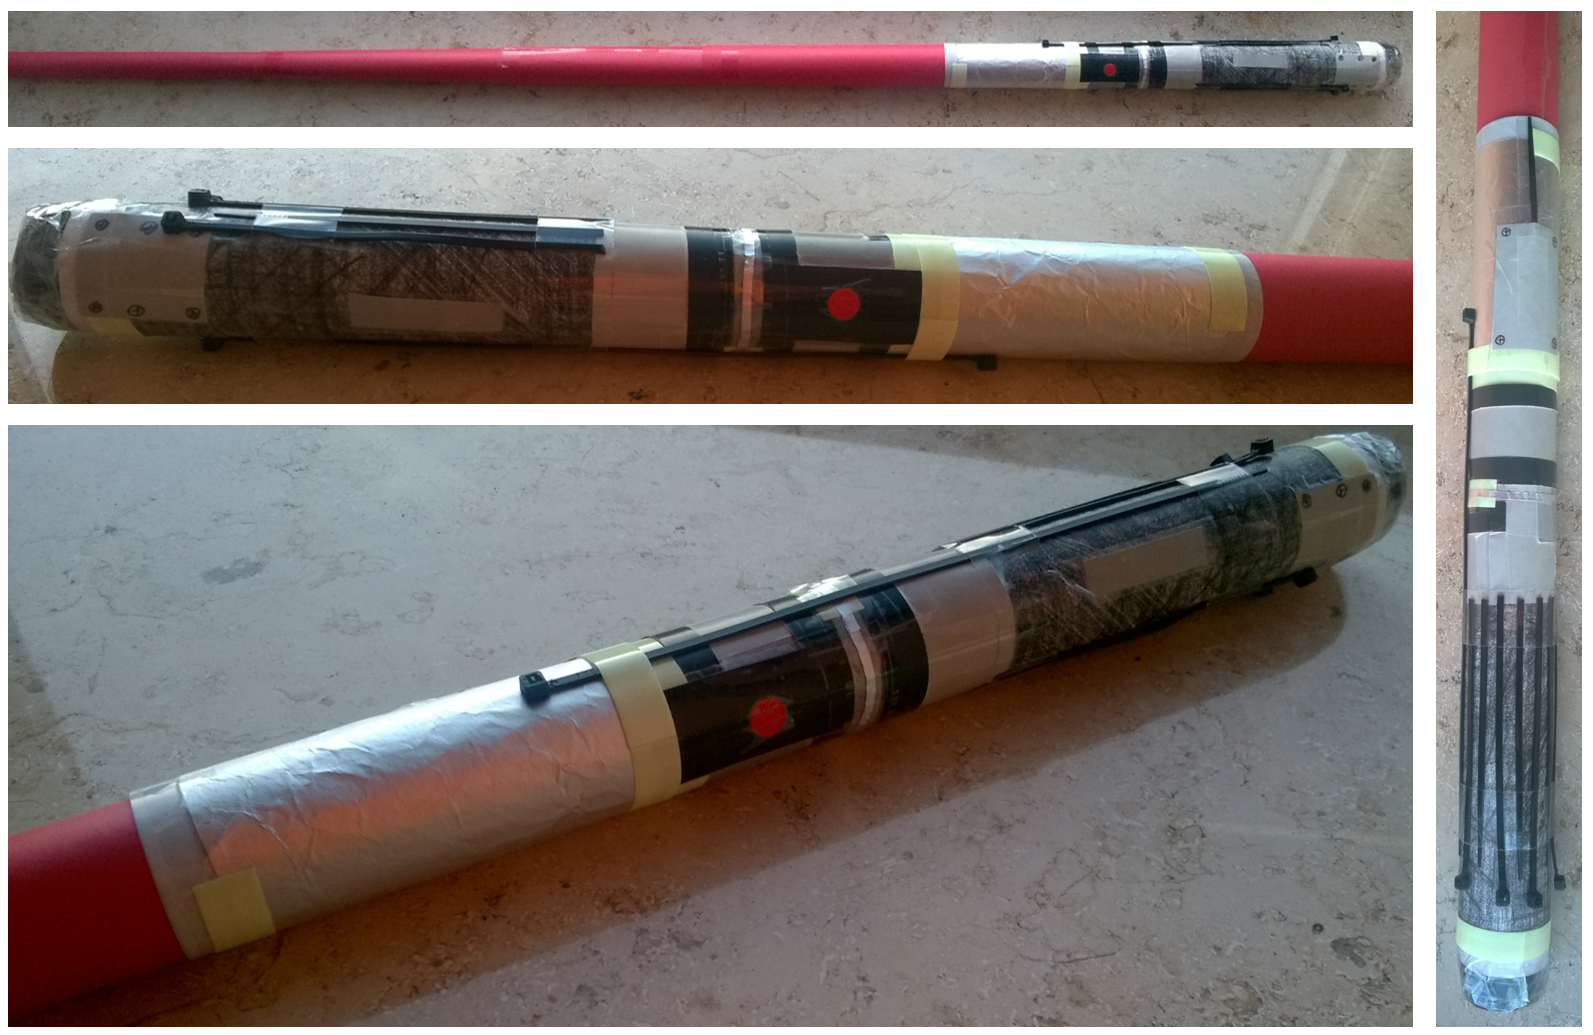
What I did. I flicked through some old magazines and found some black pages or grey pages. I taped those to the hilt and made a somewhat of a “base paint”. Then I took some glow-in-the-dark tape, zip-ties, some stickers and silver wrapping ribbon and created some details. You can also use metallic sharpies, wrapping paper, probably anything – be creative!
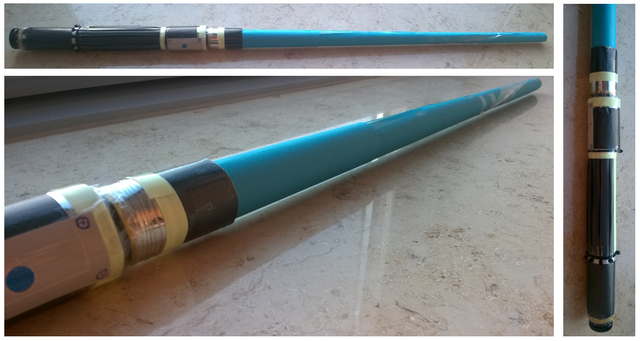
Final step is to put your blade into your hilt and seal the end of the hilt. For this I used a cap from olive oil and basically just taped it to the hilt. Tada! You finished your lightsaber Padawan!
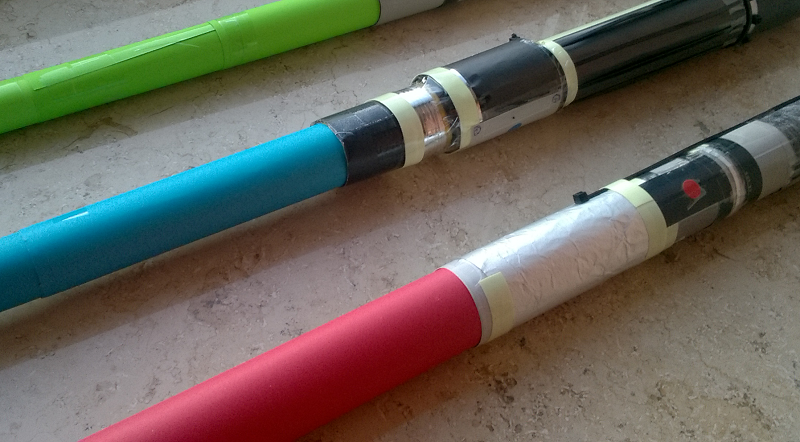
Inspirations
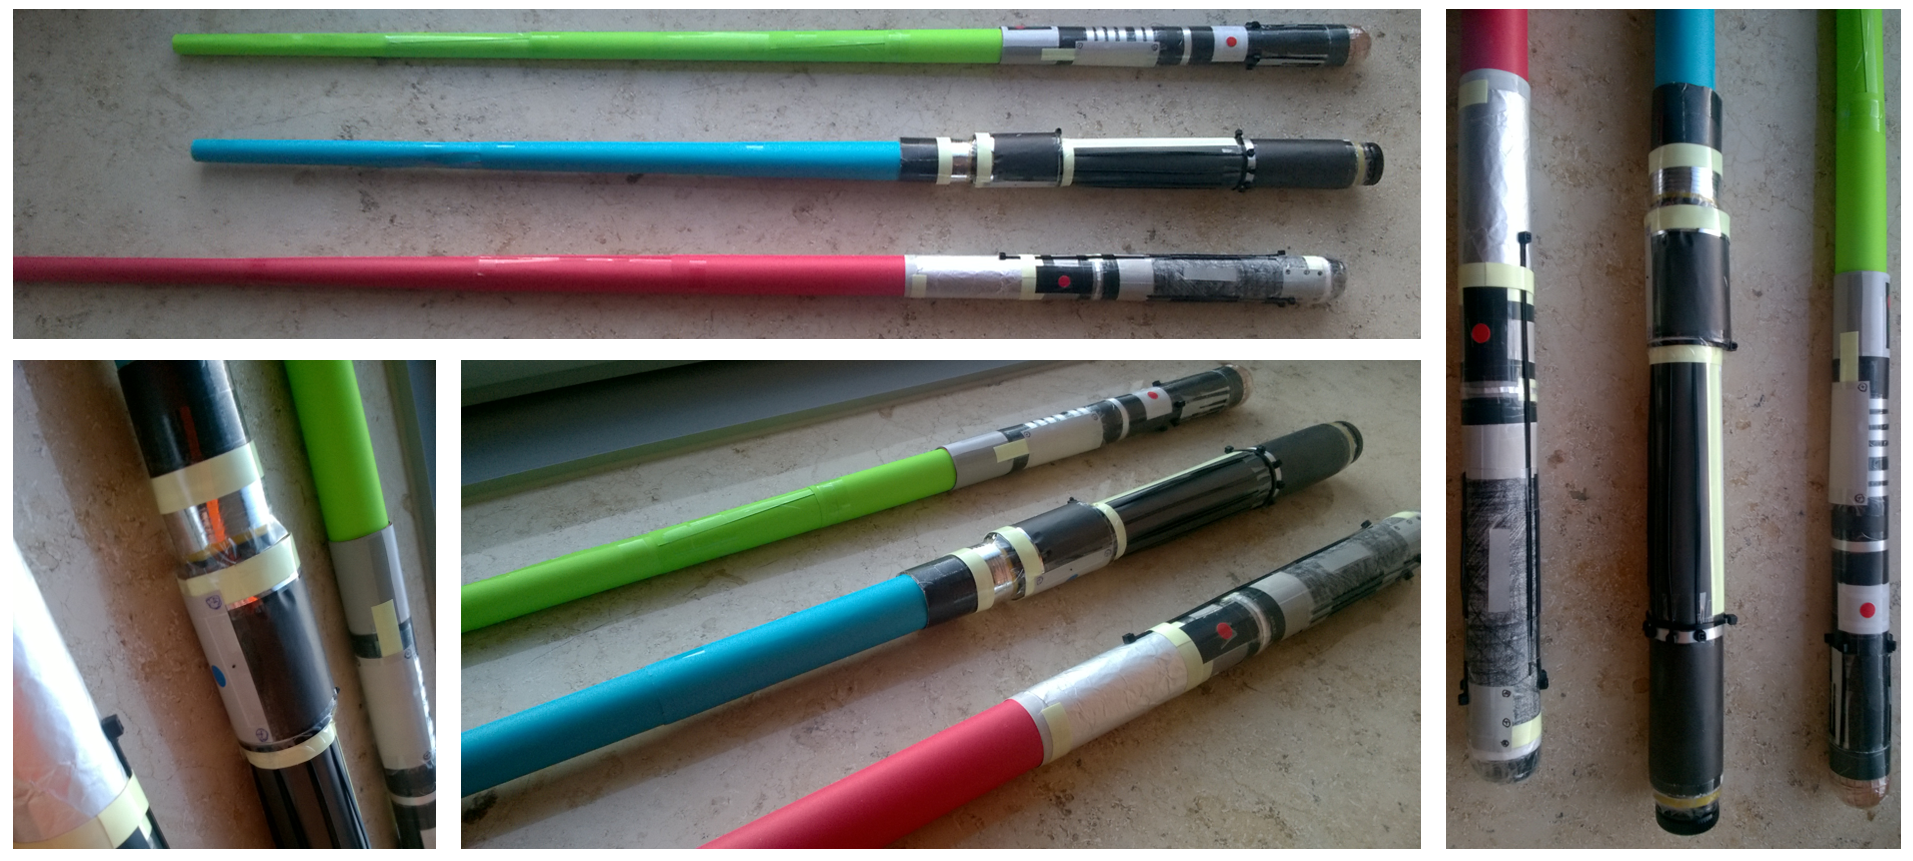
Well, after creating the first blade I created two more! Take a look :)
CONTEST#
So, I decided to hold a lightsaber-building contest!
The aim of this contest is to make you create lightsaber – for yourselves or your kids, it can also be a nice DIY present for your Star Wars-loving friend. What you have to do? Build your own paper lightsaber, take a picture of it and put that picture in the comments! If you happen to add some comment or reflection that would be great too. The prize for the winner is 10 SBD. I know that for some of you it is nothing, but for other it might be a small fortune. And even though I am still a newcomer here, I want to support others. The rules are posted bellow, just stick to them and you are good to go. :)
Get to work and have fun!
Rules:
1. Post photo of your own lightsaber in the comments!
2. Upvote this article and follow me. (I need followers.. :D )
3. At least three competitors must participate! (So, there is at least some competition)
4. The winner will be announced 6 days from now (15.2.).
5. The winner will be sent 10 SBD!
Concluding remarks
So, guys, hopefully you did enjoy reading this article and will try to build your own lightsabers! I really liked it (heck I built three of them :D ) and will probably build even more. It is also a very cheap, but cool-looking prop for a costume (for some dress-up party or something).
I know that this is something completely different then what I usually write about, but you ought to try new things! ;)
Have a great day, and…
May the Force be with you!

You got a 1.90% upvote from @buildawhale courtesy of @jepper!
If you believe this post is spam or abuse, please report it to our Discord #abuse channel.
If you want to support our Curation Digest or our Spam & Abuse prevention efforts, please vote @themarkymark as witness.
Unfortunately no entries...so no winners.. :D