SLCTextileClub S23W3|How to crochet headband
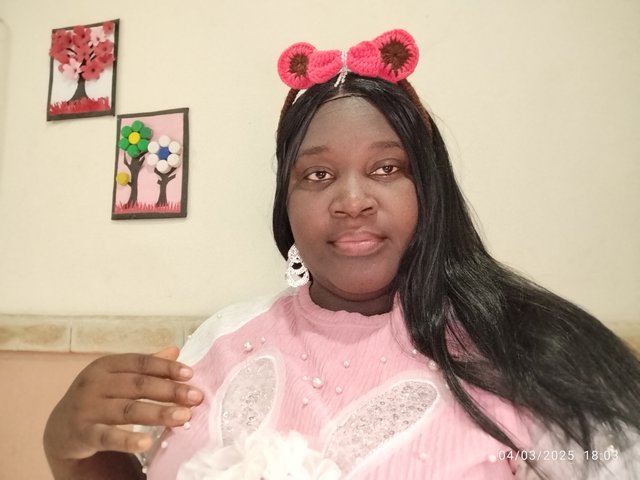
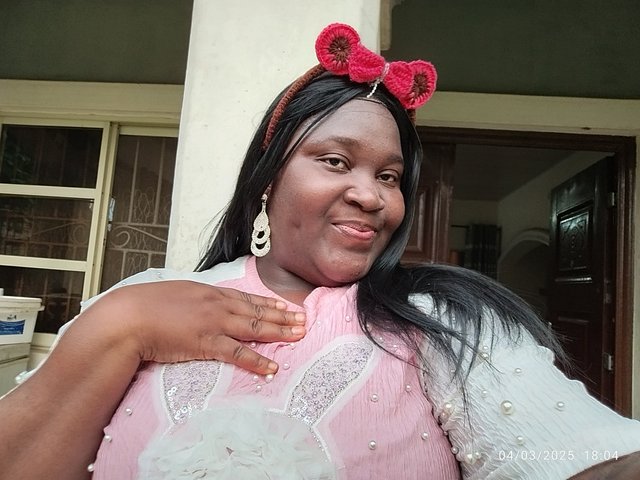
Hi lovers of crochet I believe you have a lovely day trust me I'm up this week for learning club. You guys already know that I like creativity especially things that you have to do with your hands and so this week I decided to create something for my beloved baby girl. So I thought of something and I decided to make her a hair band.
In crochet wall, there are different types of hair band and of course there are different ways to achieve the difference styles of hair bands that is available different crochet style, different knitting, different wool and of course different sizes.
So I first of all went to market to search for a band that fit her head which is a small band to do the work and I choose a beautiful colour pink and brown yarn.
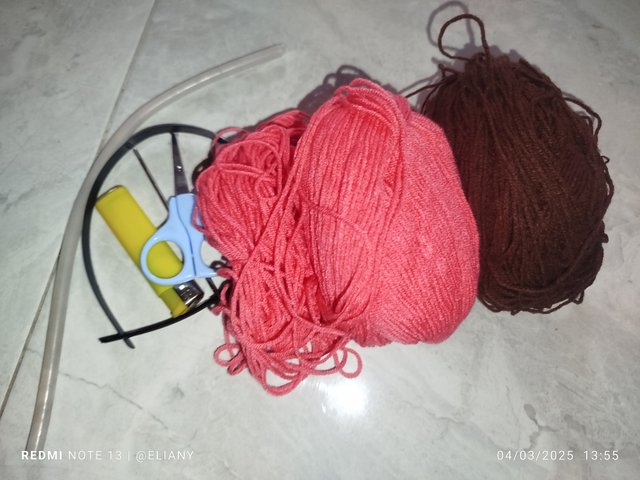
To achieve this I gather my tools which are;
Tools
- Yarn
- Crochet needle
- Gum
- a pair of scissors
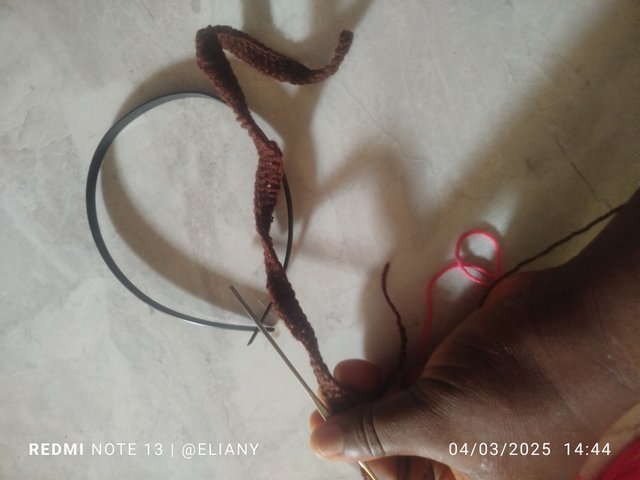
First step
So I started with a chain which is the base of most crochet and if you want to learn crochet you need to know how to make chain. I made this chain to cover the band. Of course there are other ways you can take to cover this band without starting from a chain but I decided to use this style today which is easy for anyone who wants to learn how I make it.
https://youtube.com/shorts/tVhOYG7TO7Q?si=mMnLgDVtSAXxHBxA
You can watch the video to see how I made it.
I did not use a tape to measure the band but I measure it as I made the chain so you can see it from the video how I take my measurements.
So after making a chain, I continue with making two more lines of double stitches and I close it with a slip.
From the video I also showed how I cover the band with the crochet, after crocheting isa long two lines of double stitches, I wrap it on the band and close it up with a single stitch.
Second step
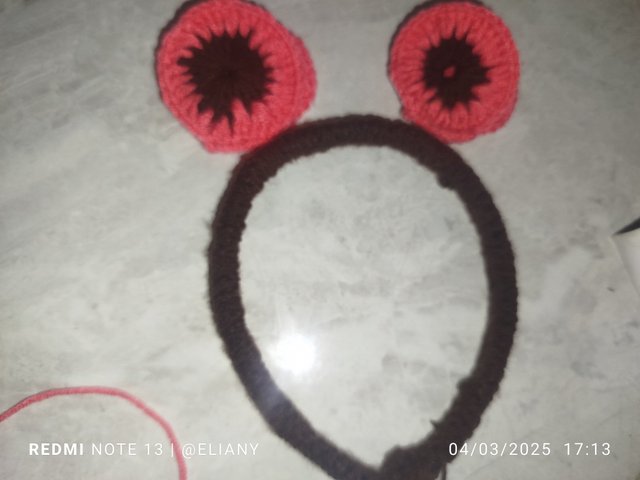
The next thing I made was a design of two round single stitch to put on top of the band to make it look beautiful. This is exactly how it look but the design has not finish.
So from the video I should have made this circular designed I started with a circle, then a double stitches in the circle. After that I also make another lines of double stitches then on each hole I made two double stitch in it so that it will be flat rather than being curvy.
I mixed the colour to make it beautiful, I used the brown to make 1 row and the pink to stitch another row.
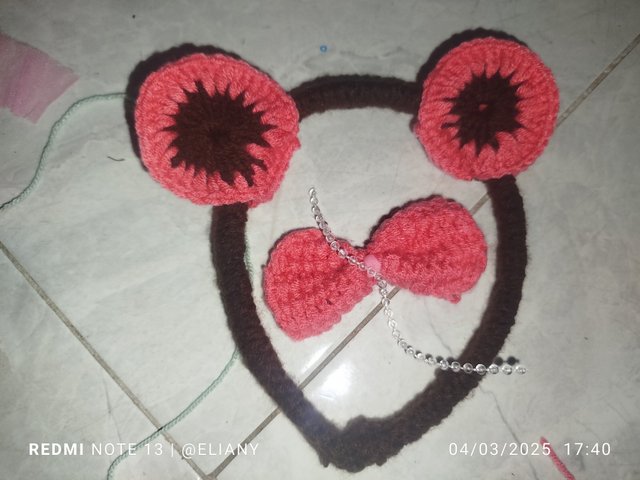
Third step
The third step, I finally stitched a bow to add with the design of the headband. The ball was easy to make also because I started with a stitch and then four lines of double crochet and I squeezed the middle part to make it form a beautiful pink bow.
https://youtube.com/shorts/ywbVXFSSySg?si=_dKIKxNWf-VkP-Wh
Final step
So after making the different parts of the headband I assemble all of them to get a using gum to make it form a beautiful pinky headband for my princess.
https://youtube.com/shorts/rkw9-YROzM4?si=akUo8cQd4DjcB3HY
Different part of my work is ready
So it took me just two step to assemble it together and it was ready. So let me tell you where I started first watch the video to see how I do it while you check the pictures below to see how the steps went.
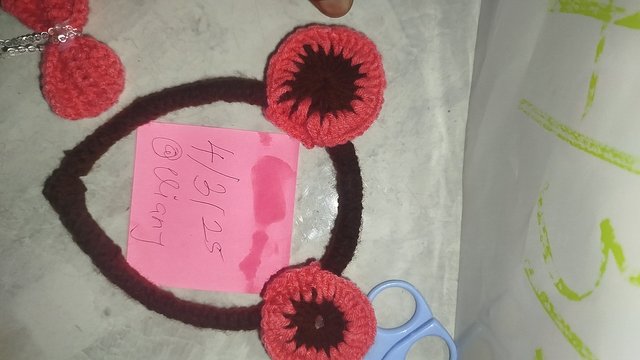 1 1 | 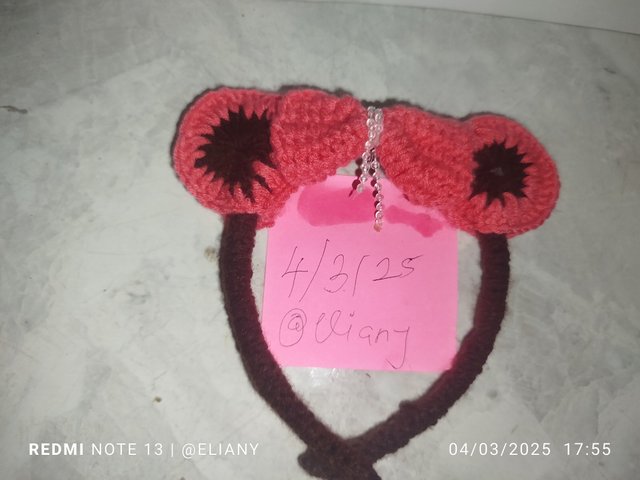 2 2 |
|---|
The first picture shows how I started with the circular design, it has 2 sides so I glued it together so it stands strong.
The second picture shows how I guess the bow to the band.

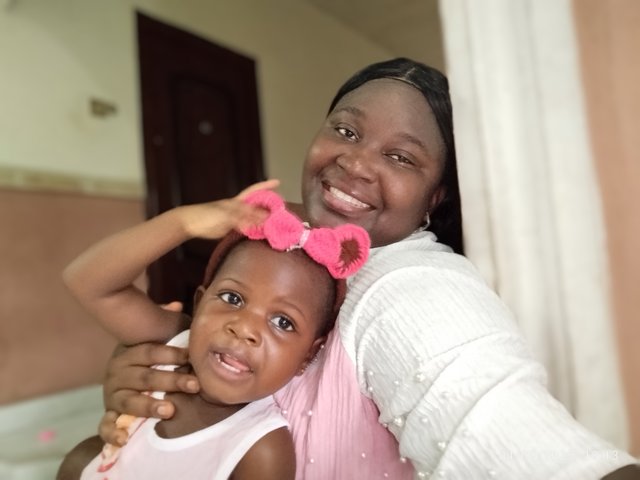
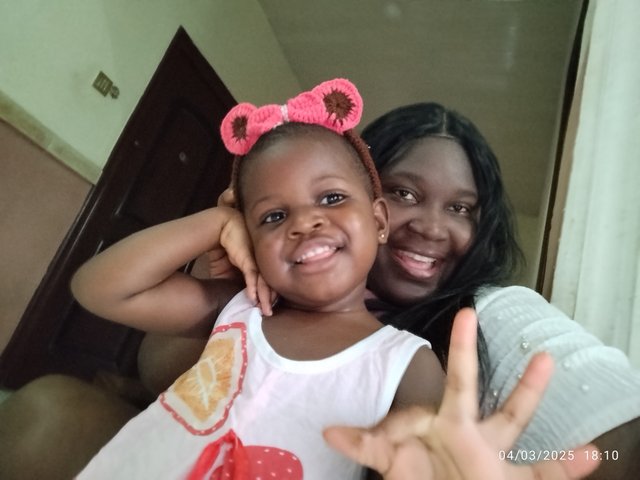
Final look
 |  |
|---|
 |  |
|---|
She look so happy with it, she loves it and it fit her hair cut.
Thank you for following along the steps, I believe you will also make yours.
I will like to invite @ninapenda @dequeen and @crismenia to take part in this contest.

Congratulations, your post has been upvoted by @scilwa, which is a curating account for @R2cornell's Discord Community. We can also be found on our hive community & peakd as well as on my Discord Server
Felicitaciones, su publication ha sido votado por @scilwa. También puedo ser encontrado en nuestra comunidad de colmena y Peakd así como en mi servidor de discordia
Awwn….this is really beautiful 😍
You are very creative I must confess. Crochet requires patience and creativity, here I see you applied both. The hair band looks lovely on your princess 😍
I wish you all the best in the contest.
Awwwnn!! Thank you so much I'm grateful 🤗🤗
Éxitos en la dinámica. Saludos y bendiciones.
Oh I'm grateful thank you
I can only imagine the joy on my baby's face when she saw this hair band. All her body is full of joy and mama, you did very nice job here.
The choice of color looks cool and pleasing. I think I will follow these steps to make one for myself,I hope I get the time. I love what you've done here, it's amazing. All the best mama!
My drama queen daughter, hahahaha she express joy in any gift given to her and it makes me happy and motivated to give her everything I can afford.
Thank you for your close observation and beat wishes.
Hello friend from Nigeria, always a pleasure to meet you in these spaces and enjoy your crochet work. The headband is cute and the baby is the main evaluator of your work and she looks happy, so congratulations.
Oh I'm grateful, thank you so very much
Hello! I love the headband you have made for your little daughter, crochet accessories are beautiful but personally I have a great taste for headbands and I loved to see this one, it reminds me of one I have of Minnie Mouse, plus the girl looks very happy with your new creation.
Have a nice day!
Hahahaha thank you so much I appreciate you
Hola, este trabajo es una belleza, qué tierno. Me encanta la combinación rosado - marrón, y queda perfecta con el diseño de orejitas de oso. Tu bebé está feliz con su cintillo decorado y a tí también te luce gracioso jejeje
Saludos