SLC Crochet S22W2: Get Started with Crochet | Make a Keychain Bag
Hello everyone! I hope you will be good. Today I am here to participate in the contest of @analp about crochet to make a keychain bag. It is really an interesting and knowledgeable contest. There is a lot to explore. If you want to join then:
Indicate the materials to be used, their price is local currency and Steem. In addition to making the base of the Keychain Bag following the guidelines given in class.
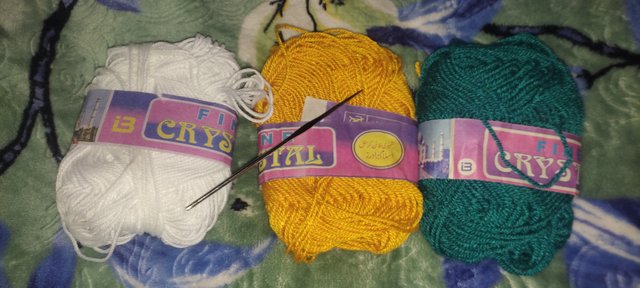
Indeed in order to make the required keychain bag we need to have some specific materials. Thread is the key material of this bag and crochet needle which he used for the crochet work.
This is wool which will be used to make the keychain bag. If we talk about the local market price and Steem price then here are the details.
| Item | Price in PKR | Price in $ | Price in STEEM |
|---|---|---|---|
| Wool Reel | 50 | 0.18 | 0.5 |
| 3 wool Reel | 150 | 0.54 | 1.5 |
| Needle | 30 | 0.11 | 0.3 |
So the price of these 3 wool reels is 1.5 STEEM and the price of the needle is just 0.3 STEEM. And if we see the total price of all the materials it becomes 1.8 STEEM.
I bought it from the local market. This wool also comes in big rolls which we buy in kilogram weight. There are different qualities in this thread but I have bought the regular which comes in these small wool rolls.
Now let us start making the base of the keychain.
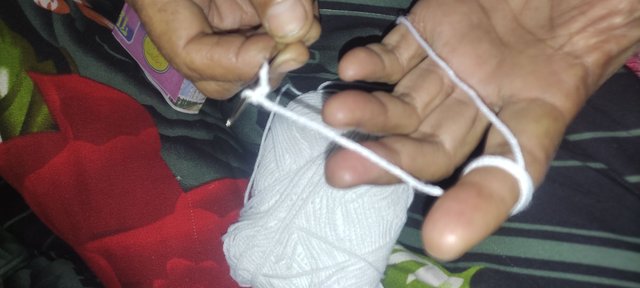
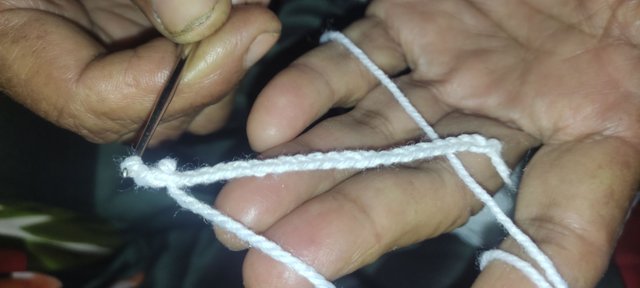
At the start my mother had rolled the thread on her finger of left hand and in the right hand she hold the needle.
Here my mother has made the long chain with the help of the thread as the start of the base of the keychain bag.
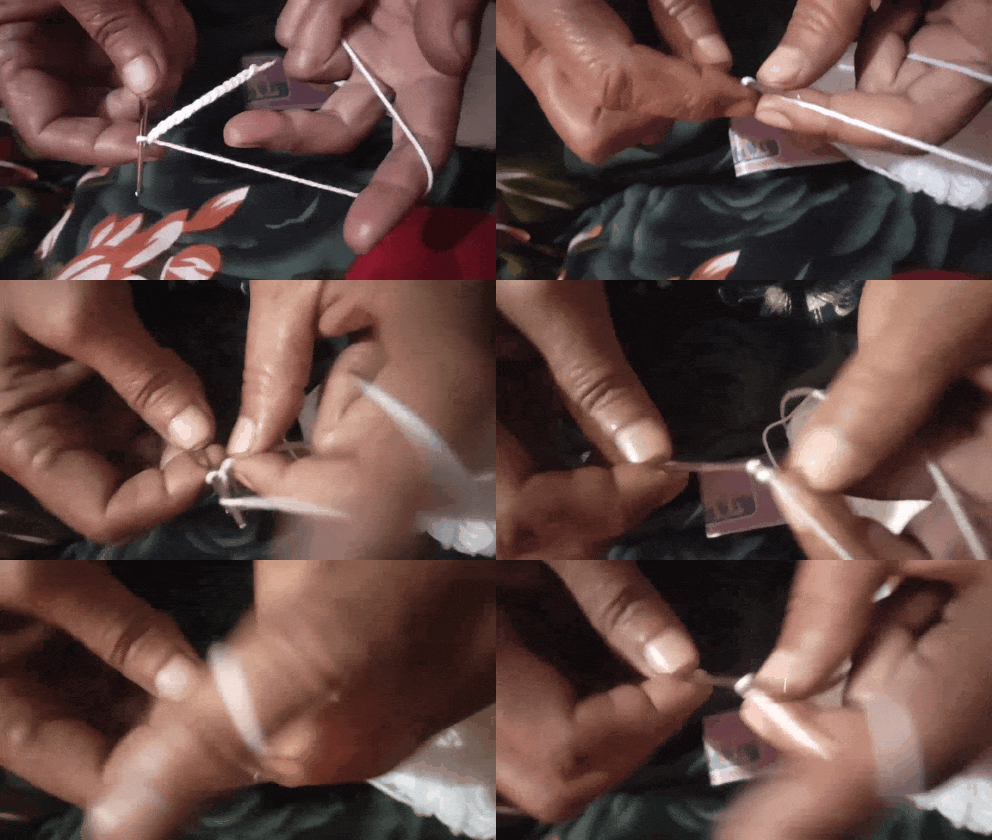
The live working for the development of the base of the keychain bag.
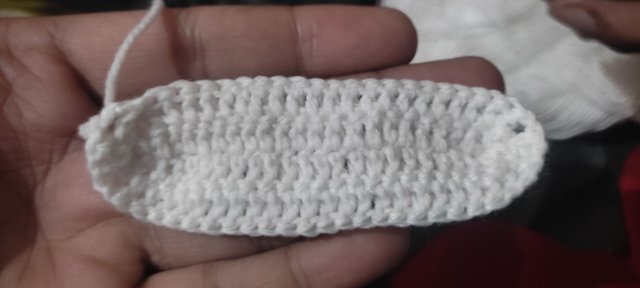
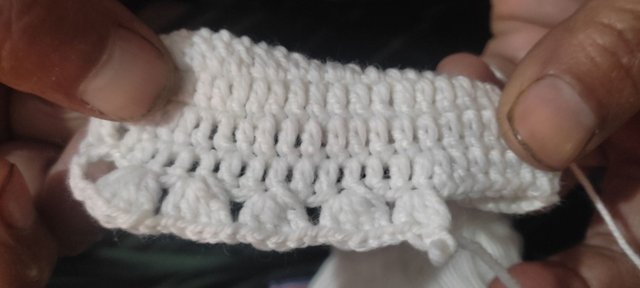
Then she added more rounds of crochet around the starting base to make the base wide and useful.
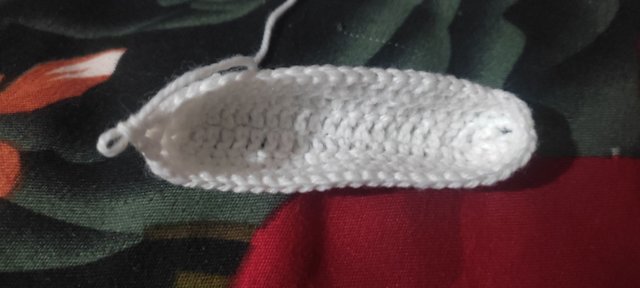
Then after adding some more rounds of the thread with the crochet technique it became like the boat shape and now it's next procedure will start.
In the video you can see how the crochet work is going on and how the base of the bag is being completed. It was done by tightly stretching the thread to give it a fine shape.
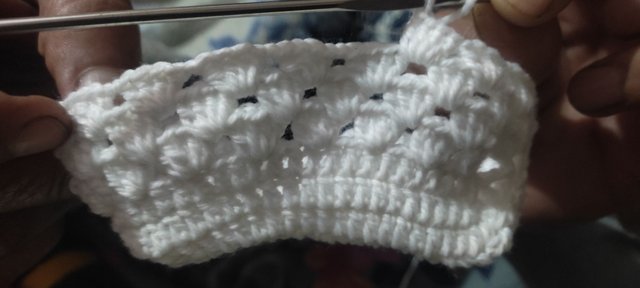
Now after the completion of the base of the keychain bag it is the time to create the body of the keychain bag. By following the design pattern taught in the class my mother started creating that design. These were small flowers like pattern and they were looking very beautiful.
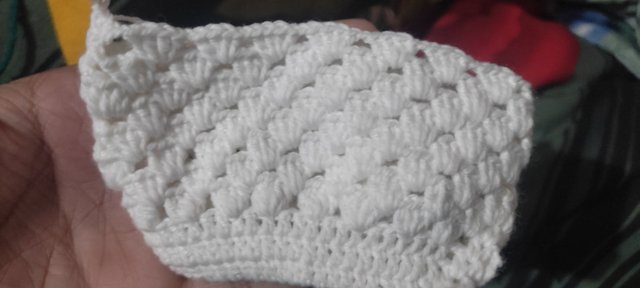
The design is very unique and after each thread bud there is the space. And this continuous design pattern was becoming very attractive and meanwhile the body was also completing.
Here the body of the keychain bag has completed already. And the body is enough to hold the normal house keys.
Decorate the Keychain Bag by incorporating the 2nd Decorative Thread, sliding cord and hanger. We will appreciate the creativity.
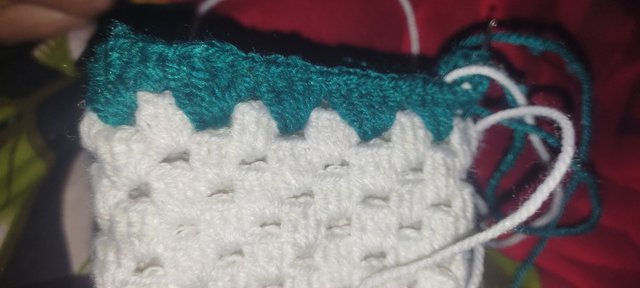
Now it is the turn to add the decoration to the bag by using the different thread colour. By seeing the design pattern and colour in the class I got the green like colour thread for the bag decoration.
 |  |
|---|
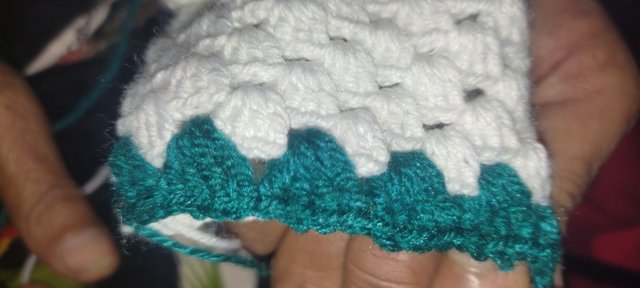
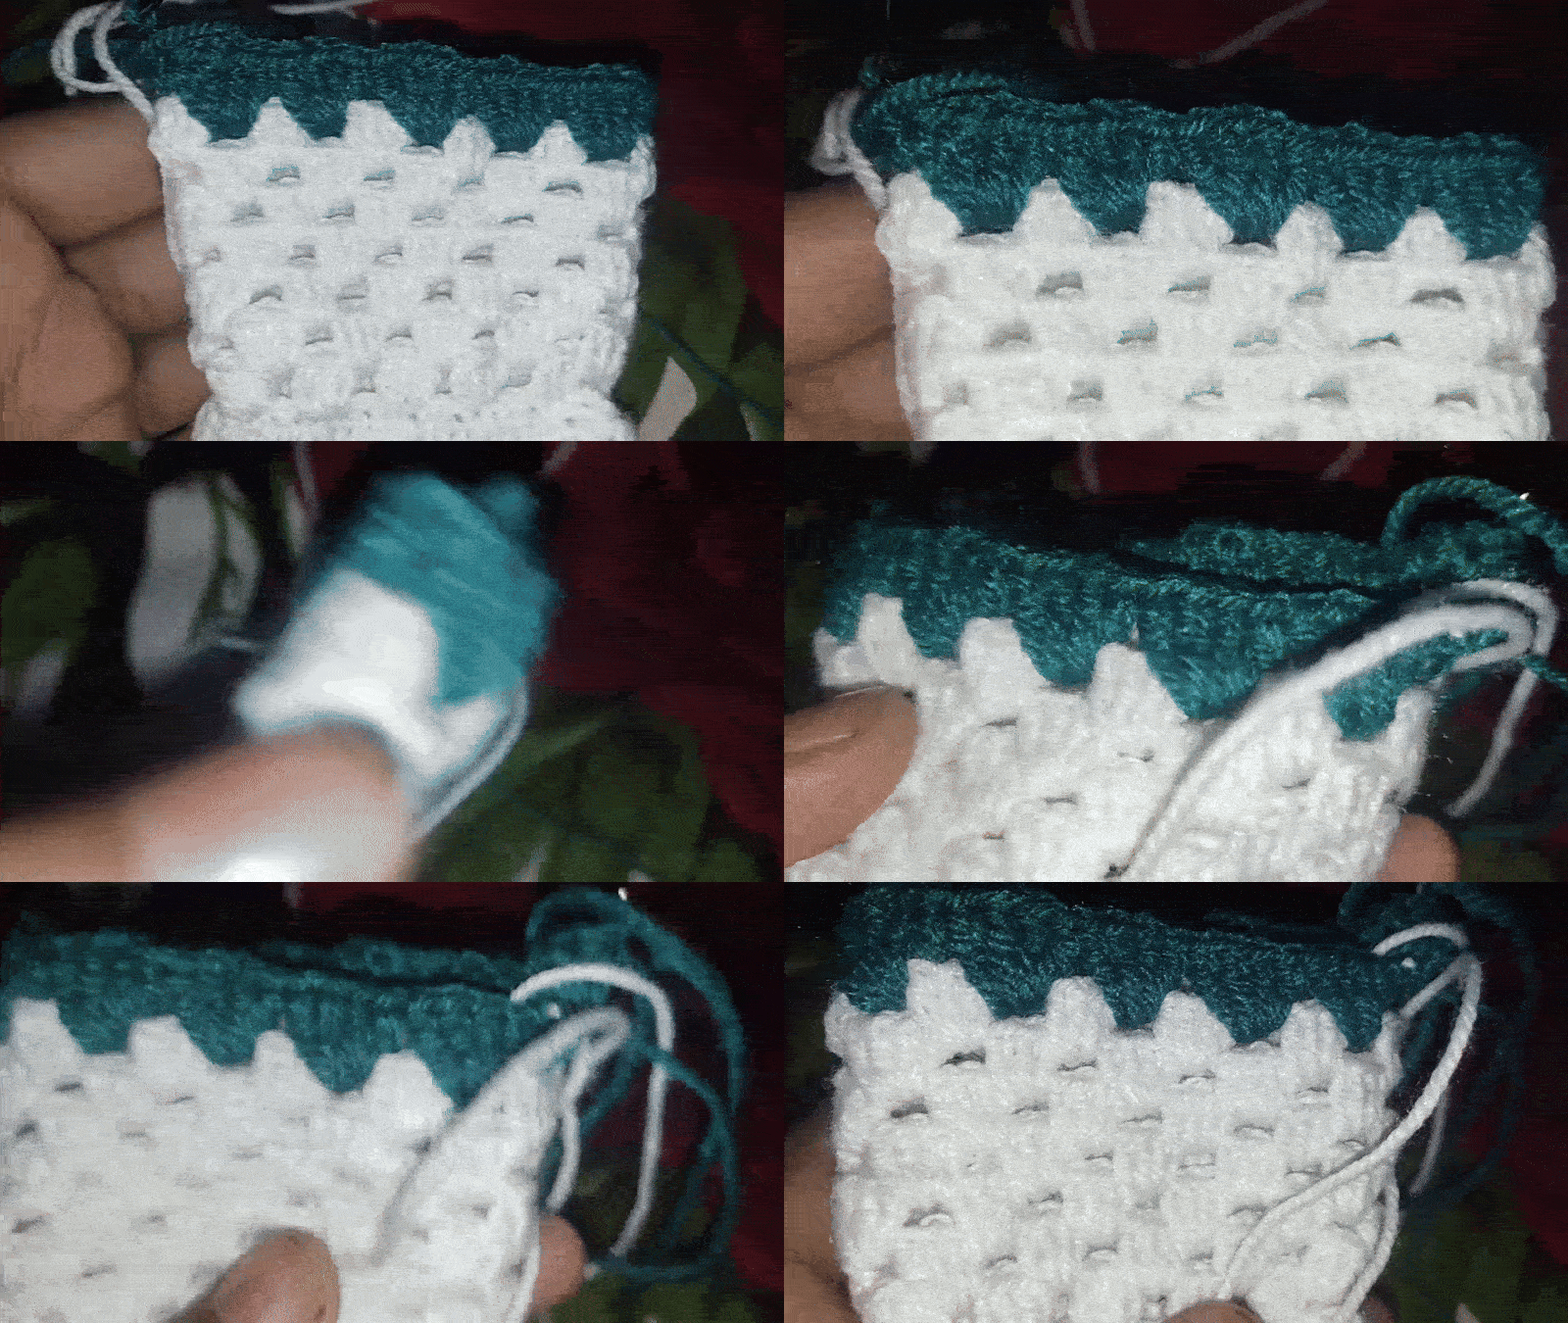
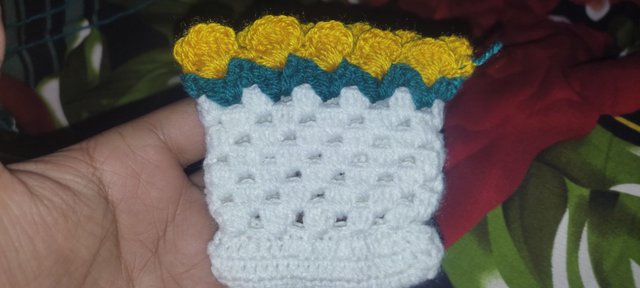
My mother attached the greenish thread along with the white thread to start it right after the body of the bag. My mother made the same design pattern as it was taught in the class. My mother did the one complete round of the decoration with the different colour of thread.
The decorative design is now completed. The colour contrast is looking very amazing and attractive. At the top the thread is locked and from this new pattern will start.
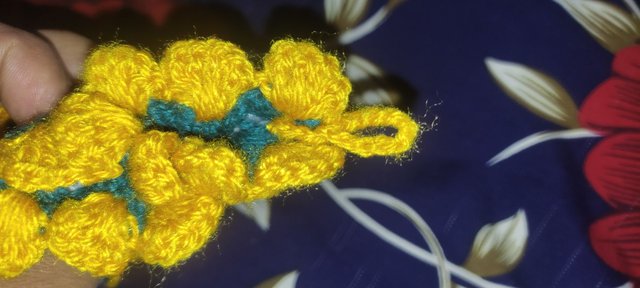
After the first design of the decoration for the keychain bag now it is the turn for the next design. For this purpose again my mother has attached the yellow thread with the keychain bag and now the final design is being made at this stage.
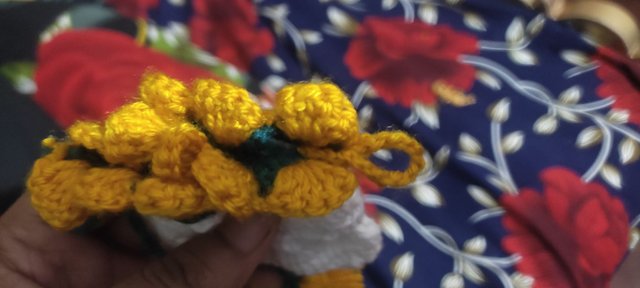
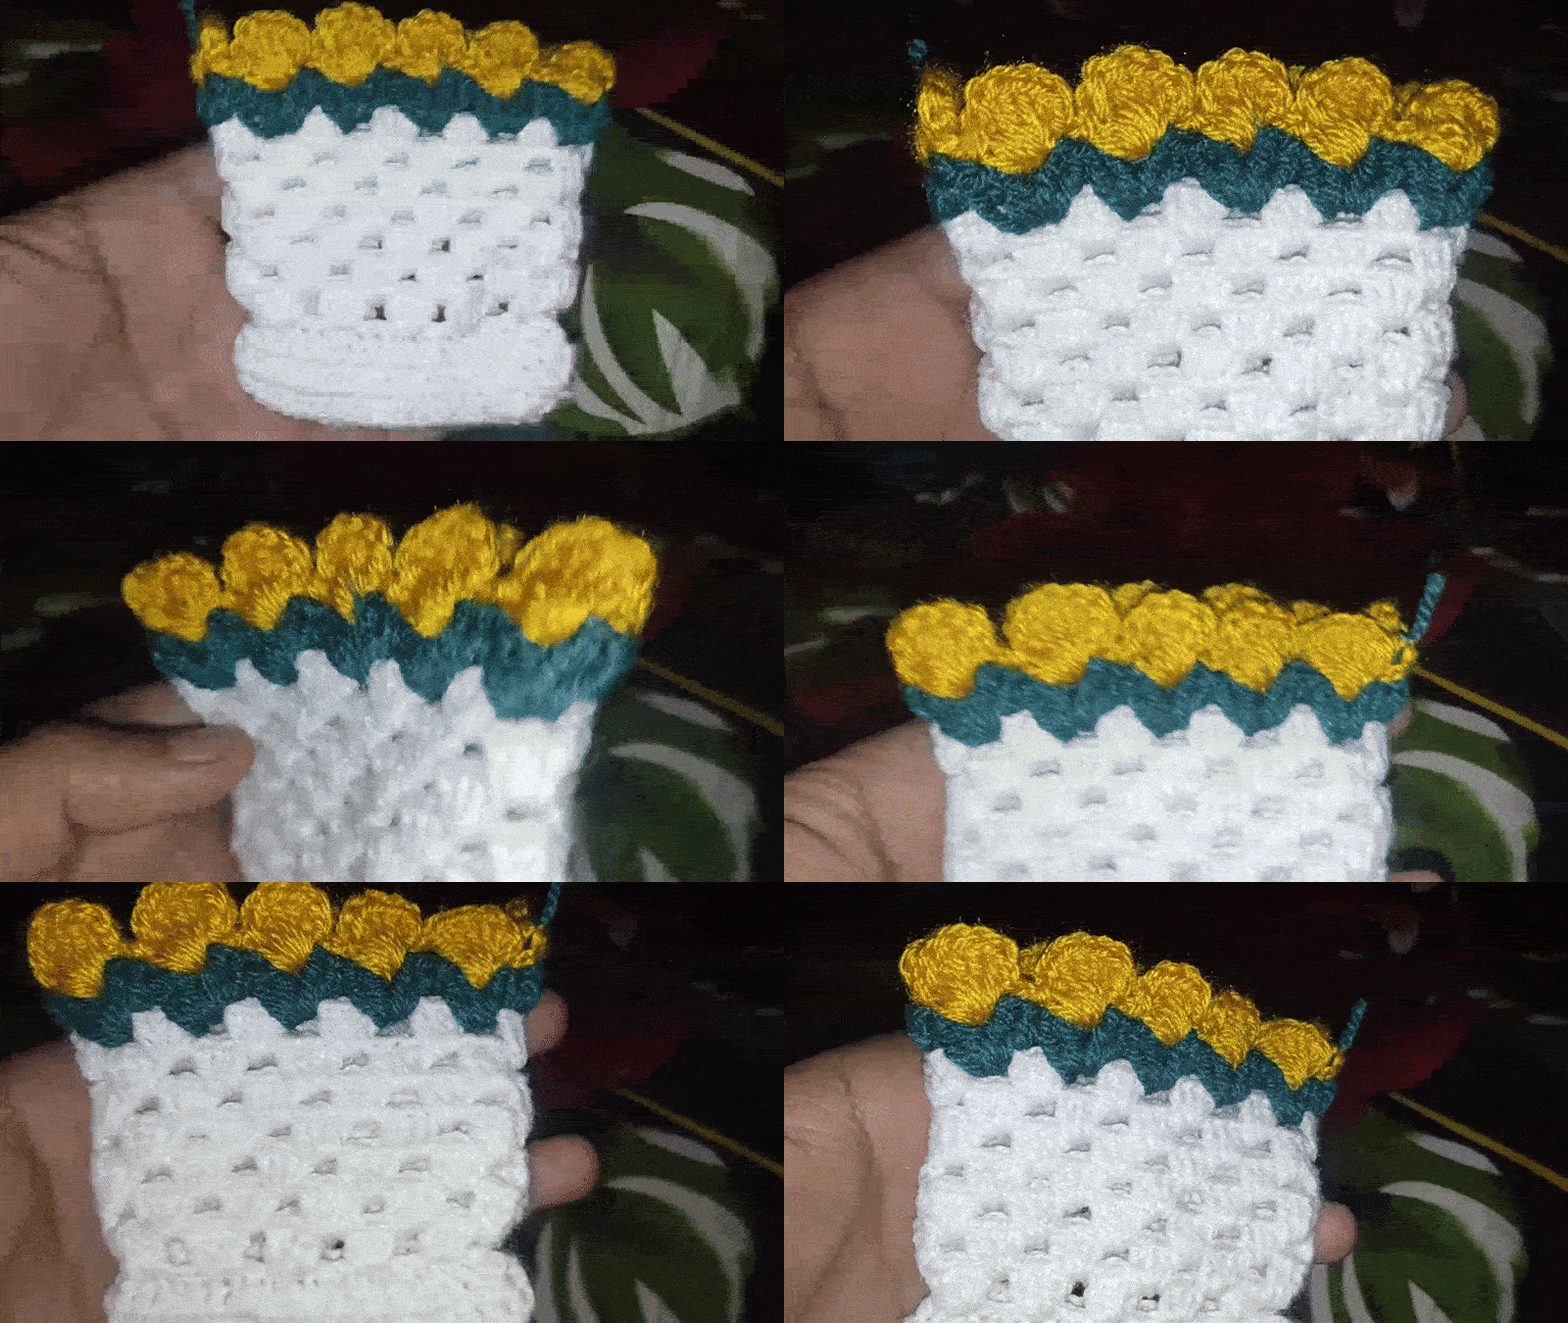
Here you can see that the design pattern has completed.
Here you can see the glimpse of the design. After one complete round of the last decorative design the keychain bag is completed.
 |  |
|---|
After this there was the turn to make the hanger for the keychain bag. My mother took yellow thread and she made a long chain with the thread and then she turned the ending edge with the wall of the bag. And in this way the keychain hanger has been created. We can hang the keychain bag with the help of the hook. And then with this extension we can also hang it into the large hand bags.
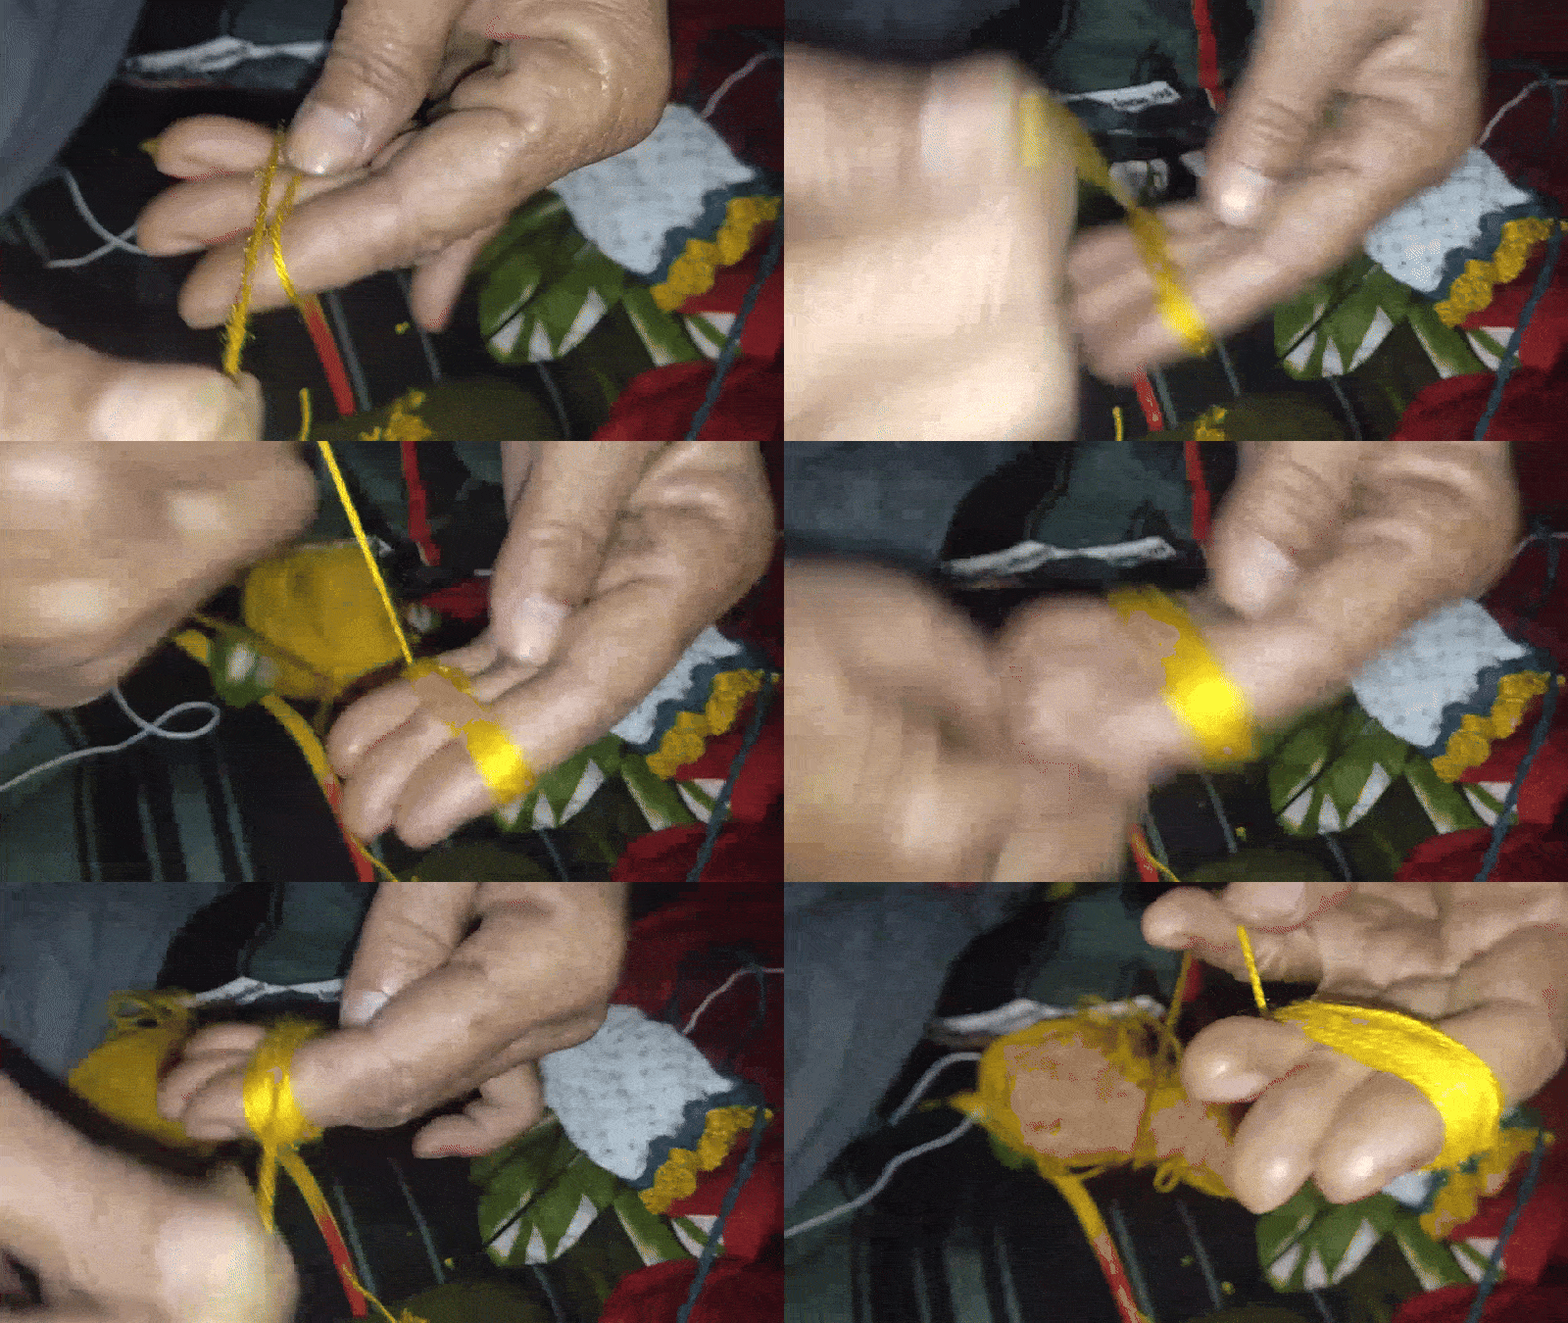
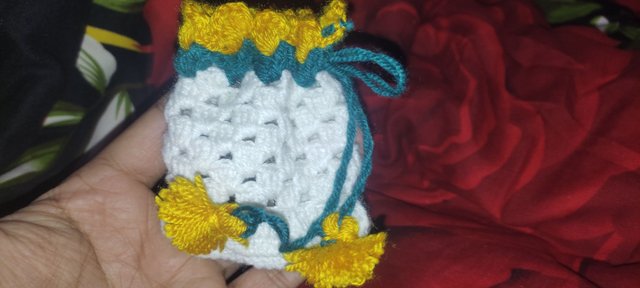
Here you can see that my mother has made the slid thread with the help of the greenish colour thread. She doubled the the thread rope and then added some circles in it. Then she has passed through the upper line of the keychain bag.
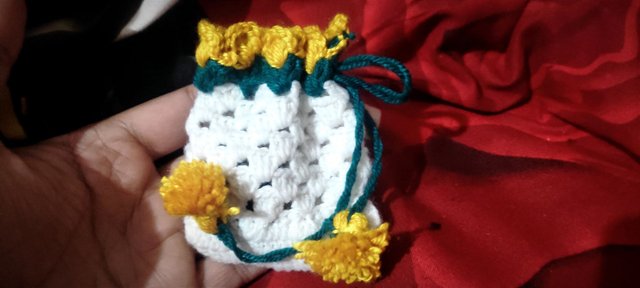
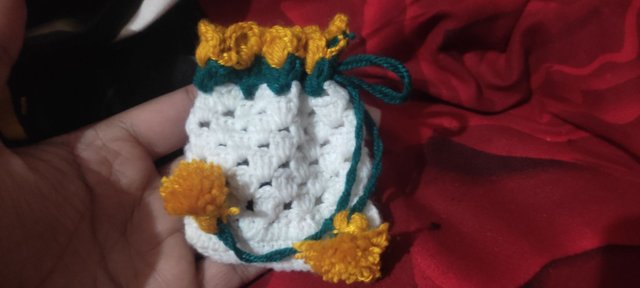
Then to add some more design and to make the look of the keychain bag attractive she added thread flowers at the corners of the sliding cord.
Here is the complete formation of the flower added at the corners of the sliding core.
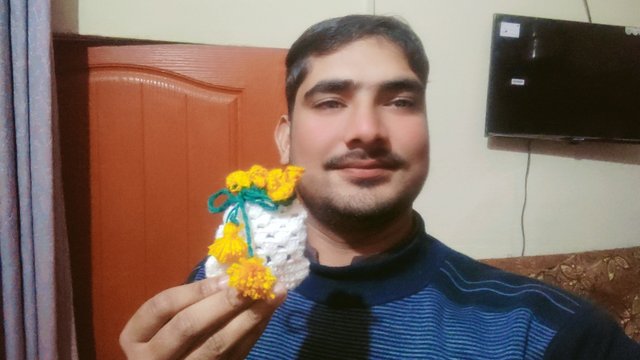
Finally the keychain bag is ready and now we can use it to keep the keys in this bag and we can also attach it with other bags and anything else or we can just hang it in the room.
Note: All the credit for the creation of this keychain bag goes to my mother. She does not know how to write so that is why I am writing it for her to convey her creativity here. I hope you will appreciate her work.
Saludos cordiales amigo @mohammadfaisal , gracias por tomar el interés en nuestras clases de crochet.
El tejido le ha quedado muy bonito a tu mamá, las fotos , gif y paso a paso han sido muy buenos.
Te animamos a que tu seas el que teja los proyectos a crochet en las siguientes clases.