Mini Bathroom Makeover
When I moved into my house my guest bathroom had these existing shelves that I never liked. I'm finally taking these things out & replacing them with something more functional. Both of our bathrooms are just tiny & we just needed more clearance & functionality. This redo will finally give us something we can use & it will fit the style of the room. Our bathroom is sugar skulls, so that will give set the stage for you.
Time: 2 Days
Cost: $25
Difficulty: Medium
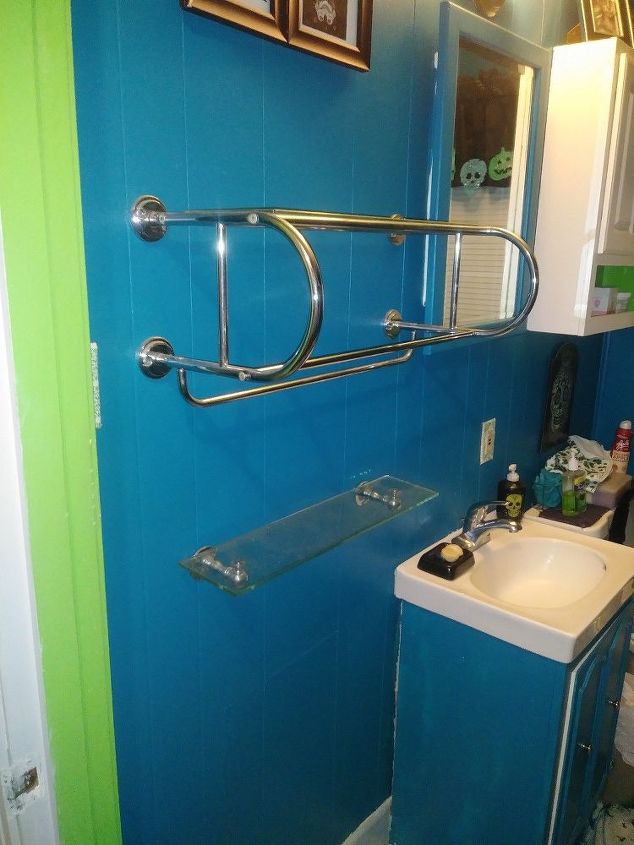
Here is how the bathroom looked originally(nothing on the shelves obviously-LOL)! You can see how far the bar sticks out. We & guests constantly ran into that silly thing! I'm also not a fan of glass shelves, just a hazard & shows dust non stop!
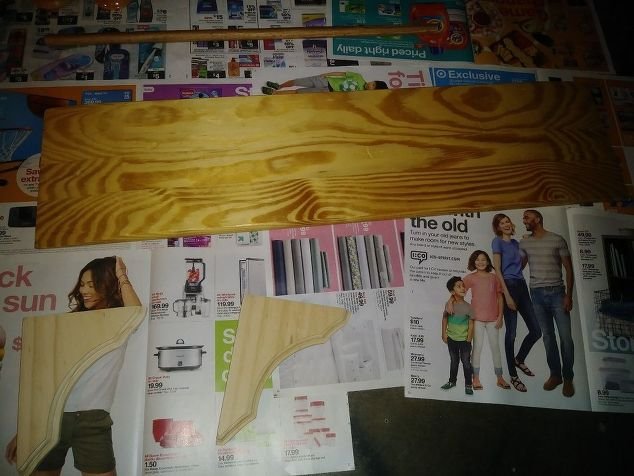
So I went to Goodwill & found this awesome raw wood shelf. I found the brackets at Lowe's.
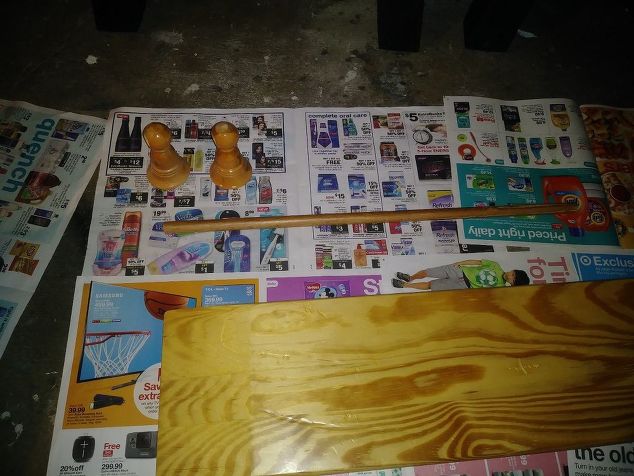
I found a simple towel bar also at Lowe's.
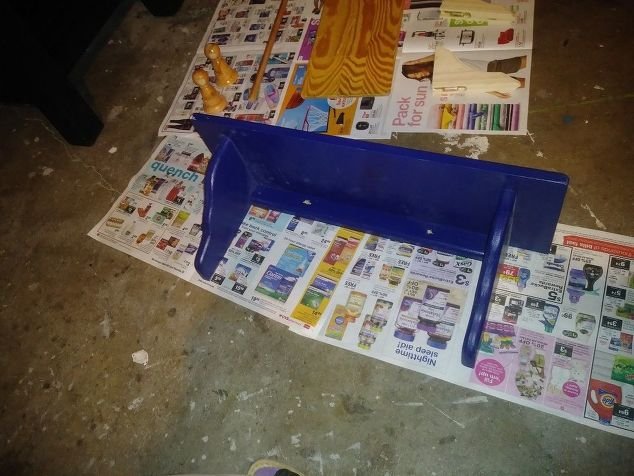
I also found this shelf at Goodwill. Gotta love cheap stuff!
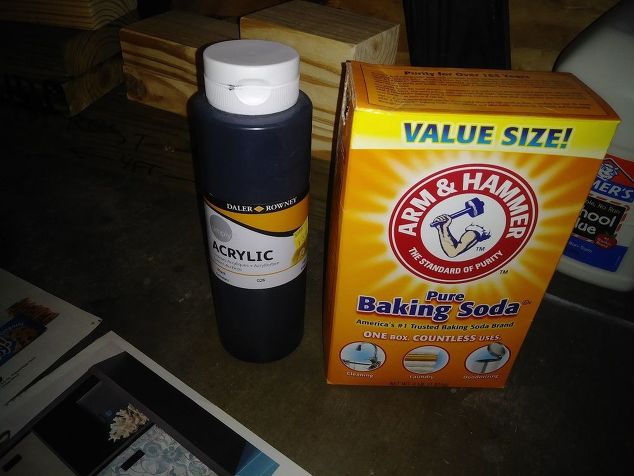
I made my own chalk paint with this acrylic paint I got on clearance at target for less than $2!
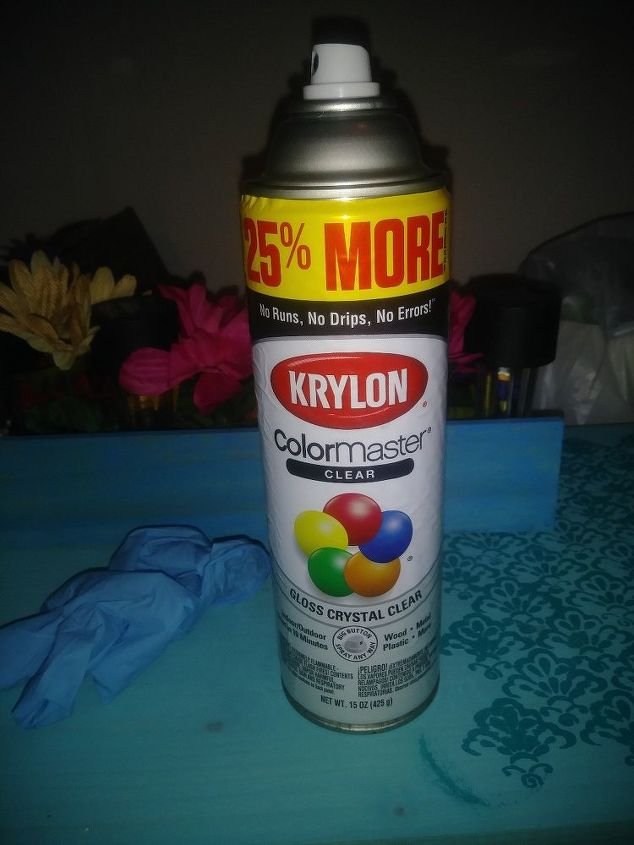
I clear coated everything with Krylon after another fun step.
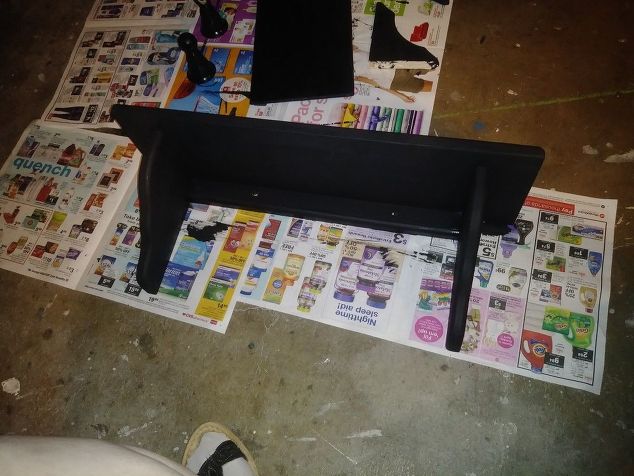
Here is after chalk painting.
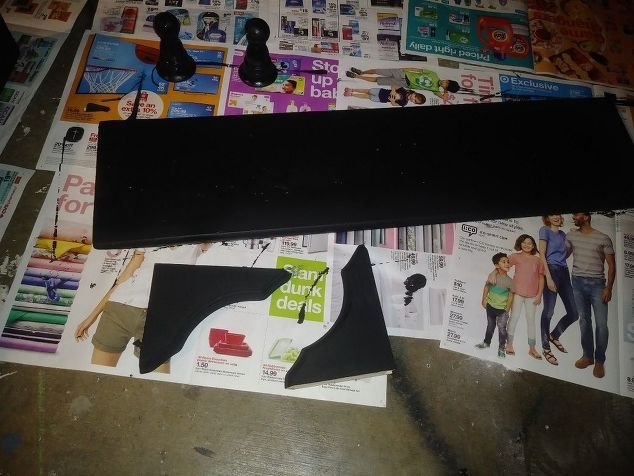
My other pieces.
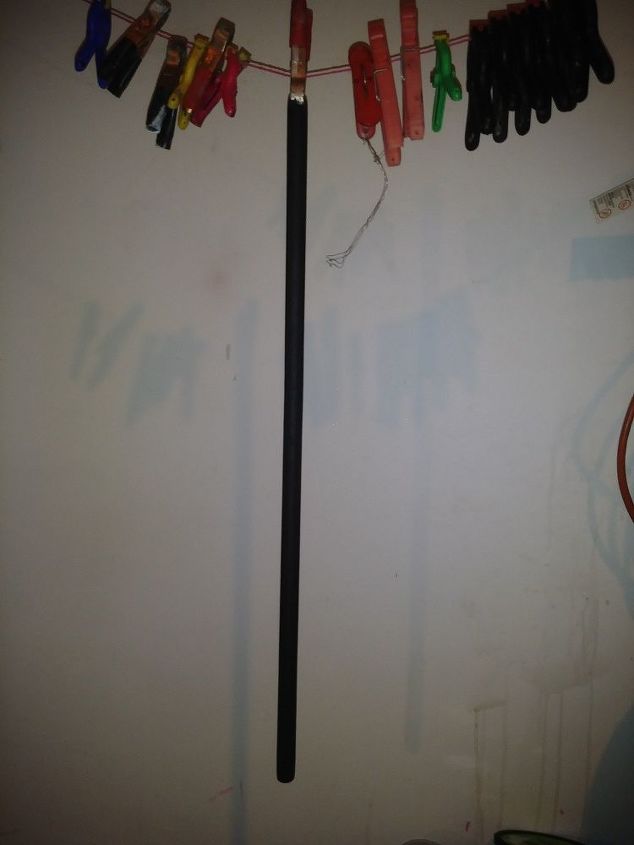
I bet you were wondering how I successfully painted the bar. I have a drying rack- I just hung that sucker up by one end- since it will be hidden inside anyway!
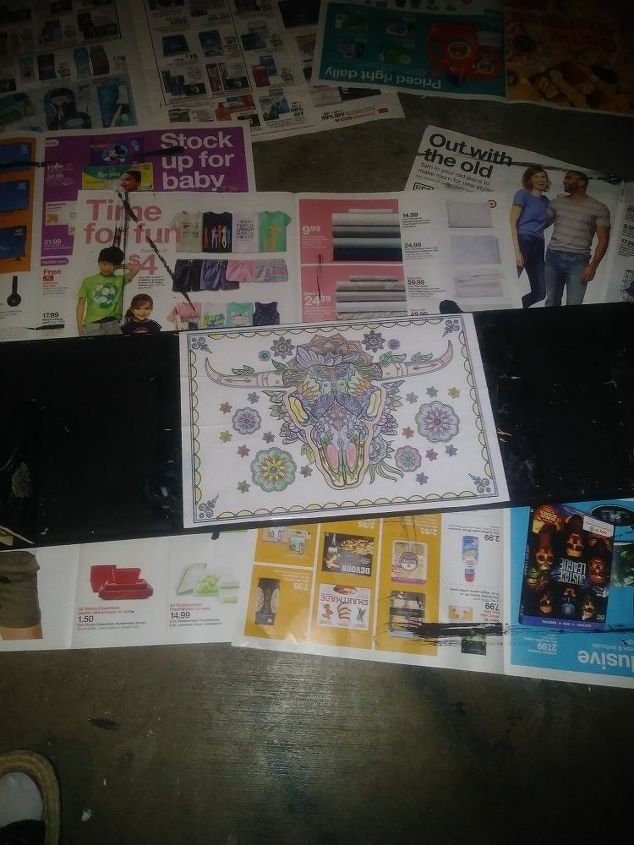
Since I have limited photos I can't show all my steps. As previously stated- my bathroom is sugar skulls. So i decided to decorate these shelves. I had a sugar skulls coloring book on hand & colored 2 awesome pix(if i do say so myself- lol). I used this longhorn for the underside of the higher shelf- since the top won't be seen, but the bottom would be. I used another you'll see in the later photos on the top of the shelf. I mod podged them into place. I had some sugar skull & other skull stickers that I added to the shelf brackets, inside & outside, so you'll be able to see them, also covered in modge podge. Everything as clear coated after it was all dried for 24 hours.
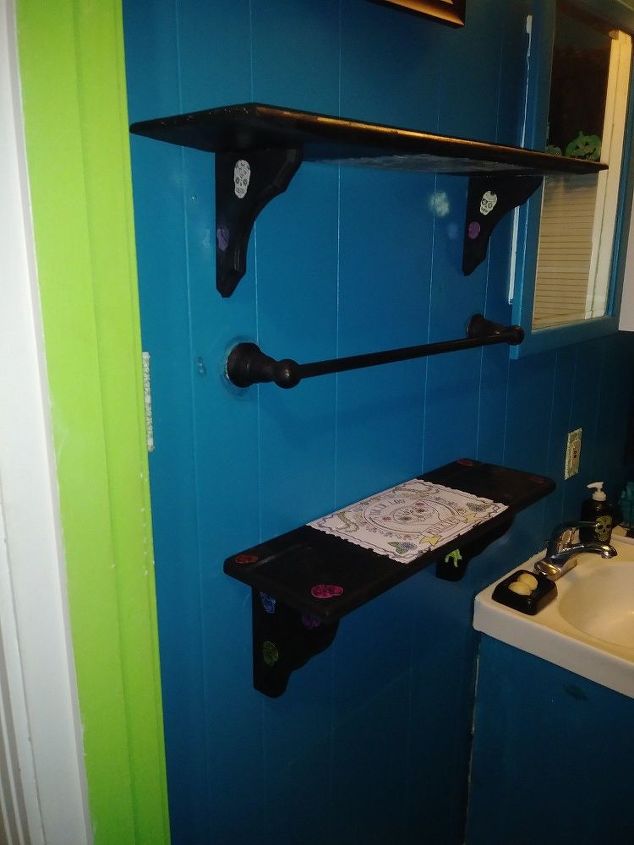
Here is all is hung up.
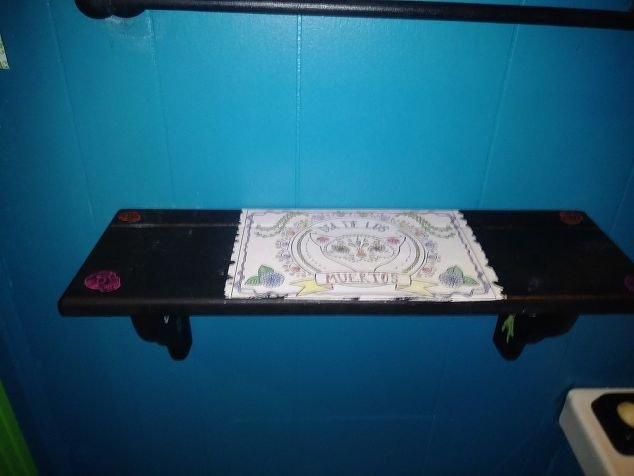
Here is the other shelf with the coloring page I chose.
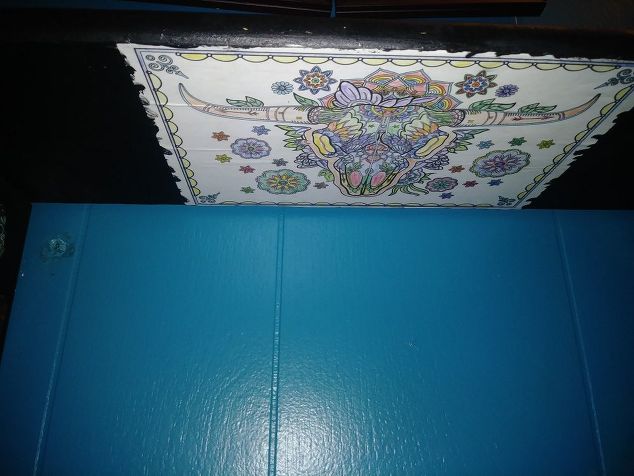
Here is the underneath of the higher shelf.
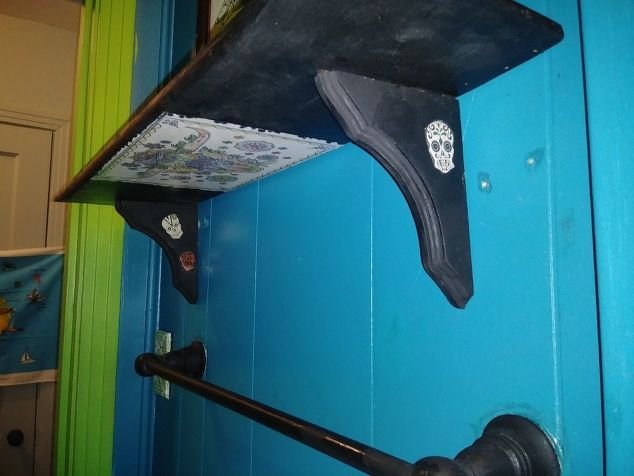
Here you can see the stickers on the brackets.
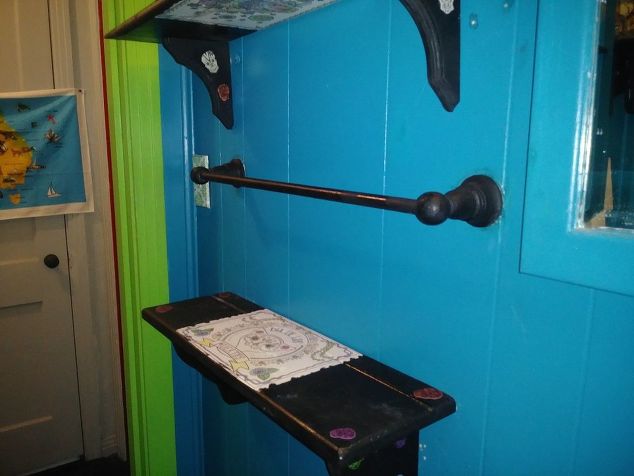
Here is another view of the finished project. I still need to touch up some old holes in the wall & match some paint. But other than that, I think it looks pretty awesome!
Suggested materials for this project:
Shelves
Brackets
Acrylic paint
Krylon clear spray paint
Towel bar
Modge Podge
Sugar skull coloring book
Sugar skull stickers
Baking soda