Make Most Excellent Pizza (At Home)

There is a lot of stuff out there about how to make the best pizza, but not a lot about some of the finer details of how to accomplish this at home. For a while now I have been making my own pizza at home from scratch. What follows is the story of how that happened, as well as everything you need to truly make kickass pizza at home. As I learned quickly, having a decent dough recipe is just the start.
Two and a half years ago, around mid Jan 2014, I found myself in a difficult situation. Jobless and with a baby boy due to be born in June, I was stressed and depressed. One Friday night my wife and I decided to order pizza to take the edge off. We ordered two 12-inch pizzas for about $40 USD including delivery…ouch! The pizza was thin, but not the good kind of thin, it was that weak and limp kind of thin that flops all the way to the crust if you hold it up. The toppings were sparse, making the fact that it flopped that much worse. The tomato sauce was bland, the cheese was tastelessly there, and the pepperoni was some kind of crappy salami. Instead of a classic Friday pizza night cheer up, this pizza pissed me off. Not the yelling and screaming kind of pissed off, but the Clint Eastwood stare kind of pissed off...

After 3.5 years living in Singapore I had reached my limit of overpriced nonsense. The only reasonable thing to do was to make my own fucking pizza. Clint would.
In Singapore all but maybe 4 pizza places serve below average pizza by US standards. You can argue that living in one of the most expensive cities in the world, and an island in the South Pacific, I should expect to pay more. I do, but the quality should be there too. They should be at least batting average. Not a single one is what an American would consider having a reasonable price - quality - quantity relationship.

The low quality and high price of pizza in Singapore had been bugging me for a long time. But I thought to myself, I live in Singapore, I guess I should expect the pizza to be shite. Upon closer inspection of the Asian region, and specifically the big cities, that logic falls flat. Tokyo and Beijing have some stellar pizza. There are a ton of expats in Singapore from all over. There is no reason the pizza standards should not be higher. Ninety-eight percent of pizza here is overly thin crust, which leads to soggy and floppy bullshit if its not done just right, and of course with anemic toppings to boot. One percent of pizza here is just ok, but still, NOBODY has decent pepperoni. The pepperoni here is just a disaster when a pepperoni craving hits. It is spicy Hungarian salami. Love Hungarian salami, but its not going to satisfy a pepperoni craving. Nope. The other one percent is this overly thick, thin crust that looks like those plastic food representations the Japanese put in their store windows to show off their menu items. One can forgive the Japanese for using these bizarre plastic food sculptures, as their actual food is amazing. This “pizza” is an abomination.

Learning to make pizza became my obsession. Pizza is a tangible thing, and I can see right in front of me how everything works together to create something worthwhile. It made me feel worthwhile doing it. I can make it with my hands, and EAT the delicious results (or whatever the results may be). I could see myself getting a little better every time. I could get deep into the process of making the pizza and learn something productive. But best of all, I don't have to pay up for overpriced nonsense anymore...
Thankfully there are many, many different sources to tell you how to make a decent pizza pie floating around the internet (muchas gracias America). Unfortunately, almost all of those recipes do not account for the fact that most of us do not have an industrial strength oven, or a wood burning brick oven pumping out 900 F degree heat. THAT is a HUGE problem if, like me, you want that hot sexy pizza to be right.


If you dont mind, yes, you can make fine pizza by buying a stone and following those instructions, combined with a typical recipe on seriouseats.com, or some yokel on Youtube. That pizza will definitely beat most of Singapore. But to get that crisp crust that is soft just past the outside, stringy mozzarella, and rich sauce, there are a few things you need to do a little differently. Let us begin with the tools which I consider essential and those that are optional.
If there is a particular brand I recommend, I have provided a link. Everything is on Amazon though...
Essential Tools:
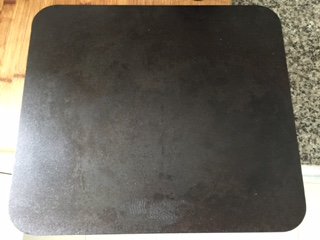
Pizza Steel: Slab of steel that goes into your oven. I think there are a few makers now. I use the Baking Steel. It is excellent. Steel conducts heat better than a stone, so for a low temperature home oven, it works the best. Some people use a cookie sheet turned upside down, or a cast iron pan turned upside down. Ive never tried it, but I saw Heston Blummenthal do it with a cast iron pot, and it worked. Though you can only do little bitty baby pizzas, and I prefer a solid 12-inch.
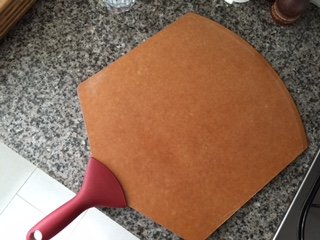
Pizza Peel: Its a big paddle thing that will help you get the pizza in and out of the oven. The one I settled on is a 21 x 14 inch model made by Epicurean. I orignally had a 10-inch paddle, but I like slightly bigger slices, so of course you need a slightly bigger paddle to put fit the pizza on. You can get by with just using a cutting board, but I have not tried it, though it works for some people.
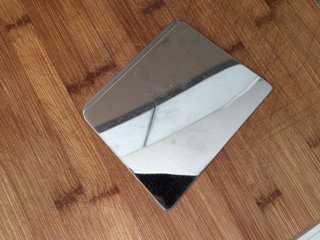
Dough cutter: A must get item, as it makes cutting and scraping dough a breeze, rather than a bitch. Lots of different styles out there, this one was cheap and gets the job done. Dough cutters are also important because when you are dividing dough you should always cut it rather than tear it, as you destroy the gluten network in the dough if you tear it. The gluten network is what gives the dough its structure. It is important.
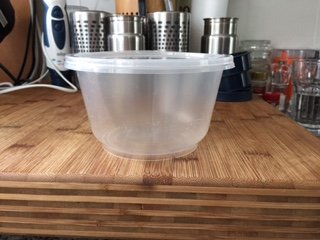
Round plastic tubs: For fermenting your individual dough balls neatly in your fridge. A flat cookie sheet wont fit in my fridge, but small plastic tubs will! If you want round pizza, start with round dough.
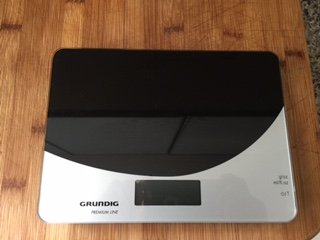
Digital scale: Weigh your ingreds. Measuring cups are liars.
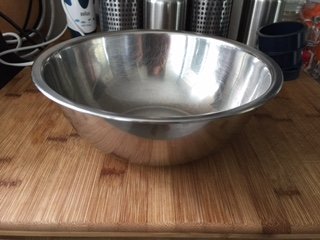
Aluminum bowls: Light, cheap, efficient, easy to clean. Yes, please.
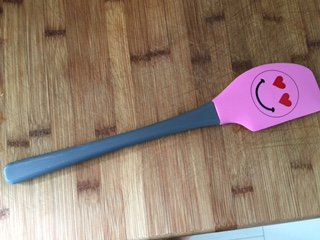
Rubber spatula: My wife got one that is heat resistant. It seems to be “sticky” resistant too, and makes mixing dough much easier. It rocks.
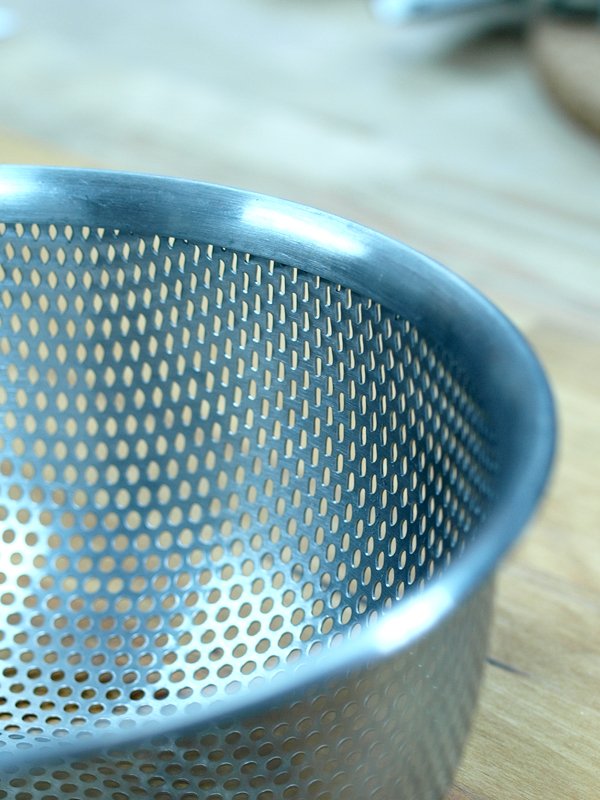
Thin mesh colander: For draining the tomatoes.
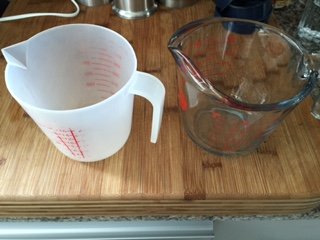
Measuring cups: Two, as they are cheap and good for pouring, and if you have two you can use one for dry ingreds and one for wet.
Cutting Boards: If you make more than one pizza, you have to put them somewhere.
Optional but recommended tools:
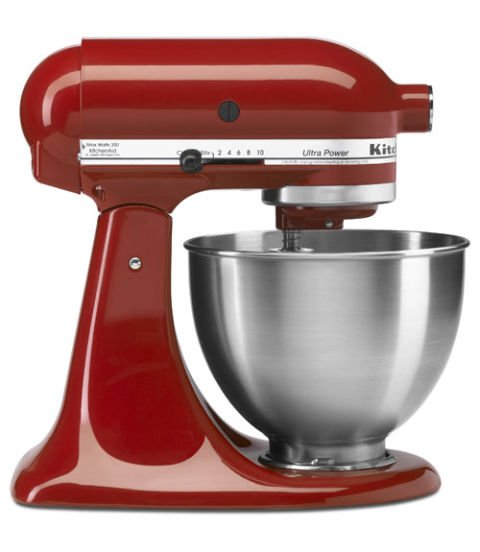
Stand mixer with dough hook: Obviously its easier, but if you don't have one, good pizza dough doesn't need more than 5 minutes of kneading. And if you use the non-stick spatula above, mixing the dough isn't such a bitch either. Don’t use a food processor to knead. It will make the dough tough.
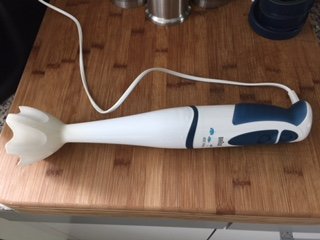
Hand blender: For blending your tomatoes. You can do it easily with your hands. Both ways are fun.
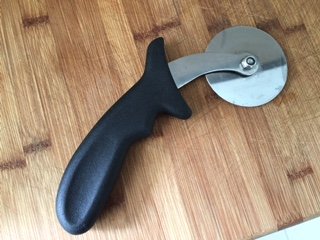
Pizza cutter: Any big ass knife will do. If you have a meat clever you should use that, because I assume it would be fun, otherwise buy a pizza cutter.
Notes on Ingredients:
Flour:
High protein flour, which means flour with greater than 12% protein. However, when one goes to the store it is rare that the protein content is actually written on the damn packaging. Most use generic terms like “Bread Flour” or “Strong Flour”, otherwise known as $%^&# annoying. The reason flour companies dont put a number on their protein content is due to the fact that protein content depends on the growing conditions for the wheat. Growing conditions are variable, so protein content is variable. Rest assured though that most “strong” or “bread" flours are going to have a protein content over 12%. All-purpose flour comes in around 11% protein, and cake flour comes in around 9%. The more you know...
Type 00 Flour: This flour is specially designed for use in 900 F degree ovens, so for the lower temps a stronger bread flour is better. However, given the top class quality of this flour, it will still produce great results in the home oven on a steel, just not quite as good as the strong bread flour imho.
Tomatoes and sauce:
San Marzano tomatoes with a few pinches of salt to taste, marinated overnight in the fridge is all you need. At first I went through the process of cooking sauce as per some great online recipes (Serious Eats has a good NY style recipe), and its definitely good, especially if you want some different flavors in your sauce. However it is extra work, as well as an extra cook for the tomatoes. The tomatoes are partially cooked from the pressures of canning, then you cook them to make the sauce, then you cook them again in the oven. The best sauce I have made so far is simply some great San Marzano tomatoes, blitzed with a hand blender, adding a few pinches of salt to taste, then marinated like that overnight. Great ingredients make cooking easy. Any old canned tomato works fine too. Just not the best!
*If you are not cooking the tomatoes before putting them on the pizza, then you need to drain the excess water off them. (See Tomato Sauce Method below)
Cheese:
Finding the right mozzarella cheese can be a brutally expensive process. The issue is the way the mozzarellas melt, or don't in some cases. Though good melting cheeses generally have better flavor as well, in my experience. For American style pizza with mozzarella, you want to buy it in block form with 22% fat content or more, and shred it yourself. Pre-shredded cheeses will either burn, clump up, or melt into a glue like substance. Sometimes a combination of those three. The reason is the anti-caking agents they use in pre-shredded cheeses. A 12-inch pizza only needs about 100 grams of cheese to get good coverage, so you really dont need to do much shredding work. Cooking the cheese in the home oven is tricky. Since the home oven usually only maxes out at about 500 F, you have to cook the pizza longer. About 7 minutes per pizza is what it takes me. That amount of time is brutal on cheese, and can eviscerate it, especially if you are using fresh mozzarella balls. I literally had one buffalo margherita pizza where the cheese disappeared! The solution is to add the cheese in the last few minutes. This way the dough gets crisp and the toppings dont get destroyed.
Fresh Mozzarella: It needs to be dried a little bit to get most of the water out of it before going n the pizza. I slice them up into the shape of french fries and let them set in a bowl in the fridge until I cook. The water will drain out and you can just dump it out into the sink before you use the cheese.
Dusting mix:
Prevents sticking. When you are preparing your dough to go in the oven, you need to dust the outside so it doesn't stick. You can use just flour, but if you mix flour with either semolina flour or corn meal, it will add a nice flavor, as well as helping the pizza slide off the peel better. I use a ratio of 60% semolina / 40% flour (the same flour as you used to make the dough). When the semolina burns in the oven it adds a nice charred flavor. Yummm…
Tomato Sauce Method:
(Makes enough sauce for approximately 8-10, 12-inch pizzas)
- Get a 2.5KG can of San Marzano tomatoes. ( you can do a smaller amount, I just like to make it and then freeze the remainder)
- Take a thin mesh colander and place inside one of your aluminum bowls.
- Pour the tomatoes into the mesh colander, then, over the sink, lift the mesh colander out of the aluminum bowl and dump out the water in the aluminum bowl.
- Then, pour the tomatoes into the now empty aluminum bowl.
- Blitz with a hand blender until chunks are all very small. Some places say 1/8th of an inch chunks, but that is somewhat difficult to measure. Do it however thin or thick you like it.
- Add a few pinches of salt. Use whichever kind of salt you like, I use sea salt and for a 2.5kg can of tomatoes I use about 3-4 pinches of salt. For this volume of sauce it probably amounts to two teaspoons.
- Mix and taste until you get a taste you like. If you dont like the taste but the saltiness is right, you are done.
- Cover with plastic wrap and leave in the fridge overnight. If you forget, a few hours in the fridge is enough to get the flavors melding.
- You can add a little olive oil to the sauce if you like. I usually add a few teaspoons.
- Freeze anything you dont use in an air-tight container. It will keep for a couple months.
Dough Recipe:
- There are so many recipe’s it’s endless. Jim Lahey has a good one called the “No-knead method" that is easy for starting out, you can find it here. However again, the main problem is the home oven and the fact that recipe’s are not tailored for them. I suggest you get the book The Pizza Bible, by Tony Gemignani. All of his recipes are done with the home cook and home oven in mind. It makes everything so much simpler. I can literally add nothing to a recipe formulated by a pizza God like Tony, but what I can do is give you is my notes based off of the recipe from the book, and my experience fucking things up.

Starter in tub:
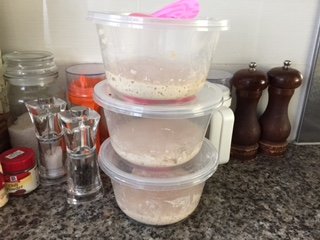
Dough in tub:
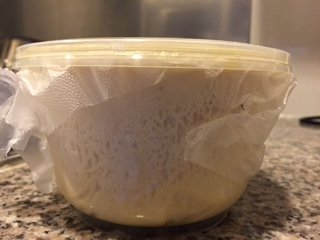
Notes:
- Slow fermenting the dough in the fridge for at least two days is the way to go. It is simple and literally requires no effort, as you just leave the dough in the fridge. I have left dough in the fridge for 9 days at about 2 degrees Celsius using The Pizza Bible recipe, and it is still excellent. The longer it goes the more sour it will get. I would imagine 10-12 days is about as far as it can go. I havent tried though!
- Bulk fermenting the dough in the fridge is fantastic if you are not up for using a starter. It is simple, takes less time, and delivers great flavor. Your aluminum bowls are perfect for bulk fermenting. Just cover with plastic wrap and let it set in the fridge.
- I resisted making a starter for a long time. Then when I finally did, I forgot to add the yeast (Doh!) and of course it added nothing to the dough, so I didn't go back to trying a starter for a long time. However, the best flavor and crumb really does come from using a starter. A starter is basically a small amount dough that has been risen over night that goes into the main dough the next day. It is an extra step, but it is simple, and sure is worth it. Plus you can mess around with what goes into the starter. Tony says starters are the future of pizza...
- Lately I have gotten deeper into understanding bread. Using a type of starter called a barm, made with live yeast, gets a great crumb, and a good depth of flavor, but despite being simple it does require planning.
- Rolling out the dough is the trickiest part. It took me a long time to get to where I didnt have any thin or weak spots in the dough. Now I use a rolling pin after I dust the dough just to gently start the flattening and stretching process, then I pick it up and do the final stretching on my knuckles. That works for me. There are lots of ways to do it. But it really does have a big impact on the end result. Take care to do it right, because weak spots get soggy and flop or break.
- Adjusting the salt content for your location’s climate is tricky. You just have to guess. Trial and error baby. Living in Singapore I have had to add about 4 grams of salt to the recipe to counter the humidity.
- Balling the dough is tricky at first, and important. Take time to make sure it is sealed and you have smushed out any trapped air. It will bubble up and make weak spots in your dough if you don't.
- After you ball your dough, oil your plastic tubs with olive oil so that it doesnt stick. Be sure to oil the lid as well. Using a starter can make the dough rise a lot, so I oil a piece of plastic wrap and cover the tub before i put the lid on. This helps so the dough doesnt explode out of the tub.
- Put the dusting mixture on every inch of your peel. Any sticking means you will have a hot mess in your oven. I have done this twice. Very depressing to lose a pizza on a Friday night. [sad face] Though I will admit that both times I just straightened the pizza as best I could and let it finish cooking. Then I ate it out of spite. Some of it was ok.
Baking:
- The Pizza Bible has a good method, but it requires that you buy more pizza steels than I want to buy. Using one pizza steel, the best method I have found is the following:
- Place steel in oven with about 4 inches of space at the top.
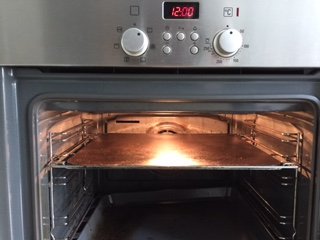
- Turn heat to full blast (don't be afraid my friend) on bake and let pre-heat for 1 hour.
- 15 minutes before you bake, turn the oven from bake to grill/broil.
- After 15 minutes, turn the oven back to bake.
- Roll out your dough and top with sauce.
- Bake for 5 minutes. Use a timer, it helps.
- After 5 minutes, remove the pizza from the oven and turn the oven to grill/broil.
- Put toppings on the pizza.
- Return the topped pizza to the oven and bake for additional 2-3 minutes. I wait for the crust to brown or if it doesnt brown, I let some of it burn a bit to get that char on the top.
- After baking the pizza, let the pizza rest for about 3 minutes minimum before cutting it. If you cut it too soon, the oil will leak all over and make the pizza soggy.
My Bodacious Pizza Odyssey:
The first pizza I ever made. I went online and grabbed a recipe form somewhere and gave it a shot. Tasted good, but zero rise in the dough. I used one of those round nonstick pizza pans you get at the grocery store to cook it, so zero crispiness.

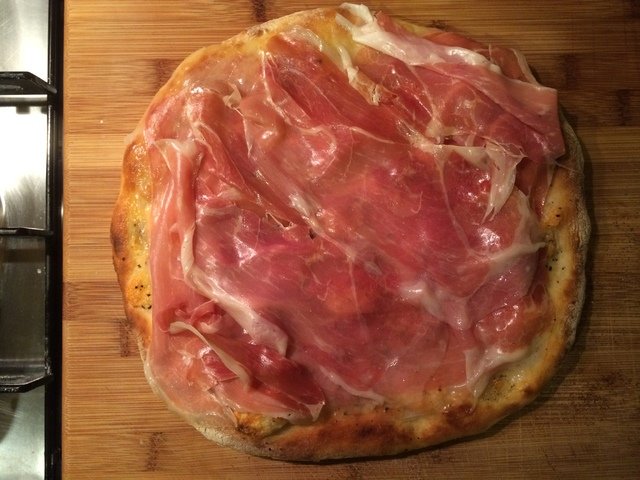
The second attempt was a mixed bag of utter disaster and edible. This time was a mix of recipes from youtube videos and what I could find online. The pizza on the top is a good example of shitty mozzarella. That one still makes me laugh. It was abysmal. The dough was rock hard, and the cheese was pre-shredded, hence the burning instead of simply melting. The other two were the edible ones. Parma ham and fresh mozzarella made up for a lot of mistakes. Damn expensive though!
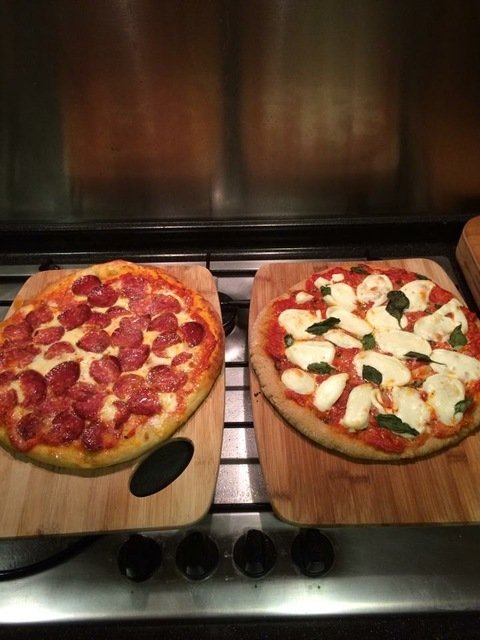
The third attempt went better. I watched some more youtube videos and read some more online blogs. The dough didnt rise so well, and I only let it ferment for 24 hours. I did not have the steel at this point, still using the non-stick pizza pan, so it was not crispy at all. Still, I was afraid to put the oven on max temperature. I did manage to get nice round dough though [gentle clapping]. You can also see the attempt at margherita on the right, the cheese didnt really melt much at the low temp. But its fresh mozzarella, so there were no complaints. The dough on the right was made from whole wheat flour, which I did not go back to, as there really is no point in trying to eat healthy when you want delicious pizza.
The next try I went for a four cheese pizza and got good melting, but still the dough lacks that char and not crisp due to the low baking temp. This dough was some NY style recipe that adds sugar to the dough. I was also still making the dough in my food processor with it’s dough hook. The dough gets too overheated in there and produces a tougher chewing crust.
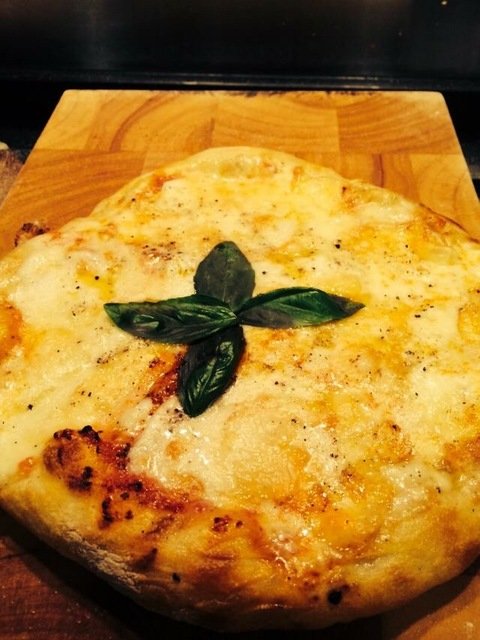
This attempt was a carbonara on an NY style dough. It was damned delicious. However, I overcooked the cheese, and under cooked the dough. For a loooong time I was afraid to ruin the dough by turning the heat up too high or leaving it in too long. Did I mention that?
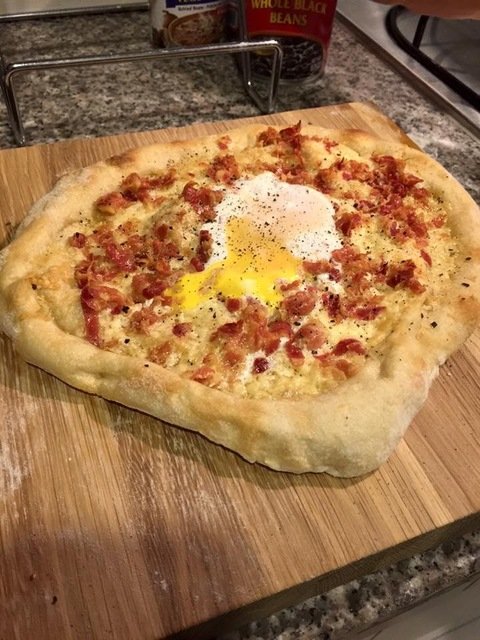
At this point, about a year in, I stumbled onto Jim Lahey’s no-knead pizza dough recipe and book. The improvement on the crust was dramatic. His recipe is excellent, and you can find it here. Super simple and makes a solid pie. For a long while this was as far as I went down the dough rabbit hole.
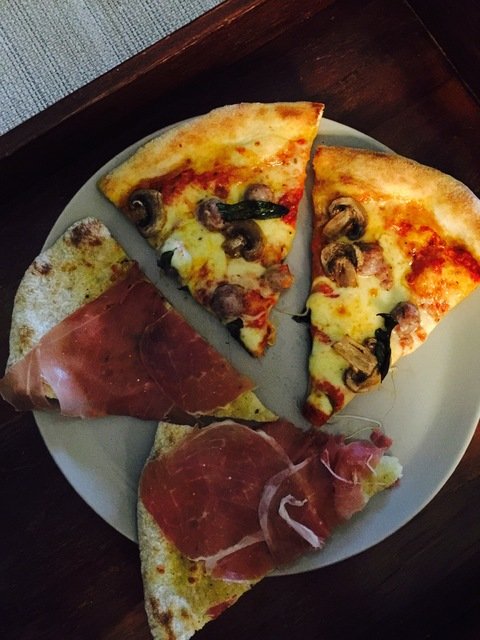
The next pizza is another good example of several mistakes. I did not cook the sausage before putting it on the pizza, so all of the oil collected in the middle. Another swing and a miss with the block mozzarella. This one ended up in a gloopy mess, which then hardened and then had no stringiness to it. Dough still solid, though no points awarded for roundness.
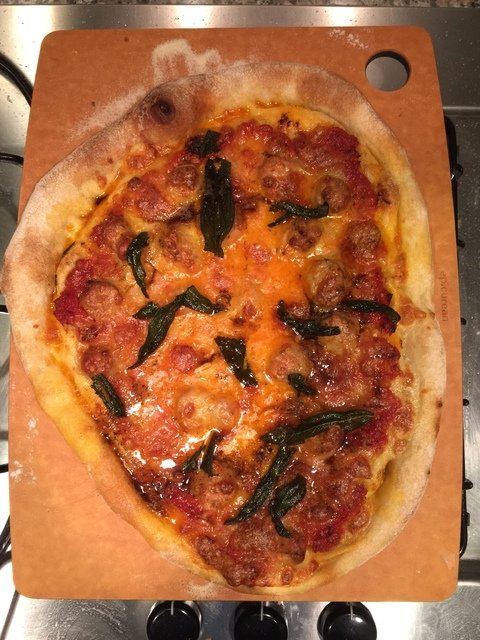
This one is a family favorite toppings combo of Eggplant, chilli, and ginger from Jim Lahey’s book My Pizza. However you can see the mozzarella for this one is still not right. It took me a looong time to find a maker of block mozzarella that melted well.
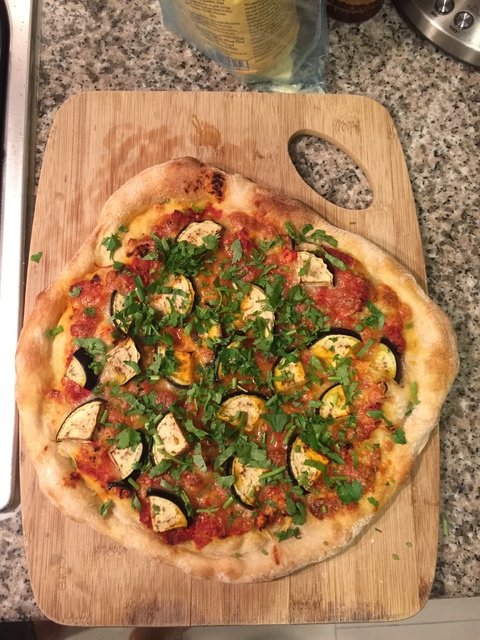
I finally worked up the courage to bake the dough at a higher temp and got some decent browning. At this point I was cutting my mozzarella balls into slices which is ok, but the best way I have found for the home oven is to cut them into french fry strips. This helps so the whole chunk of cheese doesnt come off at once when you take a bite.
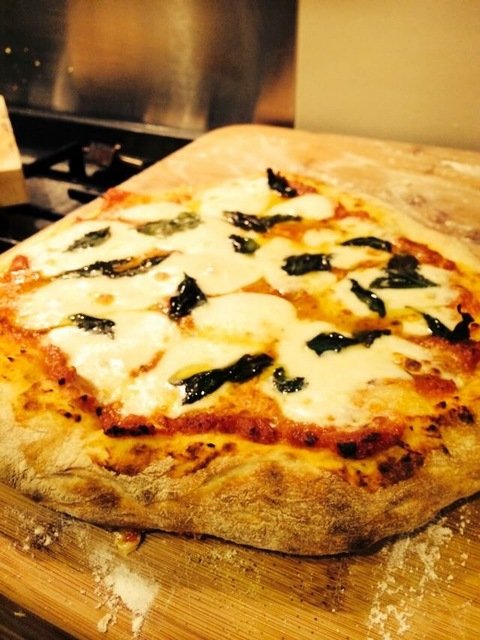
At this point I found The Pizza Bible, and it was a revelation. This was the first pizza where my wife said, “Wow". Sniffle sniffle...
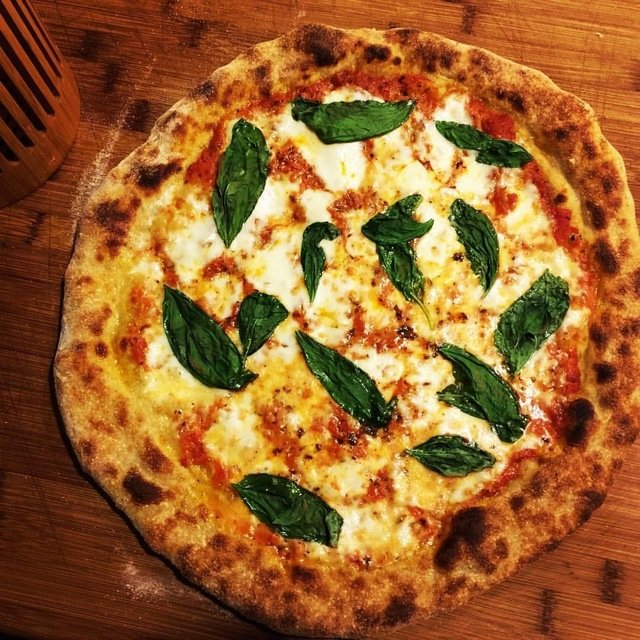
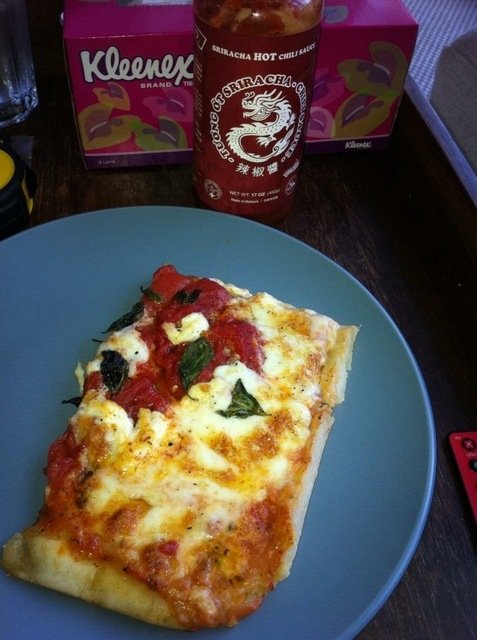
I was on a bit of a margherita kick for a while. But at least I was starting to hone in on a good process. I let the dough cook for longer and under the oven grill here and got some good color. You can also see the “french fry” technique to cutting the mozzarella balls was on display here. I find each bite gets a nice stringiness to it.
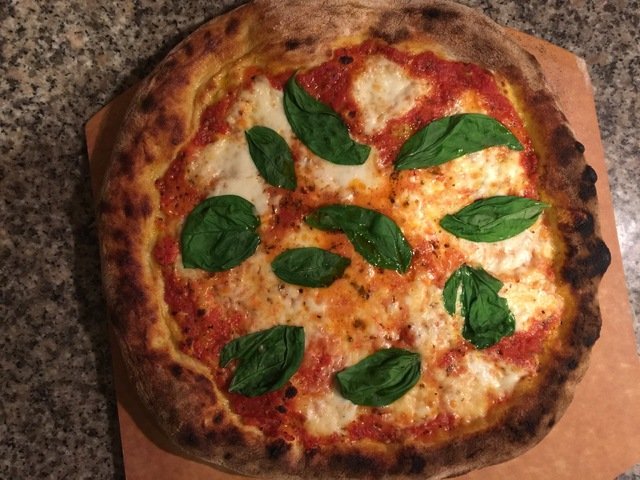
Jim Lahey’s Eggplant pie again, this time topped with bonito flakes. My wife added Japanese mayo and Okonomiyaki sauce and it seriously kicked ass. (I was skeptical, to my peril)
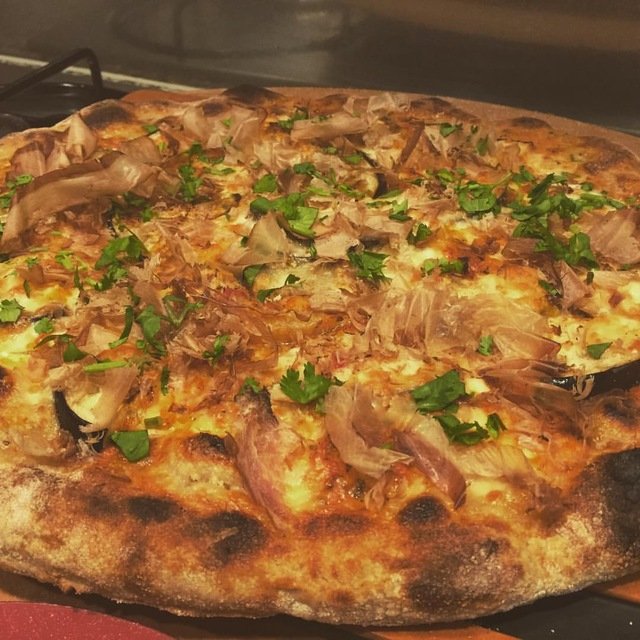
I had a lot of problems with oily/wet pizza making the crust soggy. Sometimes it was wet cheese balls, sometimes it was under cooking the dough, sometimes it was not pre-cooking the sausage, sometimes I cut the pizza too soon and all the oil drained under the pizza. This one was juuuust right.

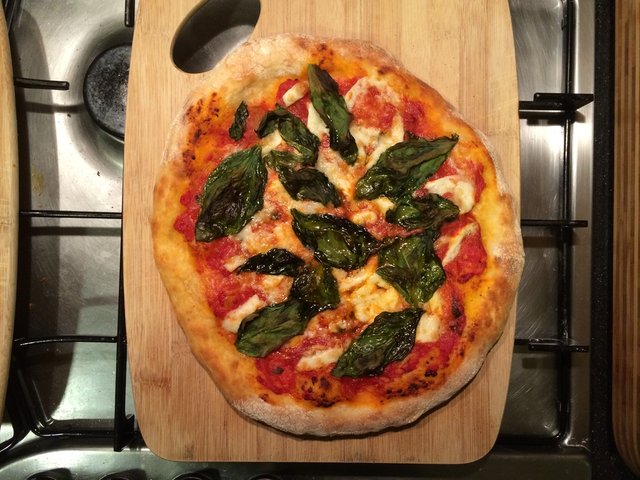
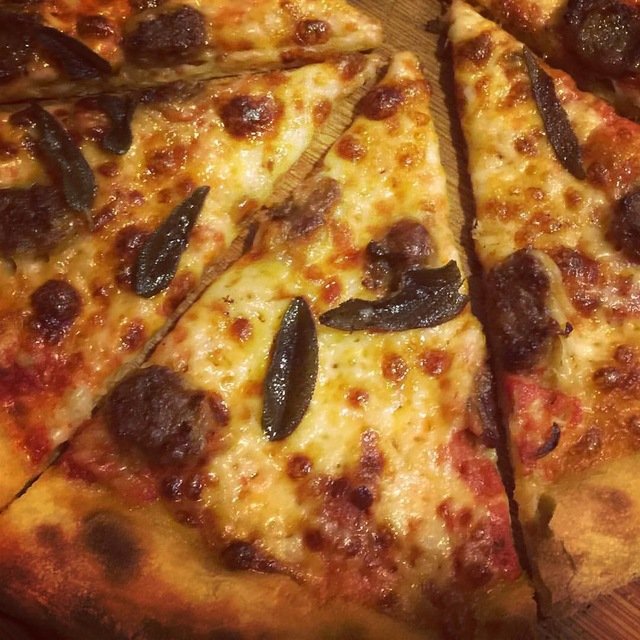
I was too lazy to make a starter at first, but when I finally did…wow. Everything is better. This one is spicy sausage with butter fried sage (my wife’s glorious idea) and block mozzarella. At this point I finally found a really good block mozzarella. I literally bought all 6 brands the grocery store offers and tried them all until i found the best one. They say high fat is the difference, but all of them are around 22%. So, I think it just depends on how those bastards make the cheese. At least if you live in the US its simple, just use the cheese Tony recommends. (You don't know how good you have it you American bastards.)
I took a trip back to the US to see my family and snuck some pepperoni back to Singapore (shhhh). Damn, there is just nothing like some great pepperoni (cheers to Applegate Farms). This was on a sourdough crust. I made a sourdough starter from scratch, growing the yeasty goodness in a jar on my counter. Also the cheese here was perfect. Truly, I never could have imagined what a mind-numbingly difficult task it would be to find the right mozzarella cheese. Its mozzarella! How different can it be?!? A LOT!
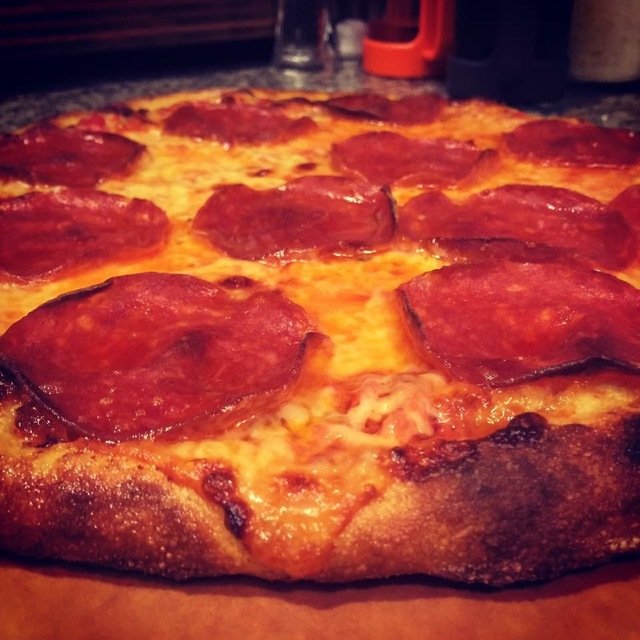
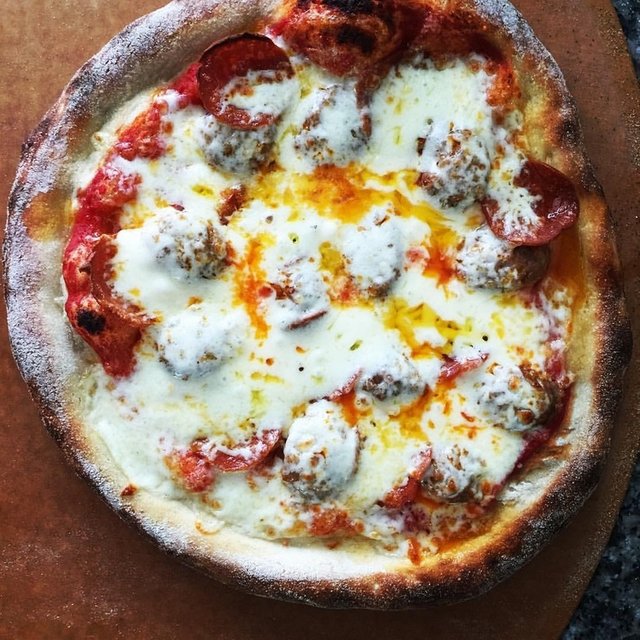
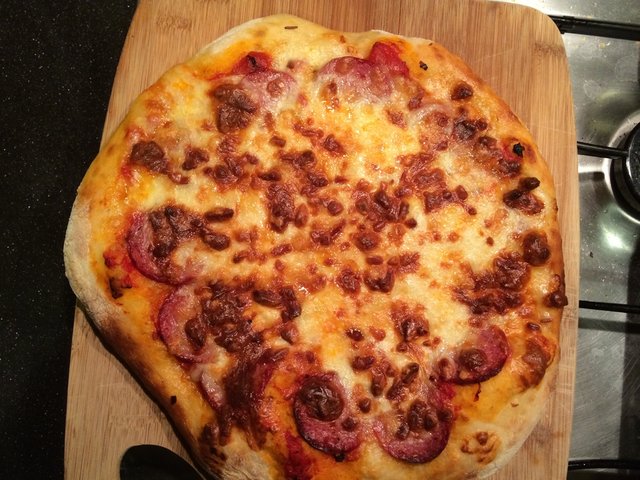
This is the latest pizza. Made with a barm starter, it was the best I have made to date. Sausage and pepperoni with extra cheese. The only “error” was that I over cheesed it...because I was in the mood for extra cheese! Otherwise I dont think I fucked anything else up. Hooray! Two years of playing around and I have started making consistently good pizza. The dough is the foundation, but good toppings make the pizza imho. The whole pizza making process is fascinating to me, as there are so many things you can screw up that have a big impact on the final result. Luckily I still end up with pizza, which means that most of the time its just different levels of deliciousness.
