Macro Photography
I am not a professional photographer, but I have been involved in amateur photography since 2016. Over the years, I’ve experienced both ups and downs in this field, and eventually, I’ve developed a certain personal style. Landscapes are the easiest to photograph — you simply set the focus to infinity and shoot. However, what I truly enjoy capturing is nature. To be more specific, macro photography is my favourite genre.
I use a Canon 1200D camera. It’s a budget model, which I originally chose due to its price. I needed somewhere to start, and this camera has been with me since 2016. Since I don’t make a living from photography, there’s no need for me to invest in an expensive camera — good shots can be achieved even with a smartphone. However, unlike a smartphone, a DSLR camera gives photographs a greater sense of depth and life.
It was Friday, 10th January. My wife had a meeting planned with a friend, so I decided to make use of the free time by heading out into nature with my camera to search for good shots. In this post, I am focusing exclusively on macro photography; I will publish the rest of the pictures a bit later.
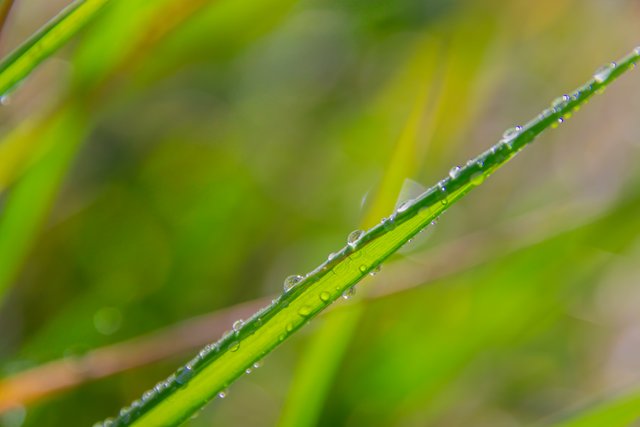
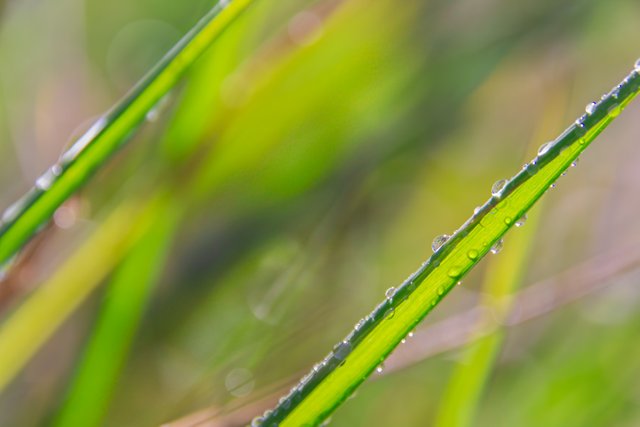
To be honest, the weather is quite dry at the moment, so I had to bring a spray bottle of water to create the illusion of dew or raindrops on the grass.
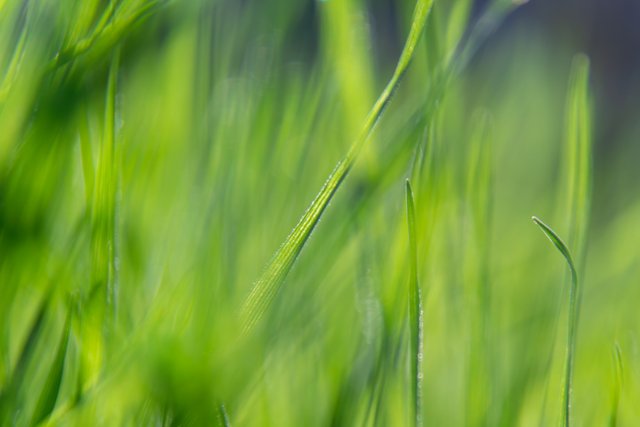
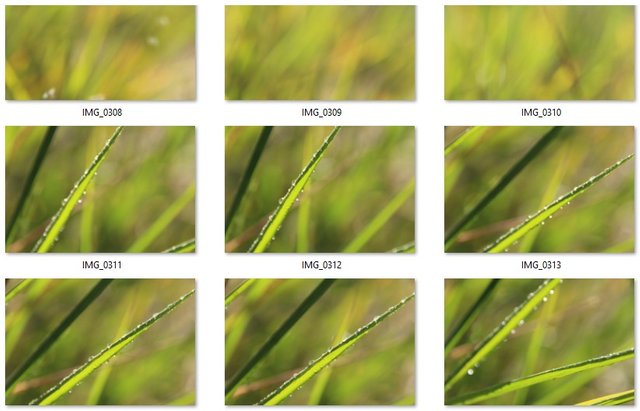
The search for the perfect shot can sometimes result in taking hundreds of photos, but only a handful might turn out to be truly successful. I didn’t reach a hundred this time, but out of fifteen macro photographs, I selected just four that I considered the best.
I would also like to say a few words about photo editing. For many years, I have used Lightroom and Photoshop. Recently, Lightroom introduced a remarkable feature that uses artificial intelligence to remove unwanted objects or artefacts from images. I actively use this feature as it significantly reduces editing time and delivers good results. However, to my disappointment, today I noticed some strange graininess in the area where an object had been removed.
At 100% resolution, you can clearly see a semi-transparent "grid" where a blade of grass I decided to remove once was.
I tried to eliminate this graininess using some tools in Lightroom, but I wasn’t happy with the result. I had to open the photo in Photoshop instead. Such flaws are easiest to fix with the Gaussian Blur filter. However, before applying the blur filter, you need to create a new layer and roughly outline the grainy area with the brush tool. Soon, you’ll understand why this is necessary.
Make a copy of the layer containing the original image. Always keep the original intact as a precaution against irreversible changes if you accidentally save the file. Don’t ask me how such things can happen, but trust me, they sometimes do.
Apply the Gaussian Blur filter. Adjust the filter settings to effectively eliminate the graininess, but don’t overdo it. For me, a value of 4 was sufficient.
We need to remove only the graininess. Select the "blurred" layer and choose the Brush tool, setting it to "Clear" mode. Now carefully erase parts of the "blurred" layer, leaving only the area over the graininess untouched. The outline you prepared earlier will help with this.
You can now delete the layer with the black outline and merge all visible layers into one by pressing Shift+Ctrl+E on your keyboard.
I was pleased with the result — the graininess was gone.
In truth, all of these steps might not be necessary if it’s just an amateur photo. However, if you’re planning to submit the image to a stock photography platform, such artefacts could be grounds for rejection by the moderators.


