Tutorial: How to photograph an International Space Station fly-by

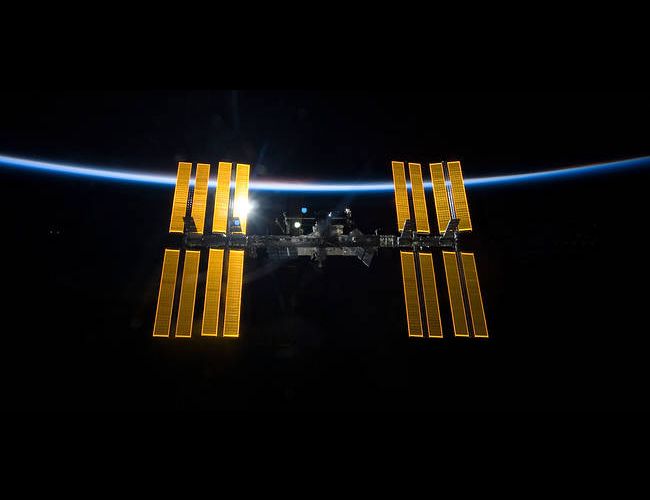
Image courtesy of Nasa
We'll cover the everything from the equipment you will need to planning, the shoot and post processing the results. So let's dive straight in and start off with the equipment you are going to need:
Equipment
Camera
Tripod
Remote trigger release
Some ND grad filters (optional)
Planning
The first thing you need to do is find out where and when the ISS is going to pass overhead. Because the ISS is a satellite of sorts, it streaks across the sky as a bright white dot just like other satellites do. So this will be like shooting star trails.
There are several apps you can use to determine when and where and with the better apps they will even tell you the direction. I used GoISSWatch on the iPhone.

Take a note of all the times the ISS will fly over your chosen location and plan to be there on every one of those occasions. If you life somewhere with unpredictable weather like I do here in Scotland, then you need to take every opportunity you can get. The last thing you need is cloud cover ruining your shot.
The Shoot
I recommend getting to your chosen location a good 30 minutes before you expect the ISS to pass over. This will give you time to setup and frame your composition and make some test shots. This part is critical because you are only getting one chance. Like with any astrophotography you should go to the highest f-stop your camera lens will allow. Mine was f/4.5 but if you can go as low as 2.8 that would be super.
You want to avoid causing the stars to turn into trails so stay below the 500 rule. So if you are using a 24mm lens you divide 500 by 24 (500/24 = 21), which gives 21 so you need to keep your exposure under 21 seconds to avoid trails. That’s fine as 20 seconds will give the ISS enough time to give you a decent trail into your shot.
Complicating Matters
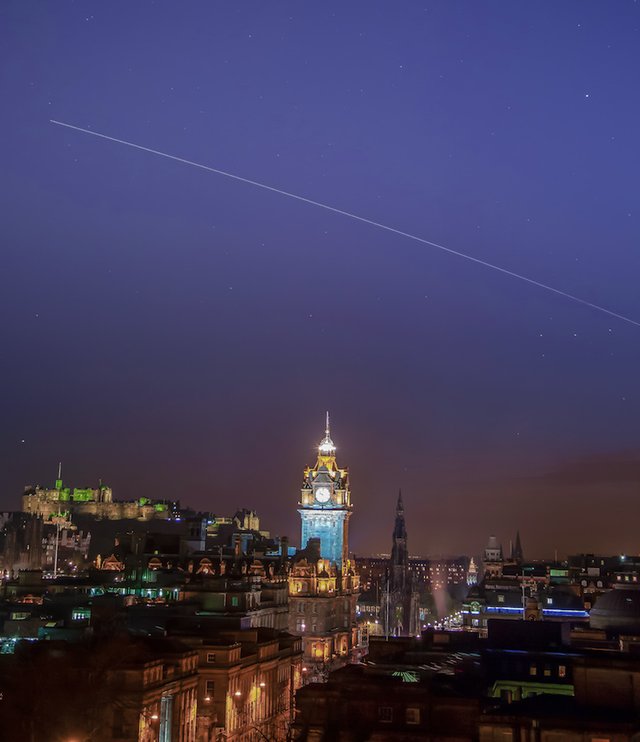
So if you are like me and you don’t want to take a shot of a streak of light in the sky with nothing else in it but sky or a field in the middle of nowhere then it gets a little more complicated. I wanted a shot that incorporated the city I live in. That means dealing with a lot of light pollution. How will I keep the light from the city under control and still expose long enough to get the ISS trail?
My solution was to take to ND Grad filters (0.6 and a 0.2), stacked them and then turned them upside down so they were making the bottom half of the image darker instead of the sky. Then I tweaked my settings so I could get a decently long enough exposure to still get the ISS in.
In the end I took 10 exposures at f/4.5, 9sec ISO 800 @47mm.

You can see here by the areas circled in red that each one the pics has a small part of the trail. These will need to be combined in Photoshop later.
Post Processing
For this section I am assuming you are already familiar with lightroom and photoshop. Each of these 10 exposures has a small bit of the ISS moving across the sky, so I would need to combine them to get one long trail.
I imported them to lightroom and cleaned up the color balance, and fiddled the highlights and shadows to balance the image further and get the light trail to stand out a bit more. I duplicated these adjustments precisely on all the images which can be easily done with lightroom’s sync feature.
Then onwards to photoshop! Here I stacked and auto-aligned the images using a standard photoshop script and then blended them together with ‘lighten’ blend mode. You will get spaces between each trail so you need to just take bits of existing trail to fit them together to get one smooth seamless line. I highly recommend experimenting here to get the look you are after.
The Result

Thanks for Looking.
Follow me and read more of my posts here: @fiftysixnorth
Don't forget to Upvote and Resteem

Thanks for Looking.
Follow me and read more of my posts here: @fiftysixnorth
Don't forget to Upvote and Resteem

Thanks @pixresteemer :)
Congratulations @fiftysixnorth! You have completed the following achievement on the Steem blockchain and have been rewarded with new badge(s) :
Click here to view your Board of Honor
If you no longer want to receive notifications, reply to this comment with the word
STOPTo support your work, I also upvoted your post!
Wow this is alot more challenging than capturing the moon @fiftysixnorth lol.
lol! yeah its a little more complicated ;)
This post was shared in the Curation Collective Discord community for curators, and upvoted and resteemed by the @c-squared community account after manual review.
@c-squared runs a community witness. Please consider using one of your witness votes on us here
Thank you!
Please join the community and become a photomag curator in the @c-squared discord server and vote for the @c-squared witness here .
Thanks :)
A beautifully successful image! The city looks great, too!
Thanks :)