SLC21W3 | Men's Shirt Base Pattern Layout | Class 3
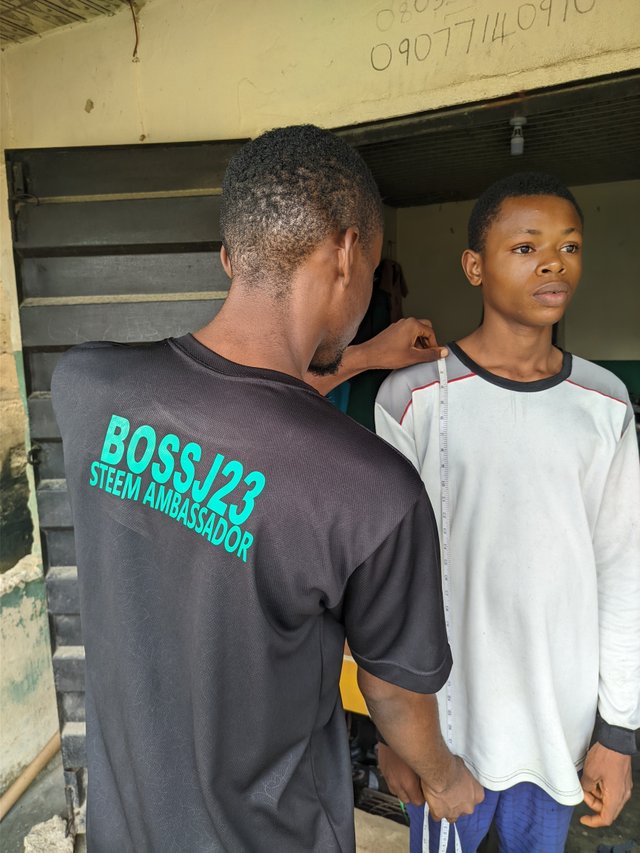
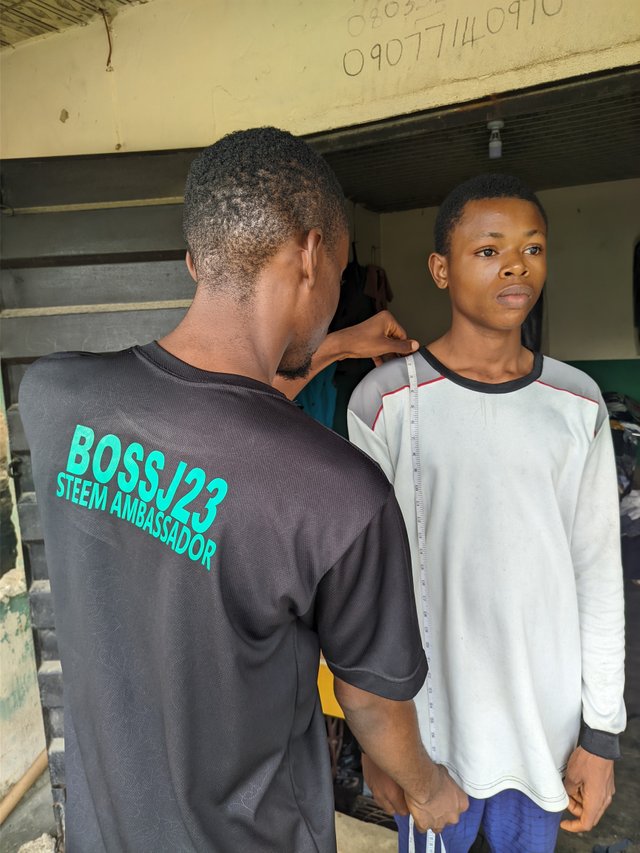
This is a new week for the continuation of last week. We'll be focusing on the base pattern of a man's shirt on the front side. Last week, we focused on the back pattern of which measurements like the chest circumference, back width, shoulder and neck contour were taken to make a good curve in the neck region, waist and shoulder from behind. The measurements taken into consideration for the front side of a man's shirt are;
- length
- neck
- shoulder
- chest circumference
- buttoning
- pocket side on the shirt
- waist and hem line.
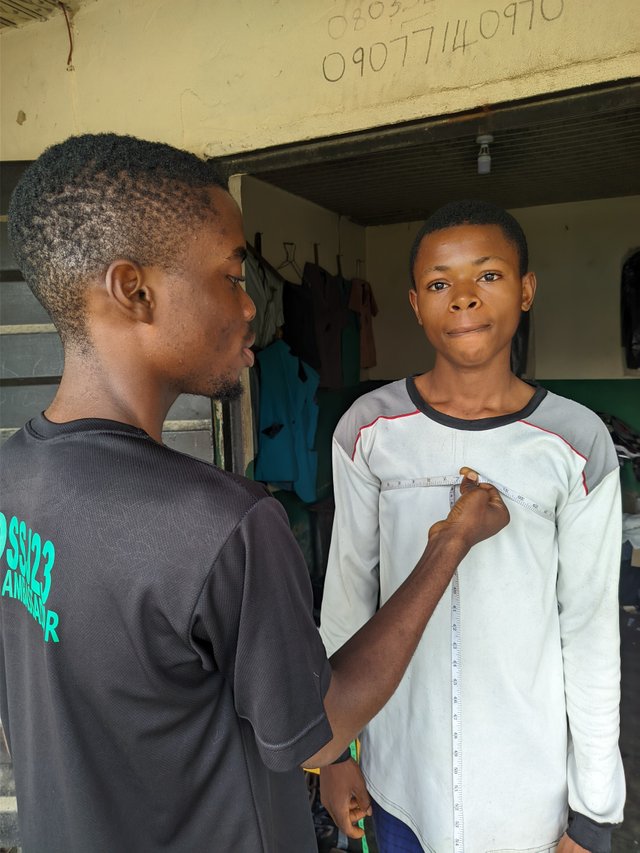 | 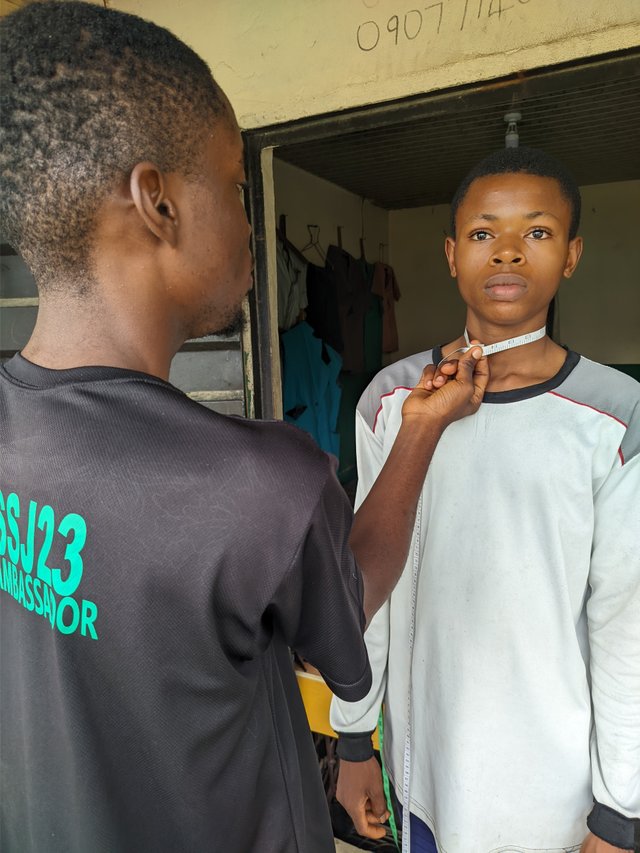 |
|---|---|
 |  |
For this practical, I'll solicit for the absence of some materials. In my region, we barely use a french curve to draw curves. We use our hands, freehand drawing to draw curves and that's always perfect using a fabric. You get perfection. Another thing is that the use of a yellow cardboard wasn't intentional. I would have used a white but it wasn't available in my region. The last one was sold to me last week. I'll be heading to town to purchase cardboard papers for next week. My cardboard paper is not as long as my mentor's own.
Having known what to take into account when measuring the basic pattern of a man's shirt [Front side], we'll go into practical prior to the practical given us. I choose not to divert the steps from how I do mine but rather choose to follow what is being taught to learn new things....
Steps
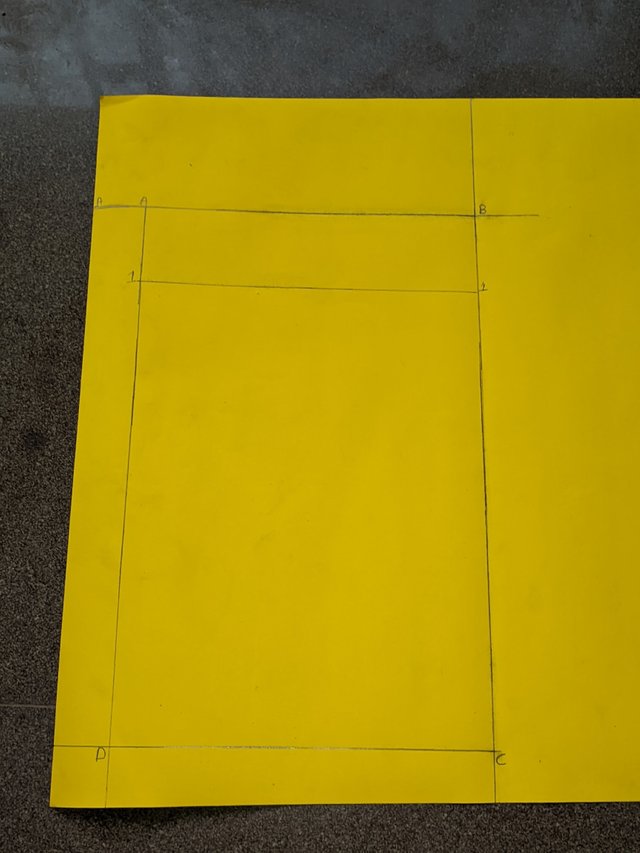
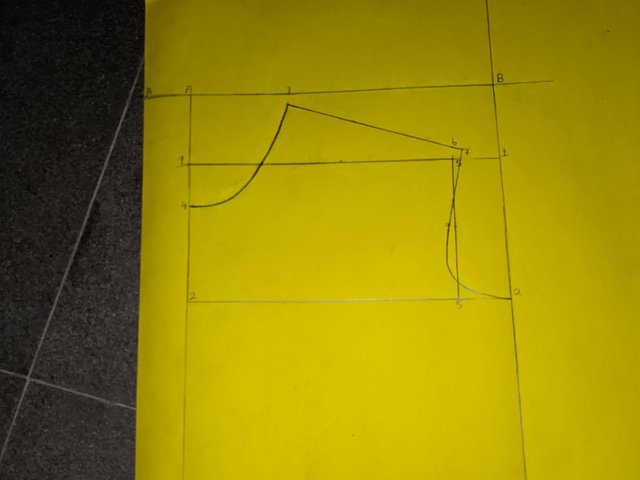
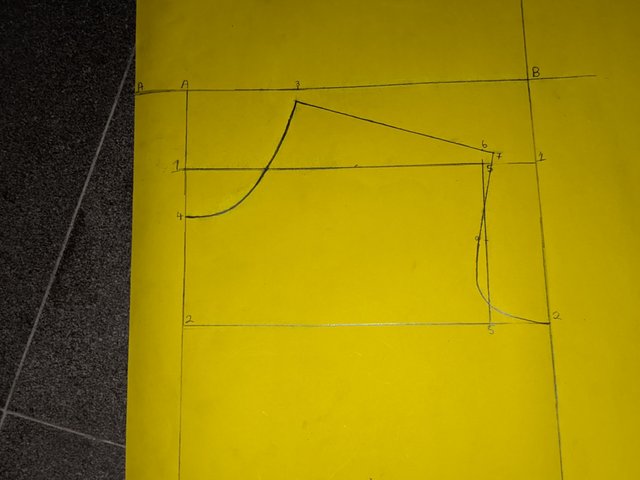
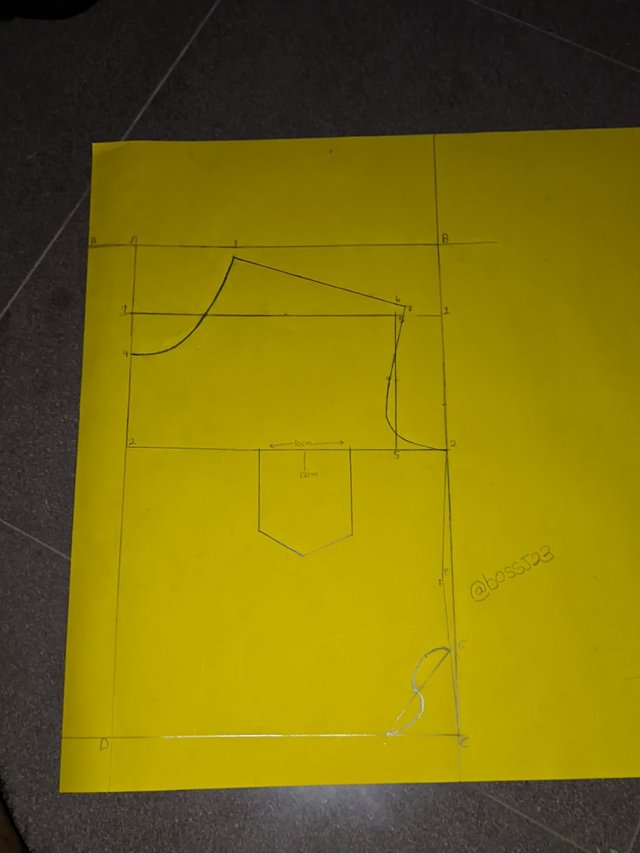
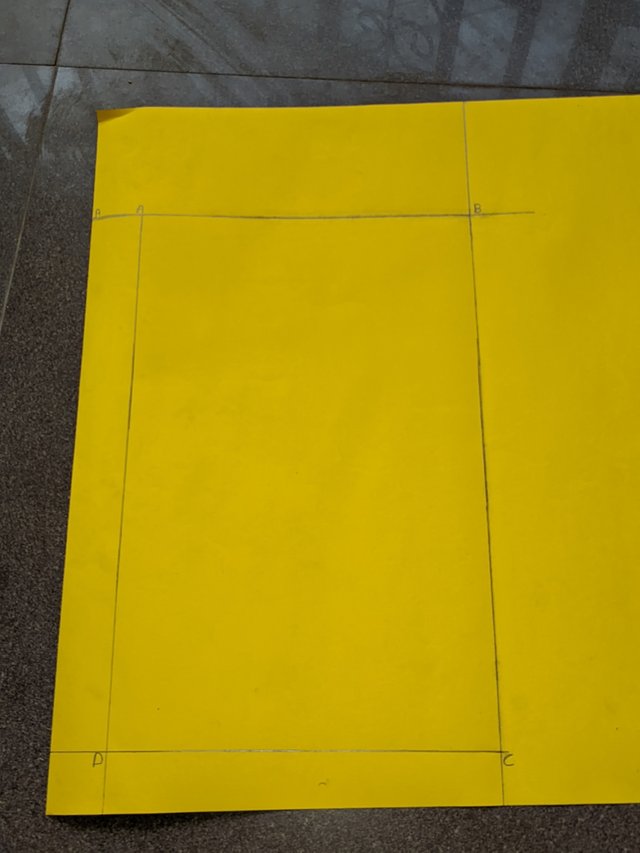
- My first step was to draw a vertical line on both sides of my cardboard to form a rectangle which would represent the center front of the shirt. I did a labelling of A, B, C, and D to know what I'm working with, especially identification of sides.
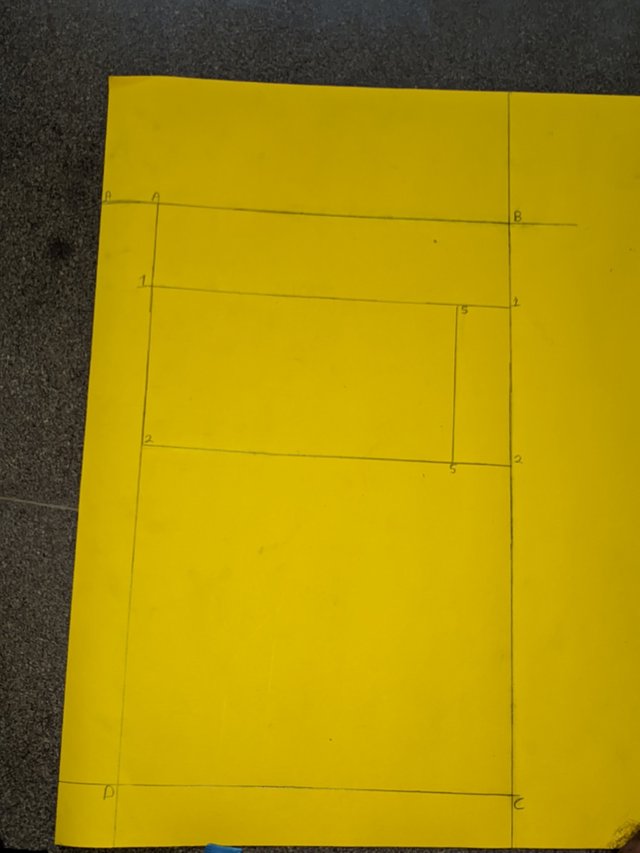
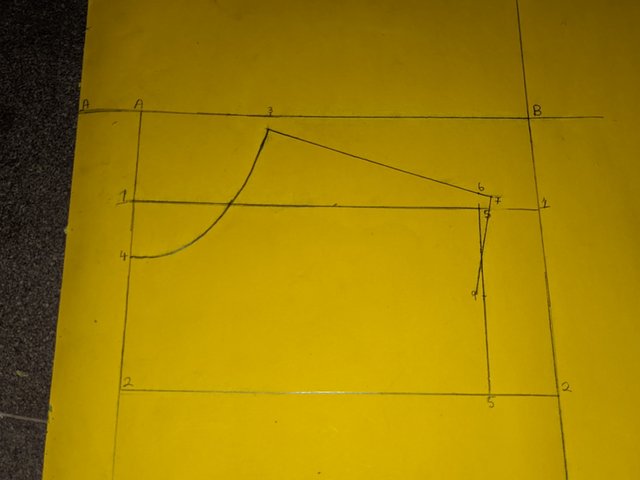
- After drawing the rectangle, I took the following measurements into consideration. I started with the chest circumference which I measured 1/4 from the top of my rectangle and added 2cm with the length of the shirt. This came out as the first intersection of the box drawn as a horizontal line. I then measured the neck circumference, 1/6 - 1cm allowance. This was done from point A to D where you see a curve, representing the fit of the neck.
 |  |
|---|
- The next thing after patterning the neck was the chest circumference, the first horizontal line drawn from A to D. I then measured 1/6 of the neck circumference from point AB and added 3cm allowance and then still on the neck, +2. After making this draft, the back width was measured 1/2 from points AB to like 2 on line 1.
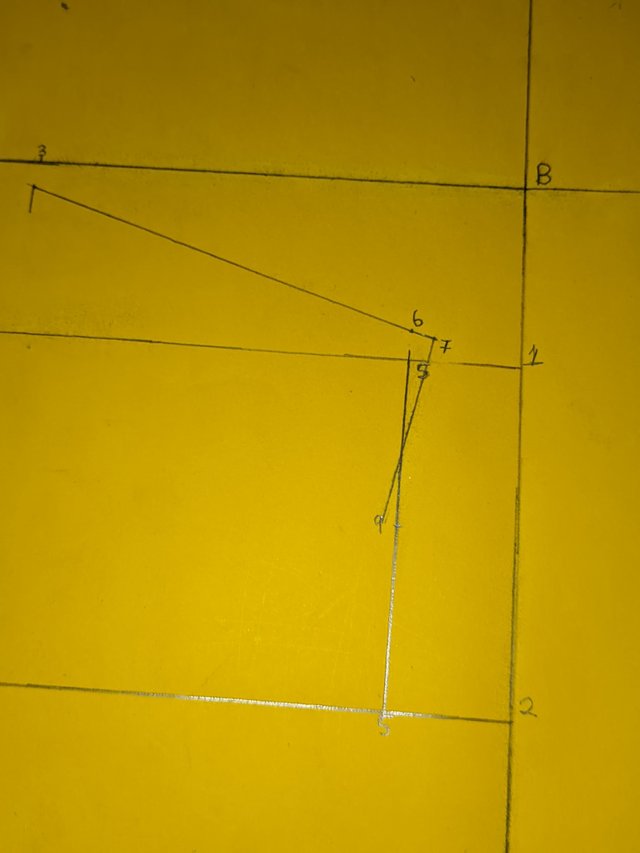
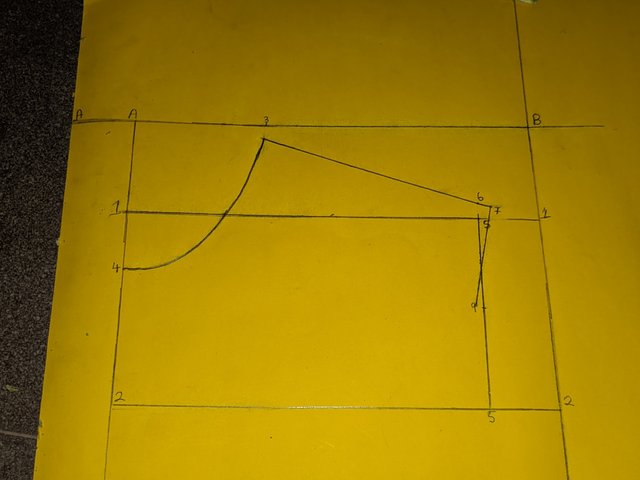
- Around point B where I want to create my shoulder, I went up from line 5 and took measurements of 1cm from 6, then made a straight line to form an intersection between the three lines 5, 6 and 7.
 |  |
|---|
- I then went down from line 8 by 1cm to create a curve at line 9 in point 2 to form a curve which would serve as the armhole while the straight line drawn to meet the intersection of the armhole curve is the drop shoulder line.
 |  |
|---|
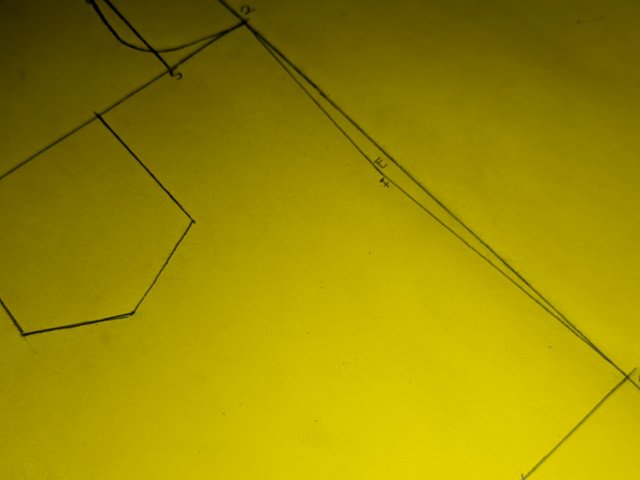
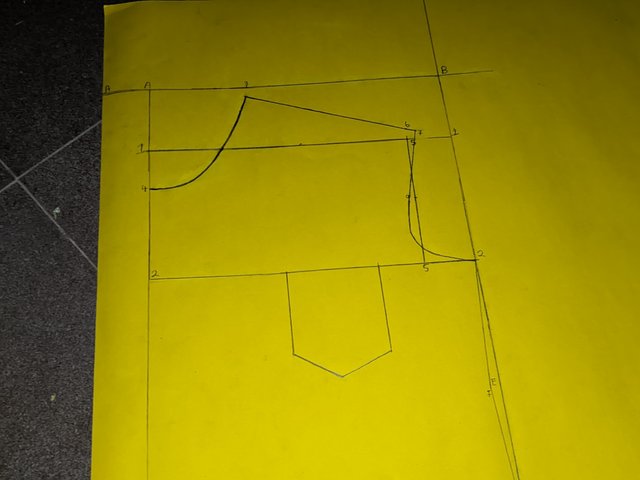
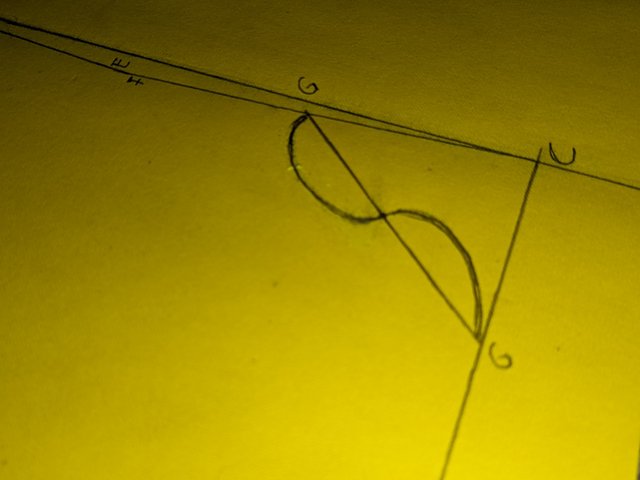
- Then from line 2, I made 1/2 measurements to meet half of point C and then create a slant that would serve as a curved part and called it E. I then marked 1cm down to create F. The concave and convex curves were made in the front pattern to match that of the back pattern. These curves were divided by a straight line of which the same measurements were carried out from length to width.
 |  |
|---|---|
 |  |
Transformation of the front base
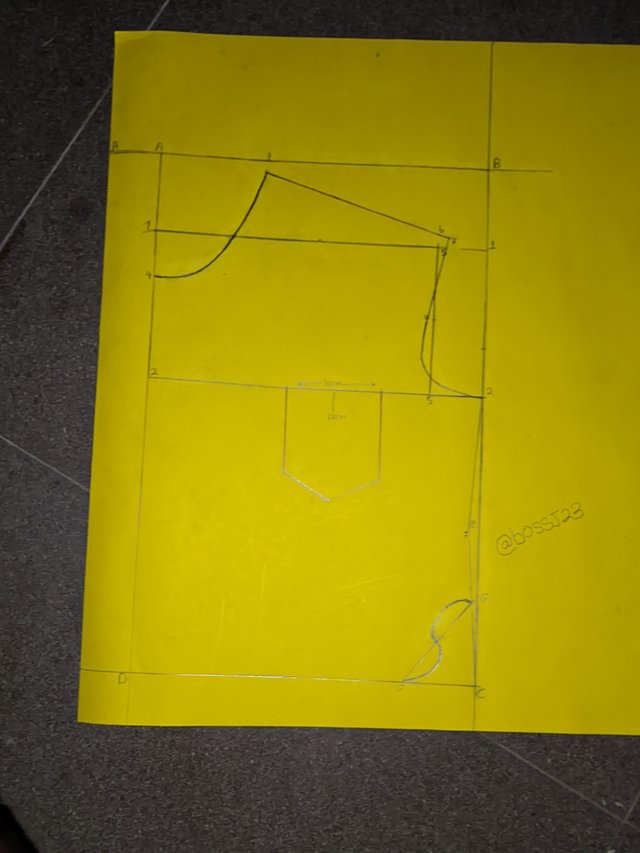
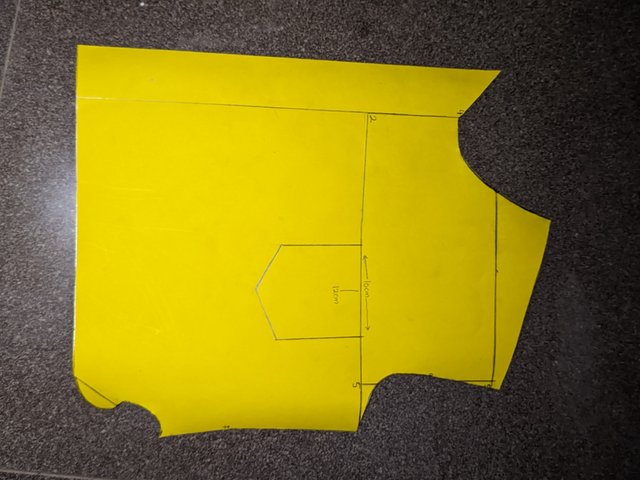
This transformation is when you added the pocket by making your measurements to know where the pocket should be fitted from length to width. From line 5 to 2, I measured 3 cm and then 10cm on the length side to make the pocket. I then marked the middle of the pocket for bending with hot iron or gum stain for some people.
Buttoning was very important.....The cutting part of the shirt is folded in such a way that it creates allowance for the buttons. 3cm was added for the folding from point A to B....
 |  |
|---|---|
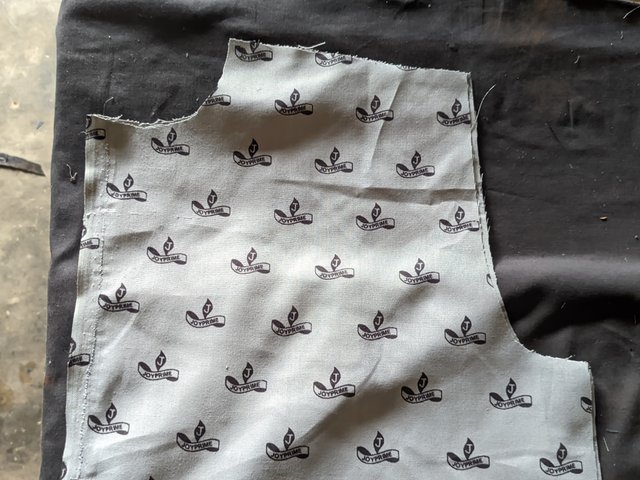 Front Front | 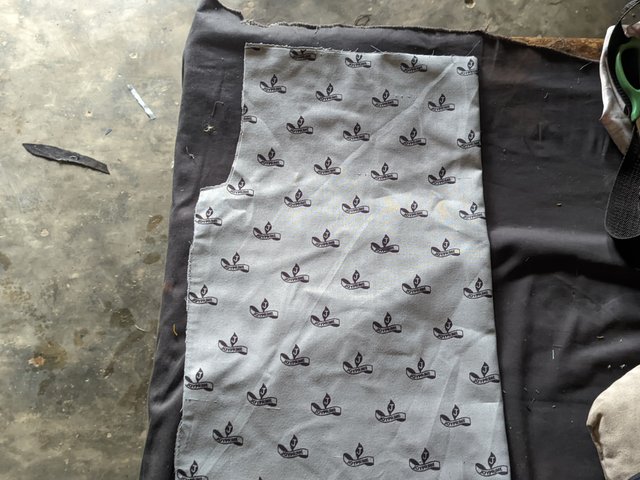 Back Back |
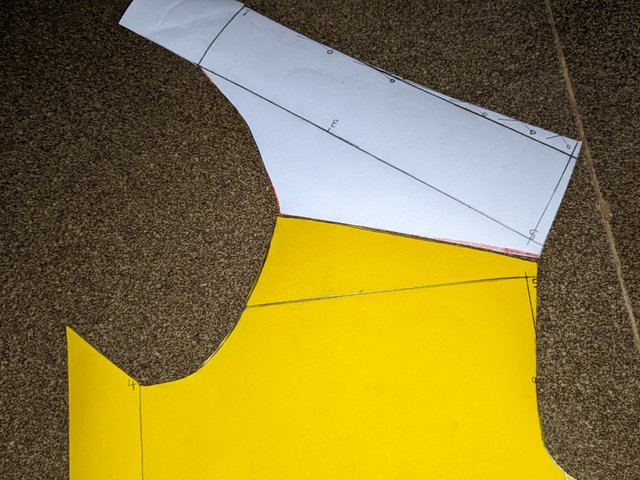
From this, we can comfortably say we are done with our patterning for the front but not completely done. We need to confirm if the front shoulder drops matches the back. If it doesn't, our measurement is wrong. When the back piece matches with the neck line of the front, we can say it is fit. The allowance added makes it possible for the sewing ribbed done when folded.
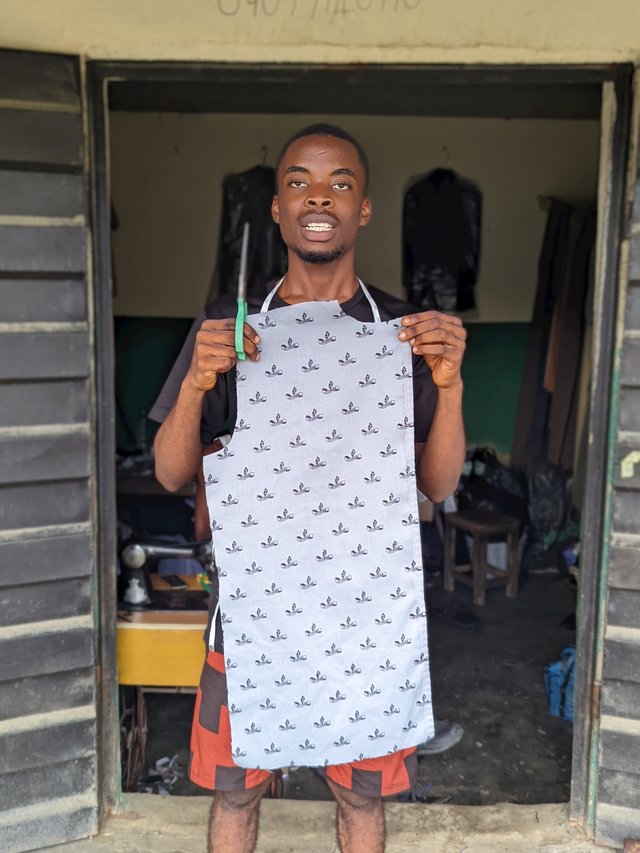 | 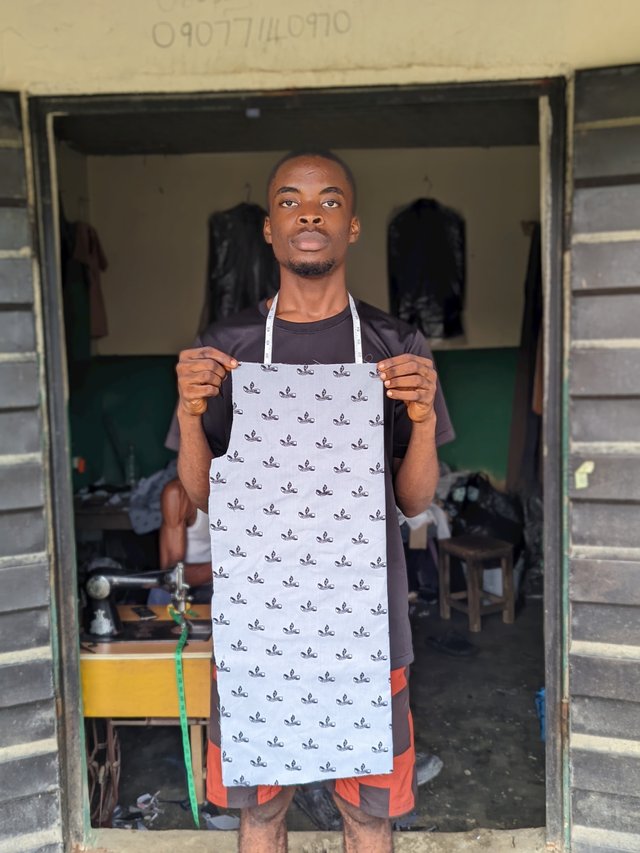 |
|---|
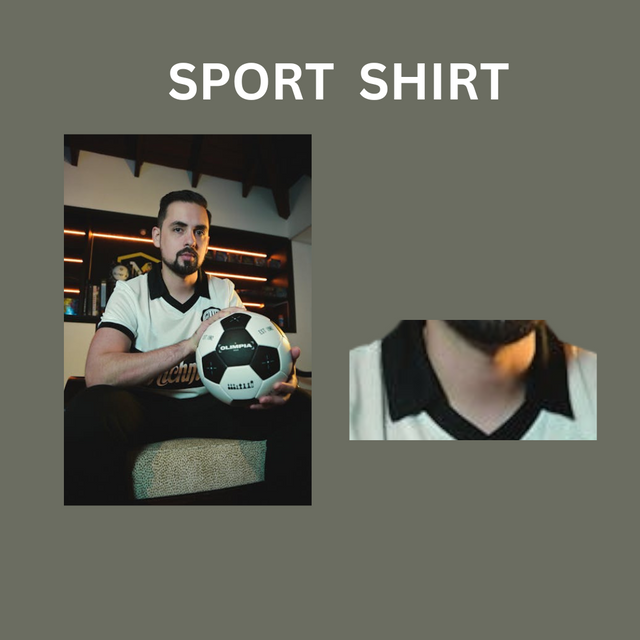
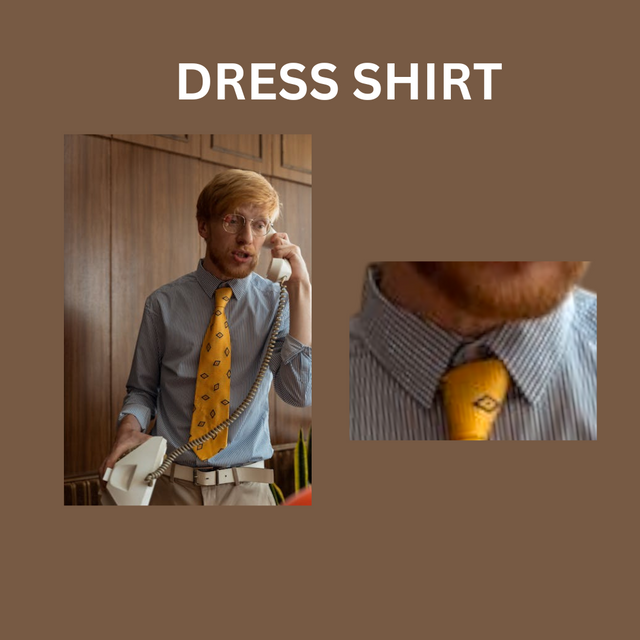
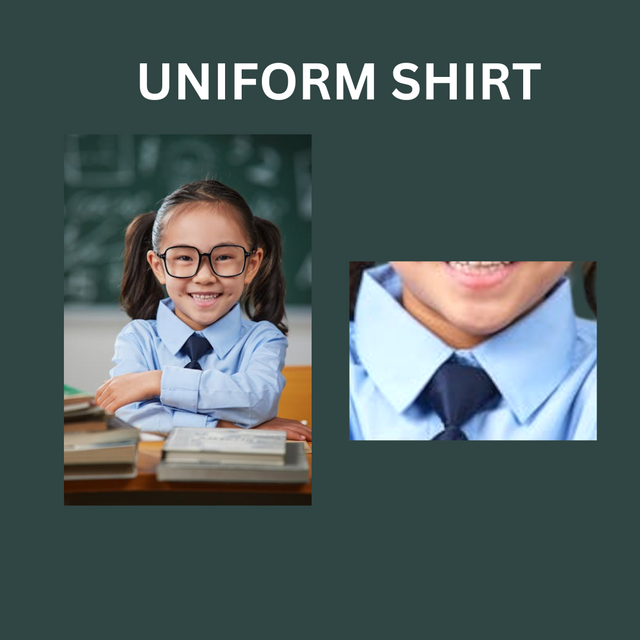
Every man's shirt has different collar depending on the type of shirt sewn and how the person wants the collar to be. We have different types of collars ranging from spread collar type to to button down collar. These collars can be used in any dress sense to match the shirt sewn.
- For sport shirts, the use of button-down collar or spread collar which is much more relaxed than a dress shirt, sewn to fit tie wears. This spread collar doesn't offer a formal look and it's also seen in casual wears.
Dress shirt is sewn in a way that can fit formal and informal purposes. The use of point collar, wing or sometimes spread collars are used to suite formal events and can also accommodate ties. This pointed collar is usually longer and larger than sport shirt collars. As the name implies, it's pointed and more concealed.....The collar is formal and arrange to frame a tie.
Liqui Liqui is not a common dress in my region but the use of an upright collar with no fold over points. It stands straight around the neck, more like bishop collar.
Laboratory Coat uses a flat collar for easy movement. The collar is short and lies flat on the coat.

School shirt normally use a spread collar that can fit both formal and casual looks. Its size is in-between that of a sport and a dress shirt, making it more comfortable and easy to wear.
This is the end of the assignment given us. I invite @sahmie, @blessdlife and @dove11
Cc,
@lunasilver
All images were taken with my phone. While the rest were edited using canva application and gotten from pexel....._
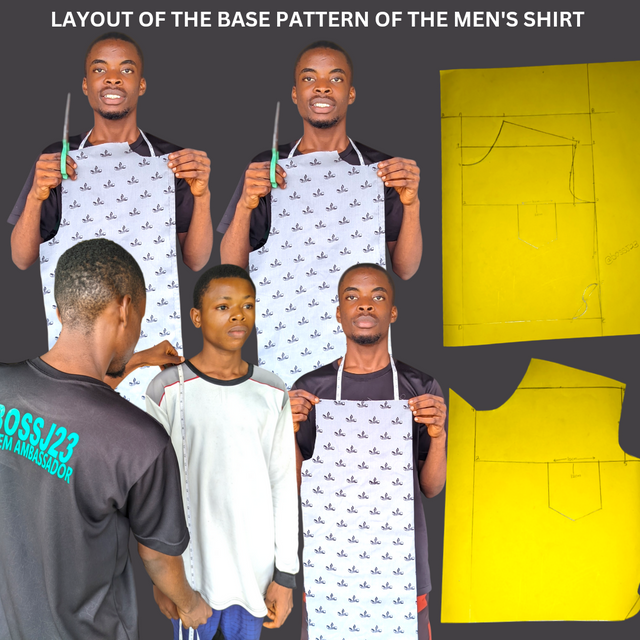
I don't think the color of the paper is important as the pattern is well drawn and visible.
I admire you learning a new way to do things, you do it great, we all also benefit from your knowledge and experience.
There are so many types of collar, they accomodate to the situation and Even men personality and style.
Blessings
Thank you for the encouragement. You just motivated me with this comment though really need white for more clarity. Thanks. Expecting your entry
Siempre me ha gustado la manera que describes en tus participaciones suerte.