Stone Painting Techniques With Children
Hello everyone, dear friends!
Today I would like to invite you to try non-standard drawing techniques with children.
Often it happens that drawing with the same material, the child becomes bored monotonous, bored, and thus loses interest in drawing. To prevent this from happening, I recommend regularly offering children drawing on unusual material for them (T-shirts, plates, wooden boxes or, for example, pebbles).
Stone is a very comfortable material. This is something that can always be found on the road. What is unfortunate to be spoiled, because the pattern of the stone is easy to drift. And the stone itself will not collapse, it will not tear and will not creep into the hole of much water. In short, the stone will stand!
The plot could be different: from the smooth and elegant landscapes, animals, birds and insects to the most painted water droplets.
In this review I suggest that you follow the drawing process of the following animals:
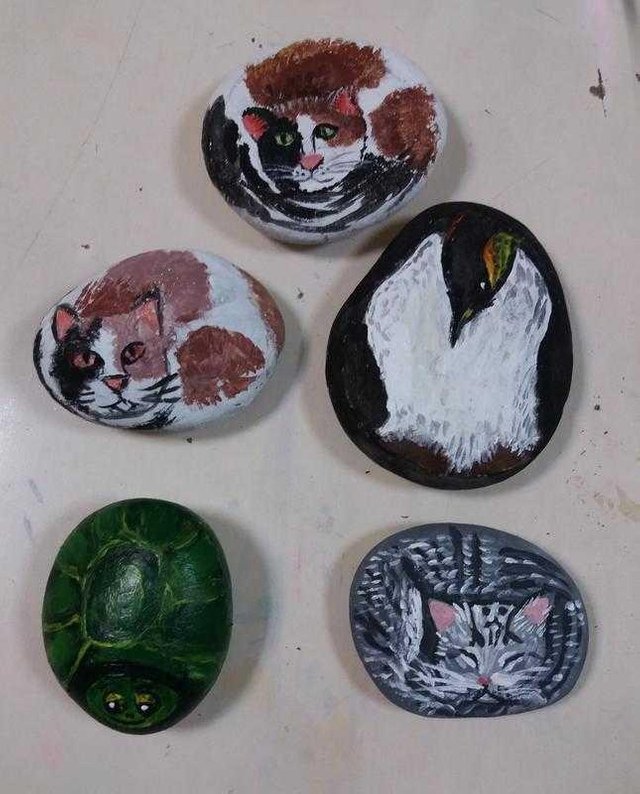
These stones paint children 8-10 years old.
Paint for painting on stones is best used with acrylic. They lie well, cover the gravel surface and cover the entire porous structure.
First of all, the stones should be washed, cleaned from dust and sand, and then dried with care.
Next, we come or choose the pictures we will paint on the rock. On the Internet on search you can find a large number of examples for stone painting. If the child itself is hard to describe, for example, an animal, use the directions of the World Wide Web. Your child will still get his own, unique pebbles!
Furthermore, given that the shape of the stone is the silhouette of the future animal, see how and from which side it is best to set the animal's head ...
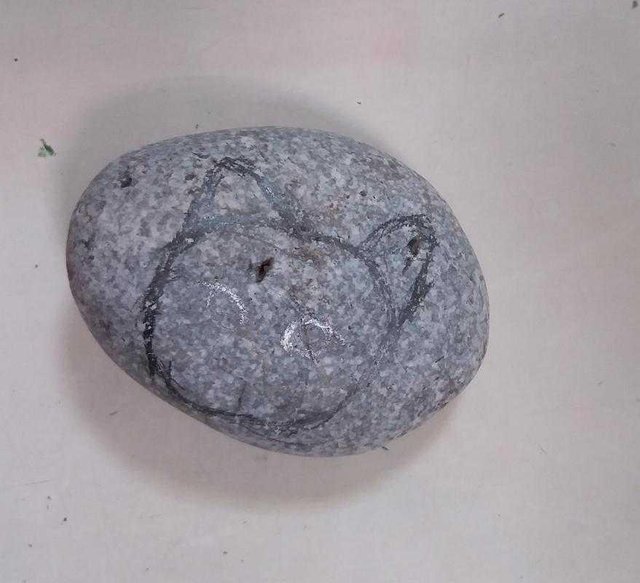
... and also the claws, wings, ears, horns, tails and all that animals have:
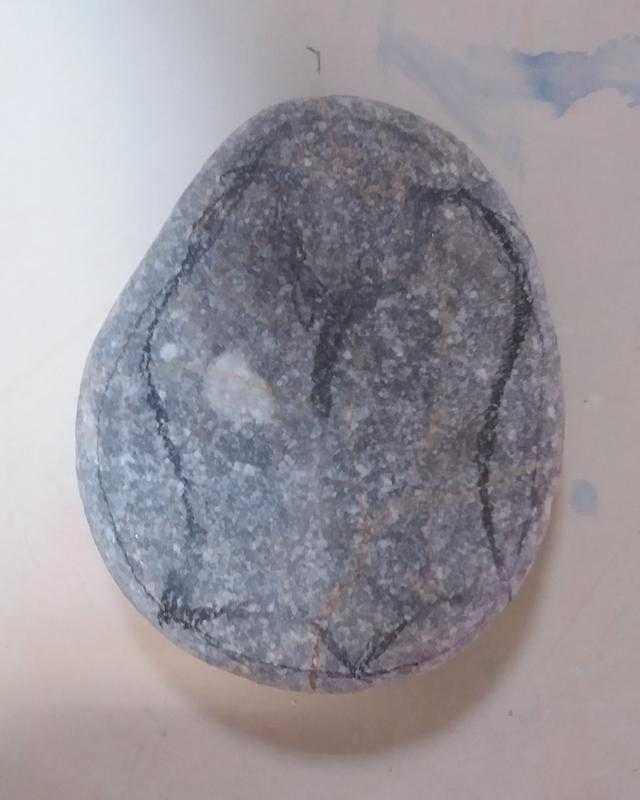
Now we turn to the painting.
First you have to paint the main part of the animal, divide the image into color spots:
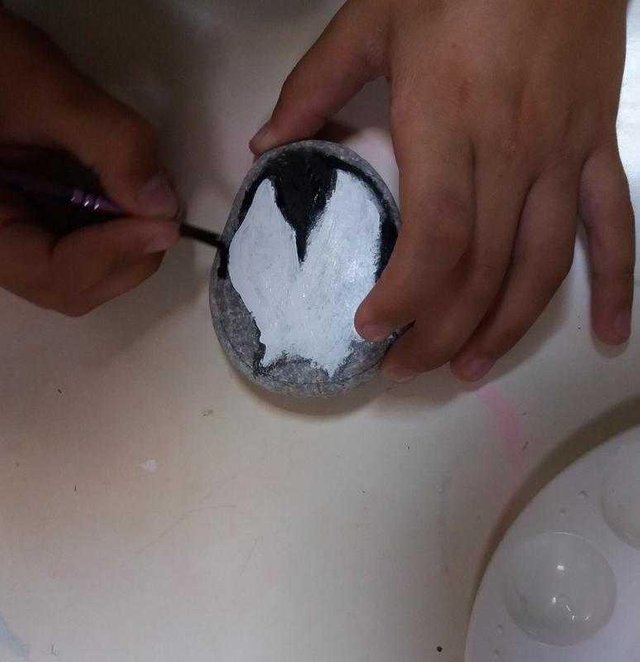
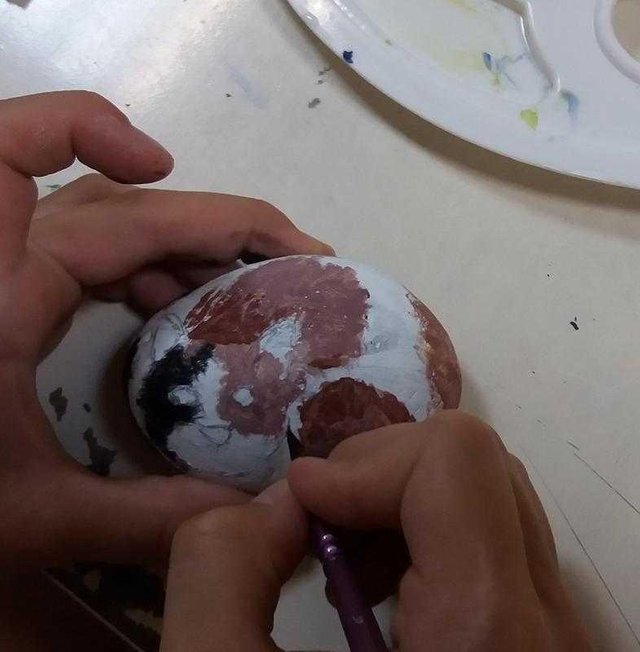
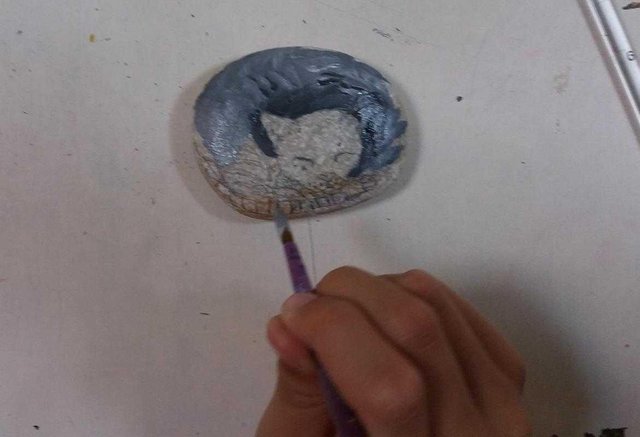
Then at the point of color you need to draw shadows and bright areas, thereby determining how the animal image on the rock is located. We show bends of body, claws, tail, etc.
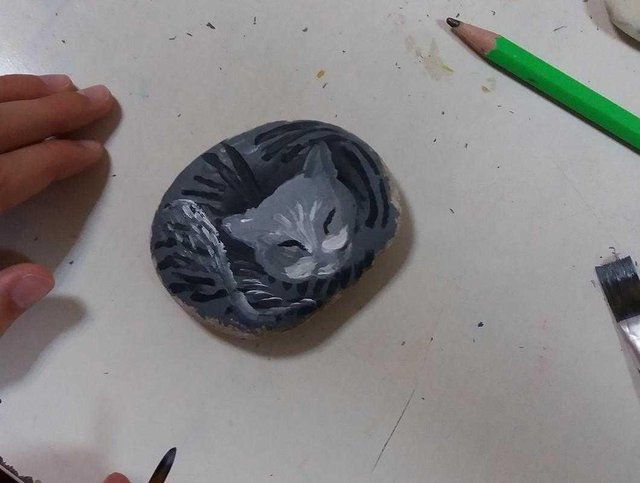
Furthermore, we prescribe small details of animals: the snout, the eyes, the ears, the brush, the mustache, and the wool.
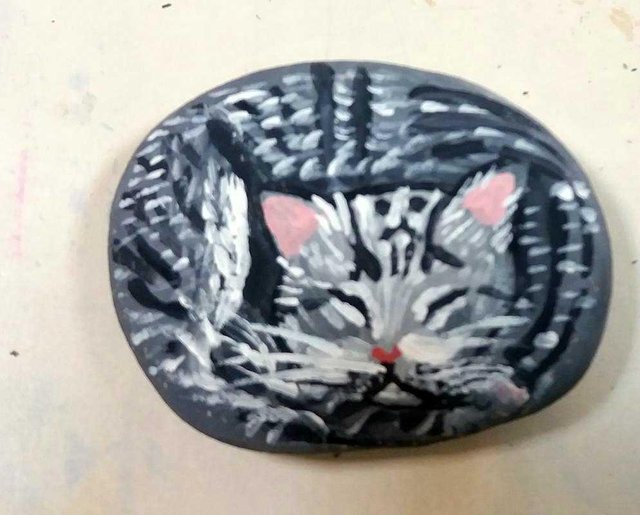
After the paint is dry, always coat it with varnish. I usually use glossy lacquer for wood and yachts - it's very durable and shiny. So your image will be protected from scratches and dirt and will last for a long time..!