7 Steps To Clean Up Poor Audio
Have you ever worked with audio recordings and had to work with poor quality audio? Maybe an old radio recording, or an old record.
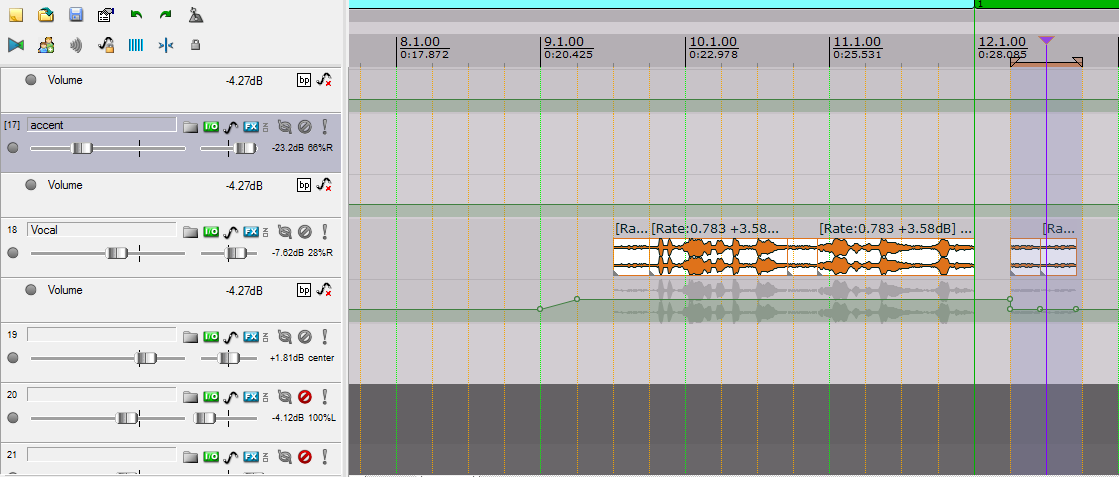
Recently I used samples of a poor quality vocal audio recording, in a song;
https://steemit.com/dsound/@moeostar/20180418t144103813z-propagandism )
I needed to clear up the quality. Here is how I did that in 7 simple steps. I used Reaper as my DAW, and only used stock plugins.
Find areas only containing background noise.
For this you need to find a section in the audio file where there is only background noise. Typically between sentences or phrases. If your background noise change over the cause of the audio track you might need to find several sections. Now we are going to use them and subtract from the rest of the audio. If the background noise is very different at various time you might need to divide audio clip and repeat over many tracks in order not to apply too much reduction, that sounds strange and unnatural.Grab a spectrum analysis plugin
In reaper this is called ReaFir (I have written about in a prevoius post https://steemit.com/music/@moeostar/mastering-how-to-check-the-tonal-balance-in-reaper-with-stock-plugins ). Add this plugin as your first effect on the track. You can add as many instances of this plugin, as you have background noise regions.
Record background noise
Set the track to loop through one of the background regions. Open the plugin, set it to Subtract and click the 'Automatically Build Noise ' check box. Hit play and loop through the section of the track. The plugin will now build a full spectrum noise profile only of that part of your clip.Apply reduction
Stop the playback and un-click the 'Automatically Build Noise' check box. Now the background noise profile is stored in the plugin and ready to be applied on the track. When the track is played, the plugin subtract the background and enhance the quality.Add EQ
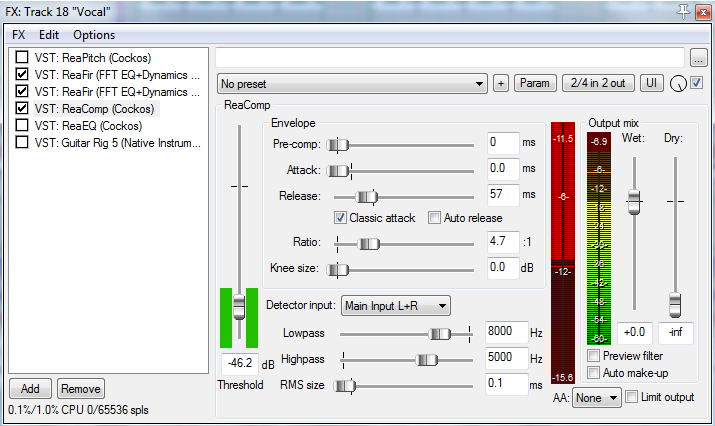
Next I added an EQ plugin to shape the sound and maybe filter out problematic frequencies that still are present. Typically old recordings are weak above 5k Hz and could benefit of a slight boost.Add compression
A slight compression might help balance the levels, however note that compression naturally increase the noise floor, and if the noise reduction from above was not entirely succesfull, this might actually make things worse.
- Remove sibilance, de-essing
This is most pronounced on heavily compressed tracks, but may also a part of the underlaying recording. This can be done using your favourite de esser plugin. Or just by using the stock ReaComp. I have written about this before here; https://steemit.com/music/@moeostar/how-to-de-ess-vocals-in-reaper-with-stock-plugin-reacomp
Now a final word on the audio clip I used in the song Propagandism. I wanted an old feel, so I was ok with some noise present. But the original file is of VERY poor quality. Take a listen here;
https://archive.org/details/ww2train
And good luck cleaning!

.png)
