Turning my Garage into a Workshop — Part 3b: SawStop® Assembly

Eighteen days ago I pictoralised stage one of my table saw construction. Let's get this thing finished!
Rails
Although this says "Premium", it is the base option. The upgrade is called "T-Glide" but I'd need a longer extension table for that, and my space is at a "premium".
What's That?
No, that...

Look, I mean this...

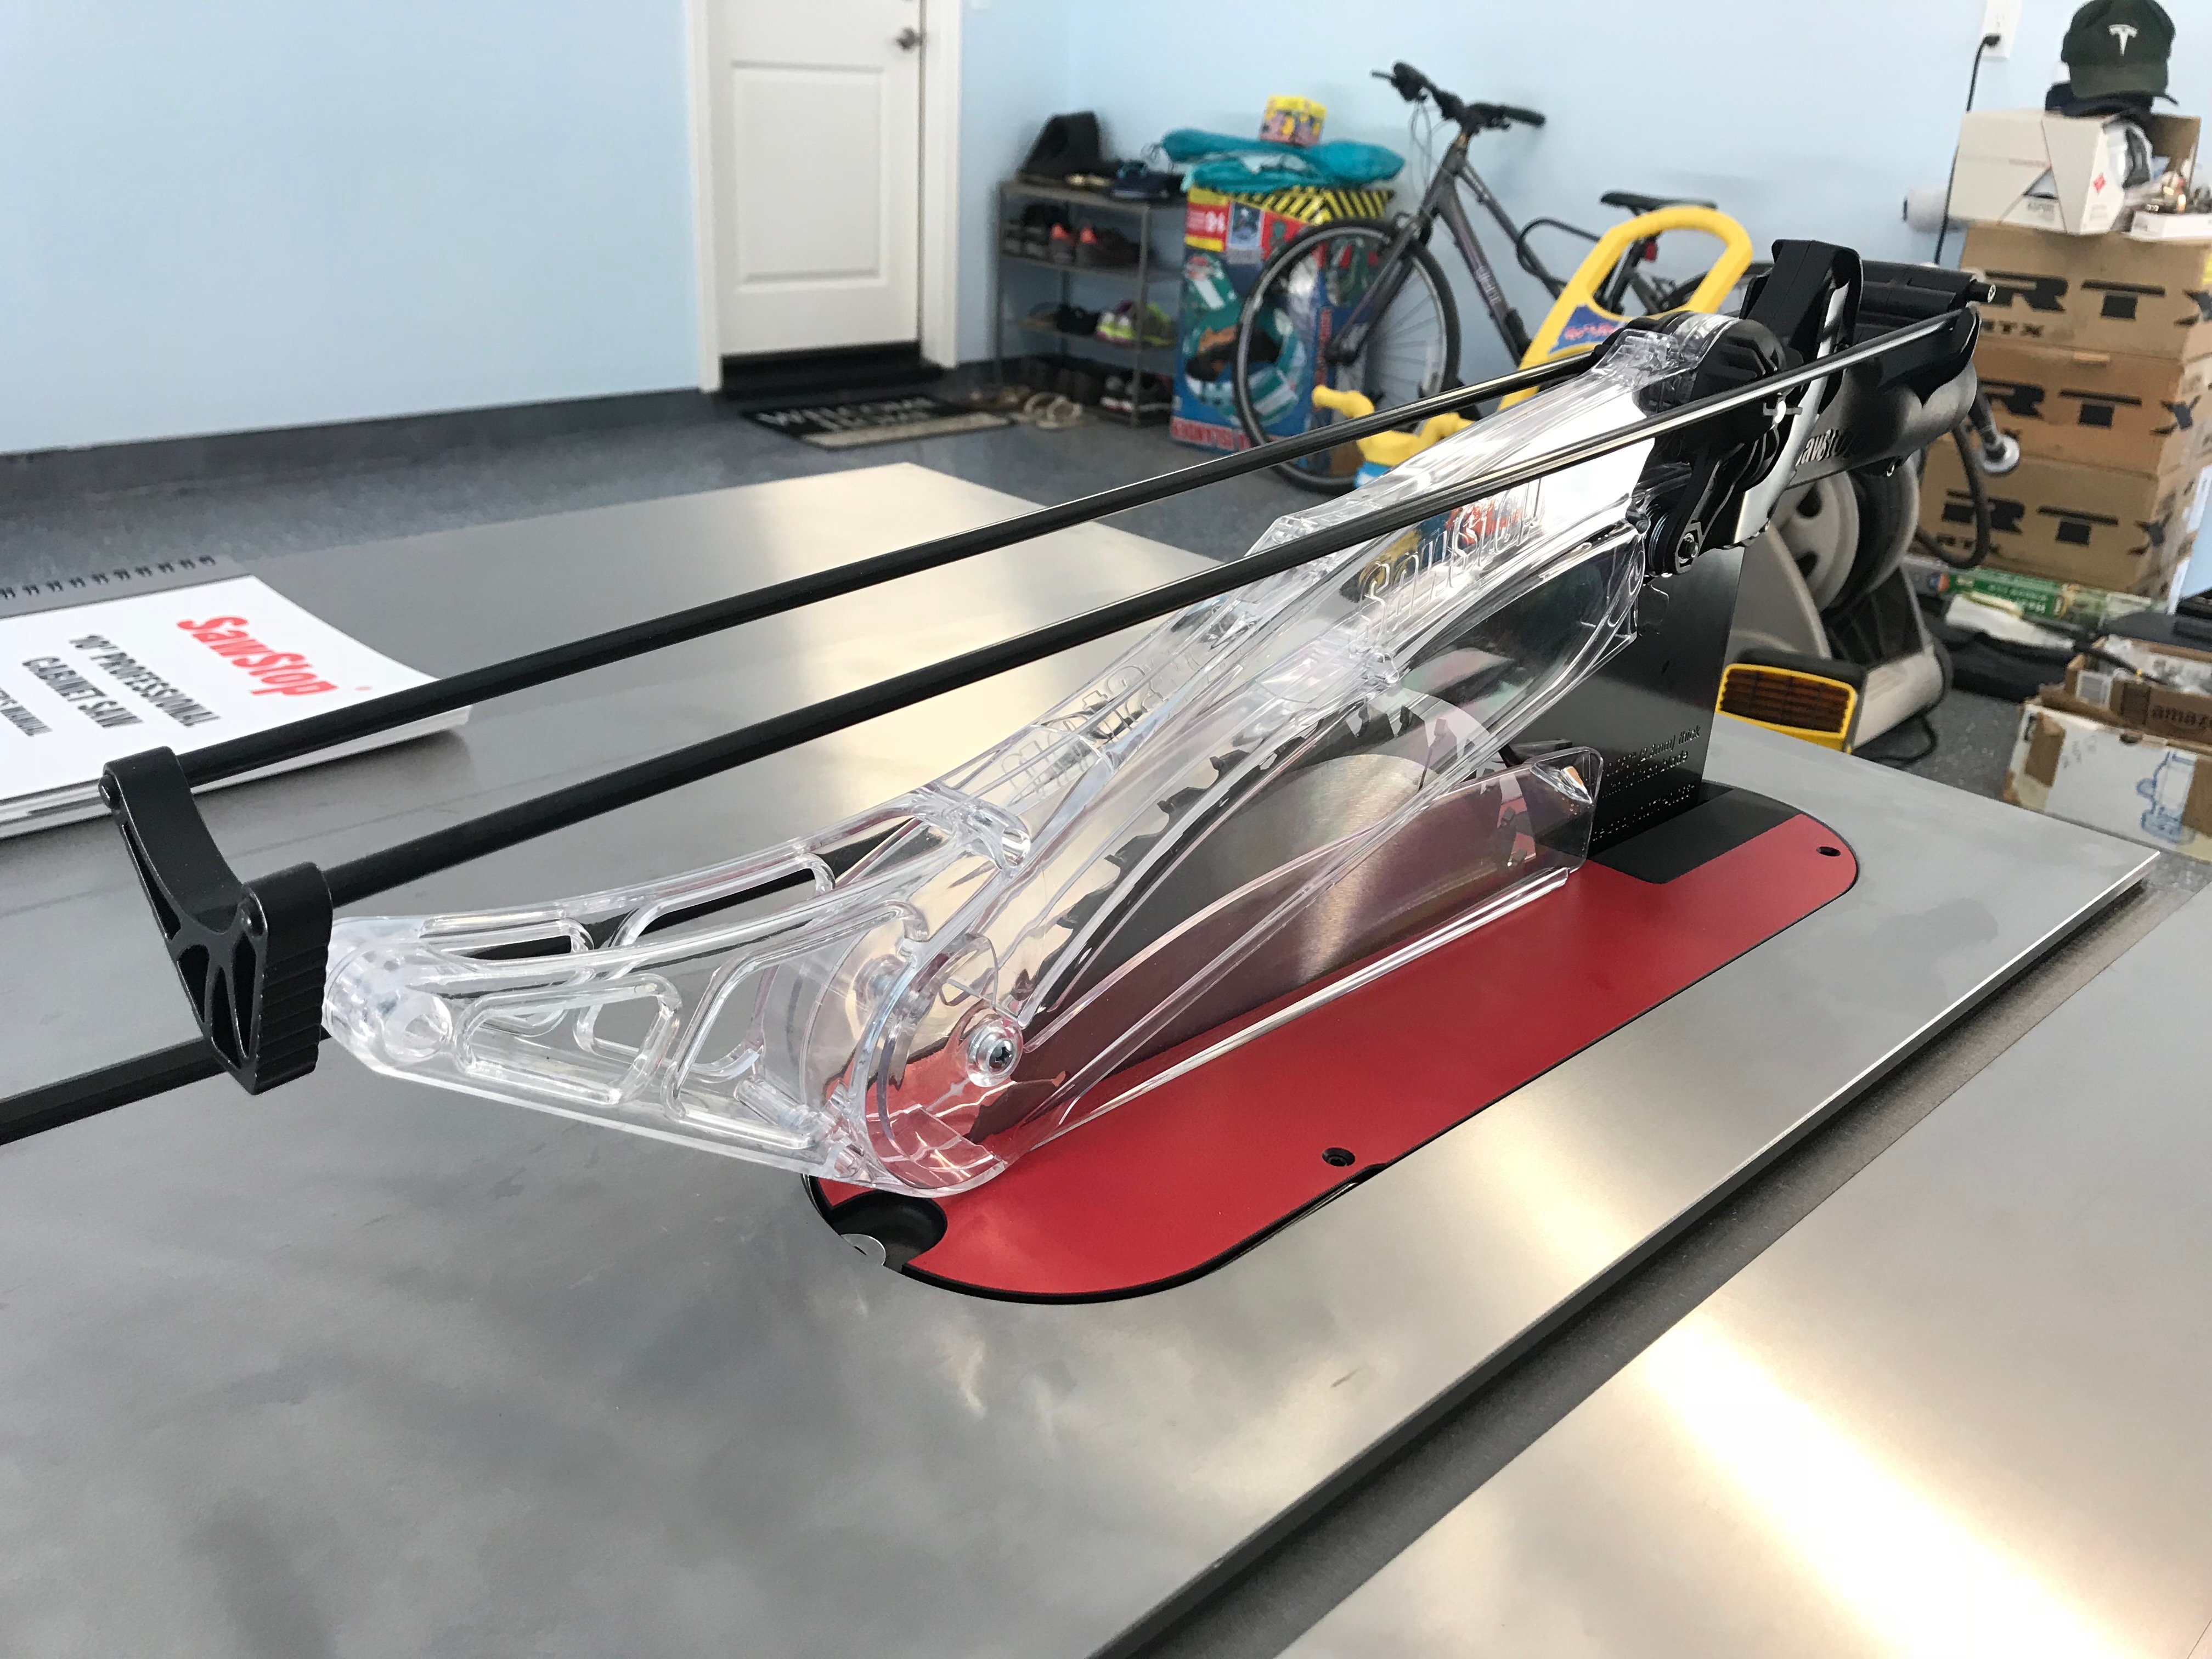
Hey, Georgie, you wanna balloon⸮

Phew, it's just a red handle.

Lots more sexy instructions

Some MDF...
Screw that
I'm using this as a level because I don't have a spirit level...

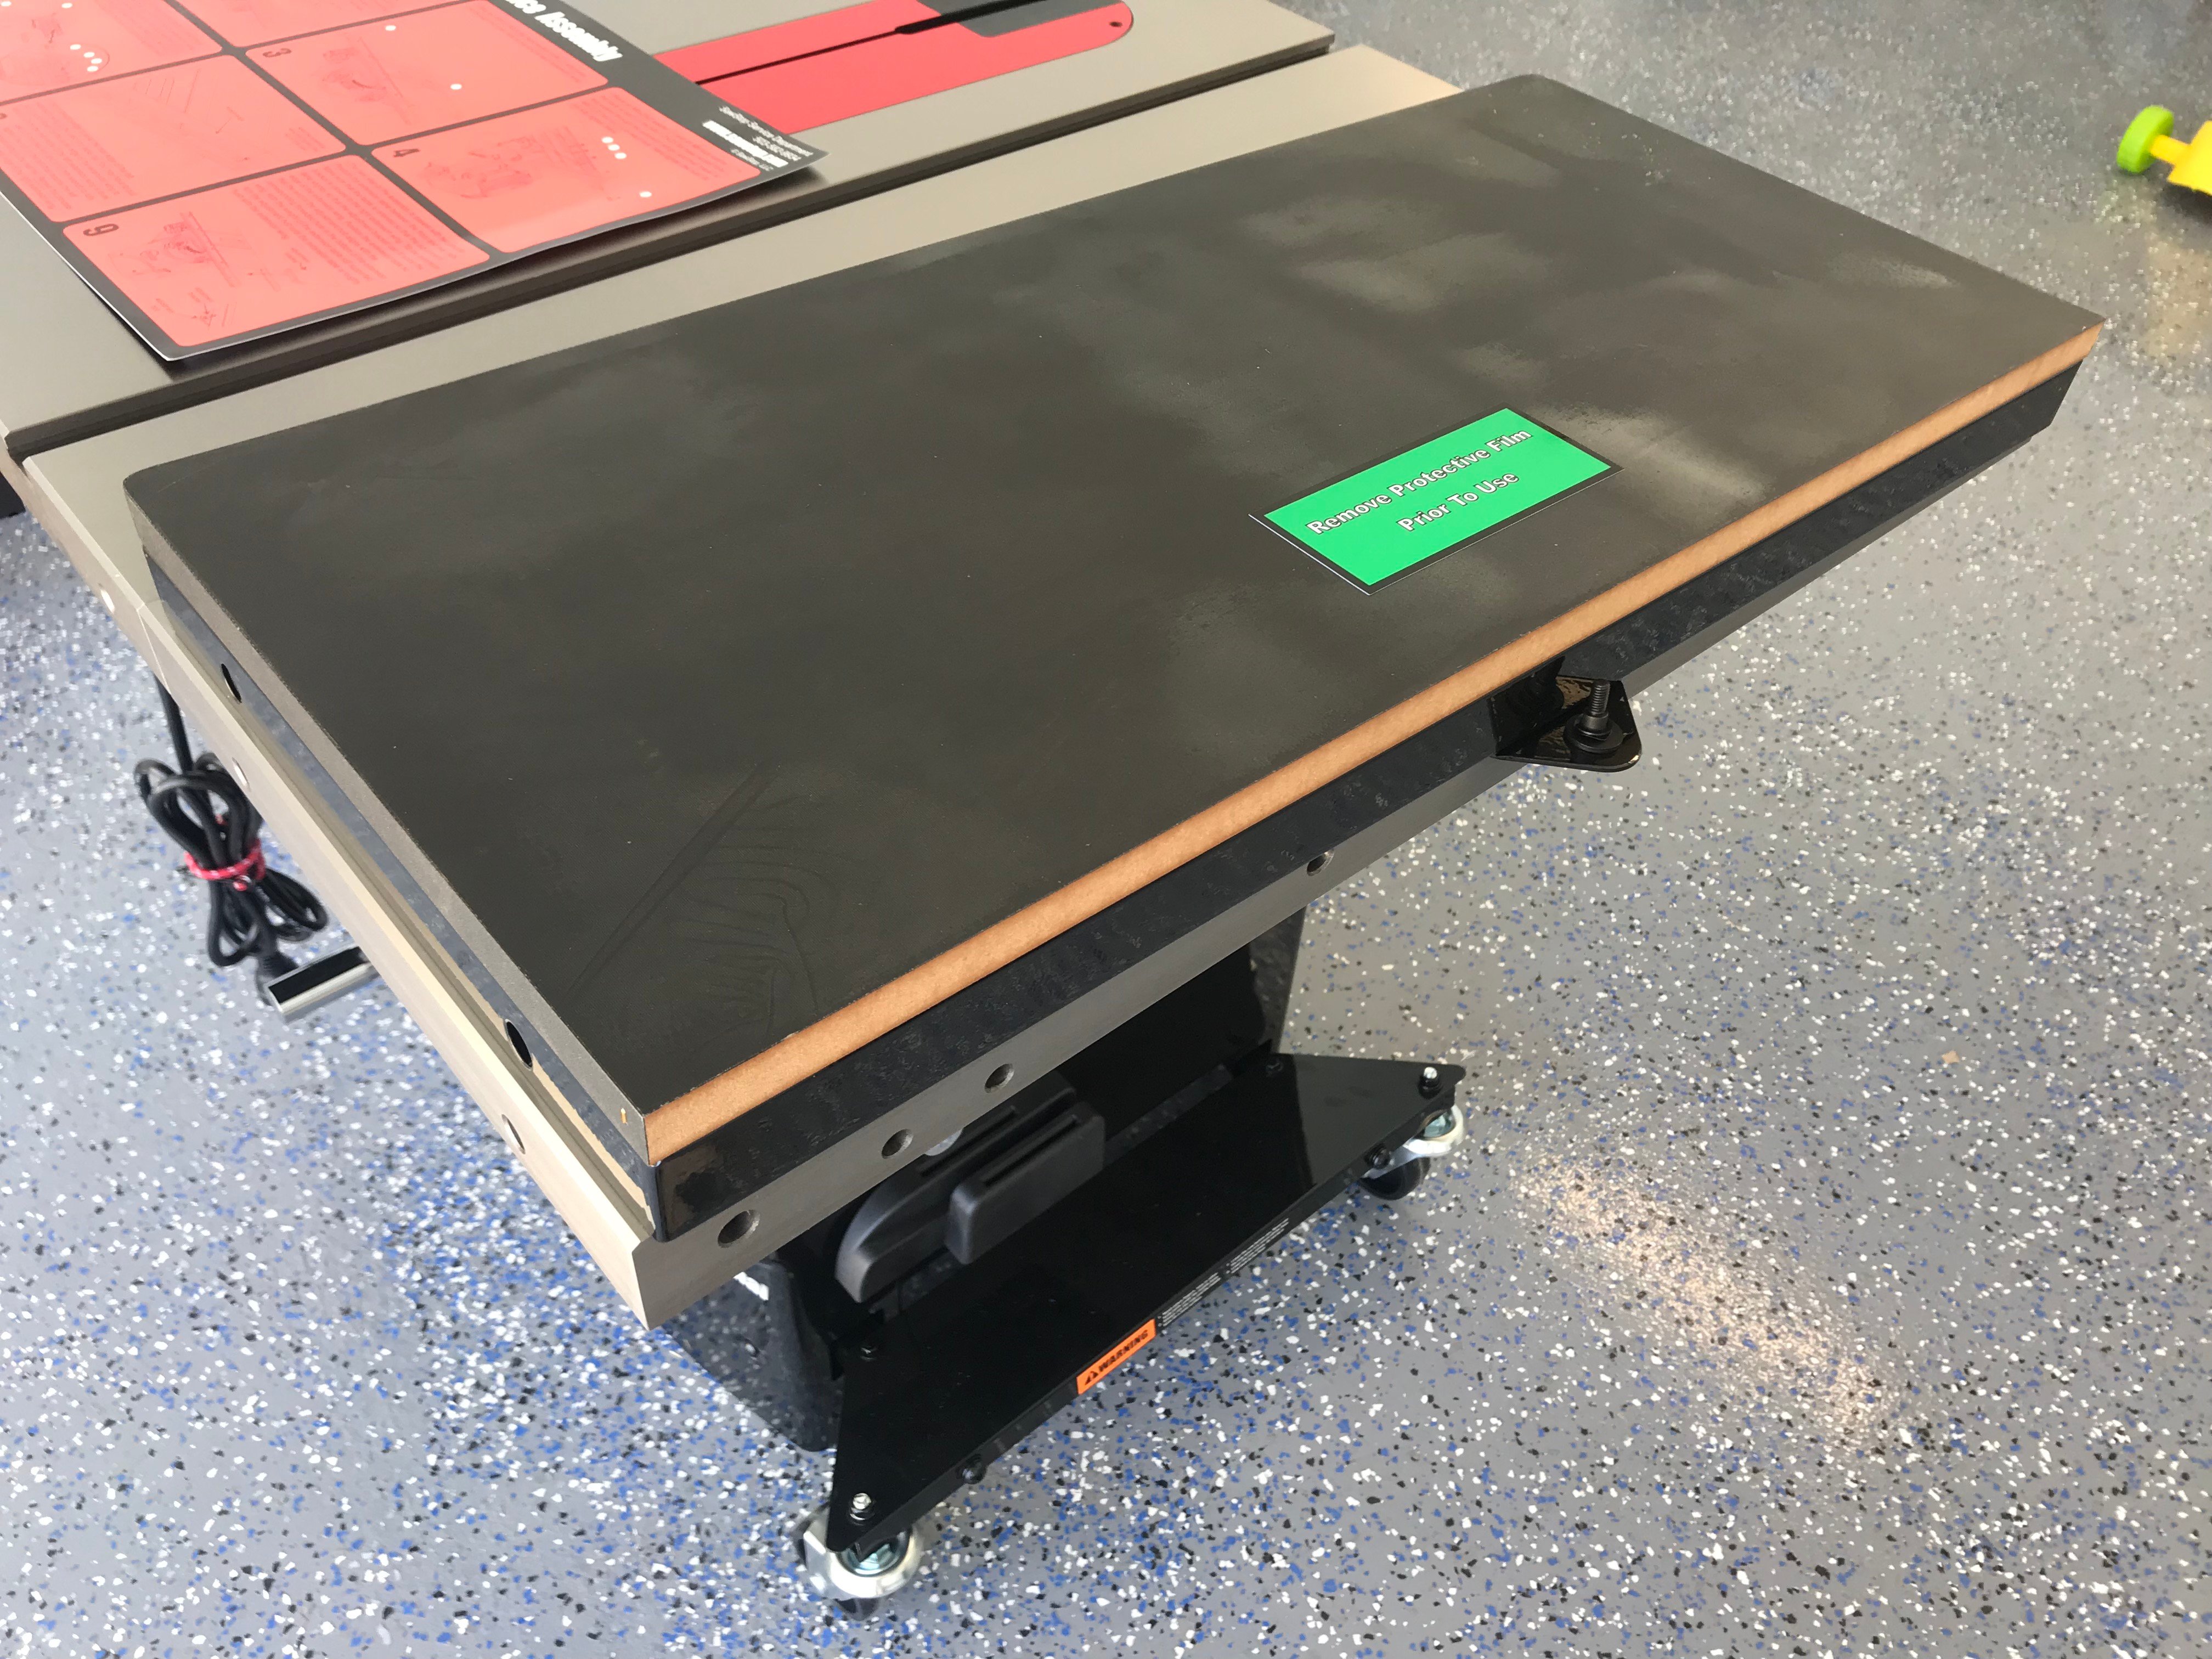
And the back one

There's a big gap here. I put nearly my whole weight on the wing to try and straighten it. Will have to come back to this later.


Attach and flush this

Good.

Now throw this at it

Pop this here...

And bang it on.

Dust Arm
There is a dust port at the bottom and also at the back of the blade guard. This accessory is not essential but it felt like the right thing to do. I really want to minimise dust and make collection efficient. This joins the two ports while allowing material to pass over the saw bed unobstructed.


By the way, I found out what accessories to put in the accessory holder! Riving knife, splitter/blade guard, and the mitre gauge for cross-cutting and some angle cutting.


During the meanwhilst, our water filtration system arrived. It is coconut-based because we can't use salt systems in this area. It is big but I hope to enclose it and build in a radial arm saw set-up. That's for much later.

Dust Collector
The internet said that this model comes poorly packaged in flimsy polystyrene. Let us see...
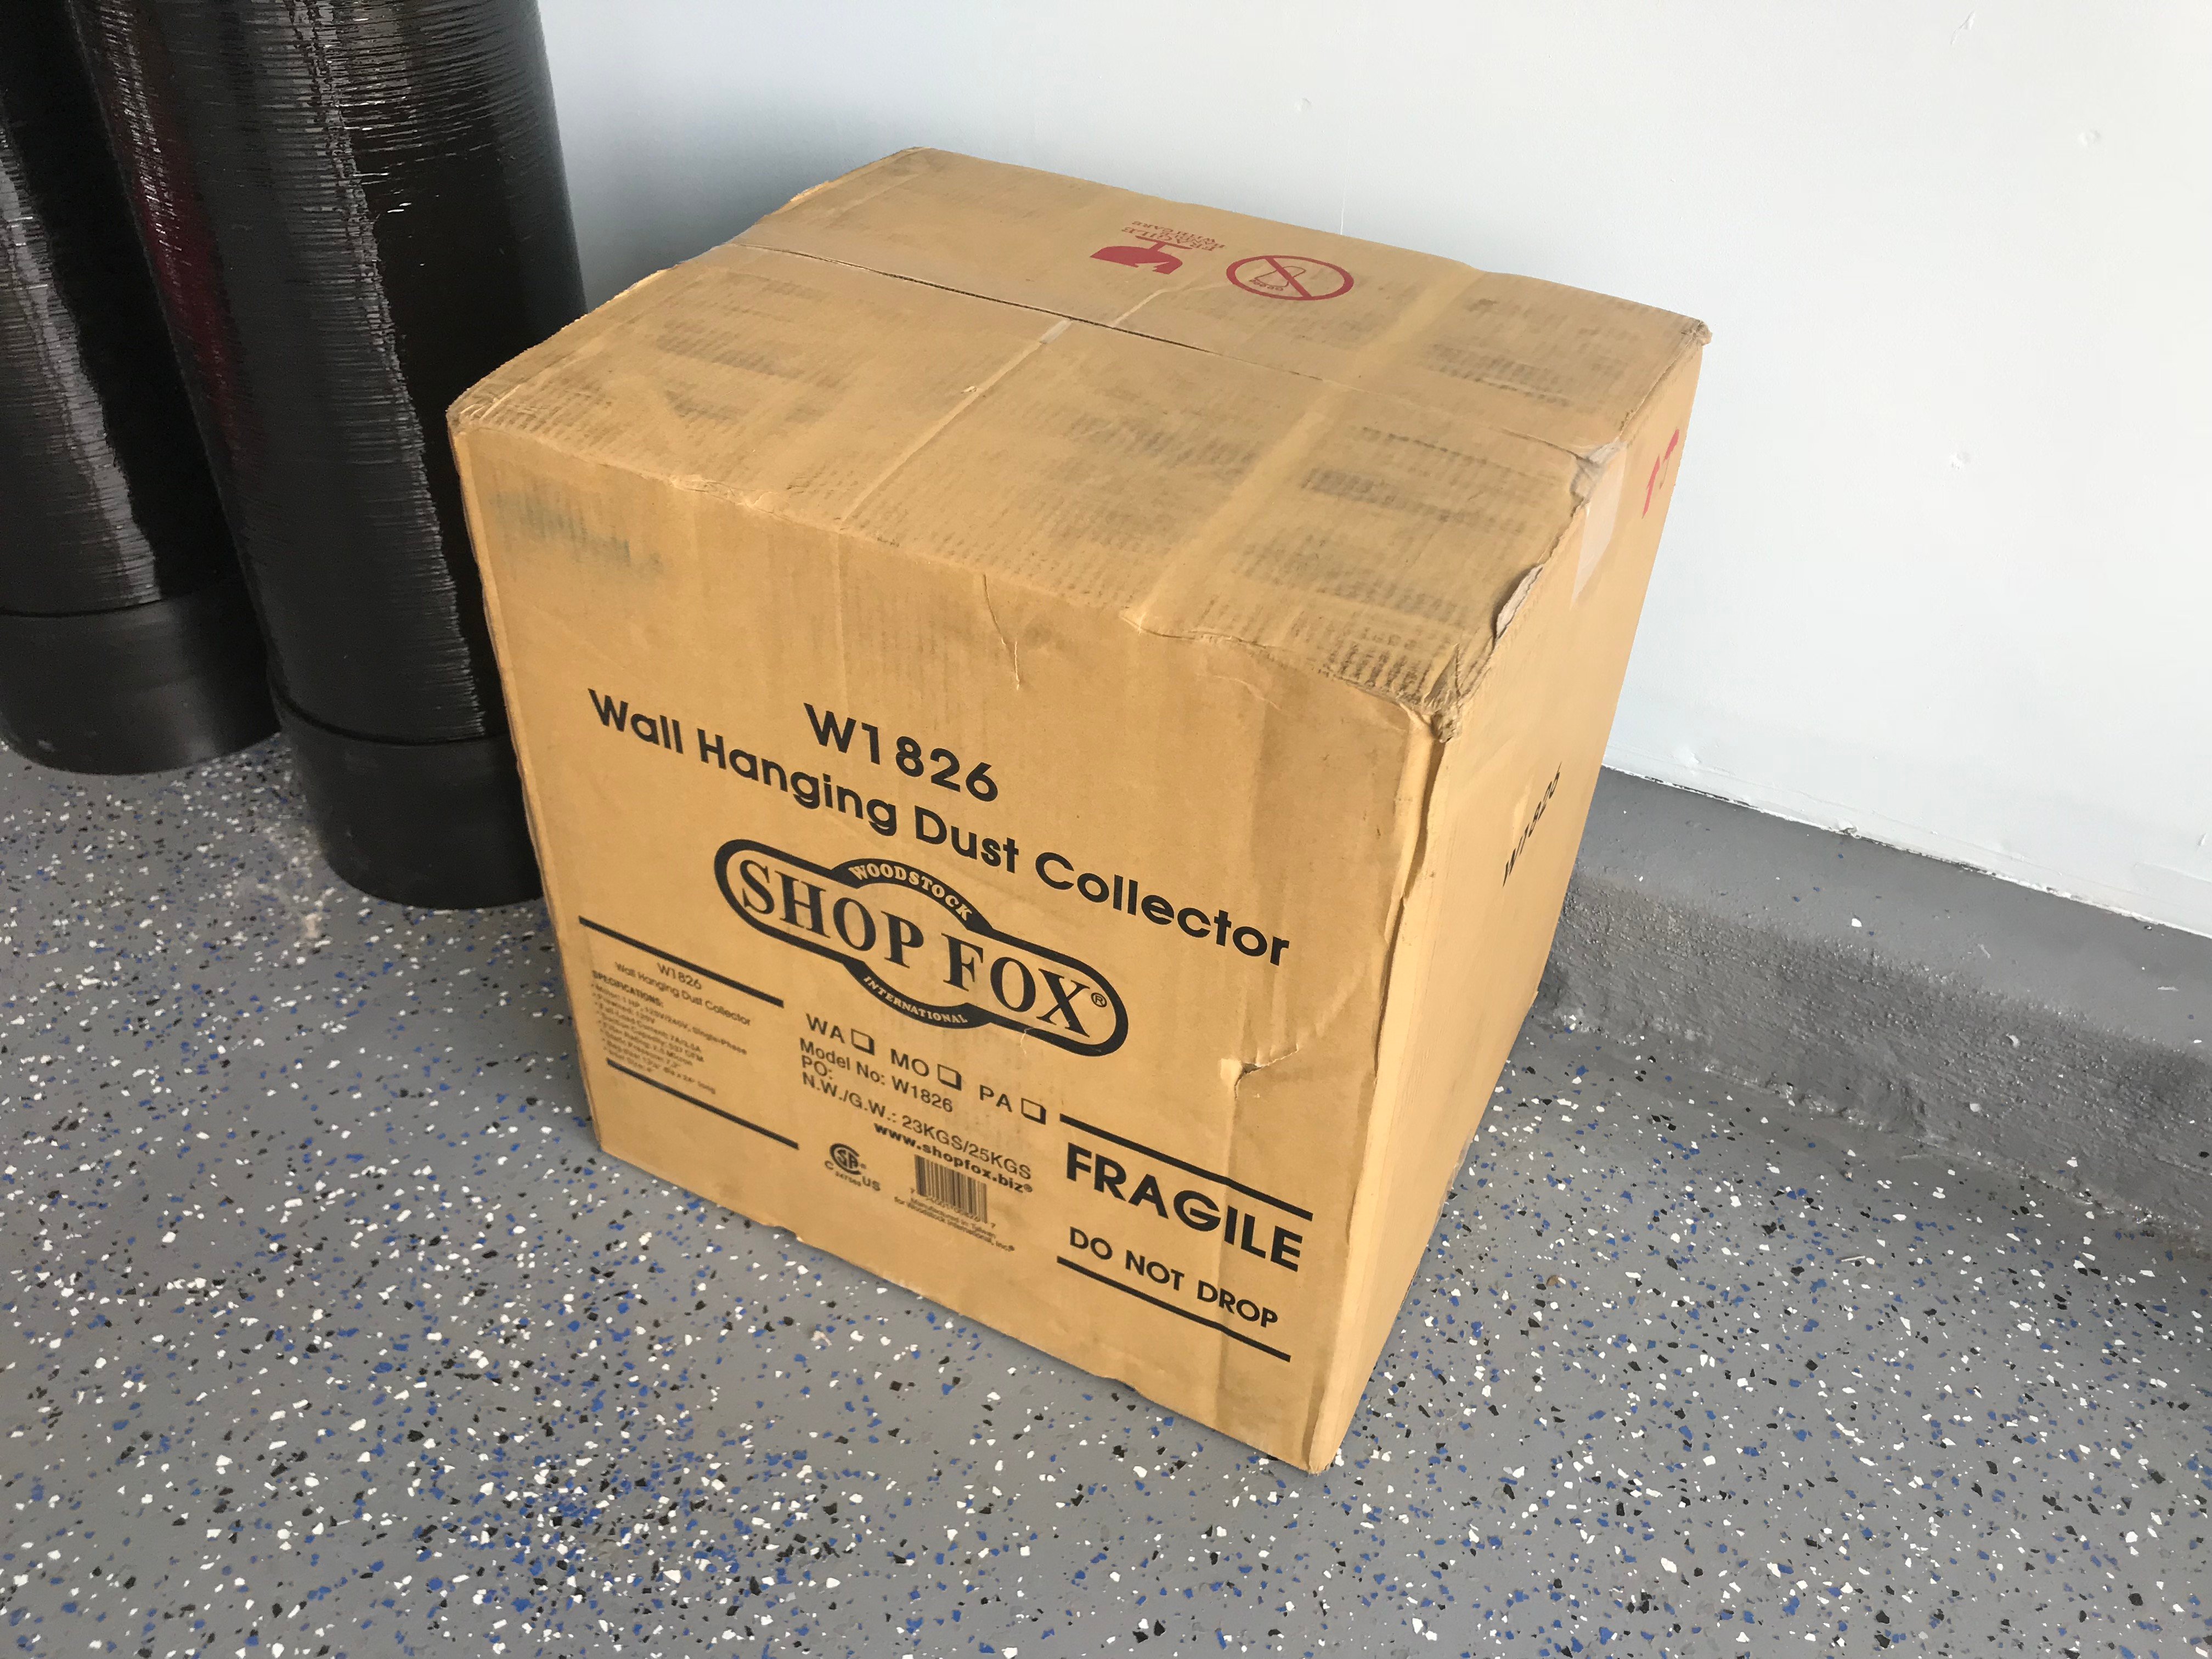
Yes.

Seemed mainly fine though...


Hmm...

This may be a bit long, which could affect suction power. I can always cut it down.

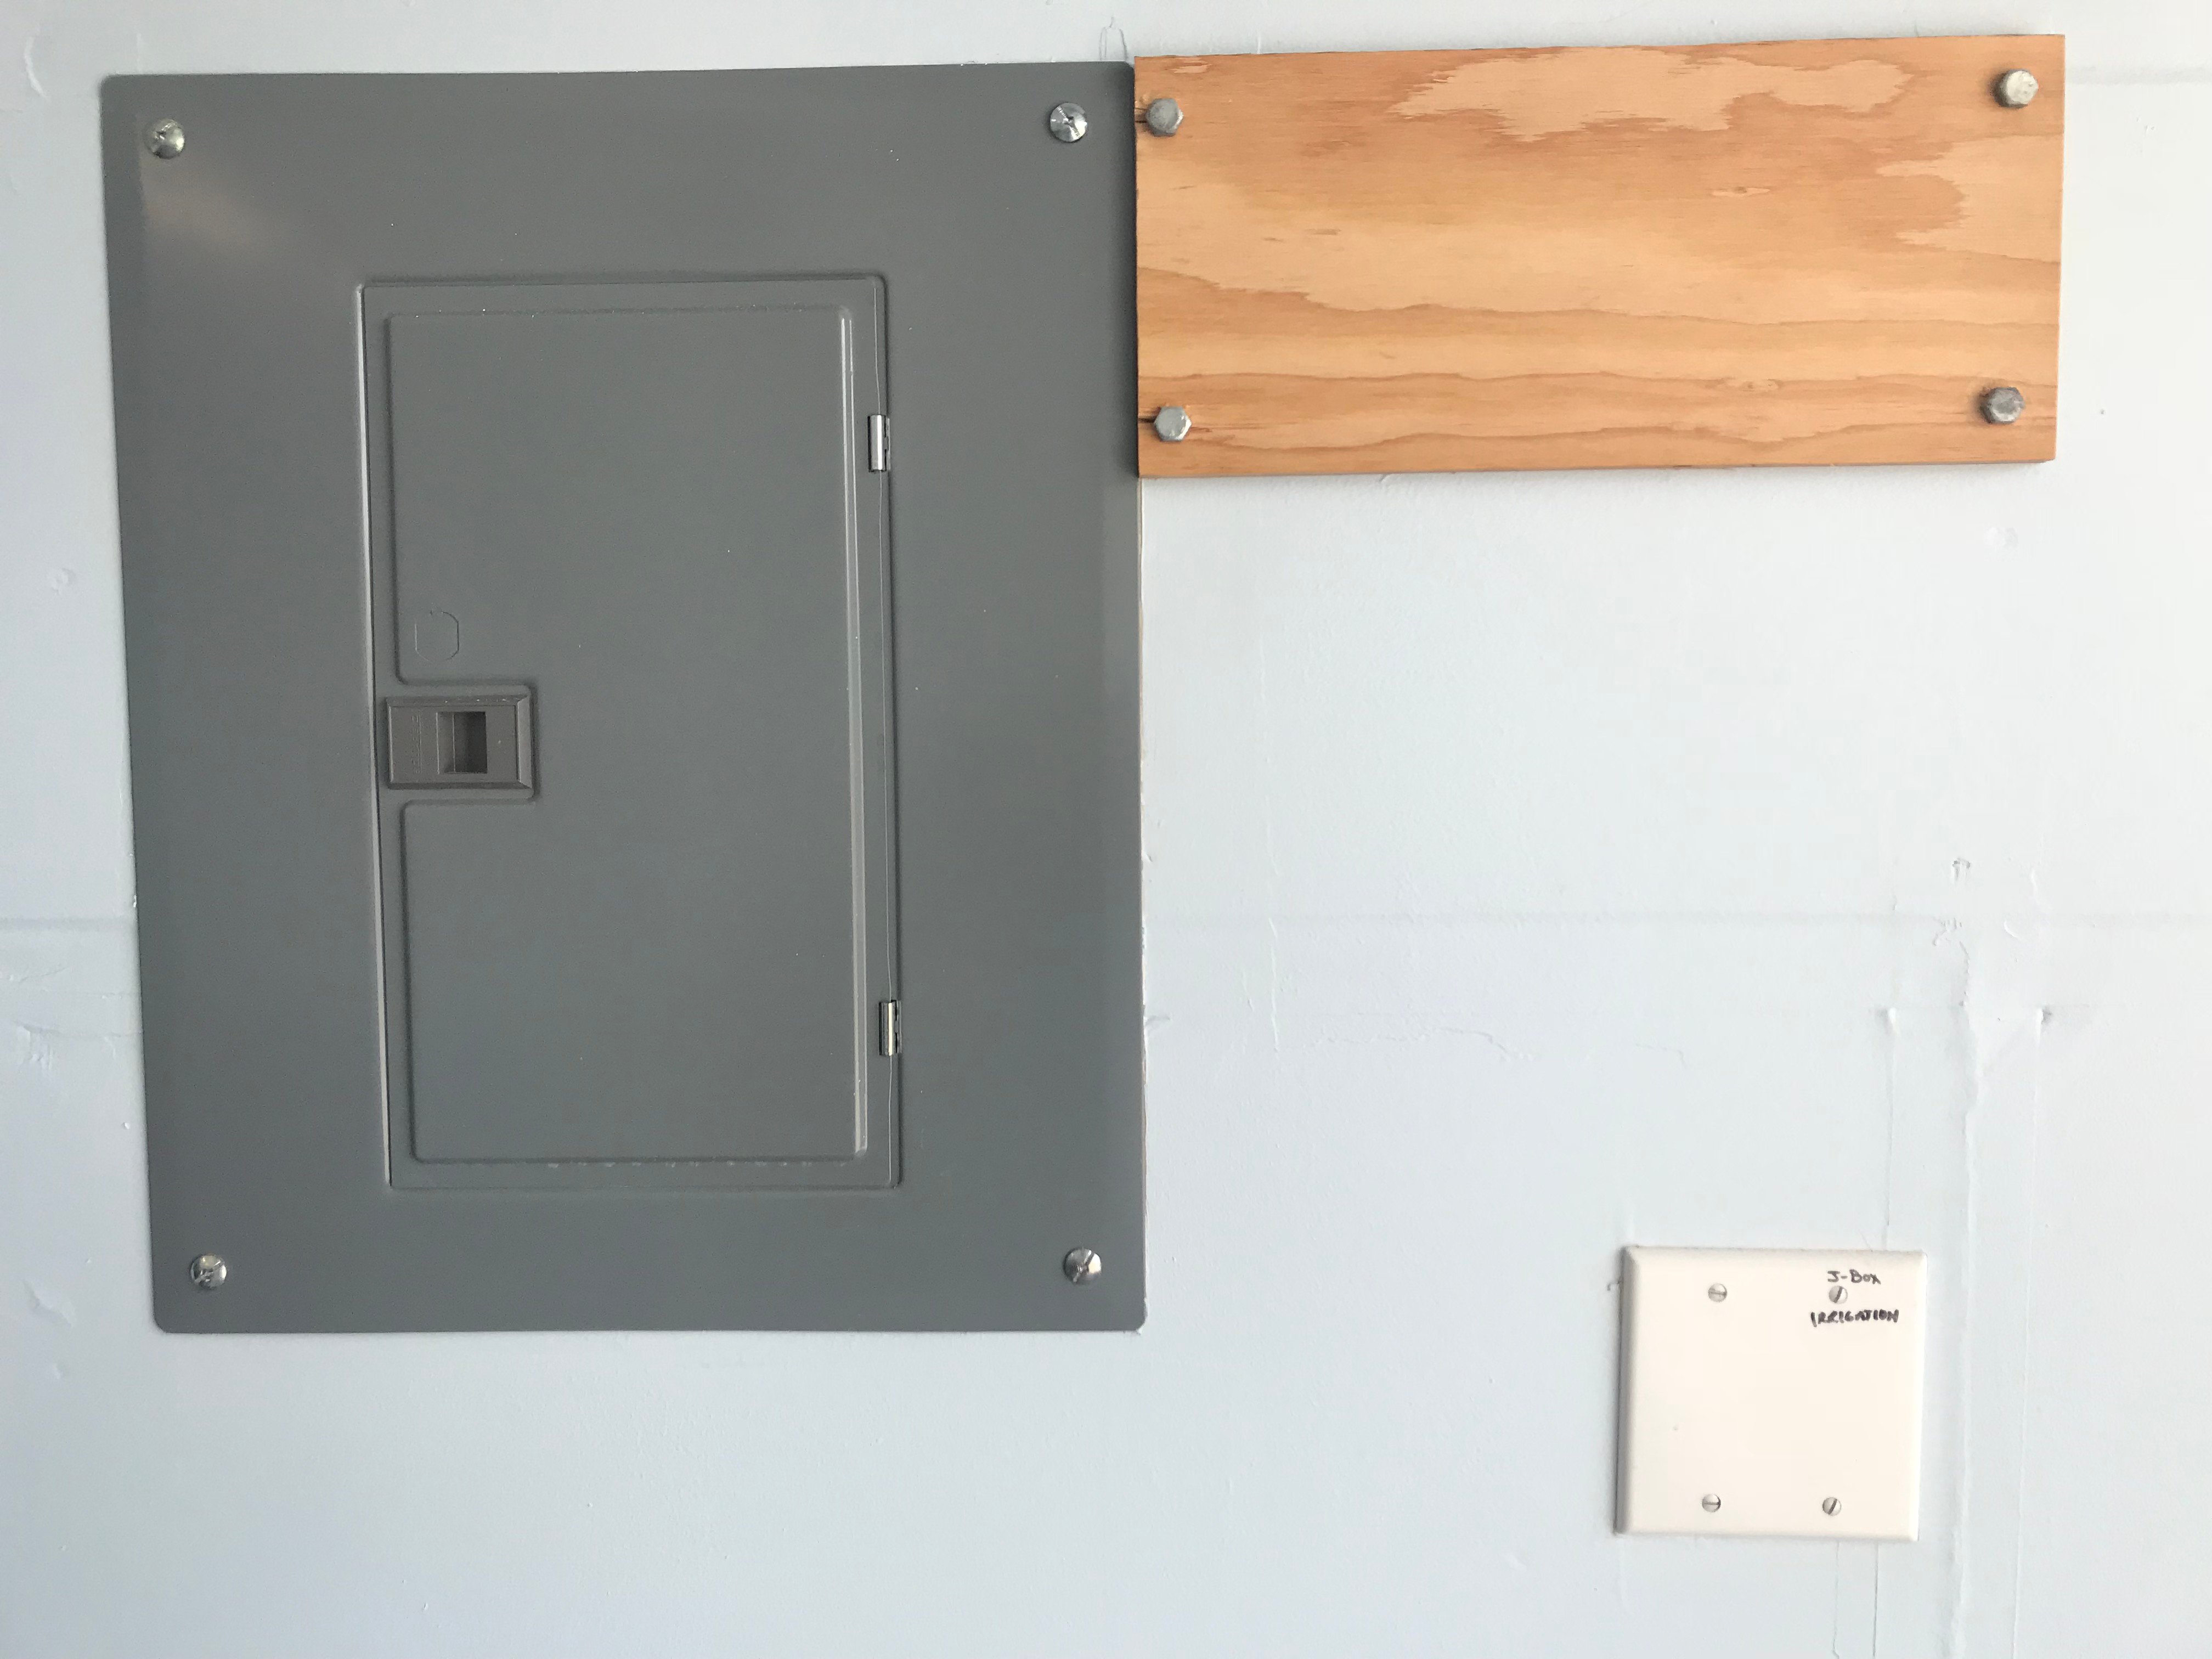
I need this to bridge two wall studs. This will make a secure foundation for the rather heavy appliance.

Old [Japanese] Skool


I was worried about screwing it in here because of possible mains power cables.

Stupidly, I just went for it, hoping that the electrical code requires vertical cabling only...

All of the house's power remained on, and I did not die at this time.
Attach this metal claw.

And throw in some wall plugs for good measure.


Make sure they're behind the surface.

And crack on.


Yes.

I was genuinely about to turn it on, before realising I had not attached the collection bag. Idiot.

Pleasing.


This clip was barely long enough. Quite tough to attach. Annoying...

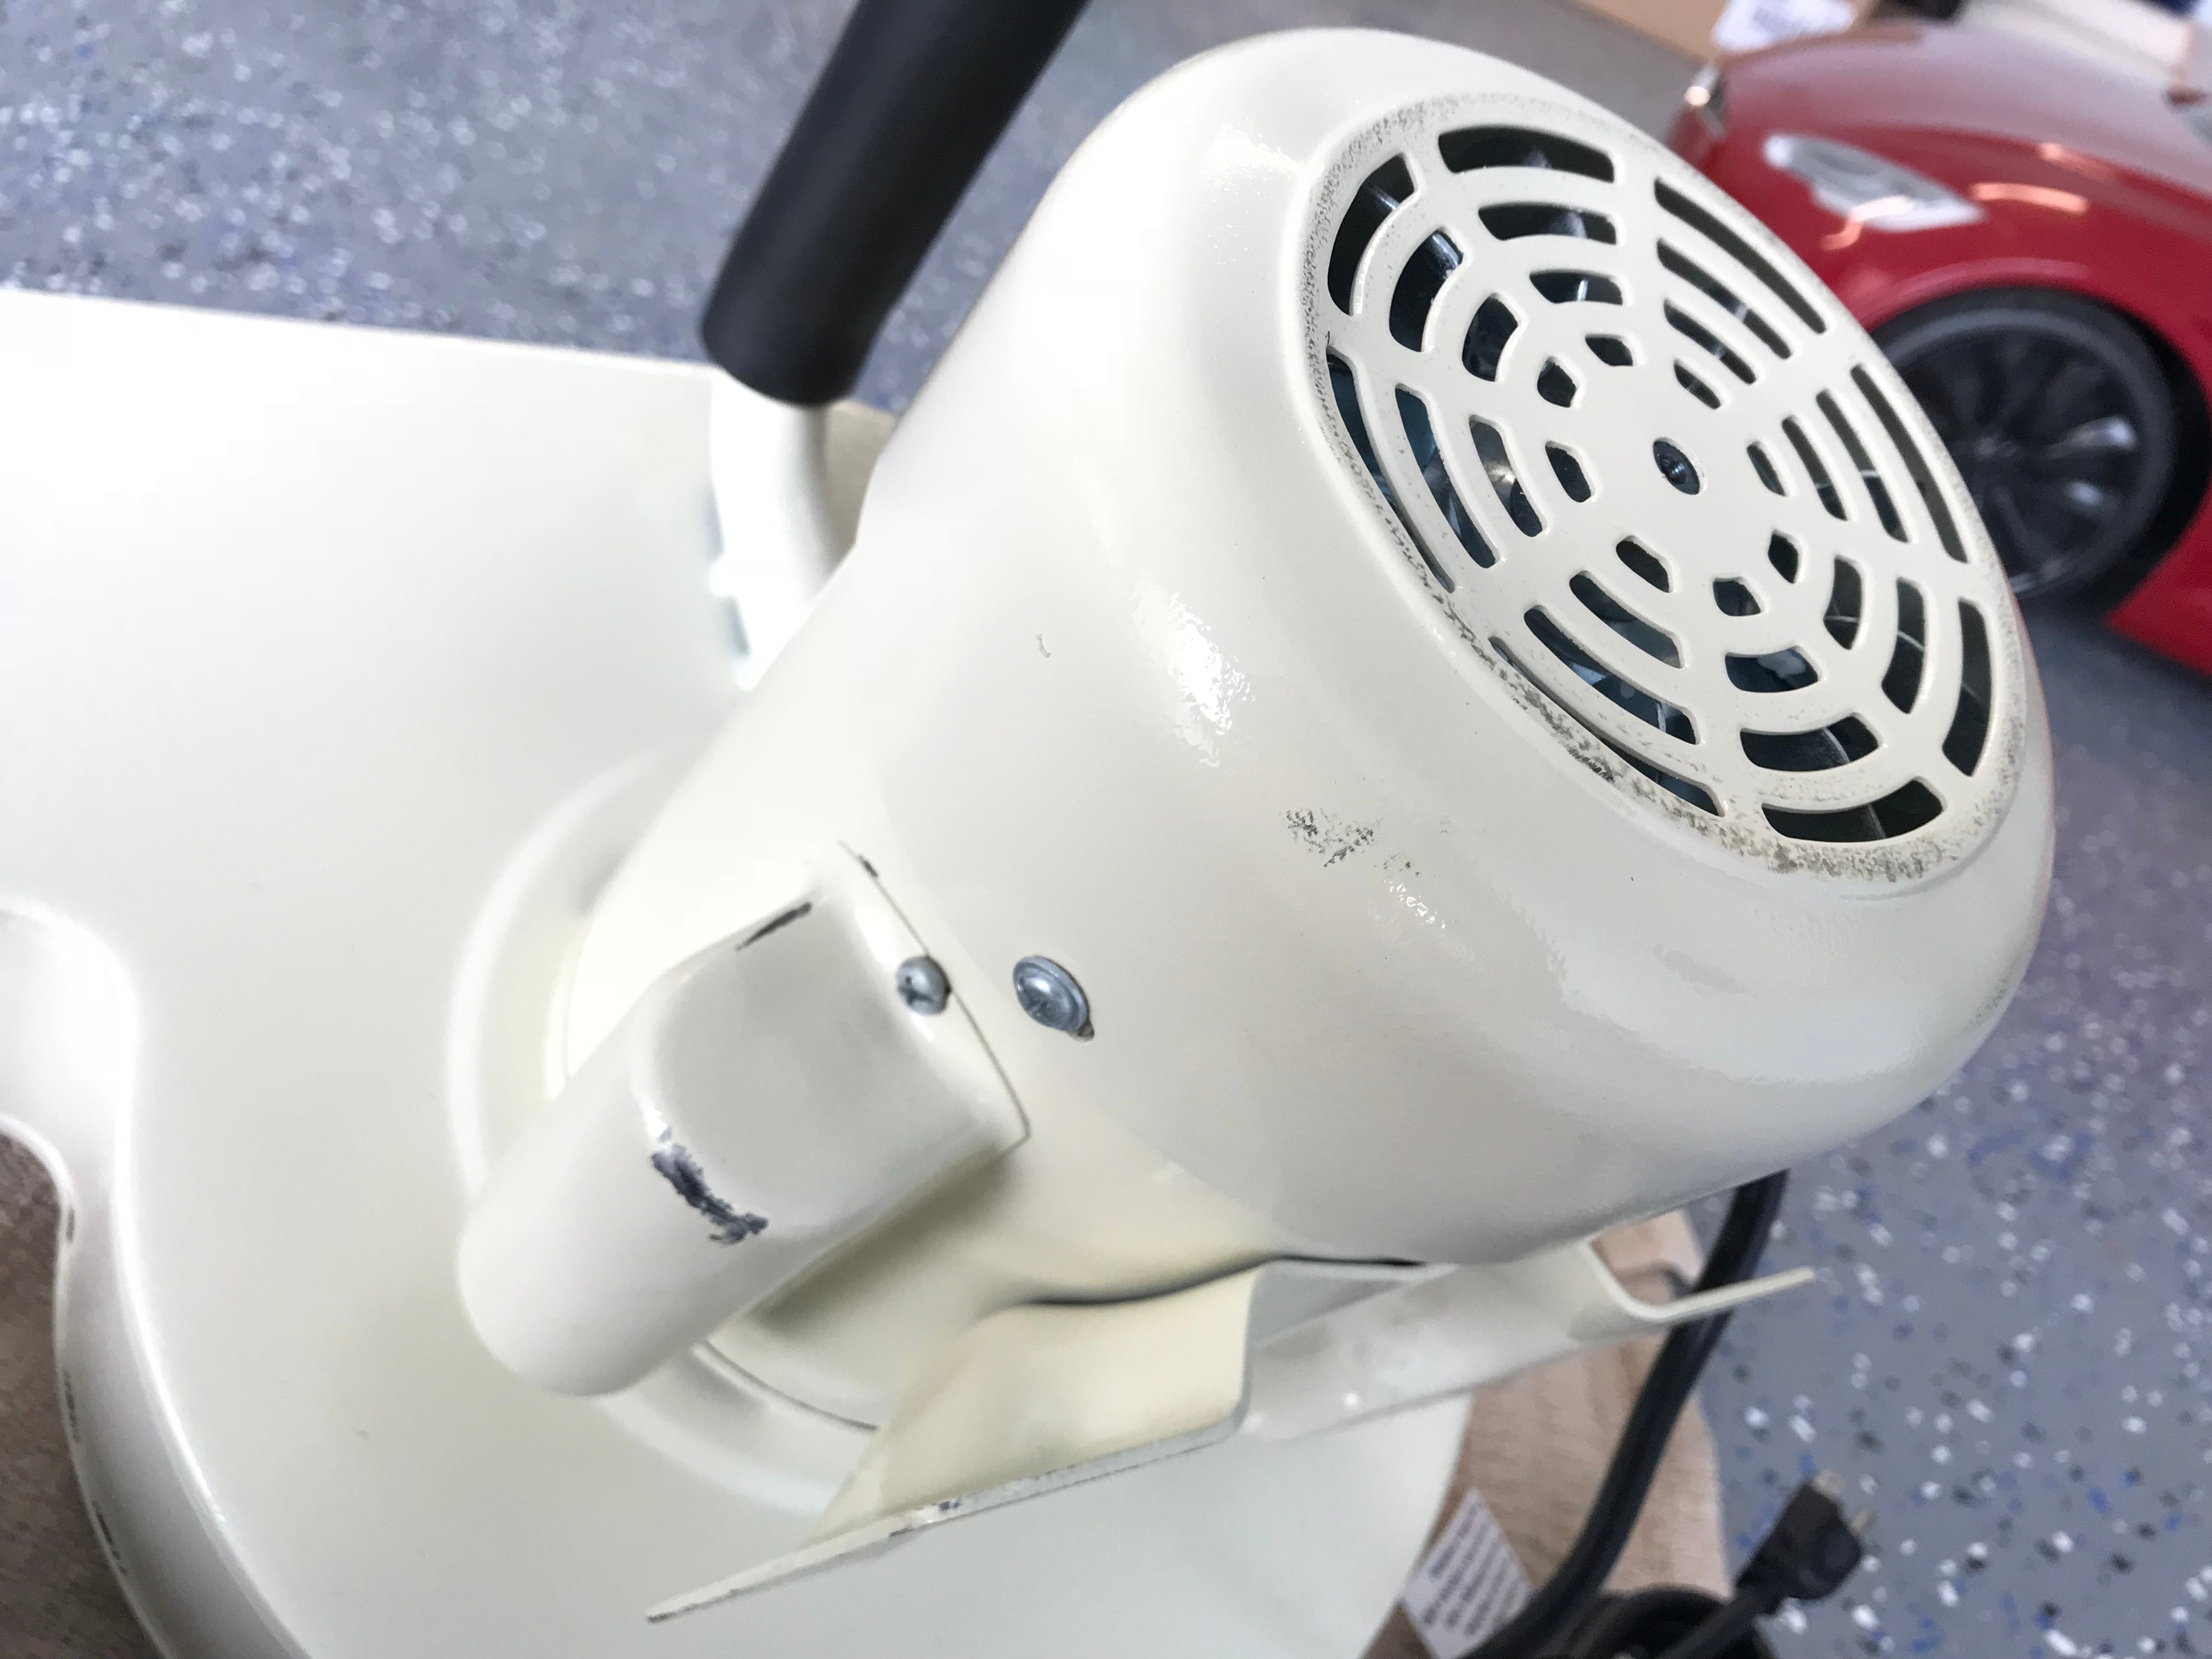
Then I turned it on. Instead of a lovely low hum, there was a scream of screeching metal. Terrified, I smacked off the power.
That packaging from earlier may have been the culprit. The fan cover was dented against the fan! Horrible! The company is sending a replacement, but in the meantime I performed some percussive maintenance.


Finagling
Last things last.The SawStop® man told me to use a clamp to clamp the bed to the rail, then tighten the screws. This is pretty straight now. It will be fine.

I installed the basic blade that came with the machine because I wanted to make sure everything was fine and did not want to ruin the good blade.


Put that in.

Calibrate the brake system.

And smash it all together.

A man told me I could turn this socket around the other way...

Which I did.

Nailed it.

That was a long one. Well done for making it this far. You are special.
Next up... WORKBENCH!
PS. The saw and dust collection work and are quite noisy. I may insulate the garage door...
Thanks for reading! Thanks. I love you.
Of course, the work is done very much. I like how you build your garage. I myself am a builder. I would not have enough patience. Have a nice day.
Just a little at a time, my friend :D
Great and amazing woodwork @lenskonig!! Very clean and fine work. My best wishes is with you. 💚🤗💙💚
Thank you :D
Great work engineer man.
Thanks :D
Everything is coming in shape the workshop space is looking awesome now with all the tools :)
Thanks! Yes, I'm getting there. As soon as my workbench is finished I can properly start to make things. Otherwise I'd have to work on the floor. But the Japanese do that, so maybe I'm being lazy.
Congratulations @lenskonig! You received a personal award!
Click here to view your Board of Honor