SD. KFZ. 140 FLAKPZ. GEPARD - Part 1 (ITA-ENG)
SD. KFZ. 140 FLAKPZ. GEPARD - Part 1
 Opening image - Immagine di apertura
Today we continue the creation of Flakpanzer 38 (t), taking the opportunity to thank you all for the full support you are giving me.
Not by chance (I take this opportunity) I exceeded 100 followers just the day before yesterday, after the release of Podium about my post on Afghanistan: Afghanistan - The beginning related to the categories: POLITICAL, ECONOMIC AND SOCIAL SCENARIOS.
Thanks to everyone, especially @steempostitalia and the entire Italian community for the affection shown and the continuous work of all the administrators and collaborators ...
I'm going to go on OT: P.
Let's go back to the model presenting today Part 1; the other parts can be found here:
Photos, images and videos taken by myself during the construction of the model.
Oggi continuiamo la realizzazione del Flakpanzer 38(t), cogliendo l'occasione per ringraziarvi tutti per il supporto completo che mi state donando.
Non a caso (ne approfitto) ho superato quota 100 follower proprio l'altro ieri, successivamente all'uscita del Podium riguardo il mio post sull'ìAfghanistan : Afghanistan - The beginning relativo alle categorie : SCENARI POLITICI, ECONOMICI E SOCIALI.
Grazie a tutti, soprattutto @steempostitalia e l'intera community italiana per l'affetto dimostrato e il continuo lavoro di tutti gli admin e collaboratori...
Mi sto dilungando andando OT :P.
Torniamo al modellino presentandovi oggi la Parte 1; le altre parti le potete trovare qui:
Foto, immagini e video scattate dal sottoscritto durante la realizzazione del modellino.

My work step by step - Il mio lavoro passo per passo

↑ ENGLISH
Ok, yesterday we had arrived at the coloring and installation of the gearbox / transmission and cockpit. Today we start from the sides, applying them with difficulty because the plastic is not perfectly straight (factory defect?)
↑ ITALIANO
Ok, ieri eravamo arrivati alla colorazione e installazione del cambio/trasmissione e cabina di pilotaggio. Oggi partiamo dalle fiancate, applicandole con fatica poichè la plastica non è perfettamente dritta ( difetto di fabbrica?)
↑ ENGLISH
Shock absorbers, wheel supports and front toothed wheel bearings (round ones)
↑ ITALIANO
Ammortizzatori, supporti per le ruote e supporto ruote dentate anteriori (quelli tondi)

↑ ENGLISH
We install sti ammotizers and supports, this time the wheels are few
↑ ITALIANO
Installiamo sti ammotizzatori e supporti, stavolta le ruote sono poche

↑ ENGLISH
Also on the other side everything is ok, the hard part is coming: the tracks
↑ ITALIANO
Anche dall'altro lato tutto ok, sta per arrivare la parte dura: i cingoli

↑ ENGLISH
From left to right: Central divider pilot cabin / rear with cannon; platform behind where the AA gun will rest; Rear hatch
↑ ITALIANO
Da sinistra a destra: Divisorio centrale cabina pilotaggio/retro con cannone; pedana di dietro dove appoggerà il cannone AA; Portellone di dietro.

↑ ENGLISH
This is how the central partition and the platform for the cannon are applied
↑ ITALIANO
Ecco come risultano applicati il divisorio centrale e la pedana per il cannone

↑ ENGLISH
With the addition of the back door, we have completed at least this part. Even here the plastics are made a little 'bad, not combining more pieces and then creating spaces ugly to the eye....
↑ ITALIANO
Con l'incollo anche del portellone di dietro abbiamo concluso almeno questa parte. Anche qui le plastiche sono fatte un po' male, non facendo combaciare più pezzi e quindi creando spazi bruttini alla vista.

↑ ENGLISH
With this close-up you can see how the platform is more narrow towards the top / left side leaving small spaces that I will have to fill with ad hoc wax for the models
↑ ITALIANO
Con questo primo piano si nota come la pedana risulti essere pi+ stretta verso la parte alta/sinistra lasciando dei piccoli spazi che poi dovrò riempire con della cera ad hoc per i modellini

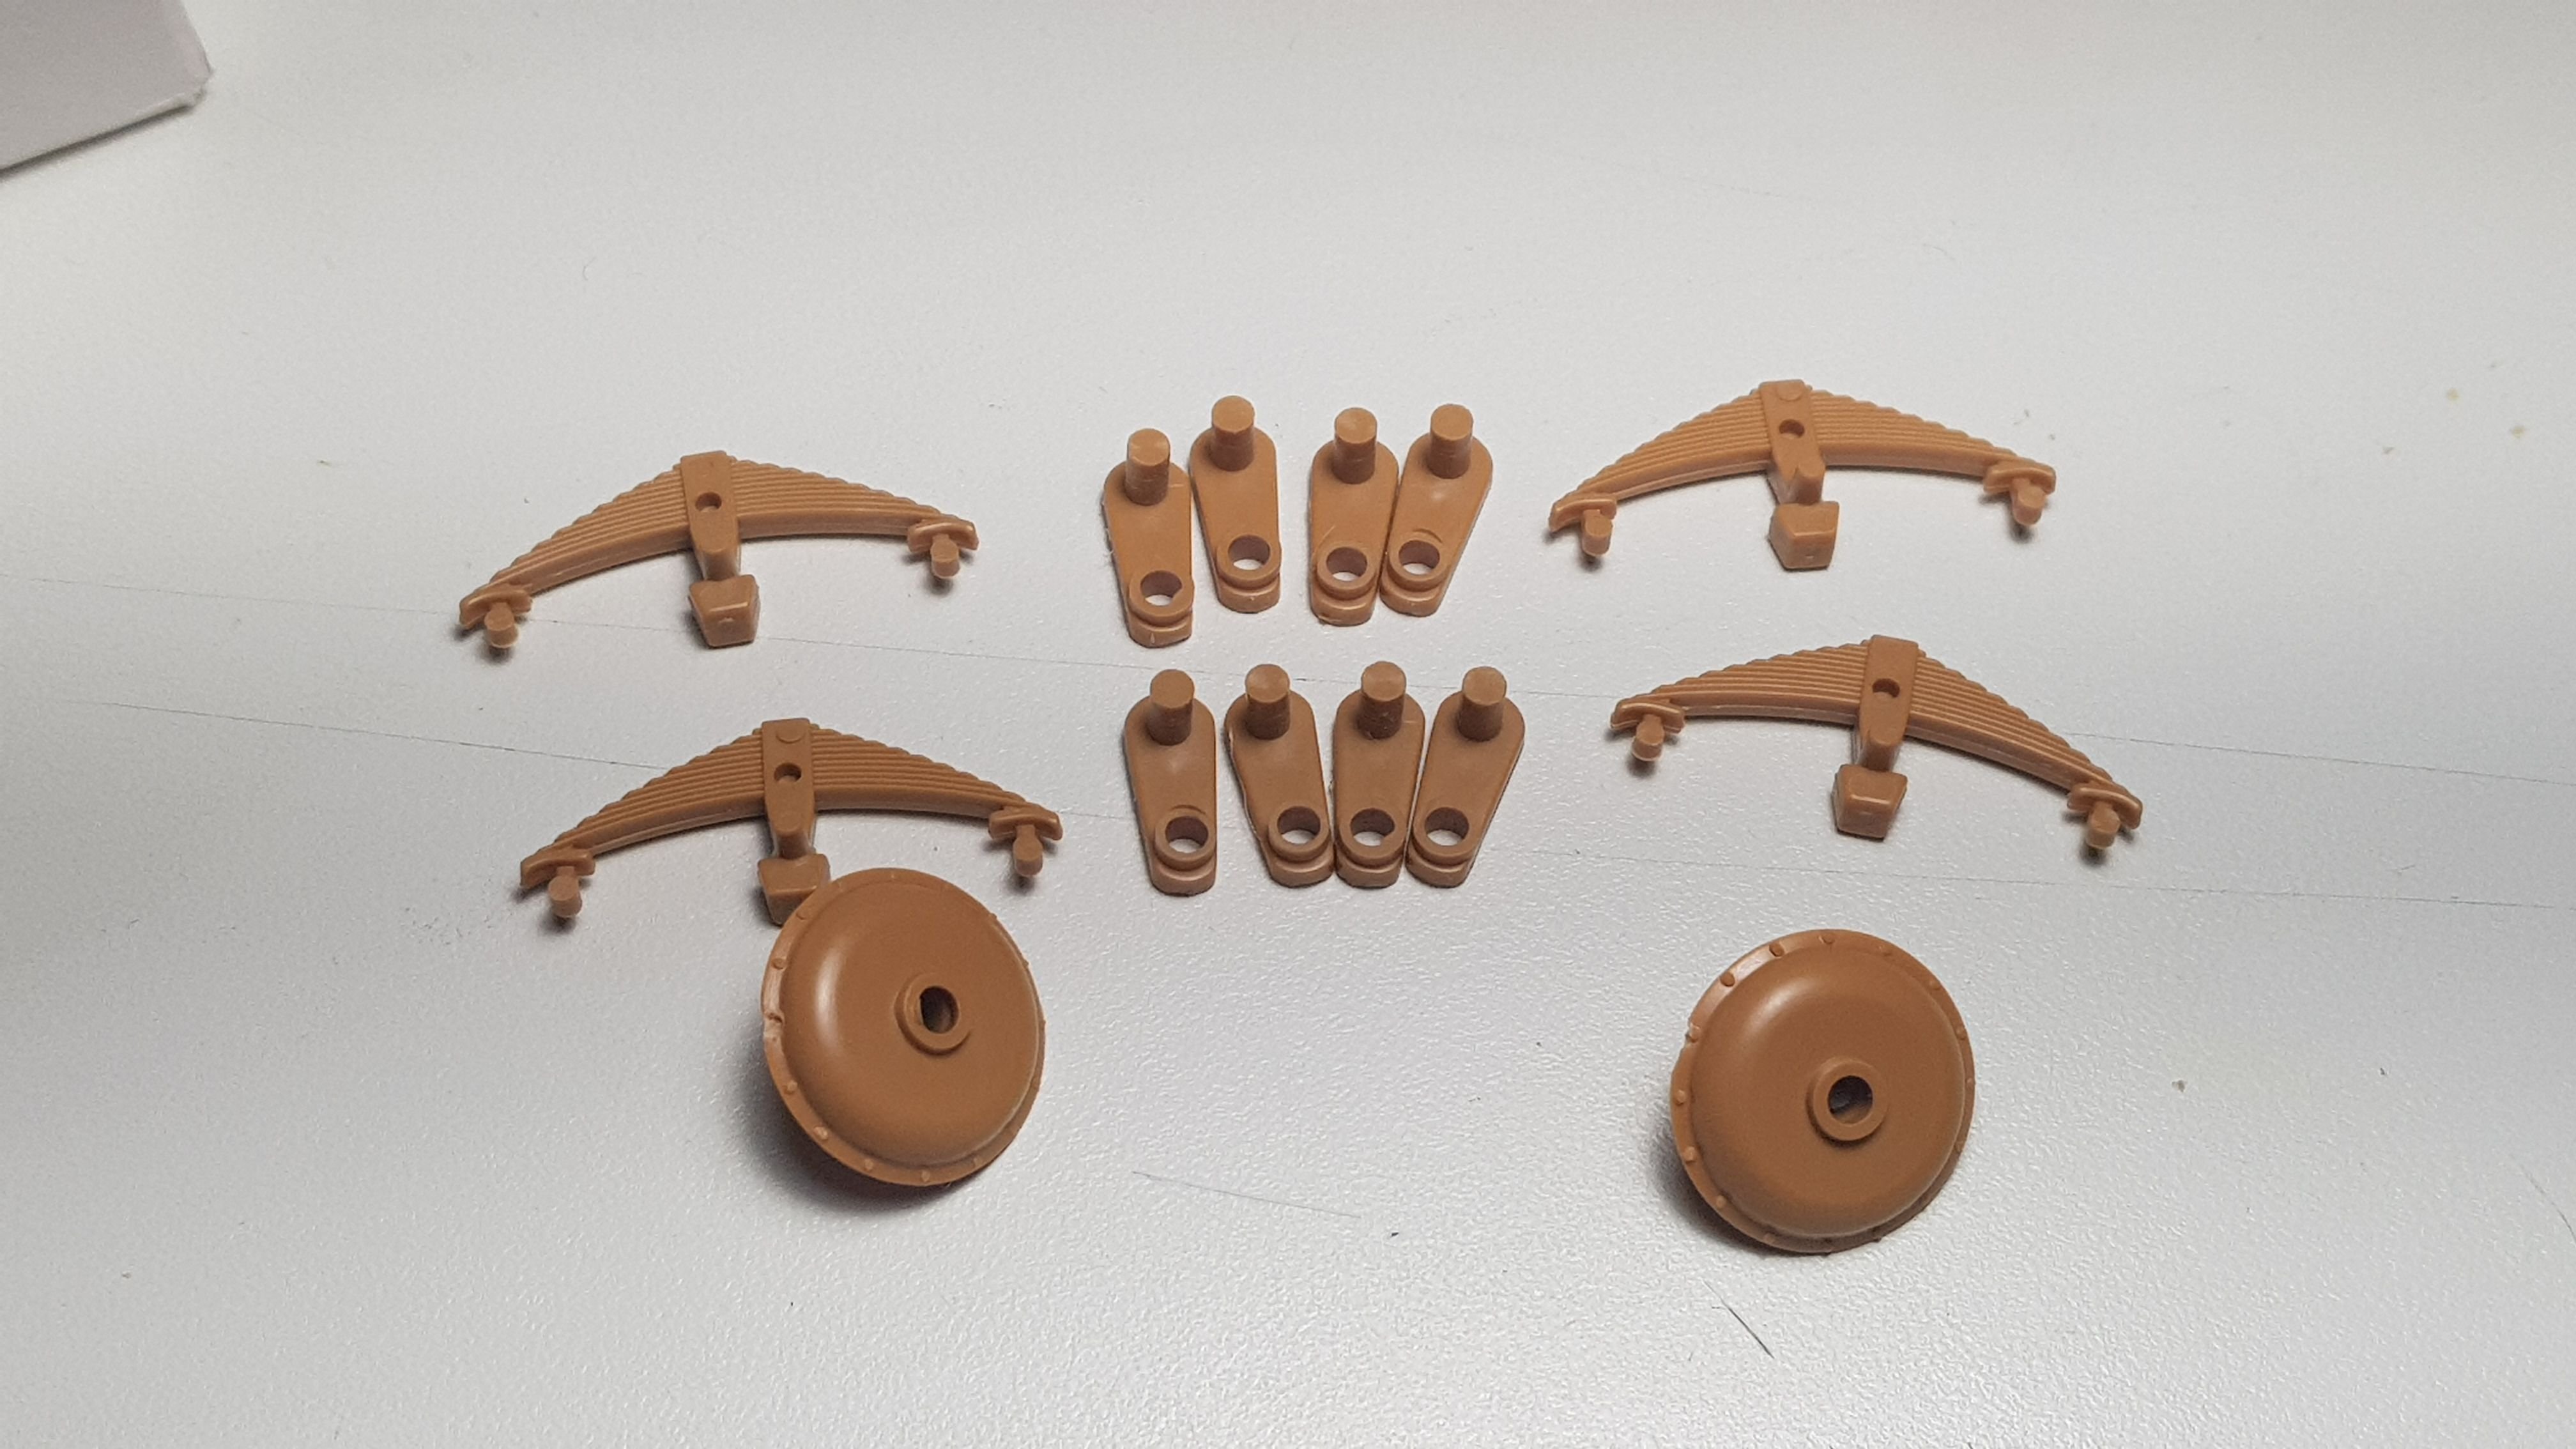
Now it's up to the track supports. From left to right:
- 2 front gripping toothed supports,
- 2 supports as above (they are 2 halves),
- 8 wheels (4 per side),
- 2 back supports,
- 2 supports as above (they are 2 halves),
- 2 covers for the front toothed supports,
- 2 central mini wheels that serve to support the tracks in the upper part.
Ora tocca ai supporti dei cingoli. Da sinistra a destra:
- 2 supporti dentati agggrappanti anteriori,
- 2 supporti come sopra (sono 2 metà),
- 8 ruote (4 per lato),
- 2 supporti posteriori,
- 2 supporti come sopra (sono 2 metà),
- 2 coperture per i supporti dentati anteriori,
- 2 mini ruote centrali che servono a sorreggere i cingoli nella parte superiore.

↑ ENGLISH
Here is how the front and back supports appear once glued
↑ ITALIANO
Ecco come appaiono i supporti anteriori e posteriori una volta incollati

Close up showing all the track supports in place with (from left to right):
- Back supports,
- 4 wheels in a row
- In the middle of the 4 wheels you notice slightly more on the small wheel (crooked because glued badly on my part ...),
- Front attachment.
Primo piano che mostra tutti i supporti dei cingoli a loro posto con (da sinistra a destra):
- Supporti posteriori,
- 4 ruote in fila
- In mezzo alle 4 ruote si nota leggermente più su la ruota piccola (storta perché incollata male da parte mia...),
- Aggrappante anteriore.

↑ ENGLISH
For today we conclude with the first floor of the front support. I also applied a light green veil to the side bulkheads to help me with the final color. (the red arrow indicates the wheel of which I spoke that is still wrong, I'll fix it later, do not worry: D)
↑ ITALIANO
Per oggi concludiamo con il primo piano del supporto aggrappante anteriore. Ho anche applicato un velo di verde chiaro alle paratie laterali per aiutarmi con la colorazione finale. ( la freccia rossa indica la rotella di cui parlavo che è ancora storta, la aggiusto dopo tranquilli :D)
END OF PART 1 - FINE PARTE 1

This post has received a 9.99 % upvote from @webdeals thanks @demiro86.
This post has received gratitude of 9.35% from @appreciator courtesy of @demiro86!