Arduino Remote Home #13
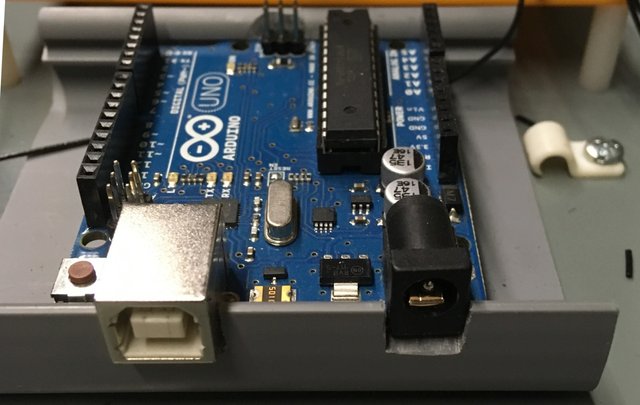
As promised here’s the Uno cradled in its new home.
I believe I’ve figured out my space issue as well. The second floor control center should fit into a standard 16” on center stud bay,
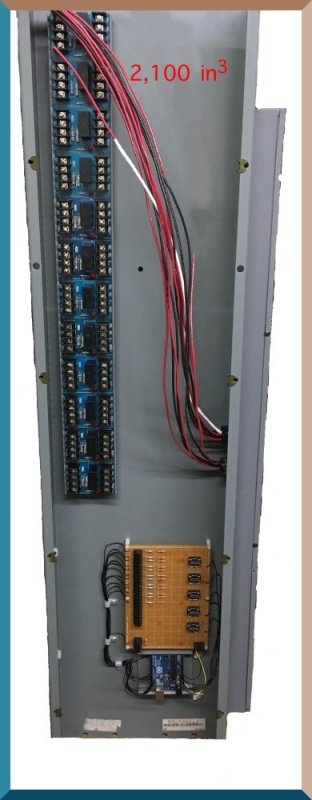
which will allow me to install it just about anywhere. I will need to make some sort of cabinet door to dress it up a bit. Here is a reminder picture of the basement control center.
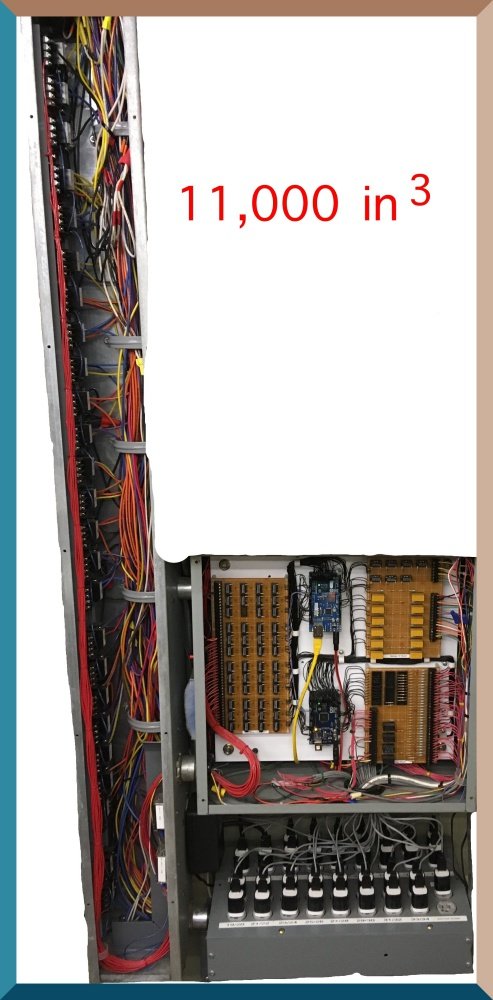
To be fair about it, for the sake of comparison, I blocked out anything that is not in both control centers. You should also keep in mind that the basement setup has the capability of monitoring and/or controlling 119 individual “points” while the second floor is maxed out at just 18 “points”. For the fun of it that works out to be .010 points per cubic inch, of space used, in the basement and .0085 points per cubic inch upstairs. Closer than I thought it would be. Man am I a geek!
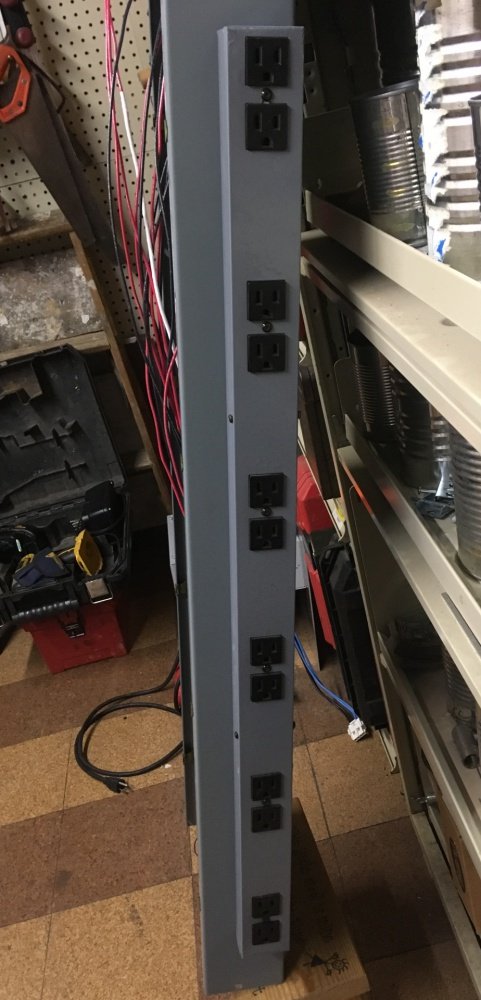
Another difference is that I needed 35 vs. 12 receptacles for the USB phone chargers. This modified rack mount plug strip, was easy to convert to suit my needs.
One other significant difference is the power supplies. Because the basement controller supplies a much larger number of devices, over longer distances, with higher ma ratings, I grossly over sized it. I’m not an Electrical Engineer so I erred on the safe side by using a 350 watt power supply from an old computer similar to this one. 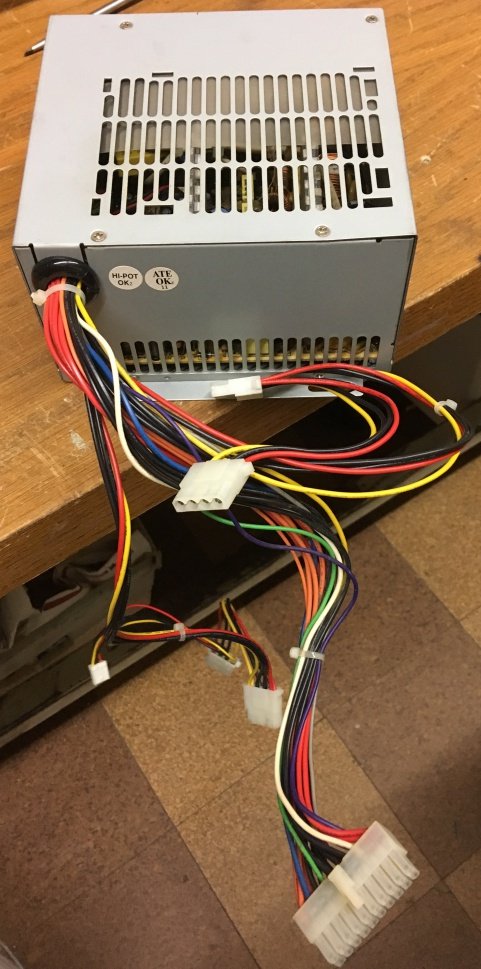
If you think you might like to do this yourself, do a Google or Youtube search on “how to modify a switching power supply”, it is in fact quite simple to do.
Similarly to the basement set up, I made my own, custom length USB cords.
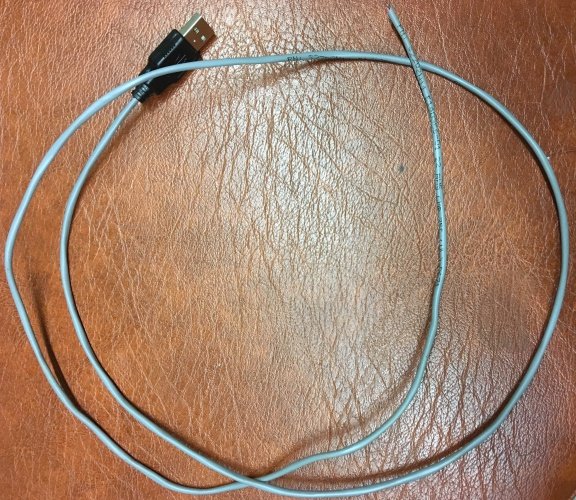
Adding up the price of the wire, the phone chargers and USB ”A” connectors,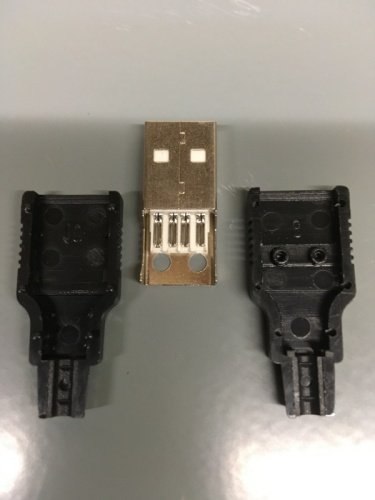
I spent far less money than any other option I considered. Oh and I should also include the cost of the resistors I used to make the voltage dividers. They also act as pull-down resistors. The purpose of these is to be sure, not to supply more than 5 Vdc to any of the Arduino pins ( by chance I discovered the voltage output of the phone chargers varied a bit on the high side) while making sure the pin would not “float” when the chargers have no output voltage, ie: the point being monitored was Off.
There are a few more things that can be done to the new control box while still on the work bench, which won’t be very exciting, before hauling up to the second floor. It will be a few weeks before I have an opportunity to install it. So it may be some time before I have progress updates for you.
I want to say thanks to all that like this project by following and giving upvotes. It’s not the reason I’m doing this blog, but it sure does feel good to be validated by my peers.
Sincerely, Ken the ElectricSwine
Join our Discord Channel to connect with us and nominate your own or somebody else's posts in our review channel.
Help us to reward you for making it ! Join our voting trail or delegate steem power to the community account.
Your post is also presented on the community website www.steemmakers.com where you can find other selected content.
If you like our work, please consider upvoting this comment to support the growth of our community. Thank you.
Hello, electricswine, I'm @ArtTurtle, an upvote bot run by @Artopium. I just upvoted this post and resteemed it because I'm following you and, well, that's just what I do. Reciprocation is always appreciated! If you no longer wish to have @ArtTurtle follow you please reply to this comment with 'STOP'.
Hi @electricswine!
Your post was upvoted by utopian.io in cooperation with steemmakers - supporting knowledge, innovation and technological advancement on the Steem Blockchain.
Contribute to Open Source with utopian.io
Learn how to contribute on our website and join the new open source economy.
Want to chat? Join the Utopian Community on Discord https://discord.gg/h52nFrV
Get your post resteemed to 72,000 followers. Go here https://steemit.com/@a-a-a