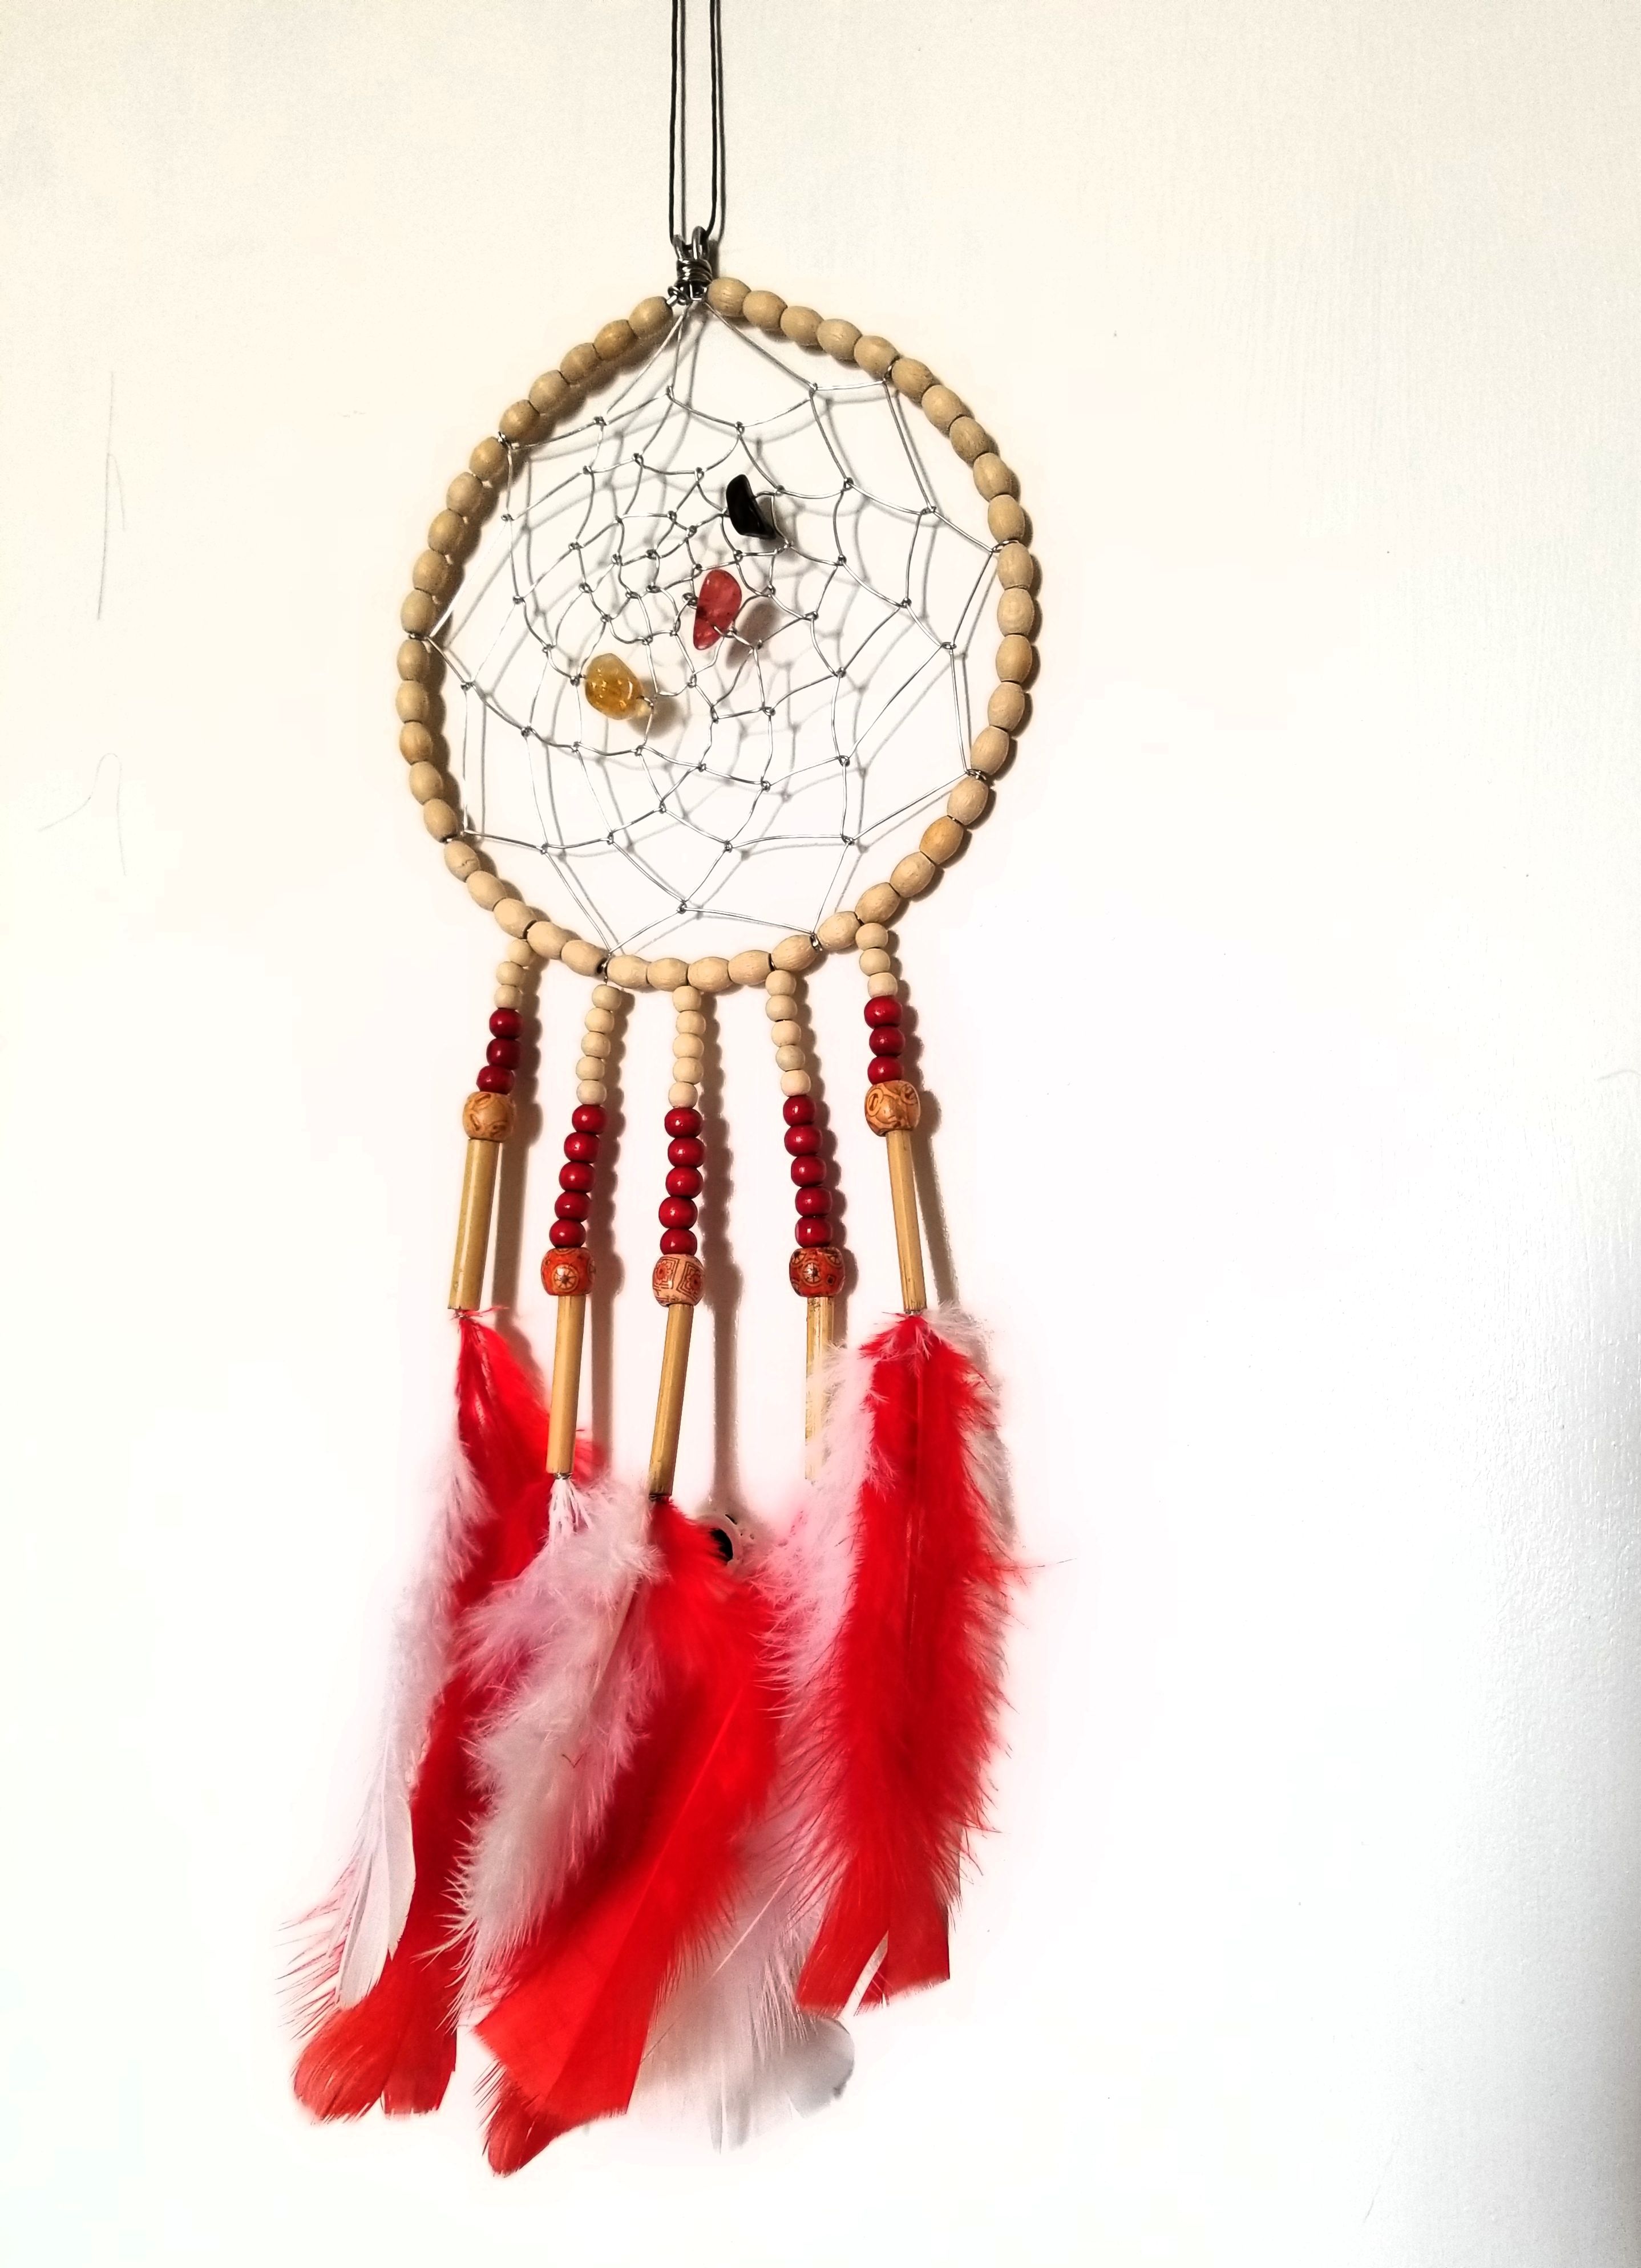
How to make a wire Dream Catcher: How To: Weekly contest by @starjewel
This is my entry in the contest How To: Weekly - created, sponsored and judged by @aoart and @roscoeh.
I will show you how to make a cute dream catcher by using wires, no threads, no glue.
This is the dream catcher we are making, isn't it adorable?
These are the items you need:
- hard wire 12 gauge
- soft wire 24 gauge
- assorted wooden beads
- feathers
- pliers and cutter
I will not be very specific on the beads and feathers, as you can use any colors and styles you want. The purpose of this tutorial is to show you another way to make dream catchers, other than the traditional thread-and-glue technique.
STEP 1
Make the frame. My frame is 6" diameter. Slide your beads of choice on the hard wire. Make a loop (bail) and close the frame. Secure it with additional wire. You want a sturdy and straight frame.
Tip: You can use a pre-made beading hook, they sell it in the crafts store. In that case, you don't need to make a bail, you will use a spring ring to hang your dream catcher.

STEP 2
Cut 7 feet of soft wire, this will be your spider web. Make sure you have enough space to let your wire flow, it will be a little hectic at the beginning, as the wire is very long. Patience is the name of this game!
Slide the wire through the bail, that is your beginning point. Count all your beads and divide them in equal parts. In this project I had 45 beads, I divided by 5, so I will have 9 pointers for my dream catcher.
Now start weaving the wire as shown in the picture. It is the same technique like the thread method, but you will use the soft wire. Go around, count the beads and when you finish the first round, keep going...
STEP 3
When you come close to the middle, slide 3 beads on your wire. I used three crystal nuggets, to make it more interesting. This step is optional, some people don't use any beads in the middle.
STEP 4
Now we work on the bottom part of our dream catcher. Cut a piece of wire, approx. 10". Fold it in half and attach it to the frame, by making a loop and a twist. Slide the beads on both wires. The last beads in my project are tube beads, with a large hole. The wires are now out of my tube beads.
Take two feathers and stick them into the end of the last bead. When you feel that they are correctly positioned, wrap the wires, two loops in each direction. Now the beads and feathers are secured. Repeat this step until you finish the five "legs".
That's it! You finished your dream-catcher! Go ahead and hang it in your bedroom. All the bad dreams will be caught in this magical dream catcher!


BEAUTIFUL!
We have three dream catchers; one in our bedroom, one in my office and my hubby has one in his truck. I know when we bought them it took me forever and a day to pick out just the right ones.
@goldendawne - Thank you and yes, I believe you! When it comes to spiritual objects, you must take your time. These things must resonate with you. It takes me no time to design something, as my imagination is wild... but to make it, that's a different thing. I must feel it.
Hi @starjewel! Thank you for sharing this post! Actually, my best friend is getting married soon and she’s planning to give dream catchers as wedding giveaways. Instead of buying from suppliers, I think we’ll try making ourselves first. Thank you again! This was really helpful. :)
Great idea @ohkaaay. I suggest you look up other tutorials, there are so many! Find the method that is best for you. Buy bulk beads (with large wholes) and feathers at the dollar store. :)
Beep bop, this is @pushbot.
I just received a signal from the Mother Ship that you may require a push.
You just got a 10.27% upvote courtesy of @howtoweekly!
Message from the Mother Ship:
You can earn daily profit by delegating SP to make @pushbot stronger. Delegators receive a share in 95% of the earnings.
10 SP • 20 SP • 50 SP
100 SP • 200 SP • 500 SP
1000 SP • 2000 SP • 5000 SP
Any Other Amount
Thank you, I just made you a little stronger :)
I love this! I'm so glad I found your blog after reading @aloha-creations' entry on other crafters. Thanks so much for sharing!
Im so glad to see this before it pays out. I almost missed it. I also wanted to let u know that i did a blog and added u to it hoping that it will help us all out by getting our work seen by new people, feel free to resteem it and help fellow crafters. 🌺 we all need to support beautiful hand made crafts .
@aloha-creations - Is the blog named crystal?