[ENG-ESP] Tutorial on how to make a gift wrap box // Tutorial de como Hacer Una Cajitas de Papel de Regalo..
Hello Stemians!
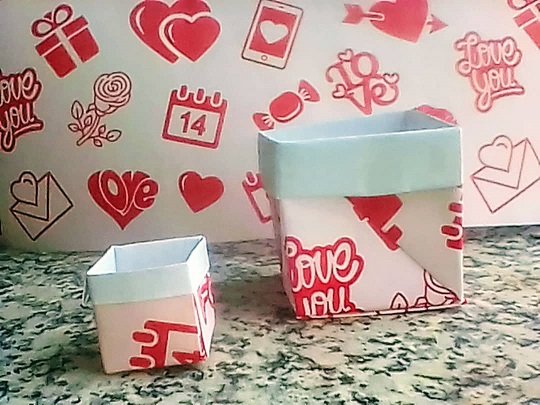
If you need a quick gift wrapping and you don't know how to do it, this is the best option, since in less than 5 minutes you can solve it. You can make this box in different sizes, based on the size of your gift. Very timely, as Mother's Day is approaching. Do it yourself and surprise Mom on her Day ...
Gift Wrap Boxes ..
Materiales:
• 1 Pliego de Papel de Regalo de tu Preferencia
• Lápiz
• Regla
• Tijera
• Silicón Frío
Materials:
• 1 Sheet of Gift Wrap of your Preference
• Pencil
• Rule
• Scissor
• Cold sylicon

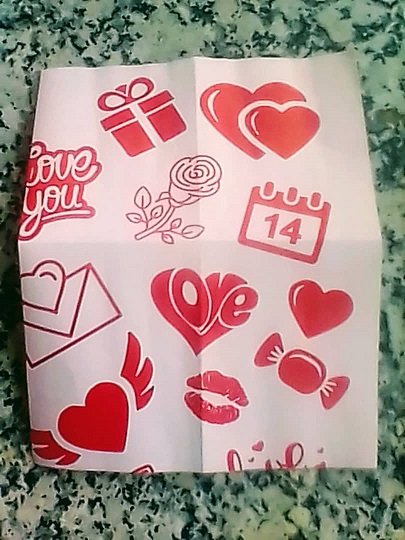
Paso 1: En el Papel de Regalo vamos a marcar un Cuadro de 22cm de Ancho x 28,5cm de Largo.
Step 1: On the Gift Wrap we are going to mark a Square 22cm Wide x 28.5cm Long.
Paso 2:Ya marcado procedemos a Cortar.
Step 2: Already marked we proceed to Cut.
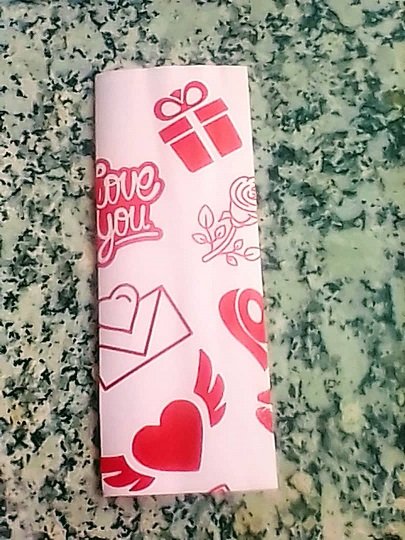
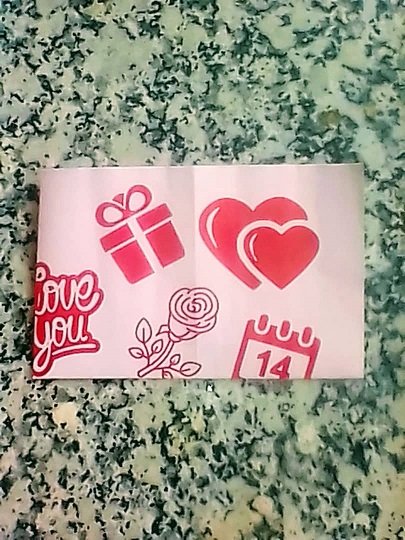
Paso 3: Doblamos a la Mitad hacia lo Largo, y luego a lo Ancho.
Step 3: Fold in Half Lengthwise, and then Fold Width.
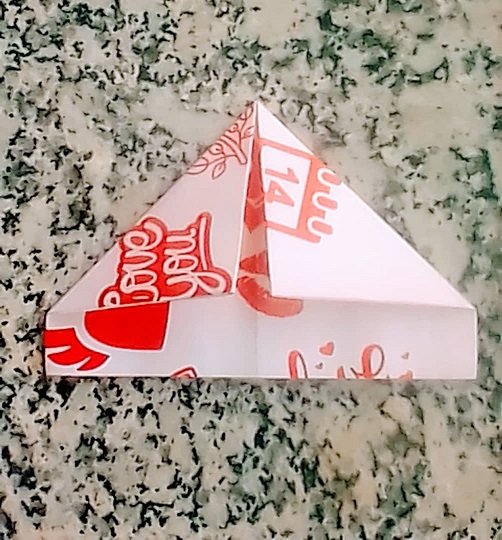
Paso 4: Cuando llegamos a este doblés, nos traemos las dos puntas de las esquinas superiores hacia el Centro.

Step 4: When we reach this fold, we bring the two tips of the upper corners towards the Center.
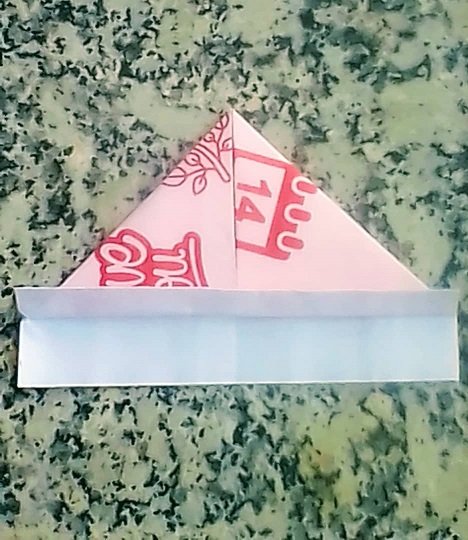
Paso 5: La Pestaña que nos queda en la parte inferior, la doblaremos hacia arriba que nos quede al ras del triángulo que hicimos en el paso Anterior.
5-II: Y posteriormente ese doblés lo llevamos nuevamente hacia Arriba como lo muestro en la Imagen.
Step 5: The Tab that remains at the bottom, we will fold it up so that it is flush with the triangle we made in the Previous step.
5-II: And later that double we take it up again as I show it in the Image.
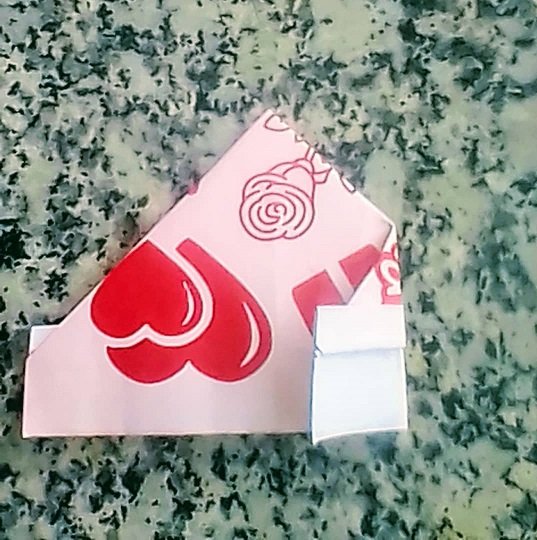
Pasó 6: Volteamos el papel y por la parte de atras nos traemos las puntas laterales hacia el Centro
Step 6: We turn the paper and from the back we bring the side tips to the Center
Paso 7: La pestaña restante la Doblaremos toda hacia arriba al raz con el doblés que hicimos en el paso anterior.
Step 7: We will fold the remaining tab all the way up to the root with the double we did in the previous step.
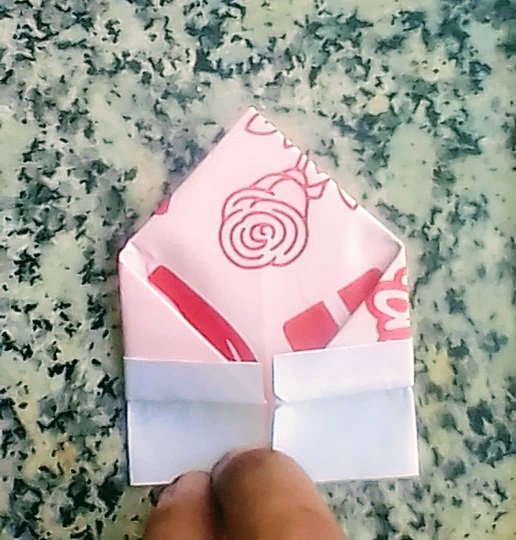
Paso 8: El exceso restante lo vamos a doblar y a introducir hacia adentro para asegurlo.
Step 8: We are going to fold the remaining excess and introduce it inwards to secure it.
Paso 9: la esquina del triángulo la vamos a doblar justamente hacia el borde de el ruedito de nuestra cajita
Step 9: we are going to bend the corner of the triangle just towards the edge of the wheel of our box
Paso 10: La Abrimos y presionamos el triángulo, trayendolo hasta uno de los extremos de la Cajita
Step 10: Open it and press the triangle, moving it to one of the ends of the Box
Para finalmente pegarlo. Y Listooo....
¿Te gustó el resultado? Comenta si te gustó la idea.
Did you like the result? Comment if you liked the idea.
Espero que este post sea útil para ti. ¡No olvides dejar un comentario! Hasta un próximo post...







Hermosa cajita, es muy fácil de realizar, saludos!
Hi ;
it has been chosen as the quality post of the day in the steem women club community. It will be supported by Booming. Continue making posts in the community.
Hi! Thanks for the support, greetings!
Muy fácil y coquetas quedan gracias por compartir
¡Gracias a ti por apoyarme!
Esa cajita quedó muy hermosa amiga
Gracias :)
Gracias por tu apoyo...
Gracias por tu tutorial, esta muy interesante y bonito
Gracias, ¡qué bueno que te haya gustado!
¡Gracias a ti por tu apoyo!
Muy bello trabajo, lindas te quedaron
¡Gracias!
Bellas cajitas. Gran tutorial, bien explicado. Lo intentaré en casa.
¡Me alegra que lo pongas en práctica!
Esto esta genial
¡Gracias!
Que genial amiga @erikapda, me encanto la cajita, super practica y fácil de hacer!
Saludos!
Hola, ¡muchas gracias por tu apoyo! Saludos...
Sencilla, pero hermosa y muy útil. Nunca esta demás hacerlas y tenerlas para ocasiones especiales.
Te felicito.
Me gustó mucho!!!
Saludos