[ENG-ESP] Tutorial Beautiful Surprise Card for your Favorite Person: SteemWomen Club // Tutorial Hermosa Tarjeta Sorpresa para tu Persona Favorita.

¡Hola Stemians! Si quieres regalar una hermosa tarjeta muy llamativa a tu persona favorita, esta es la mejor opción, ya que en menos de 10 min puedes solucionarlo: hazlo tú mismo y sorprende a esa persona especial con este hermoso detalle.
Hello Stemians! If you want to give a very striking beautiful card to your favorite person, this is the best option, since in less than 10 min you can solve it: do it yourself and surprise that special person with this beautiful detail.
Materiales:
• Cartulina Negra
• Cartulina Decorativa (preferencia)
• Hoja Blanca
• Papel de Seda Dorado (preferencia)
• Pega en Barra
• Marcador Negro
• Colores (preferencia)
• Tijera
• Lápiz
• Regla

Paso 1: En la cartulina negra marcamos un cuadrado de 12cm de ancho x 12cm de largo. Y dos más pequeños de 8cm de ancho x 8cm de largo cada uno.
.jpeg)
Step 1: On the black cardboard we mark a square 12cm wide x 12cm long. And two smaller ones of 8cm wide x 8cm long each.

Paso 2: El cuadrado grande lo cortamos solo, mientras que los 2 de 8cm los cortamos juntos formando una tarjetita.
.jpeg)
Step 2: We cut the large square by itself, while the 2 of 8cm we cut together to form a card.

Paso 3: El cuadrado grande lo vamos a doblar por ambas mitades formando una cruz

Step 3: We are going to fold the large square in both halves forming a cross

Paso 4: Lo volteamos boca abajo y doblamos en diagonal.

Step 4: We turn it upside down and fold it diagonally.

.
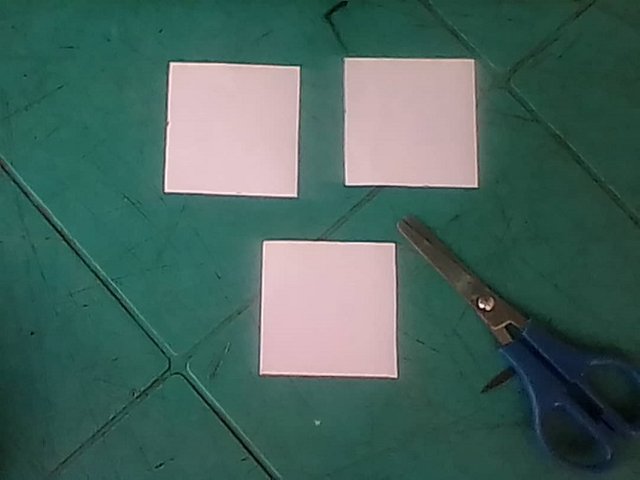
Paso 5: En una hoja en blanco marcamos y cortamos 3 cuadrados de 6cm de ancho x 6cm de largo cada uno.
Y uno de ellos lo cortaremos a la mitad en diagonal.


Step 5: On a blank sheet we mark and cut 3 squares of 6cm wide x 6cm long each.
And one of them we will cut in half diagonally.

Paso 6: En las hojas colocamos el mensaje que deseamos transmitir con nuestra tarjeta, en este con los colores.

Step 6: On the sheets we place the message that we want to convey with our card, on it with the colors.

Paso 7: En la cartulina decorativa marcamos y cortamos un cuadrado de 6cm de ancho x 6cm de largo.


Step 7: On the decorative cardboard we mark and cut a square 6cm wide x 6cm long.

Paso 8: Procedemos a pegarlo en el cuadrado grande.

Step 8: We proceed to glue it on the large square.

Paso 9: Cortamos un cuadrado en la cartulina decorada de 8cm de ancho x 8cm de largo y lo pegamos en el frente de nuestra tarjeta.

Step 9: We cut a square in the decorated card 8cm wide x 8cm long and glue it to the front of our card.

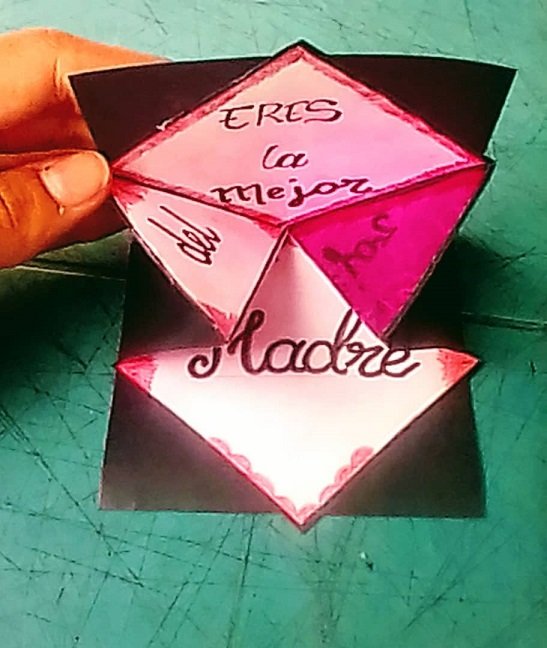
Paso 10: El cuadrado grande lo vamos a pegar en diagonal dentro de nuestra tarjeta.


Step 10: We are going to glue the large square diagonally inside our card.

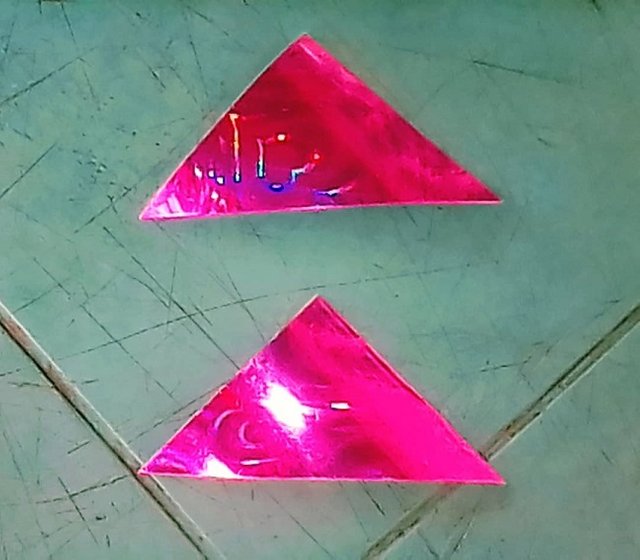
Paso 11: En el papel de seda cortamos una tira y realizamos un corte en V. Vamos a enrollar hacia dentro formando una flor.

Step 11: In the tissue paper we cut a strip and make a V cut. We are going to roll inwards to form a flower.

Y la pegaremos en el frente de la tarjeta. Y Listooo. ¡Un detalle sencillo y bonito para tu persona favorita

And we will stick it on the front of the card. And Ready. A simple and beautiful detail for your favorite person

Did you like the result? Comment if you liked the idea.
¿Te gustó el resultado? Comenta si te gustó la idea.
SteemWomen Club

Congratulations, your post has been upvoted by @dsc-r2cornell, which is the curating account for @R2cornell's Discord Community.