[ENG-ESP] SteemWomen Club Crafty Content Tutorial Beautiful Briefcase To Give As A Gift or To Keep What You Want. / / SteemWomen Club Crafty Content Tutorial Hermosa Maletita Para Regalar o Para Guardar lo que Desees.

Hello Stemians! This time I bring you a very fun tutorial of a beautiful briefcase to give as a gift or to store any important thing you want. I will give you the step by step so that you have yours in moments I hope you like it.
¡Hola Stemians! En esta ocasión les traigo un tutorial muy divertido de hermosa maletita para regalar o para guardar cualquier cosa importante que desees. Les daré el paso a paso para que tengan la suya en momentos espero les guste.
Materiales:
⊙ Cartulina Negra.
⊙ Cartulina Decorada.
⊙ Lápiz
⊙ Pega

Materials:
⊙ Black Card.
⊙ Decorated Card.
⊙ Pencil
⊙ Paste


Step 1: We fold the Black Card in Half.
Then both the top and bottom ends toward the center.
And we repeat the procedure.


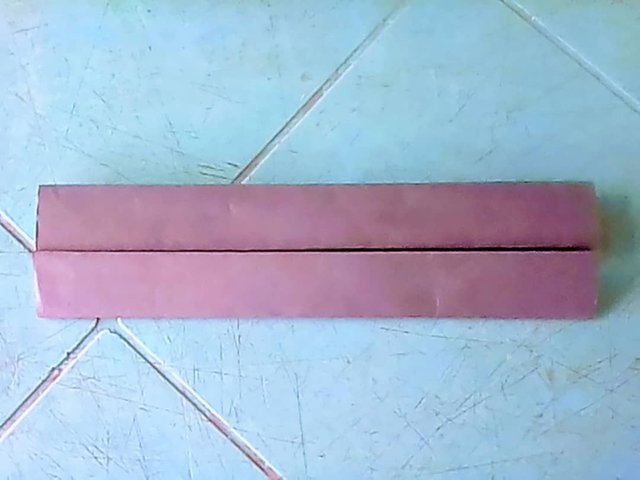
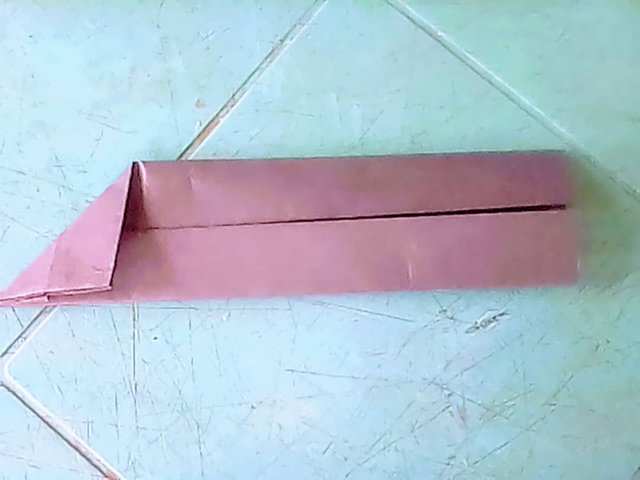
Paso 1: Doblamos la Cartulina Negra por la Mitad.
Luego ambos extremos superior e inferior hacia el centro.
Y repetimos el procedimiento.

Step 2: At each end we are going to bend both ends diagonally.
And then we folded in half of what we had folded first. This happened we will repeat at the other end exactly the same.


Paso 2: En cada extremo vamos a doblar ambas puntas en diagonal.
Y luego doblamos hacia dentro por la mitad de lo que habíamos doblado primero. Este pasó lo vamos a repetir en el otro extremo exactamente igual.

Step 3: This is how it should remain and then place glue on the tabs that we will glue inside to obtain the Box.


Paso 3: Así debe quedarnos para seguidamente colocar pega en las pestañas que Pegaremos hacia dentro para obtener la Cajita.

Step 4: On the decorative cardboard, we are going to proceed to fold it in the center.
And from there both upper and lower ends to the center.


Paso 4: En la cartulina decorativa, vamos a proceder a doblarla en el centro.
Y de allí ambos extremos superior e inferior hacia el centro.

Step 5: We open the cardboard and fold the four corners inwards.
To then proceed to take them to the center and glue them.

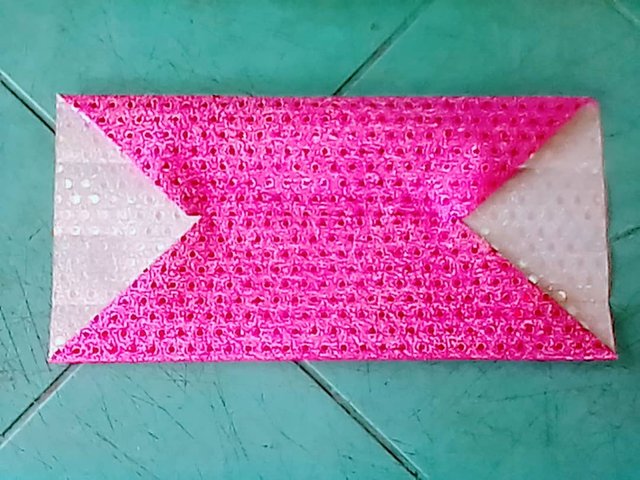
Paso 5: Abrimos la cartulina y Doblaremos hacia dentro las cuatro esquinas.
Para luego proceder a llevarlas al centro y pegarlas.

Step 6: we are going to bend both ends towards the center.

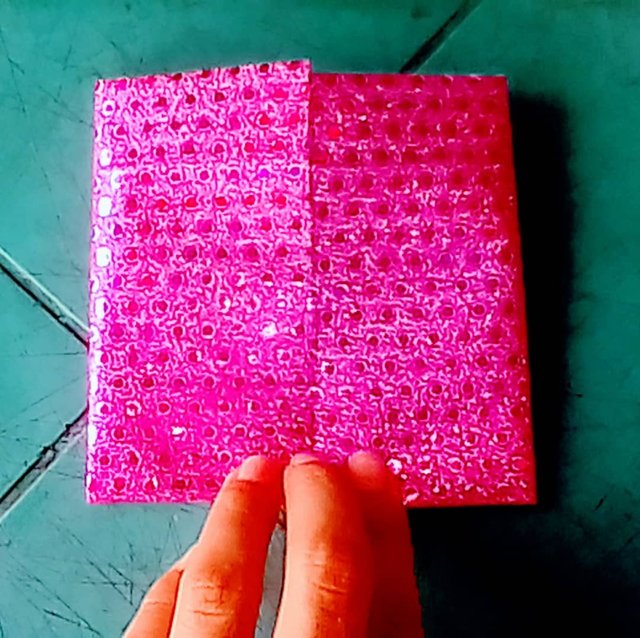
Paso 6: ambos extremos lo vamos a doblar hacia el centro.


Step 7: Then we will bring each end to the triangle of both
Repeating this happened at both ends.

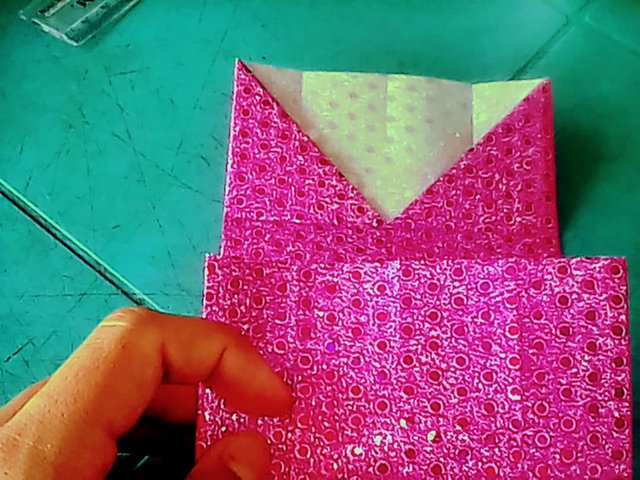
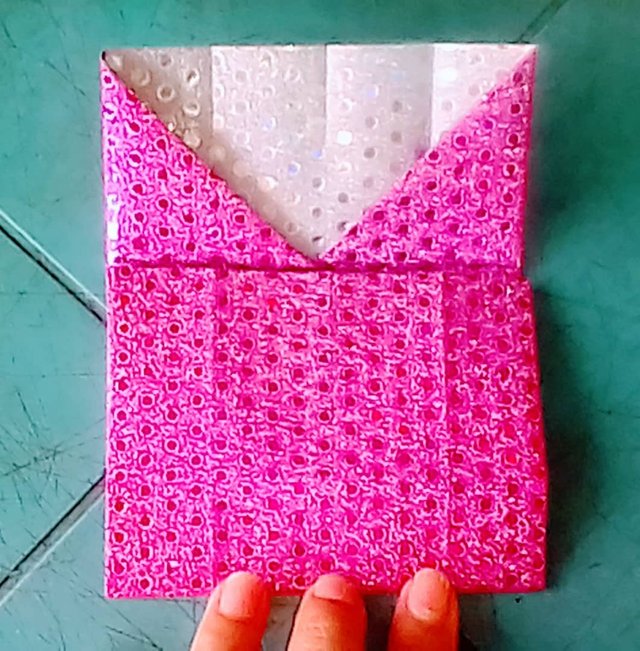
Paso 7: Luego llevaremos cada extremo hasta el triángulo de ambos
Repitiendo este pasó en ambos extremos.

Step 8: when we already form a kind of box, one end is going to be inserted inside the other to close it

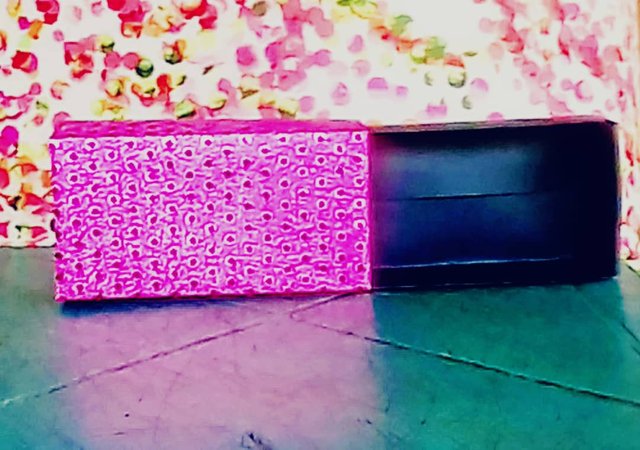
Paso 8: al formar ya una especie de cajita, un extremo lo vamos a introducir dentro del otro para cerrarla.

Step 9: We cut a strip 11cm Long x 2cm Wide.
We fold it in the middle and then open it to bring both the upper and lower ends to the center
In this way and we will give it Asa shape. To proceed to Paste it in the Box.

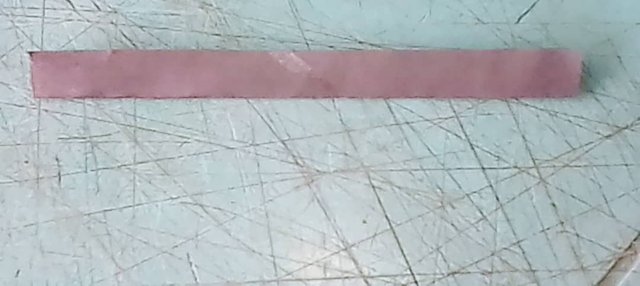
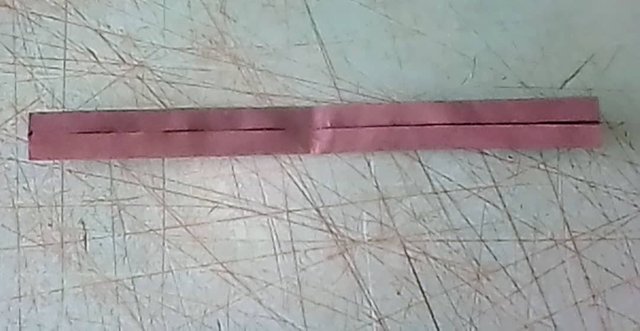
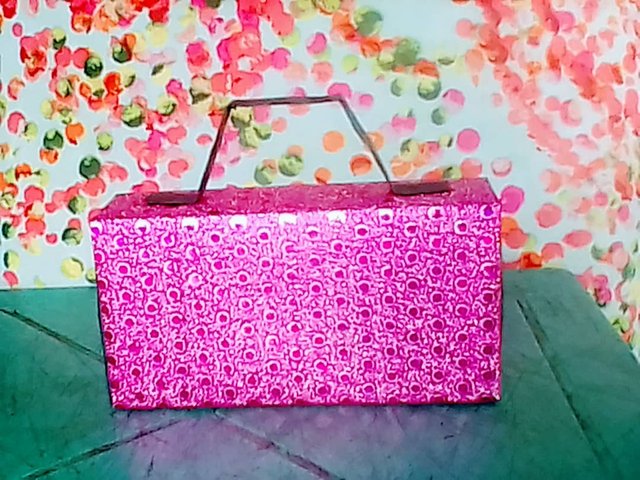

Paso 9: Cortamos un tira de 11cm de Largo x 2cm de Ancho.
La doblamos por el medio y luego la abrimos para llevar al centro ambos extremos superior e inferior
De esta manera y le daremos forma de Asa. Para proceder a Pegarla en la Cajita.

Step 10: We cut 2 large circles in black cardboard, 4 small ones in cardboard or white sheet and a semicircle in black cardboard.
We proceed to Paste it in the front of the Box and Ready ...
We have a beautiful briefcase to give away or to store any important thing you want.

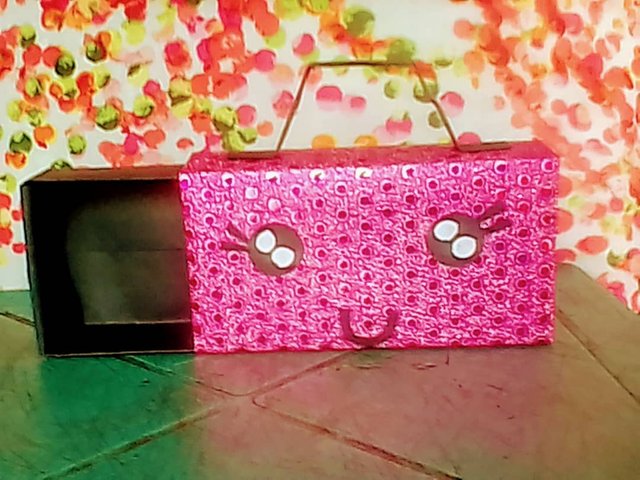
Paso 10: Cortamos 2 Círculos grandes en cartulina negra, 4 pequeños en cartulina o hoja blanca y un semicírculo en cartulina negra.
Procedemos a Pegarlo en el frente de la Cajita y Listooo....
Tenemos una hermosa maletita para regalar o para guardar cualquier cosa importante que desees.

Did you like the result? Comment if you liked the idea.
¿Te gustó el resultado? Comenta si te gustó la idea.

SteemWomen Club

Congratulations, your post has been upvoted by @dsc-r2cornell, which is the curating account for @R2cornell's Discord Community.
Enhorabuena, su "post" ha sido "up-voted" por @dsc-r2cornell, que es la "cuenta curating" de la Comunidad de la Discordia de @R2cornell.