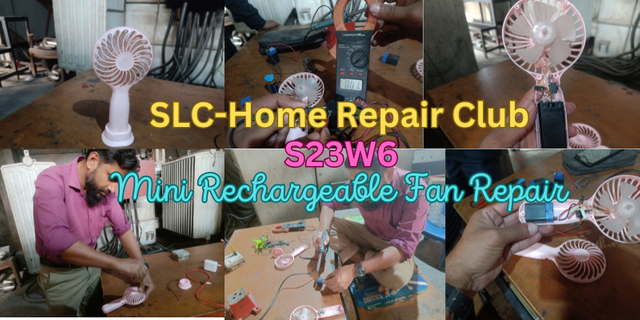
SLC-Home Repair Club ||S23W6|| Tutorial: Mini Rechargeable Fan Repair.
Steemian Friends,
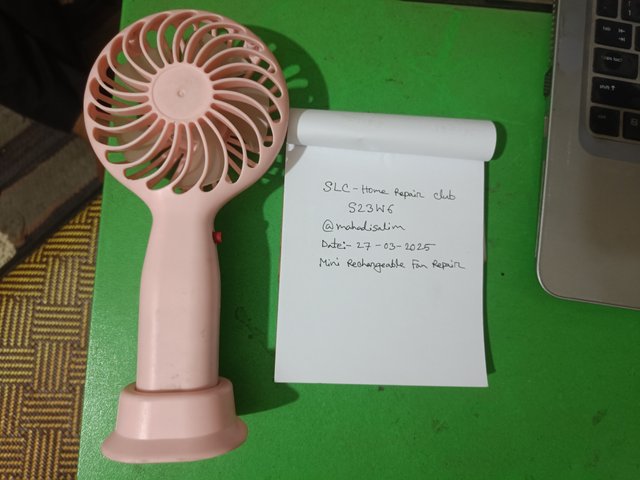
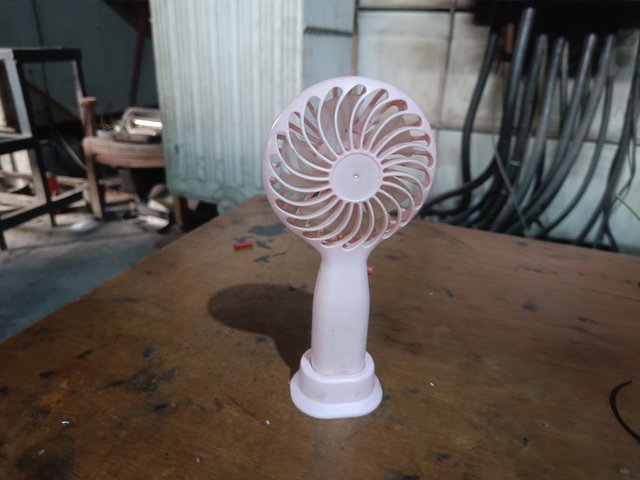
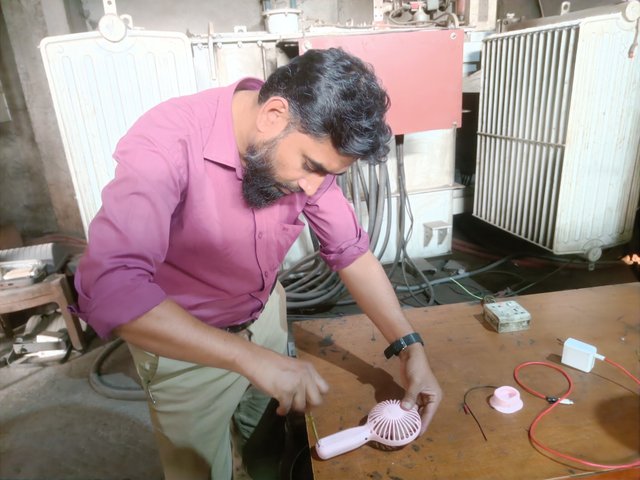
Today, I will show you how to repair a mini rechargeable fan at Steemit Learning Club's Home Repair Club. My daughter carries the mini fan in her bag to school. She uses it when there is a sudden heat or electricity shutdown at school. The mini fan suddenly stopped, and it does not turn on after switching it on. Respected mentors of Home Repair Club (@rmm31 & @imranhassan) request to see and advise me on how to repair my mini fan.
Design By Canva
| Tutorial | Mini Rechargeable Fan Repair. |
|---|---|
| Problem | The Fan does not turn on after switching it on. |
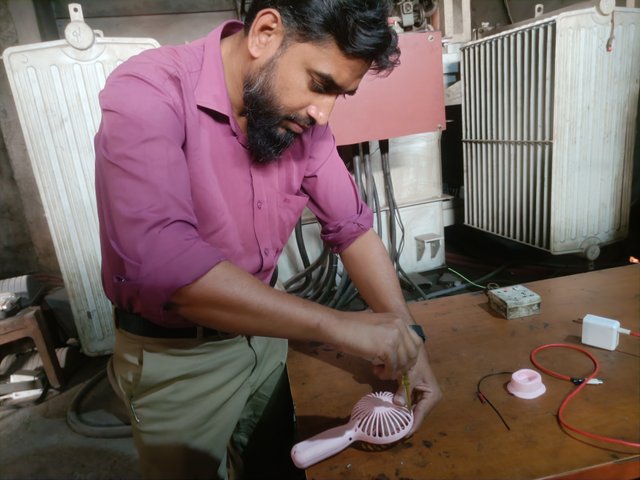
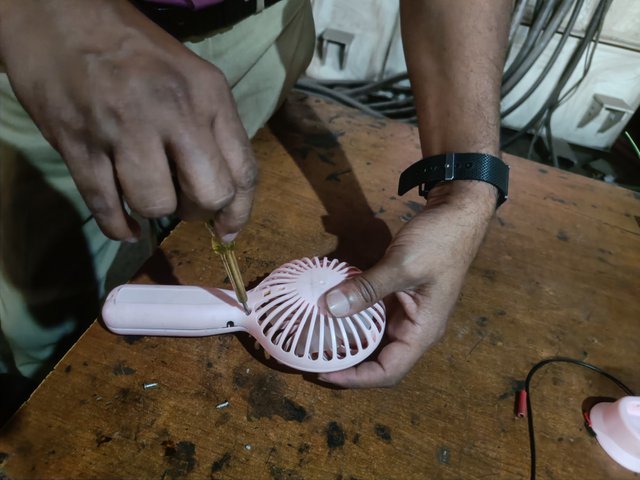
I first try to unscrew the five screws of the mini rechargeable fan. I open all the locks using the tester. I brought the fan to the office for repair as I don't have the appliance at home. After opening the fan's top cover, I found an electronic circuit and a 3.7-volt DC battery. I have shown the picture of opening the mini rechargeable fan below.
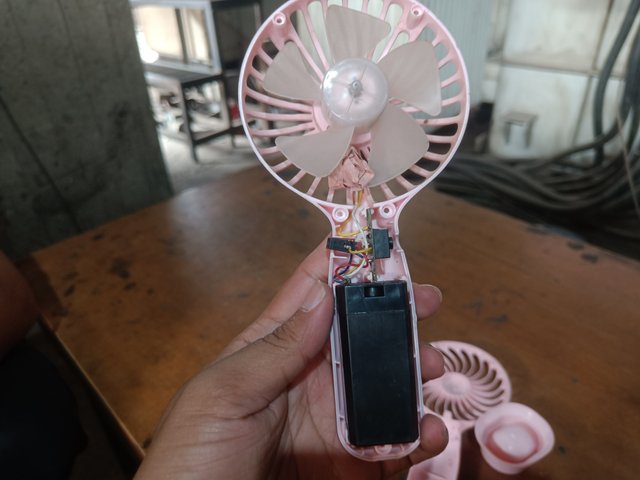
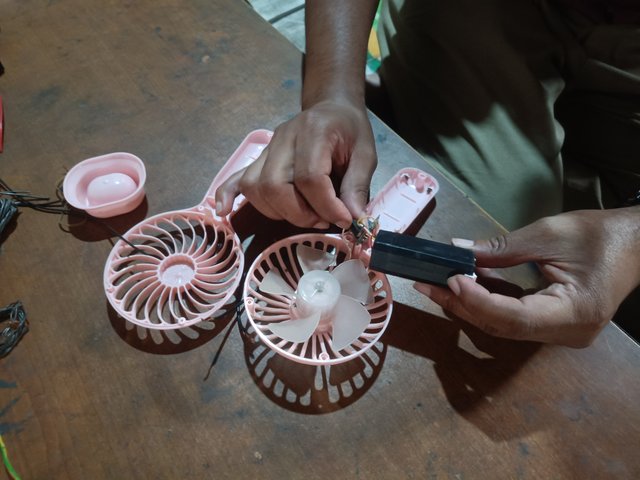
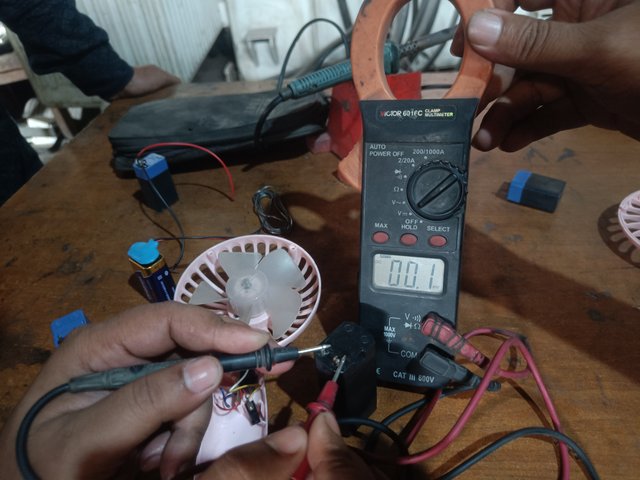
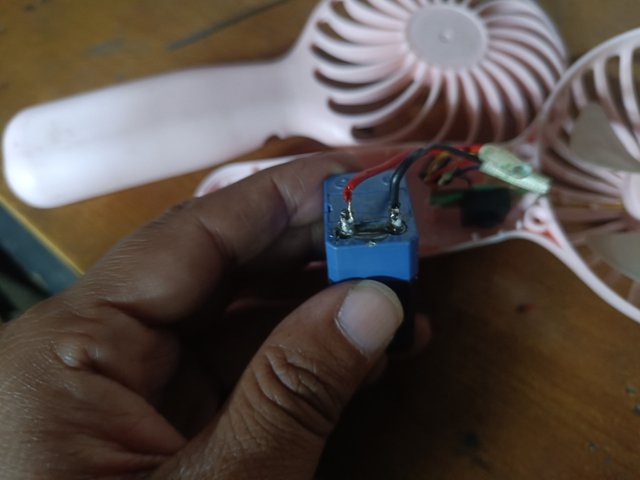
I try to figure out the problem in two ways. First, I checked the electronic components of the circuit for damage. I saw no sparks between the electronic components, so I resorted to the second method. I disconnect the DC 3.7-volt battery from the circuit. Then, I measured the battery with a multimeter. I get a DC battery voltage of 0.1 millivolts. Then I realized the battery was dead. Then, I saw some watery substance through the terminal part of the battery. The battery is damaged, and liquid has come out from inside. I measured the battery with a multimeter, as shown below.
My Youtube link
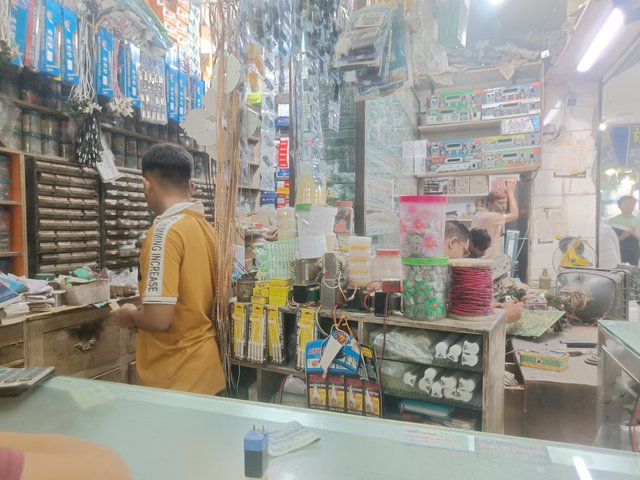
I went to an electronic shop about two kilometres away to purchase a battery of the same rating (3.7 volts). After searching two shops, I bought a 3.7-volt battery. I bought the battery based on the inside of the rechargeable fan because the battery needs to be positioned accordingly. Then I came back to the office.
| Dc 3.7 Volt Battery | 1 Pcs | 60 Taka(Local) | 4.22 Steem |
|---|
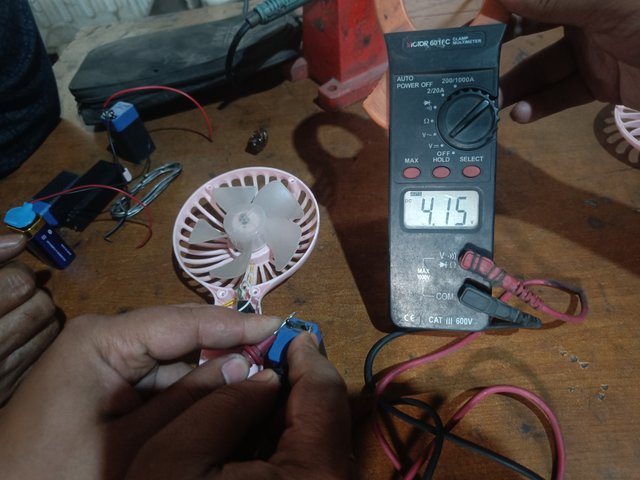
I came to the office and measured the newly purchased battery with a multimeter. I got 4.1 volts on the multimeter. Then, I checked by placing the battery according to the position of the rechargeable fan. Below is a video of me measuring the new battery with a multimeter.
My Youtube link
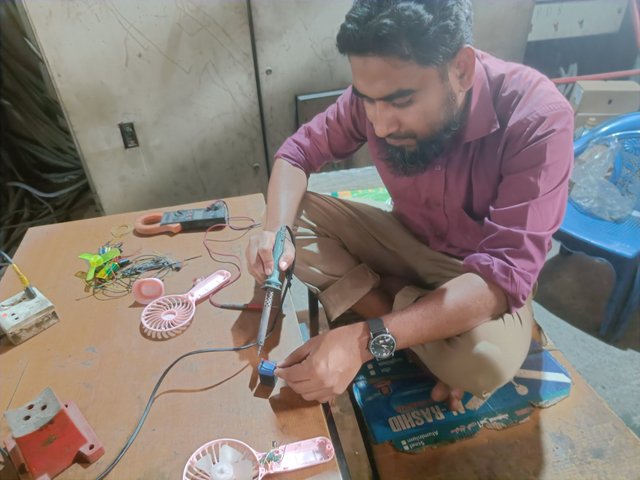
I connected the battery's positive and negative parts with two pieces of red and black wire. I then soldered two additional wires to the battery, strengthening its connection to the circuit. Below, I have shown a battery connection video using a soldering iron.
My Youtube link
I set up the rechargeable fan by returning it to the battery point. I check the fan running by turning on the switch before installing the screw locks. My guess is correct because the fan started after changing the battery. The video and pictures below show the rechargeable fan setup procedure.
My Youtube link
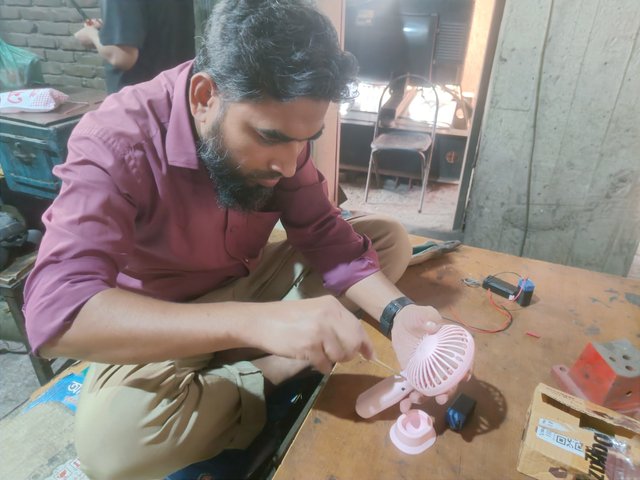
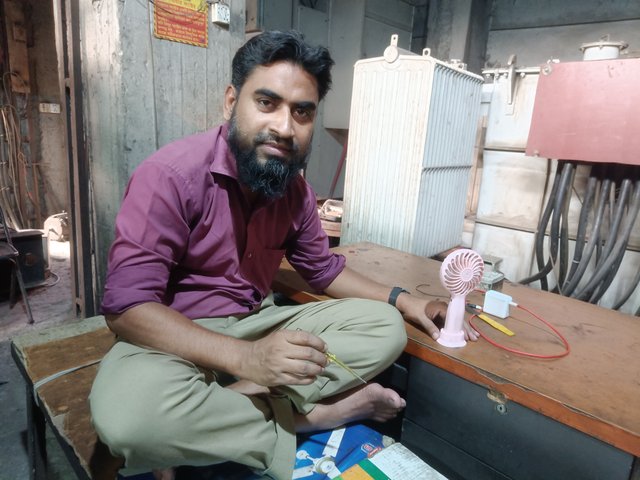
Then I set up the rechargeable fan, turned it on in front of me, and blew cool air on my face. I was very happy to repair my daughter's rechargeable fan, and my daughter was more than happy to hear about the repair.


Thank you for sharing on steem! I'm witness fuli, and I've given you a free upvote. If you'd like to support me, please consider voting at https://steemitwallet.com/~witnesses 🌟
This is my Twitter share link :
https://twitter.com/mahadih83660186/status/1905294586856997002?t=bcwFcRFNBouetKLpyRZPdQ&s=19
Saludos amigo nos has presentado un tutorial educativo donde podemos aprender cómo realizar una reparación de un ventilador recargable. Estos artefactos son necesarios para esto la temporada de calor que se presenta a nivel mundial. le deseo exito. Dios le bendiga