SLC-Home Repair Club | S23W4 | Full Tutorial: I Repaired The Old Fan And Replaced It New One.
This is @sushanta83 From #Bangladesh
 |
|---|
Hello Steemian friends, how are you? I hope you are very well by the grace of God. By your prayers and the grace of God, I am very well. Today I am presenting a new post to @imranhassan and @rmm31 They have organized a very nice competition. They even joined this repair club as a team to give advice. So thank you very much to them. I want to observe you step by step in a very nice way here.
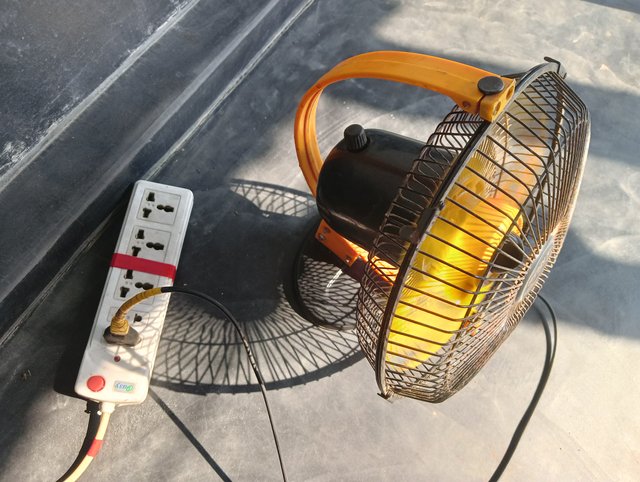
So today I am going to appear among you with a new post. This new post of mine is going to be that I have a high speed fan in my house in an unused condition. Since the summer season has come, these fans are very effective and are essential electronic products. Anyway, today I took out that fan and there are some repairs left, I am going to observe them and complete the fan repair work. Since the fan has been lying for a long time, I will clean it today and connect the correct lines so that I can use it like new again.

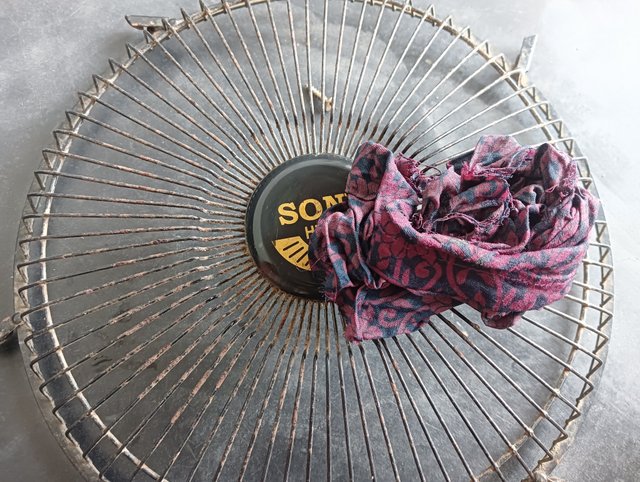
The fan is in very bad condition.
I took the fan out of the room in a while and sat on the balcony where there was an electrical line. Then in a while I connected the fan cable and saw that the fan was working properly. After connecting the cable, I turned on the regulator switch from the back of the fan and realized that there was a problem inside and the fan was not turning on. There was a lot of dirt and spiders inside and outside the fan. I will clean them today and repair them completely.
I would like to mention a little here;
AC is current°
The full form of AC is Alternating Current which in Bengali means alternating current or electricity. AC current is alternating current or electricity. Here the direction of the electric current reverses after a certain period of time. That is, once it is (negative) and once it is (positive).
 | When unscrewing the screw nut |
|---|

| I opened the back cover and brought it |  |
|---|
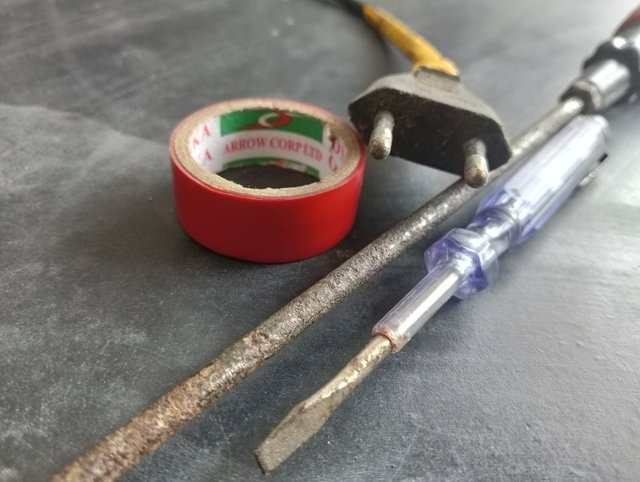
Step -1
After some time I took the fan in my hand and with the help of a screwdriver I was able to remove the screws from the fan. Here I have captured some pictures which I want to mention step by step. It took me some time to remove the screws. Then I was able to remove the screws and I put them aside. In the meantime I saw some dirt inside the fan and started cleaning it with a rag.
| There is a lot of dirt accumulated | 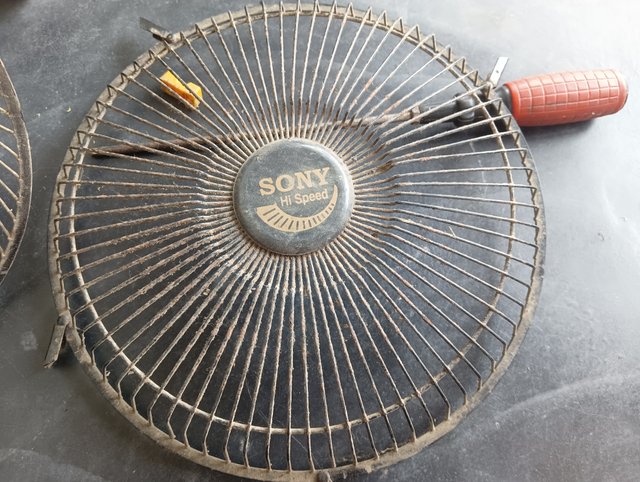 |
|---|
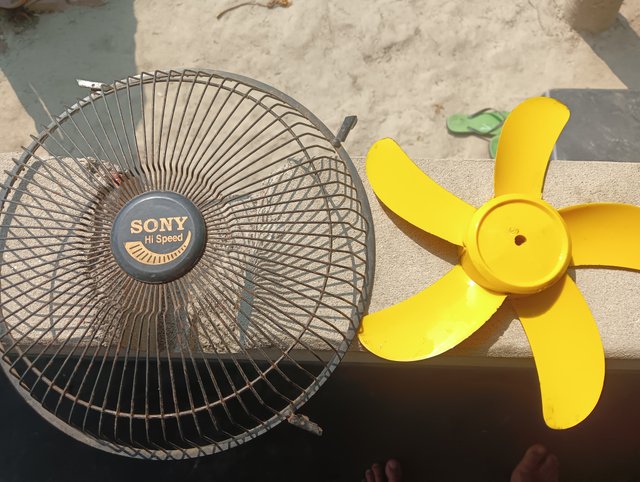
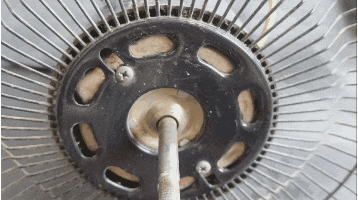
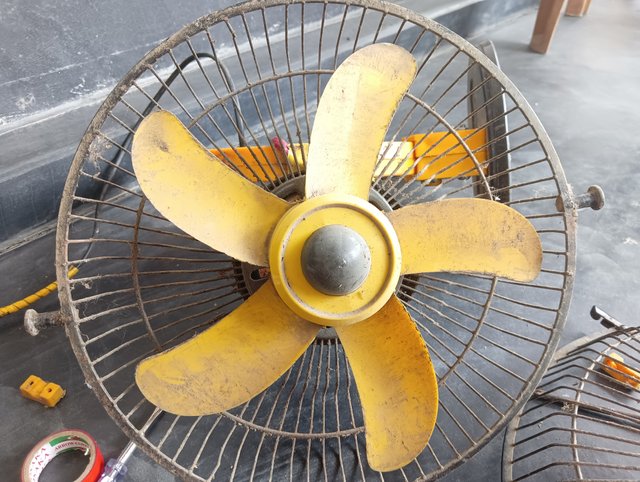 | The fan had five blades |
|---|
 |  |
|---|
Step -2
I had to spend some time cleaning the fans because there was a lot of dirt around them, so I started cleaning them in a short while. You can see here that I was cleaning and I captured some pictures while I was doing it. Even after a long time, the repair work is going on, so I will clean it and then I will be able to use this fan and connect it to the electricity. What is the problem with the fan, I will take them out in a short while.
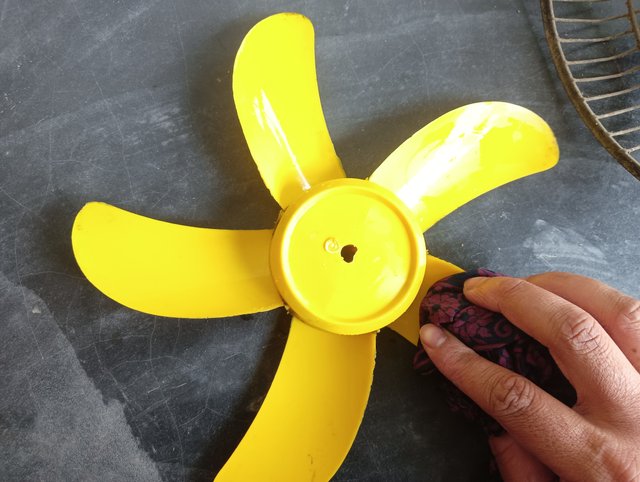
Finished cleaning with rags.
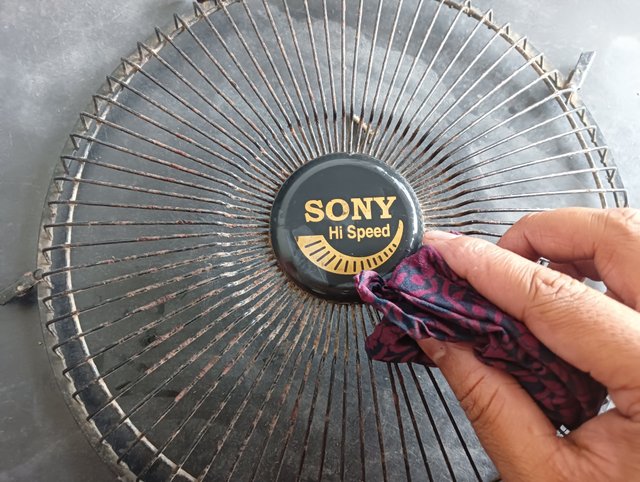
Step -3
Before I repaired the fan, I first cleaned the entire body with water using a rag. It took me quite some time to clean the back and front of the fan body. I finished cleaning it in a short while and left it in the sun to dry for a while. Due to the intense sunlight, it will dry in about five minutes.
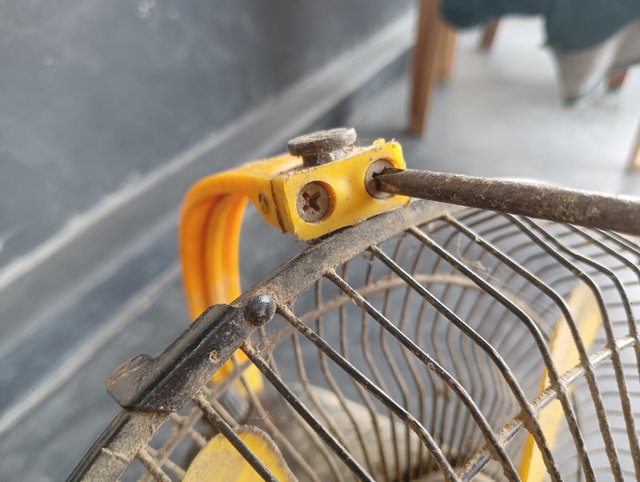
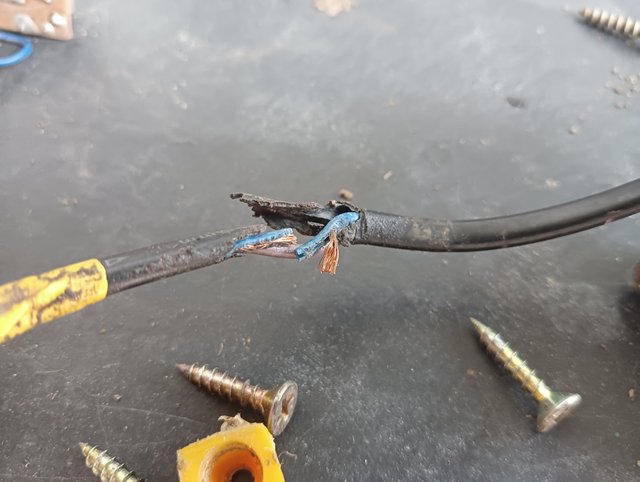 | He is burned from the inside |
|---|
| Two terminals but one terminal wire is burnt | 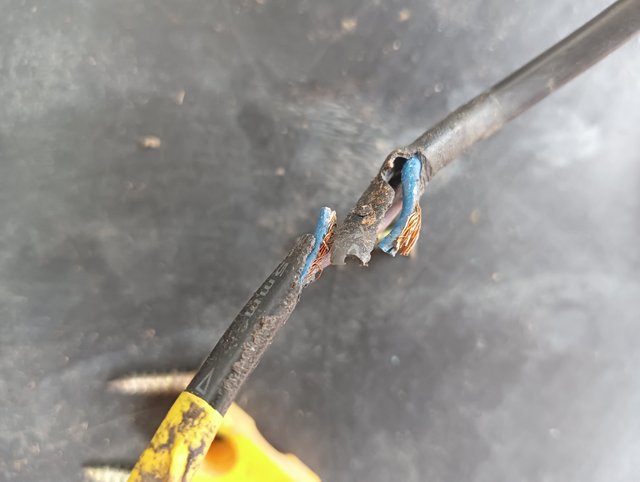 |
|---|
Step -4
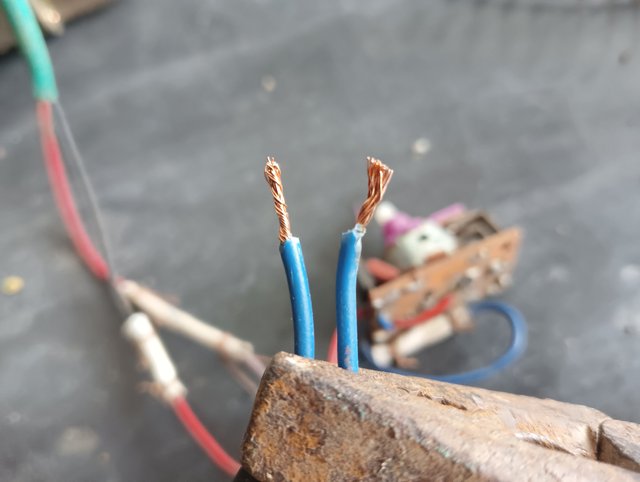
I soon found two terminal wires in my useless fan, where I saw that the wire was damaged, that is, burnt. I made the right decision and realized that my fan was not working because of the damage to that one terminal wire. I will complete this repair work very soon.
 |  |
|---|
 |  |
|---|
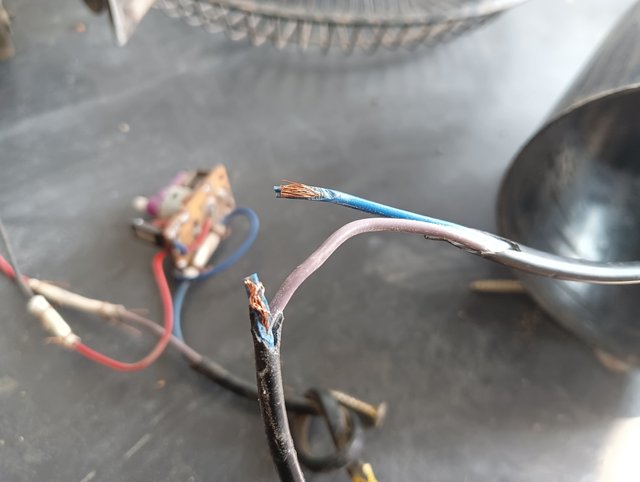
Step -5
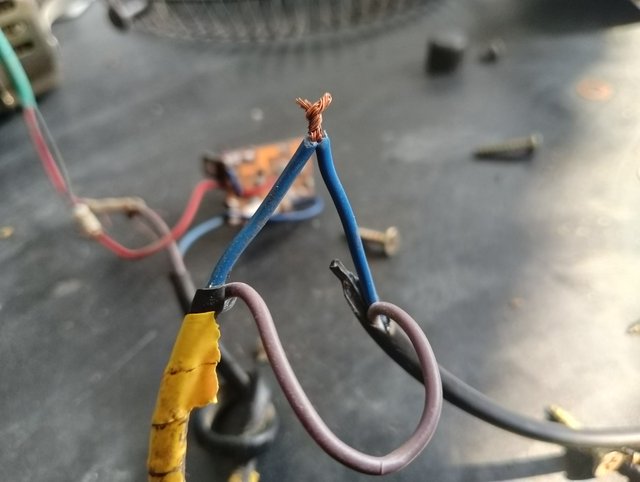
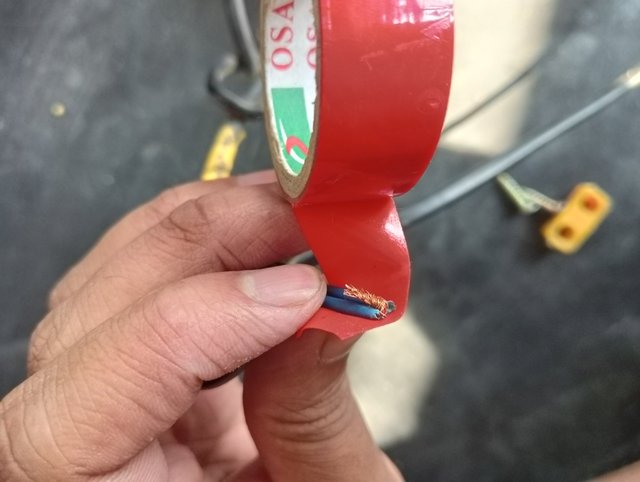
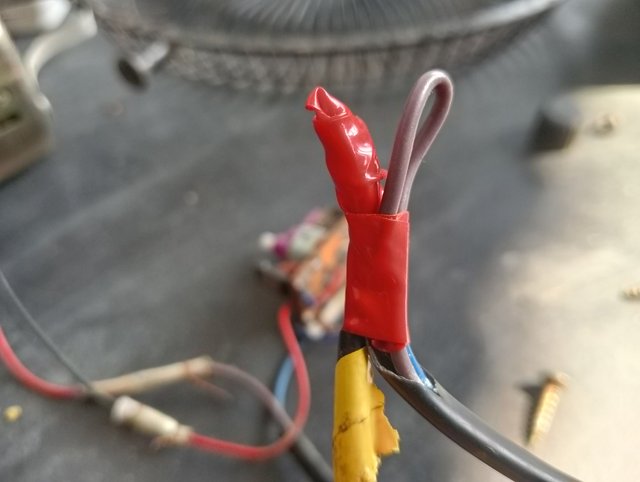
Since the terminal on the wire had already fallen off, I removed the insulation from the wire very neatly. I connected the two wires in a short time. After the connection was completed, I immediately applied adhesive tape or tape. I was able to join the two wires very neatly. One terminal of the two terminals was damaged and fell off, but the rest of the terminals are very nice and strong.
 | Complete work connection |
|---|
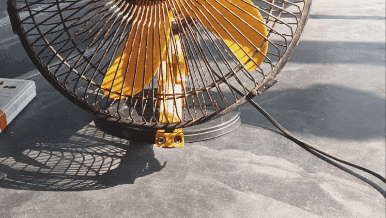
Step -6
Anyway, the whole process is almost at the end. I installed every part of the fan very correctly in a short while and to check it in a short while I connected the plug to the electrical line. Then I saw that I installed the plug correctly and in a short while I found that the regulator was installed from the back of the fan. So I started rotating the regulator and immediately the fan started rotating and finally I was successful.
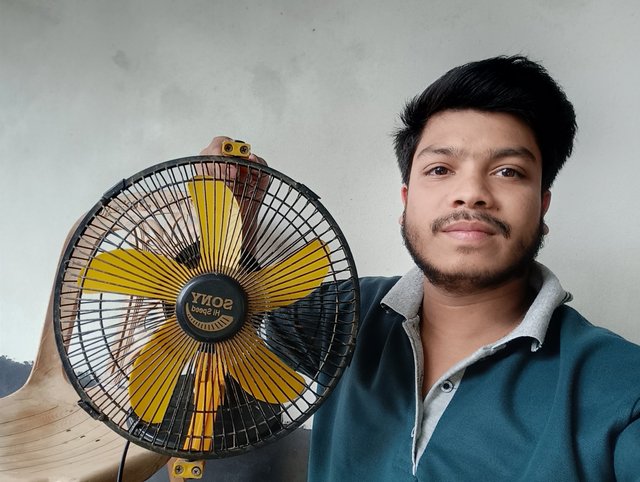
This was my entire repair process from start to finish. This is how I got my fan clean and repaired. It only took me a little time to do this. If I had gotten a friend to do this kind of work from a shop, he would have charged a lot of money for the friend to do it. I spent some time feeling and observing. I was able to use the right tools and review the work with the right decisions. If I continue to work on these electronic devices in this way, I believe I will become a very good craftsman later. Of course, I have recorded and uploaded my repaired video on YouTube below.
| 👉 | I am very happy to participate in this competition.So I am very happy to participate in such a beautiful competition I invite my friend @patjewell @pandora2010 and @f2i5 to @solaymann participate in this contest. I hope you all will participate in this contest. |
|---|
| Device name | Narzo50 Mobile |
|---|---|
| Photographer | @sushanta83 |
| Location | Tangail,Dhaka (Bangladesh) |

X-promotion link

Did a fantastic job. The step-by-step repair of an old fan to a new one is truly admirable. The entire process is presented through detailed descriptions and pictures so anyone can learn easily. You deserve to be recognized as the greatest engineer of Bangladesh.
Thank you very much for observing my post.Please pray for me so that I can move forward with you.
Saludos amigo @sushanta83, nos da gusto tenerte nuevamente el el Home Repair Club. He notado un gran avance al momento de presentar tu tutorial, has incorporado imágenes de buena calidad, imágenes gif y un videos donde se muestra la falla y luego el ventilador funcionando.
A pesar de no mencionar específicamente donde estaba el cable dañado, pude observar que el desperfecto se originó en el doblez que está justo de ajo del cuerpo del ventilador, además veo que el corte fue producido por roedores.
A pesar de haber mejorado notablemente, nos gustaría que siempre te enfoques en mostrar donde encontraste la falla, de esta manera cualquier persona que tenga un ventilador similar o igual, puede revisar rápidamente esa zona para ver si también su falla está allí.
Afortunadamente pudiste corregir el cable roto y poner a funcionar el ventilador.
Sigue mejorando y alentando a otros amigos a unirse al Home Repair Club
CC @imranhassan
Yes, of course, the fan I repaired had a rubber seal inside the fan.The wire was originally cut away there, but by mistake I couldn't capture the inside picture at the time.But I tried hard to explain through the post.Hopefully, I will be very careful in capturing images and providing comments in the next post.Anyway, thank you very much for checking my post.
Saludos amigo hizo un buen trabajo al reparar el ventilador dando con la falla en los cables para hacer una restauración y continuar dandole vida útil al ventilador. Le deseo éxitos. Dios le bendiga
Thank you very much for observing my post.