Switch and holder connection method of parallel current lines.
Assalamu Alaikum friends hope you all are well by the grace of Allah I am also well. I am an electrical engineer so I know all the workings of current. My cousin next door told me that she needs to rewire the electrical line switch and install new lights. Helping people in Ramadan is a very good thing. So I went to his house to make this connection. Today I will show you how to make parallel line switch connection and lamp holder connection.
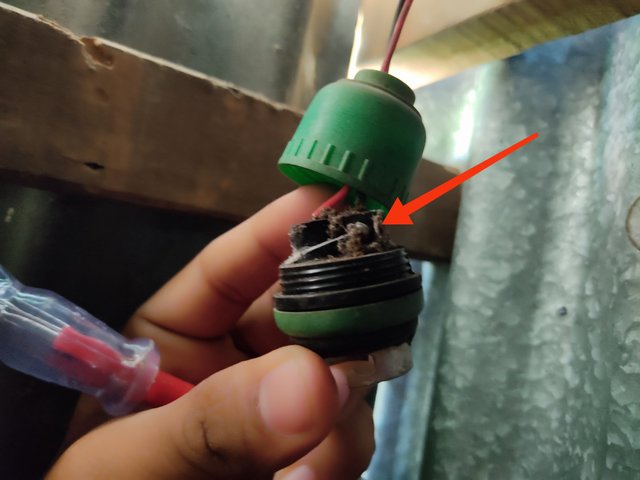
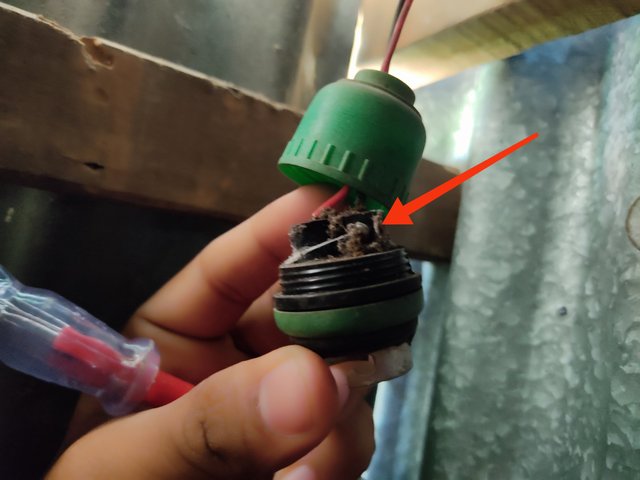
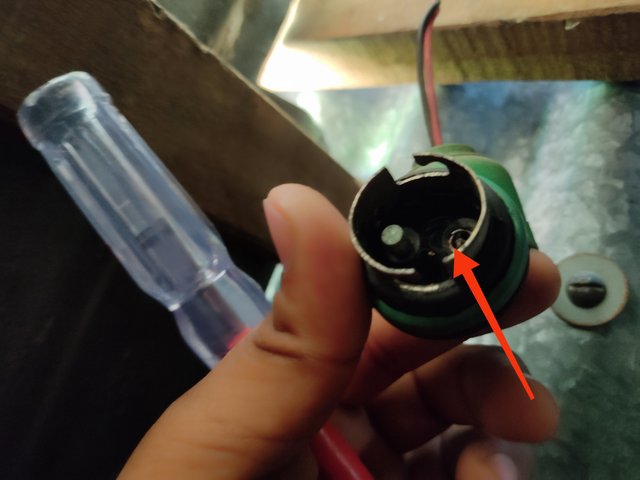
At the beginning I checked the broken holder. The holder you see is a broken holder. It has been many years and it has expired. It is broken due to expiration. Note the marked area to see if the area is damaged and broken.
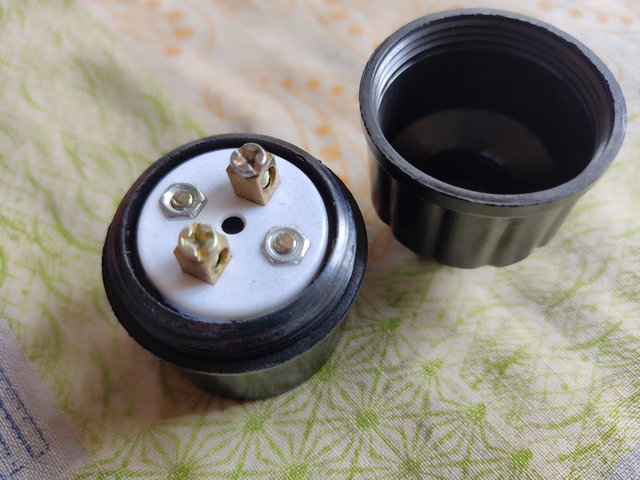
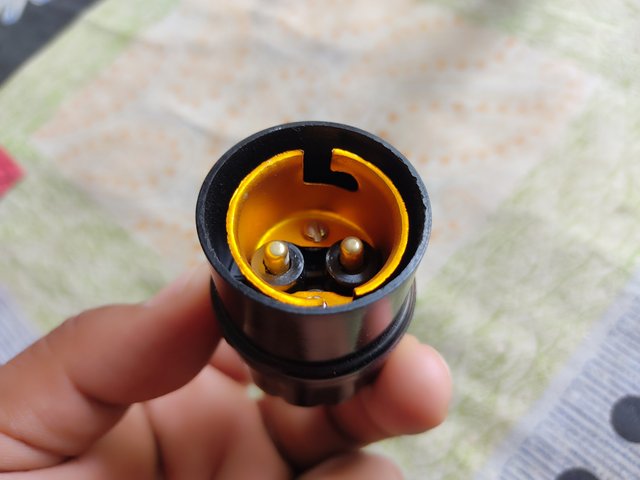
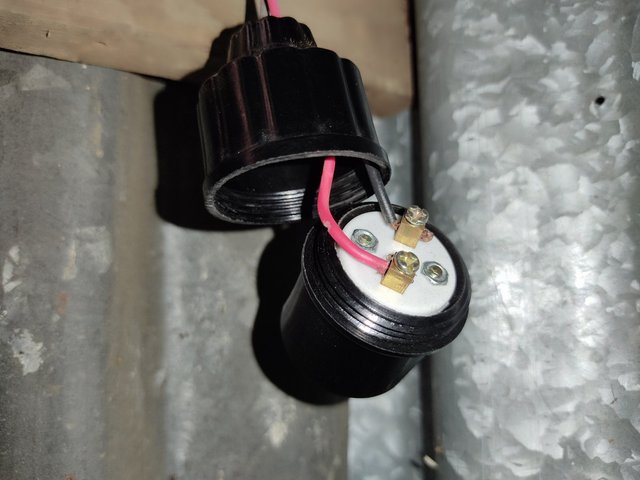
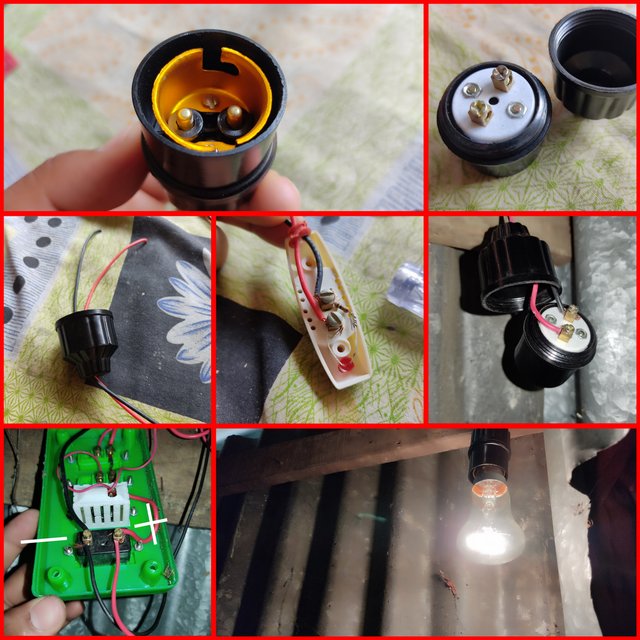
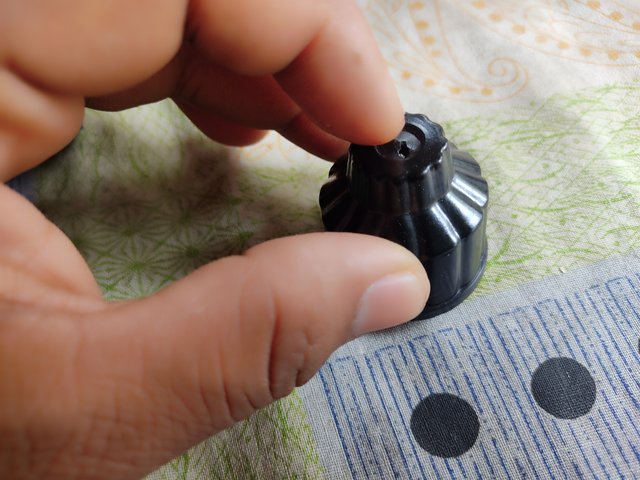
- Since I will be changing a holder in the beginning I suggested him to get a new holder earlier. He had already bought a new holder and I opened the holder and looked inside. It was a black colored holder.
 |  |
|---|---|
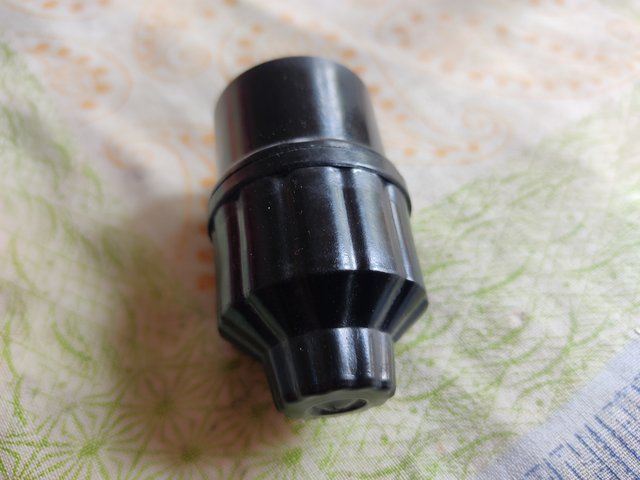 | 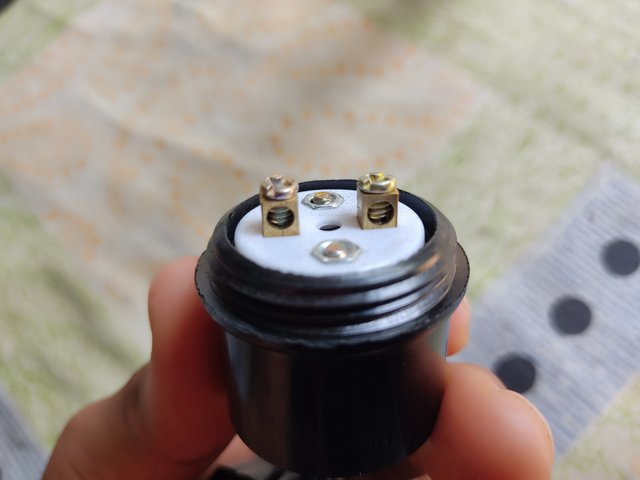 |
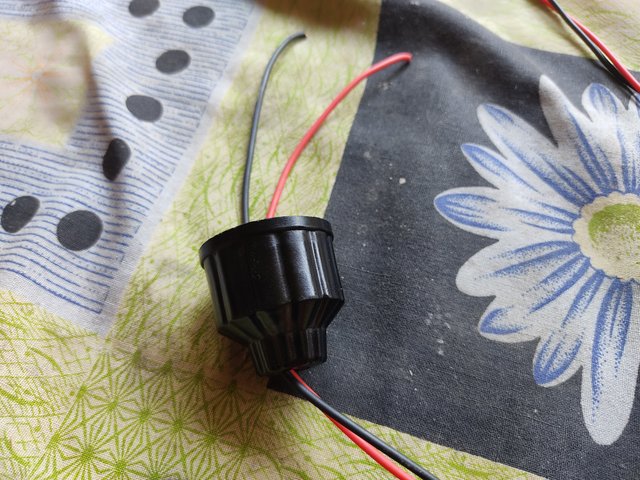
- If you look at each holder, you can see that there is a small plastic cover on top of the holder. Which has to be pierced. If it is not perforated, the wire cannot be inserted completely through it. So I pierced it with my fingers. Then I inserted the wire through it.
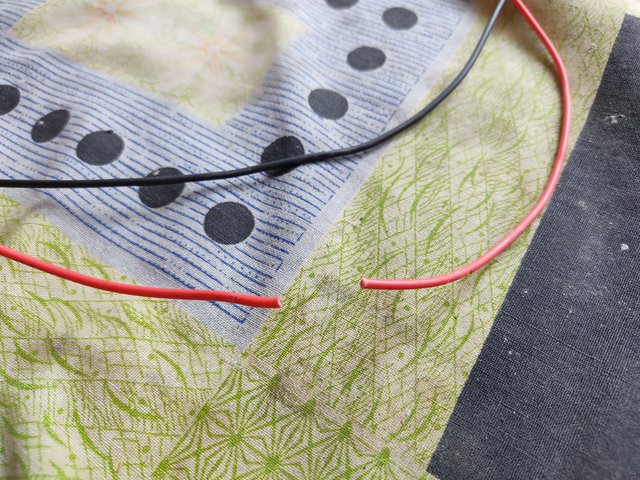
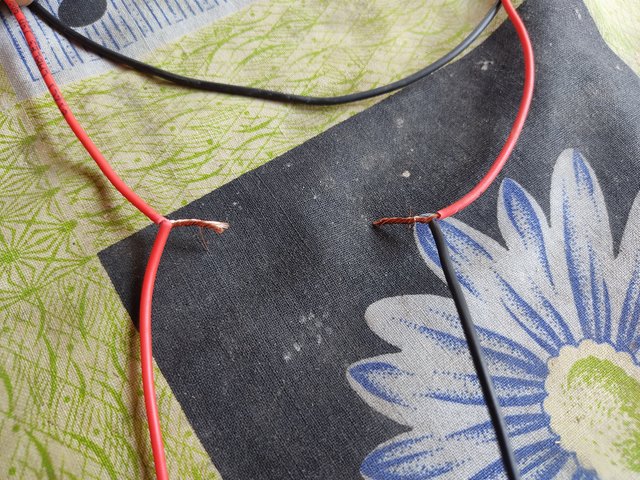
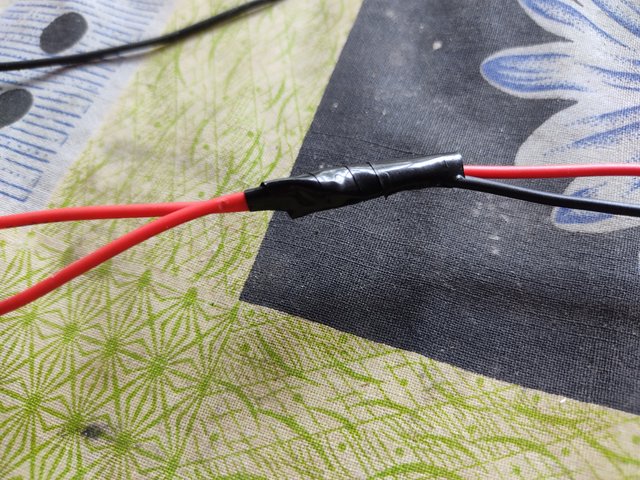
- Now the wire I collected will go directly to the mainboard. That is why the switch connection should be removed from its positive site. But I cut the positive in the middle and insulated it. Then I connected the two wires coming from the switch and taped them.
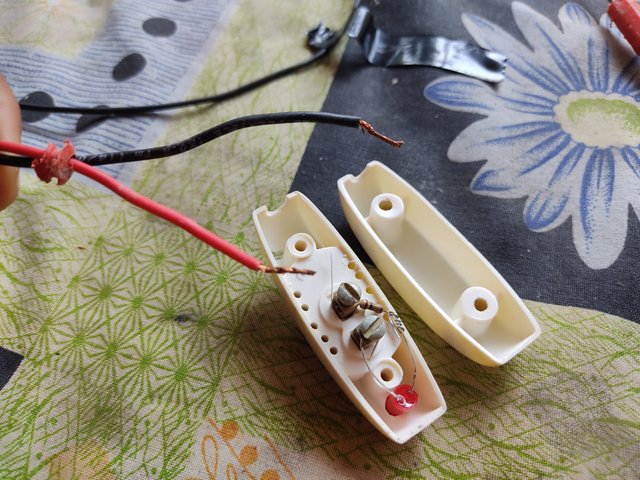
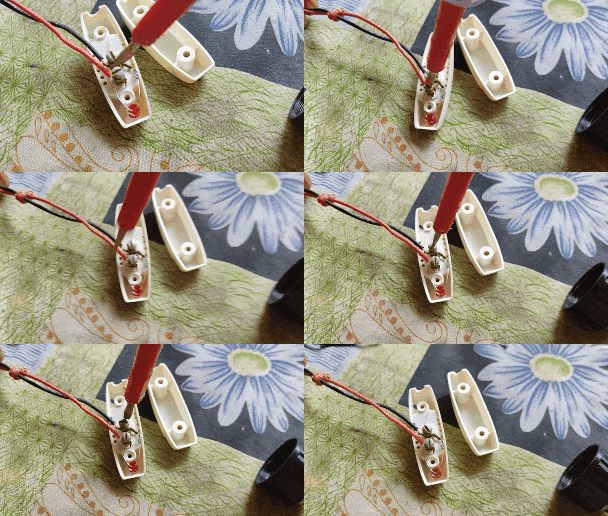
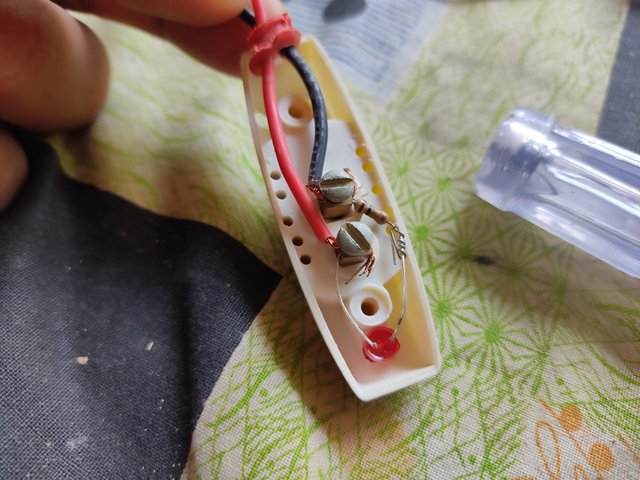
- Now a bed switch has to be connected. So I procured a bed switch. Next I unscrewed the bed switch. Then I put the two wires into that screw properly. Then I tightened it with a screwdriver.
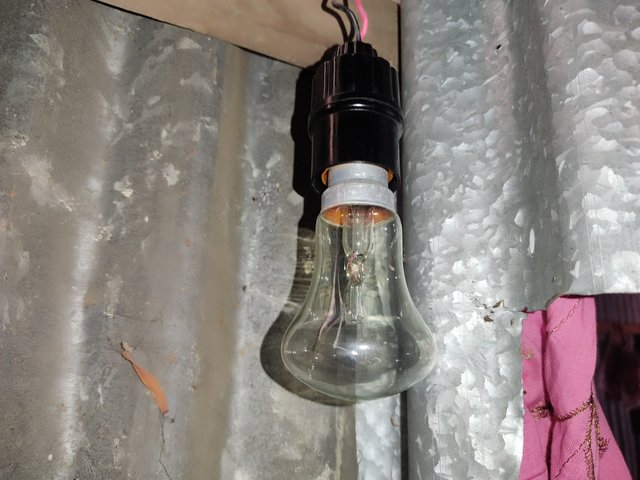
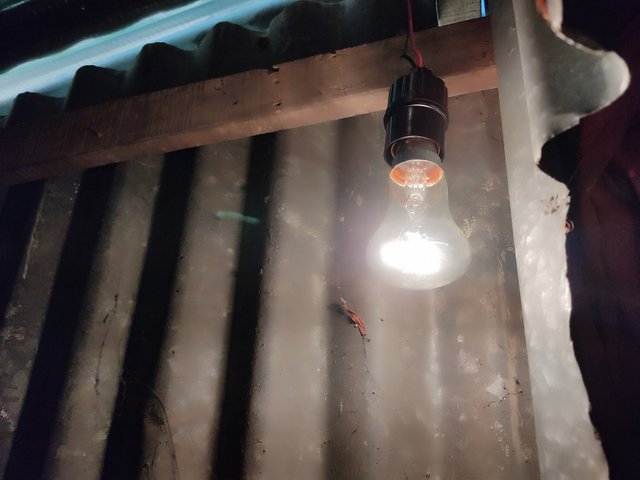
- The wiring to the switch is complete. Now I need to change my old holder. So first I took off the old holder. As you can see the new black holder has been installed after removing the damaged old holder. Then a 40 watt light is installed in it.
 |  |
|---|
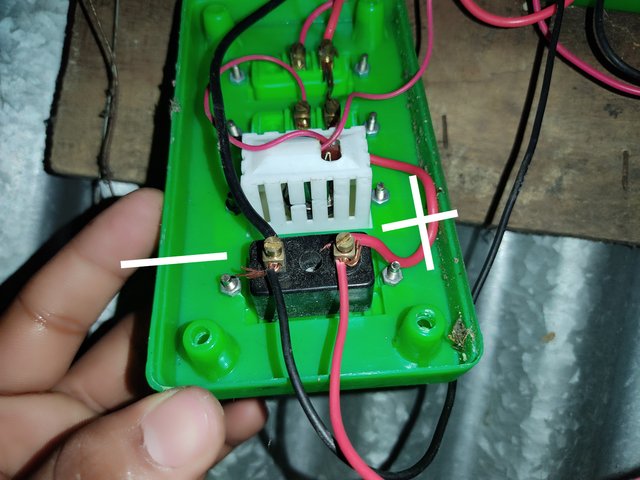
- Now the line of the mainboard should be given. So first I removed the mainboard. Now you can see that there are two negative and positive connections. I connected the black and red wires to the negative line and the positive line. Then I tightened it with a screwdriver
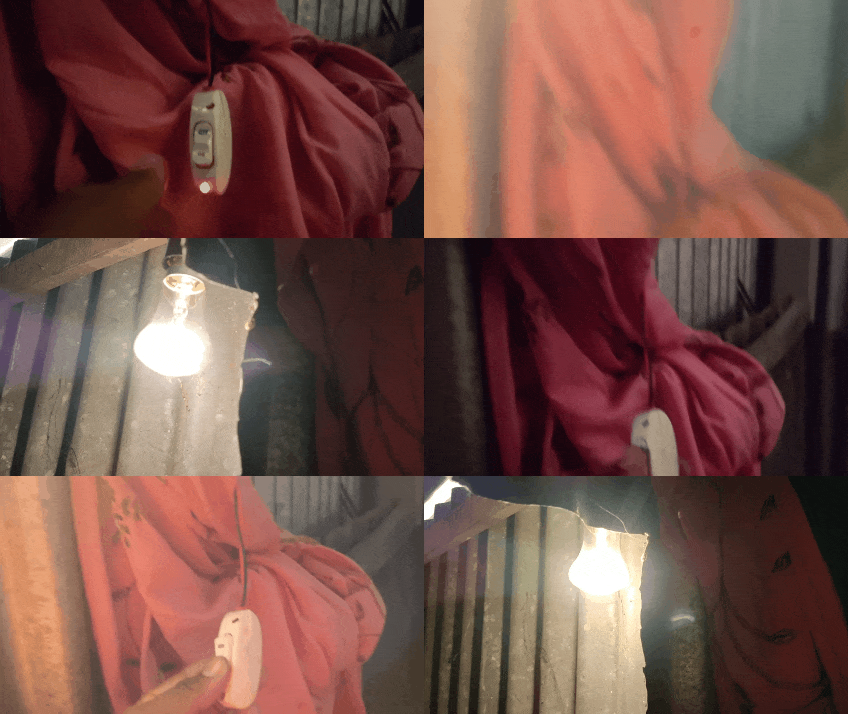
- Now check as final output. Now I turned on the main switch of the house. First I turned off the main switch of this house for safety. So I turned on the main switch. Now you can see that my connected line lights up after switching on. It means my line connection is successful.
This is how I completed the electrical work of my neighboring house. However, it is very important to always exercise caution while working on electrical connections. A little carelessness can lead to major accidents.
So some important safety measures must be followed while working on switch connection lines and holder connection lines. Before starting the work the main switch or MCB should be switched off so that the power supply is off. This reduces the possibility of electric shock. It is important to connect the wires tightly so that sparking does not occur.
After connection should be secured using electrical tape or trunking box. Hands should not be wet while working and work area should be dry. Rubber boots underfoot provide additional protection. Serious accidents may occur if one is careless while working on switch connections and holder connections.
So always follow certain rules and use safety equipment. Awareness and caution in electrical work can ensure the safety of our lives. That's why I also worked with all precautions and presented to you all step by step.

X Promotion link here 👈
A very nice post has been presented to us.I see that you have damaged the light holder to light a light in a very beautiful way. You have repaired that holder by taking the right steps in stages.There was a fair amount of dirt and debris between the screws inside the holder.I hope that anyone who observes this post of yours will be able to turn on the lights at home using the lights, switches, and holders.I wish you success always🥰
Thank you so much for spending your precious time on this post and giving such a wonderful comment. I wish you success. God bless you.
Thank you very much for watching and replaying my comment.
Hi, Greetings, Good to see you Here:)