Hello..!!
My Dear Friends,
I am @mariyaafrin from #Bangladesh 🇧🇩
Hello my dear steemit friends. How are you all? I hope everyone is well by the grace of Allah. Alhamdulillah, I am also well with your prayers and love. I am here with a new recipe post again, welcome to my new post, I hope you will like my post. Friends, today I made an amazing Nakshi Pitha using ingredients I had at home.That pitha is a syringe pitha.I made the pitha using a syringe, so I named it Syringe Nakshi pitha.Today I will share with you the step-by-step process of making this Nakshi Pitha.. so let's start........
Photo Designed by Canva 
- Rice flour
- Salt
- Syringe
- Oil
- Red food colour
- Green food colour
Step - 1

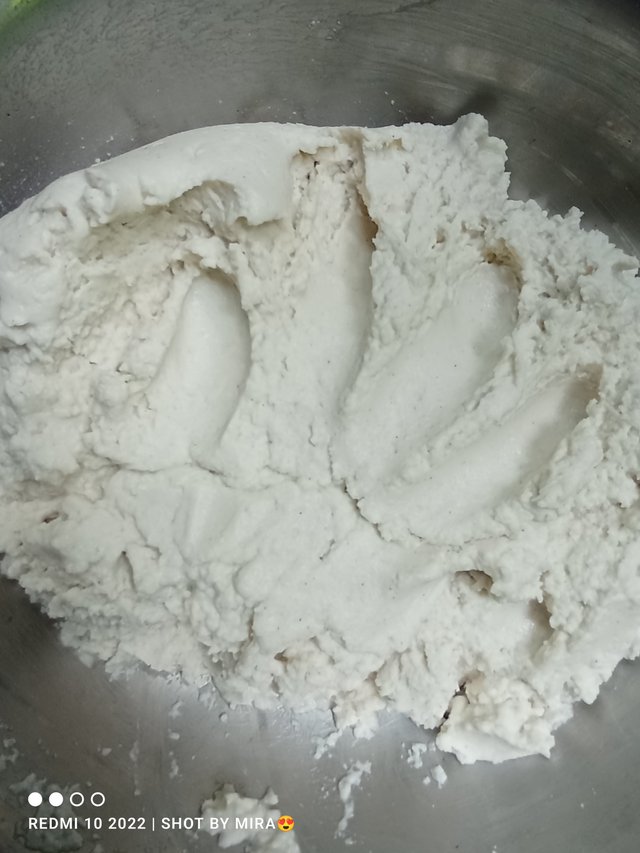
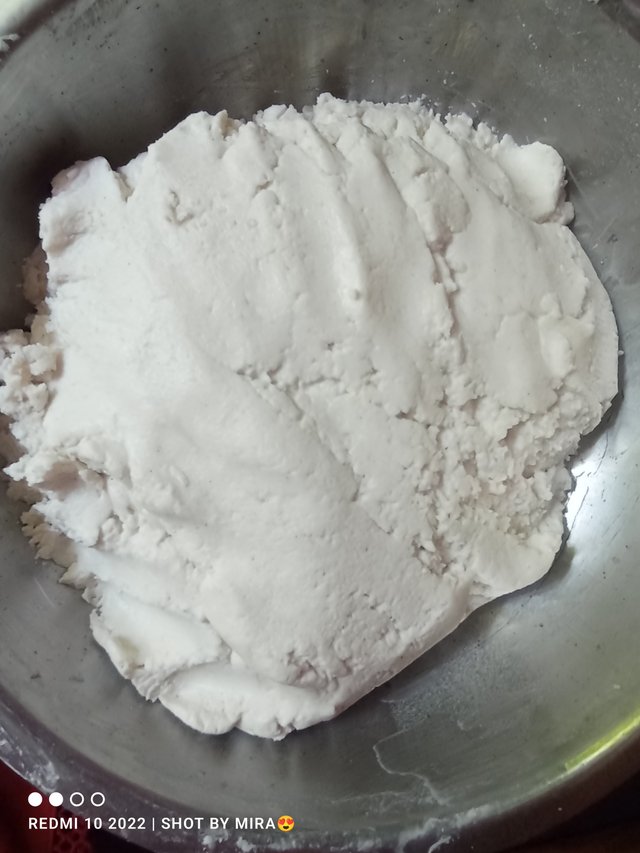
- First, I brought 1 kg of rice powder.Then I added two cups of lukewarm water to it.I made a dough with warm water.
Step - 2

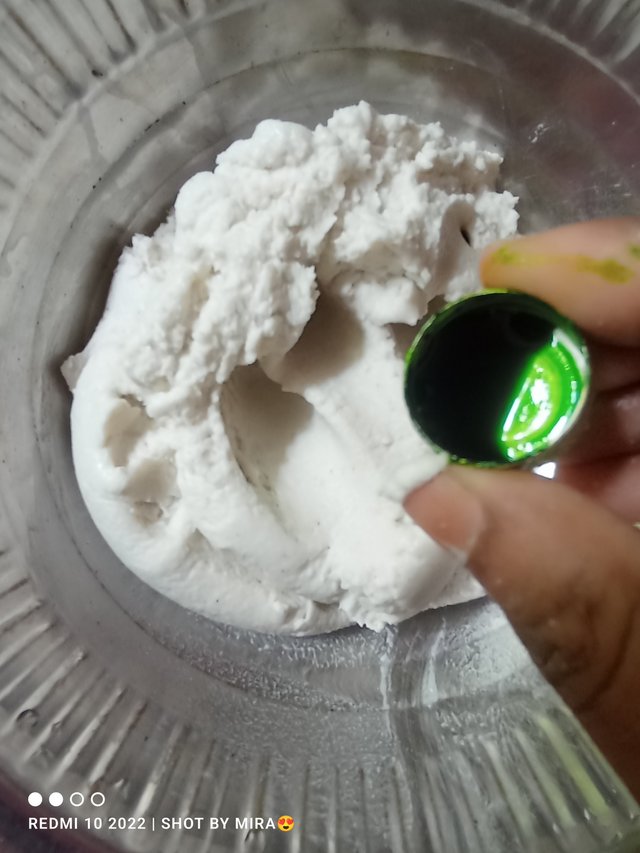
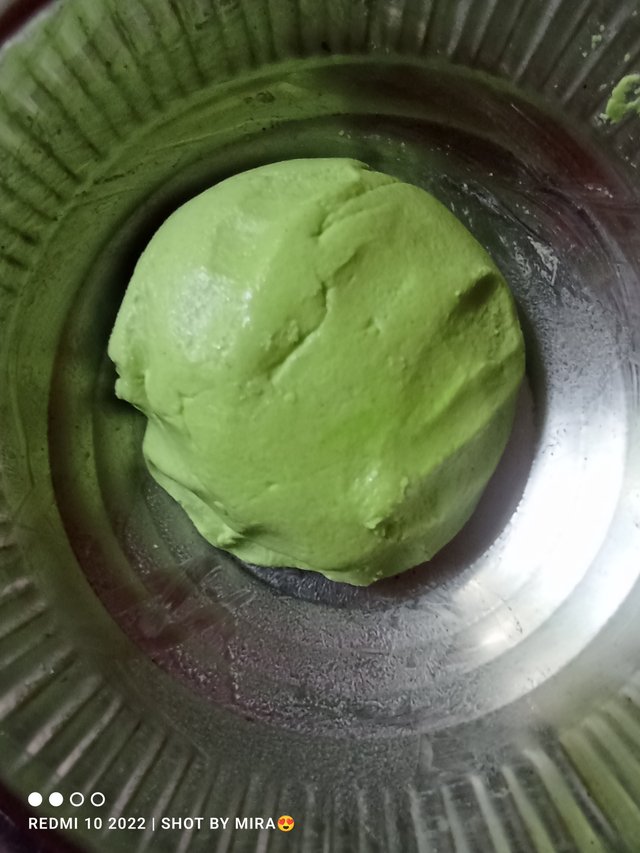
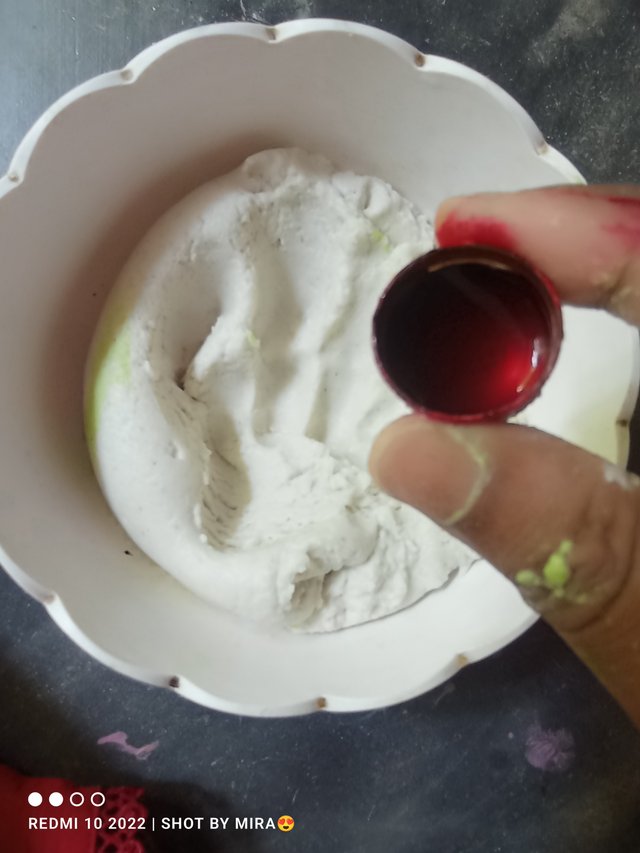
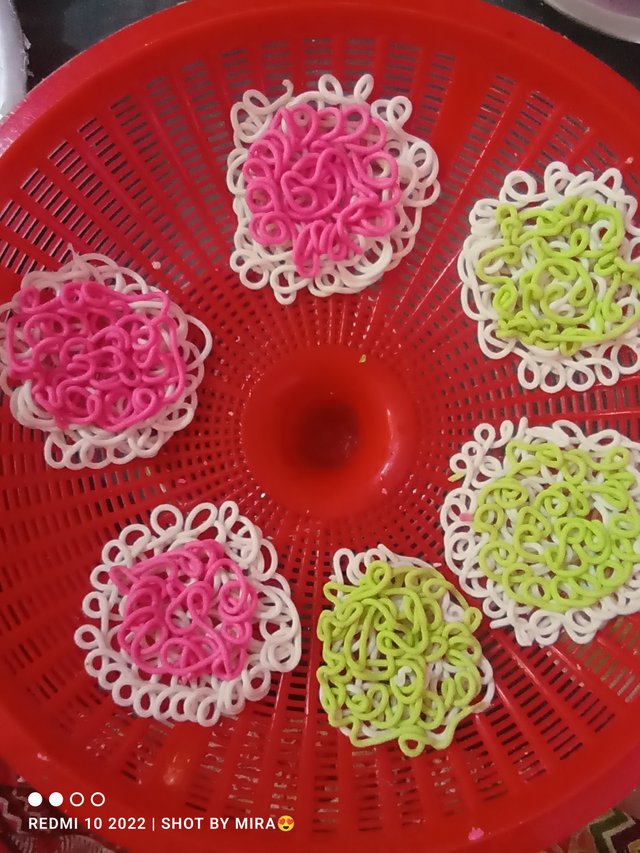
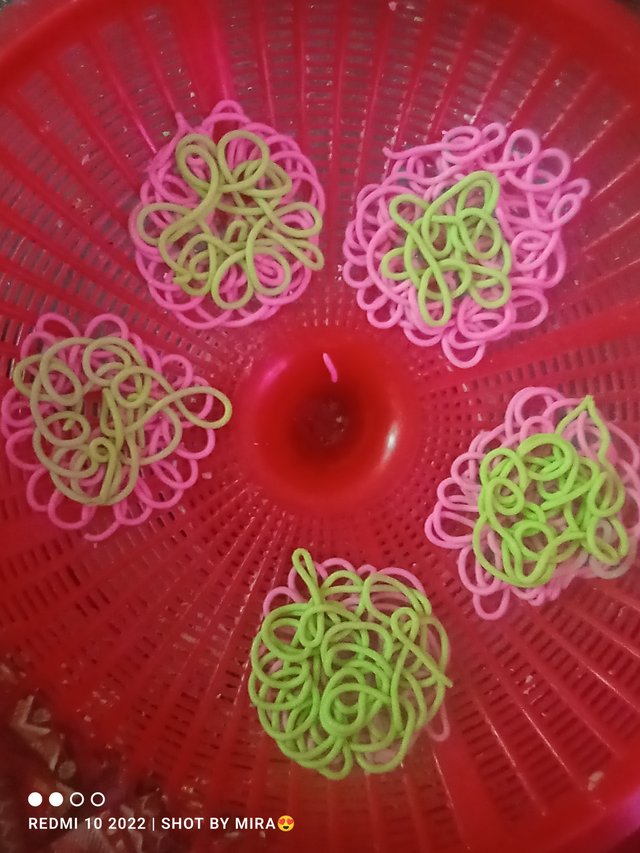
- Since we will be making different colored Nakshi pitha today, I have divided the dough into two parts.I added half a teaspoon of green food coloring to the first part and half a teaspoon of red food coloring to the second part.
Step - 3

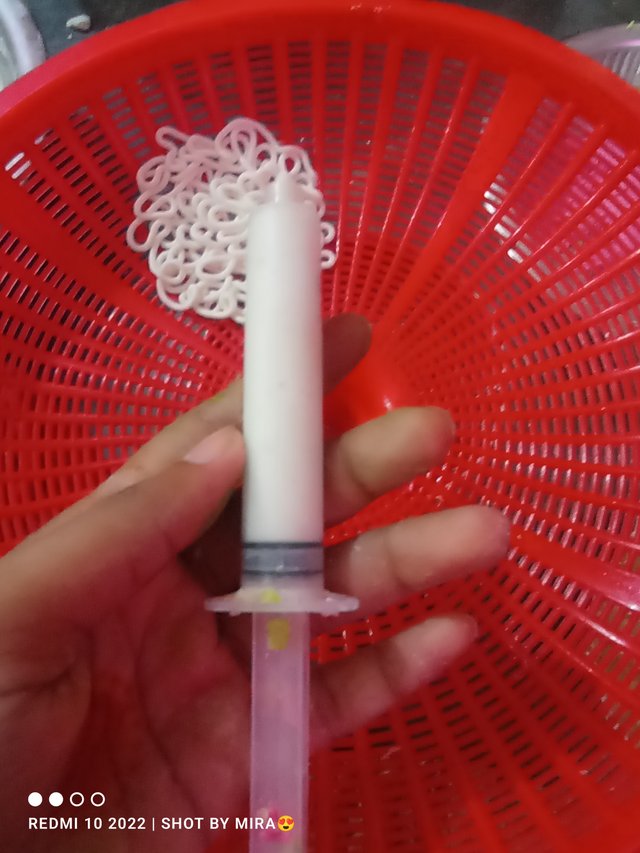
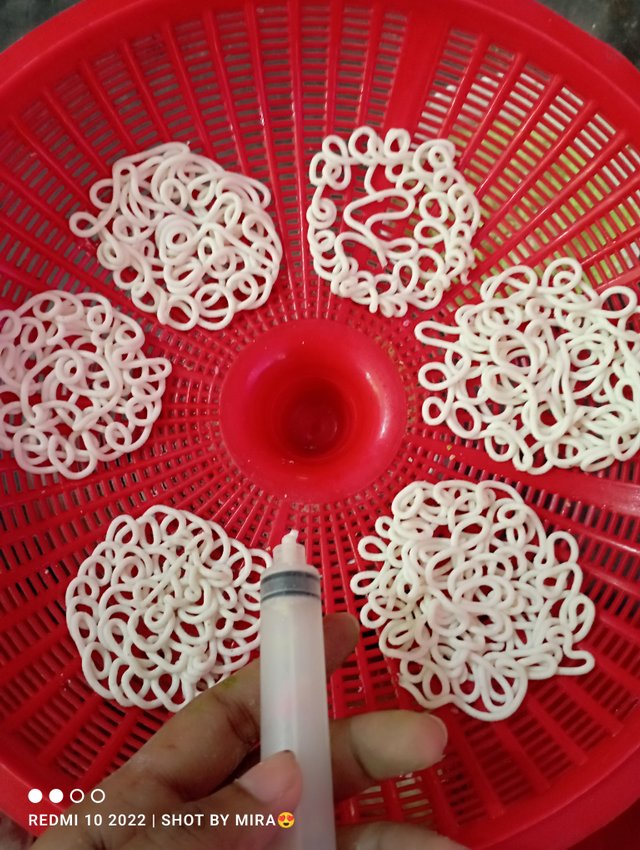
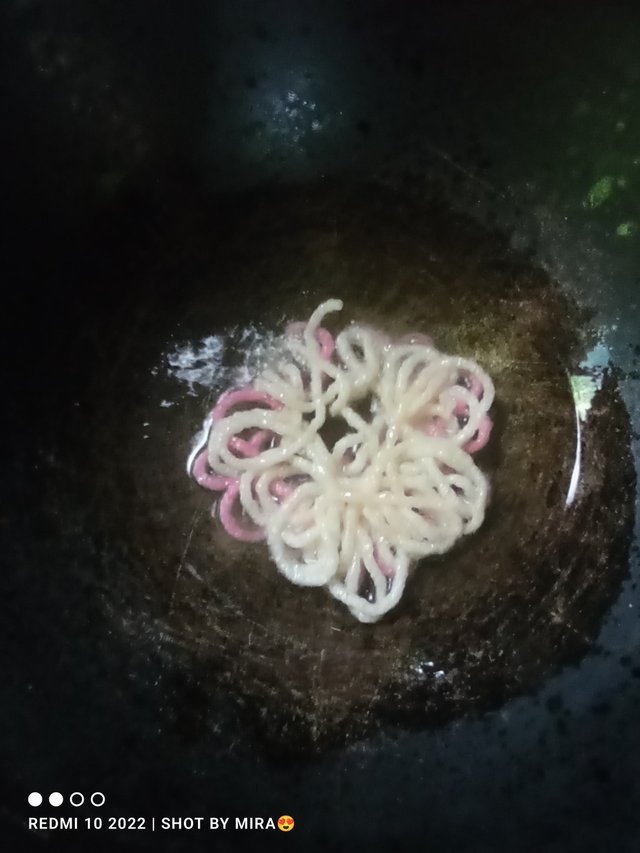
- I first took a clean syringe.Then I filled the syringe with different colored flour dough.Then I used a syringe on a container to make flowers in different colors and shapes.
Step - 4

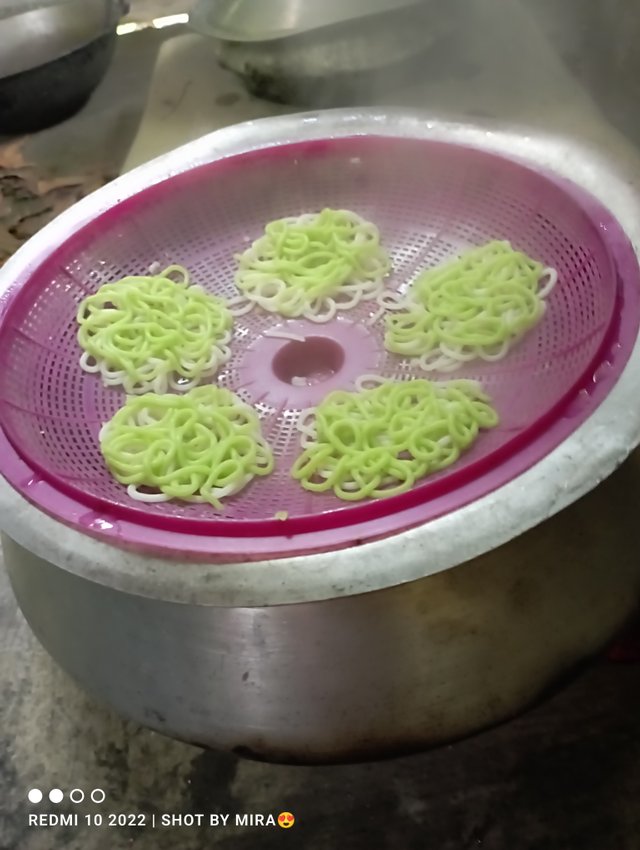
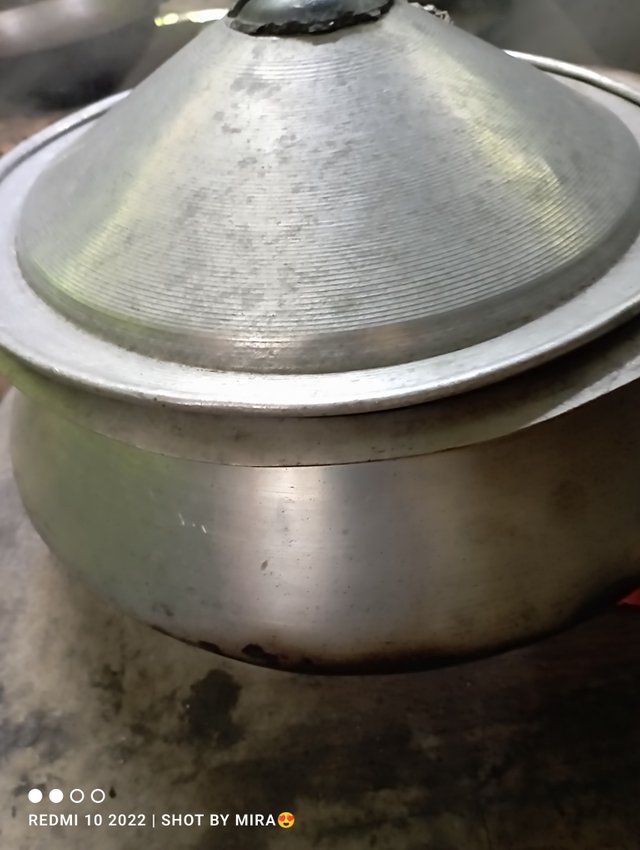
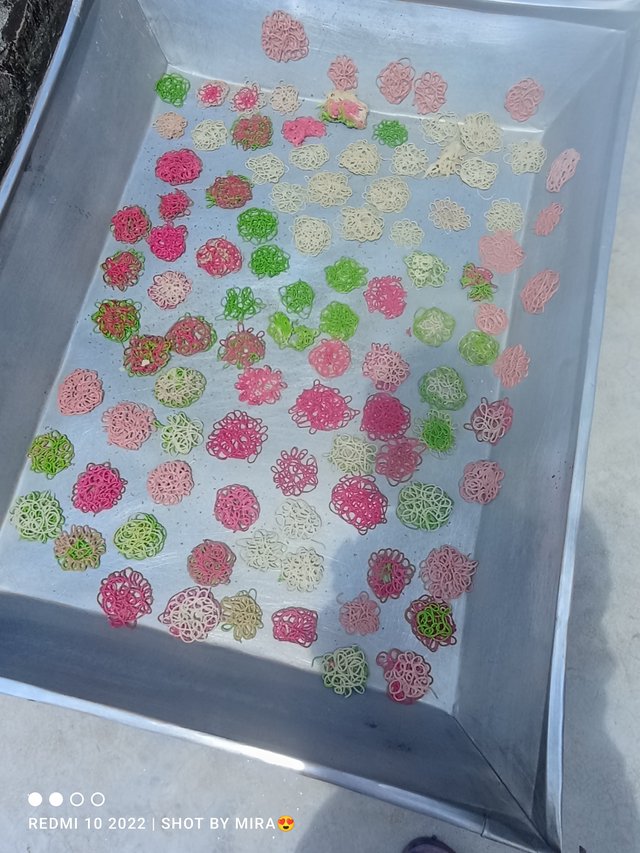
- I put a pan on the stove and heated it with enough water.Then, when the water was hot, I placed the previously prepared pitha pot on top and boiled the pitha for a while.When the pitha was lightly cooked, I took it out of the pot and dried it in the sun.
Step - 5

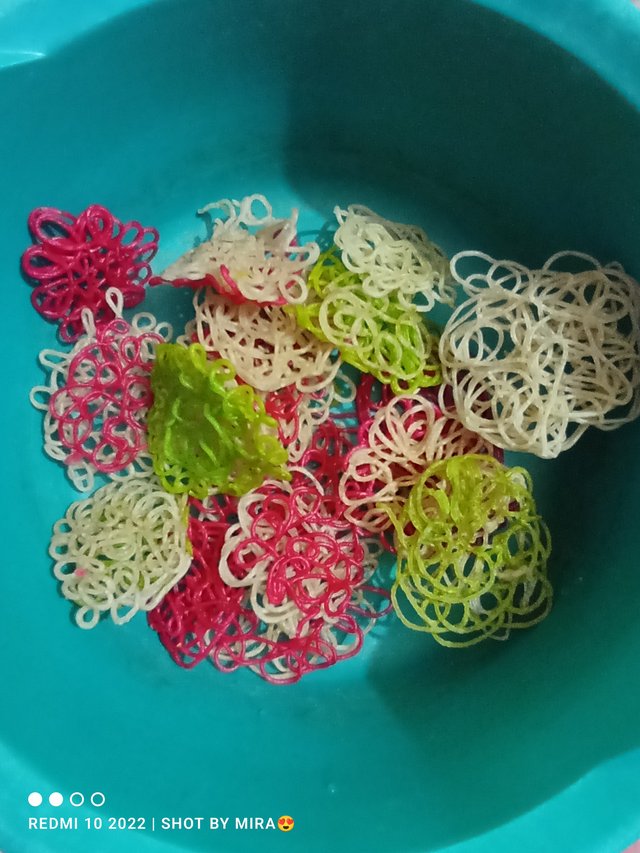
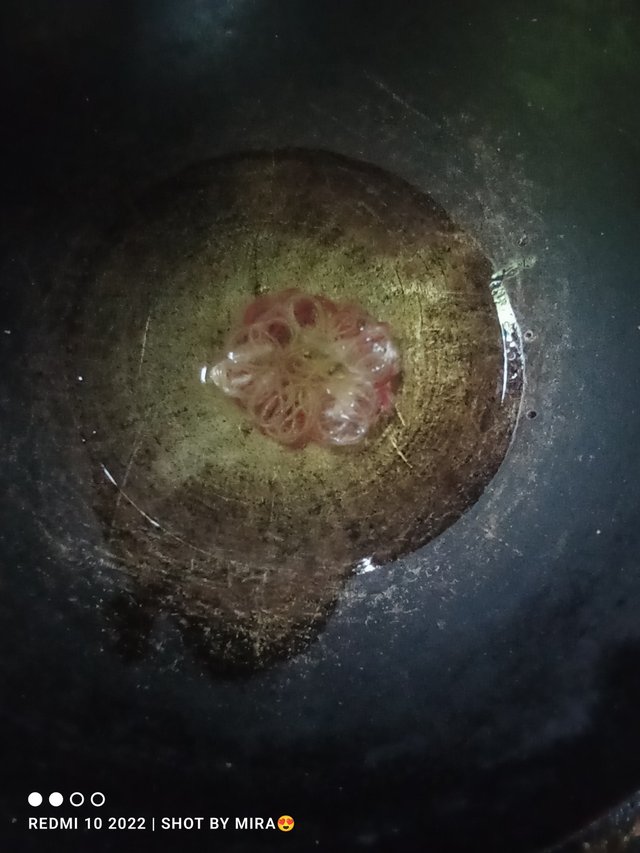
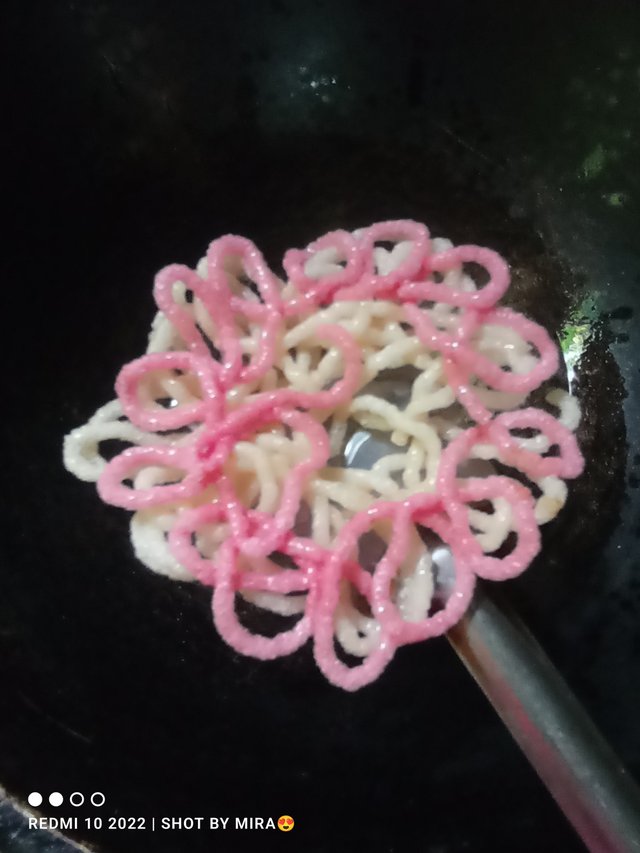
- Once the pithas were well dried in the sun, I took two cups of soybean oil in a bowl.Then, when the oil was hot, I added the sun-dried pitha and fried it well.
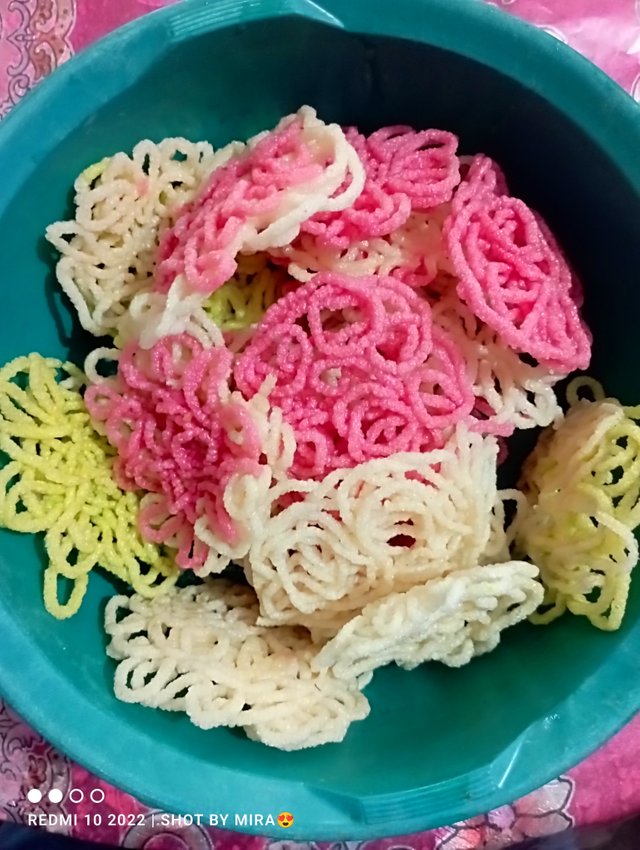 | Nakshi pitha is ready. |
|---|

- Finally, all my pitas for today are finished frying.That's exactly how I made this amazing pitha today.It is also very delicious to eat. You can serve it with tea or for breakfast if you want.
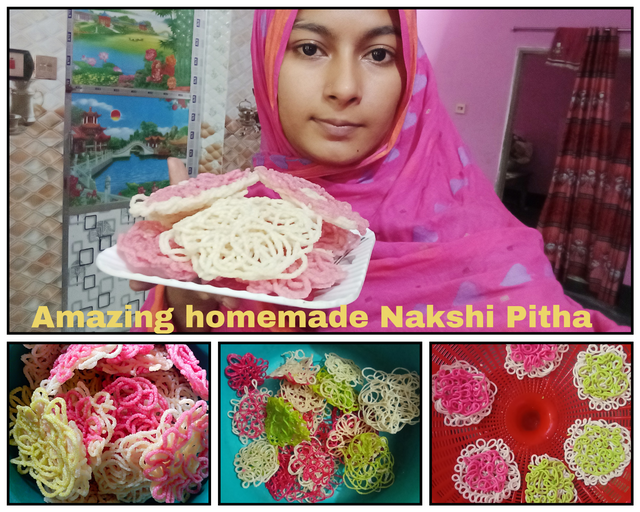
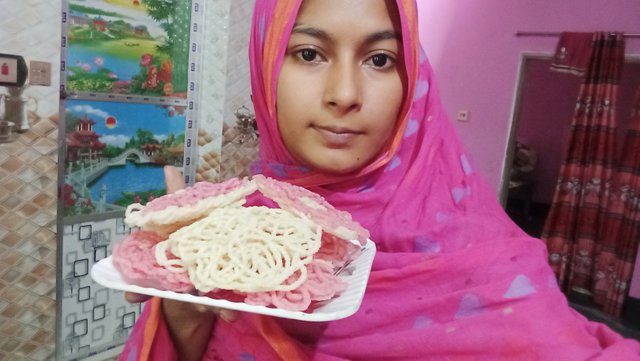
📸 selfie with my recipe📸

Finally, I took a selfie with this beautiful Nakshi Pitha made today.I hope everyone will like my today's pitha recipe and if you follow every step I have given, you too will be able to make this Nakshi pitha.It is very delicious to eat. You can eat it for breakfast or with tea if you want.
I hope everyone likes my pitha recipe today and let me know how you liked it in the comments.See you in a new post. Until then, everyone stay well, stay healthy, and stay safe.

Photography Details
|
| Device Name📱 | Location 📍 | Captured by |
|---|
◦•●◉✿ Thank You ✿◉●•◦
Best Regards
@mariyaafrin






https://x.com/MariyaAfrin894/status/1934264389311590543?t=-7gtxXLYl-kYcOtI6ooJGA&s=19
Hello @mariyaafrin!
Good to see another homemade recipe with the available ingredients from you.
You made a good use of the syringe to make the jalebi like models of the pitha. Mixture of different colours is also making it look awesome.
Thank you sir, which makes me even happier to think that you liked the pitha I made so much.
You are welcome
This is a wonderful recipe. The step-by-step process of making your handmade Nakshi Pitha is beautifully shown, and especially the idea of changing the colour of the pitha using a syringe is great. This pitha is as delicious to eat as it is very attractive to look at. I am sure that those who follow this recipe will also have a lot of fun making pitha. Alhamdulillah, thank you for sharing a delicious and tasty recipe. Best wishes for your future recipe posts.
Thank you brother for the nice comment on my post.
Hi, friend. I like these kinds of pitha; my mother sometimes makes them for us. Thank you for sharing your recipe. It would be best if you avoided using these irrelevant footers in your posts. I saw that you are using these footers in every post. These GIFs can decrease your post's appearance.
Thanks for reviewing my post, vaiyia.I used a very small amount of food coloring here to create a very beautiful design on the pitha.