Van Gogh's Starry Night Painted by @jubayedhossen91
Assalamualikum, everyone(Peace be upon you). |
|---|
Hello friends, myself @jubayedhossen91 from @bangladesh.
How have you been? Hope you all are good. I am also well by the grace of almighty Allah, Alhamdulillah. I feel very glad to express my activities. Actually I always try to show my paintings infront of you.
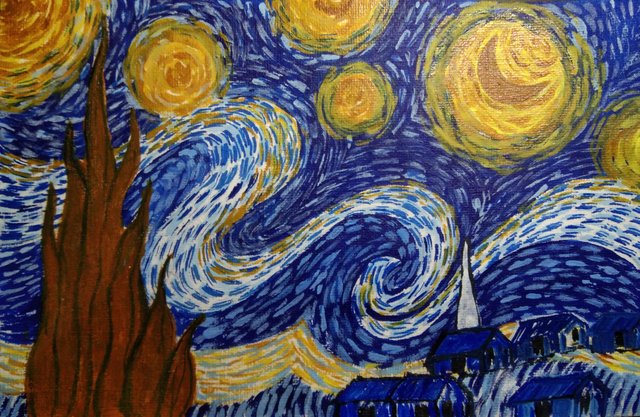
Everyone have hidden talents. Our Steemit platform is the comfortable zone to express all creative activities, our skills, and spread out our hidden talent around the world. Today I'm trying to drow a famous Starry Night. I've completed this painting through several steps. I'm trying to explain these all process with appropriate photos. Let get started.

Ingredients |
|---|
- Art paper
- Colors
- Paint brush
- Wood Pencil
- Scale and
- Water

Step 1: Paper cutting and fundamental stage with pencil |
|---|
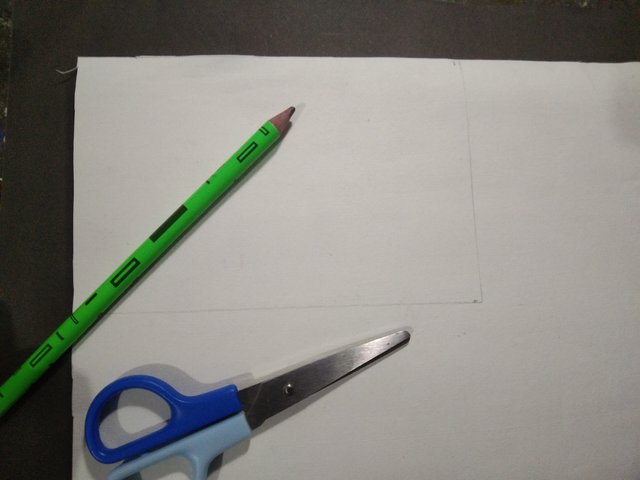
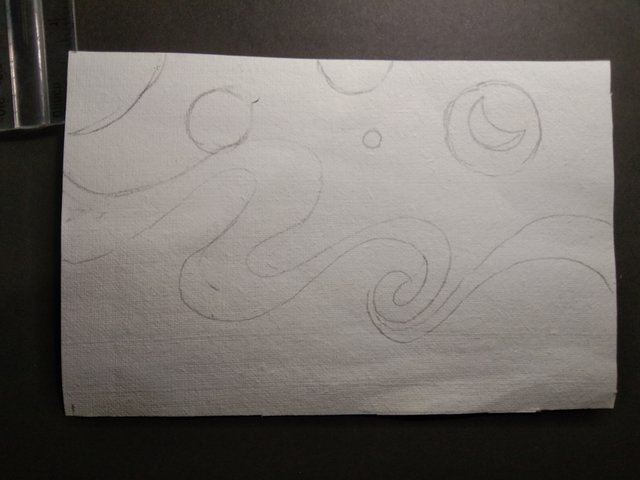
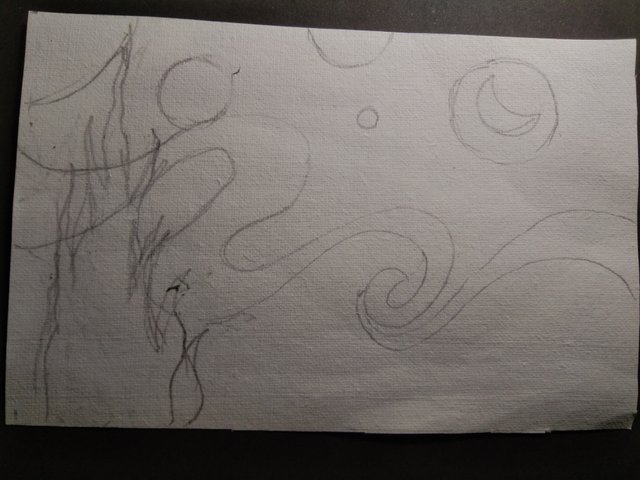
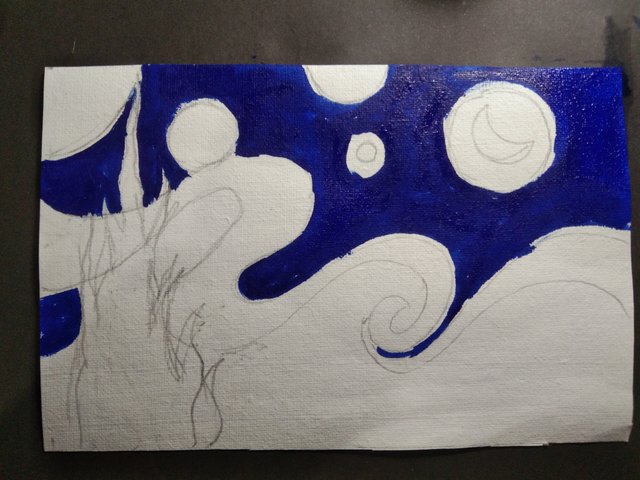
First I took the paper from a large painting paper with margins as needed and then cut it with scissors. After cutting the painting paper I marked some parts of the starry night with a pencil. I drew some space circles to draw the distant moon and stars. And draw the wave shape to paint the waves. And lastly I painted a scene like a burning fire.

Step 2: Initial part of painting with colors |
|---|
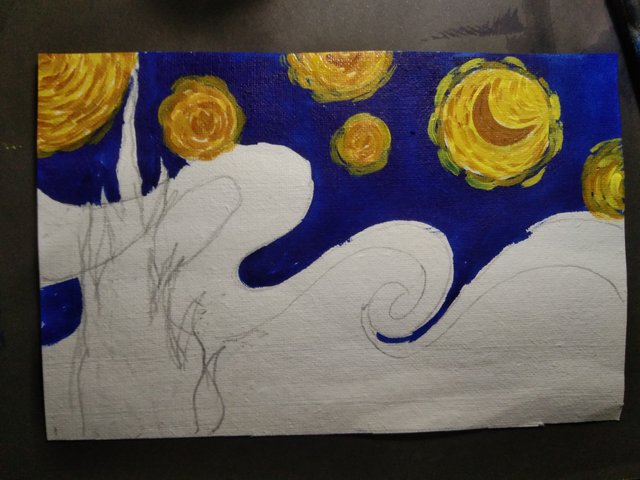
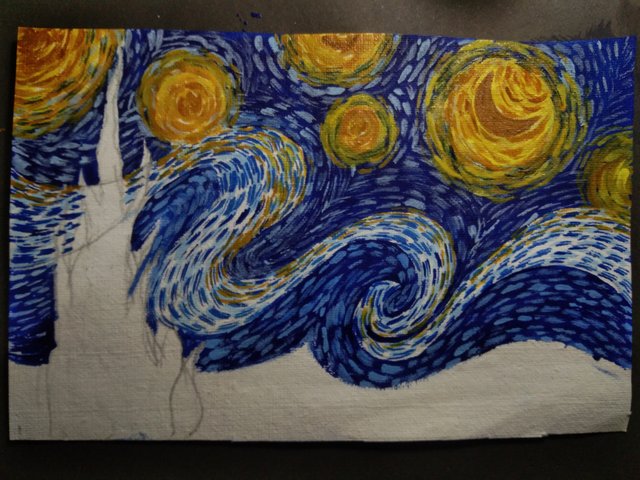
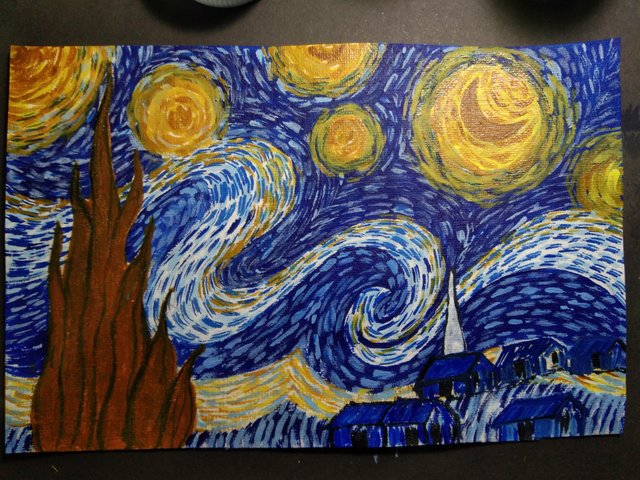
After finishing the pencil drawing I started painting. Used few basic colors for painting. Among them are blue, yellow, brown, and white. Then I lightened and darkened them as needed. In this step I took the pencil drawing from the previous step and the outer parts with a blue base. After painting the blue color, I painted the circles with yellow and brown color mixer. Draw a moon in the big circle with brown paint.

Step 3: Painting waves and the other things |
|---|
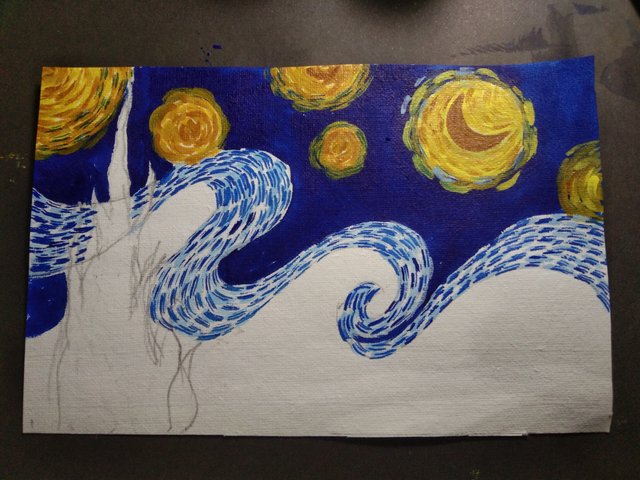
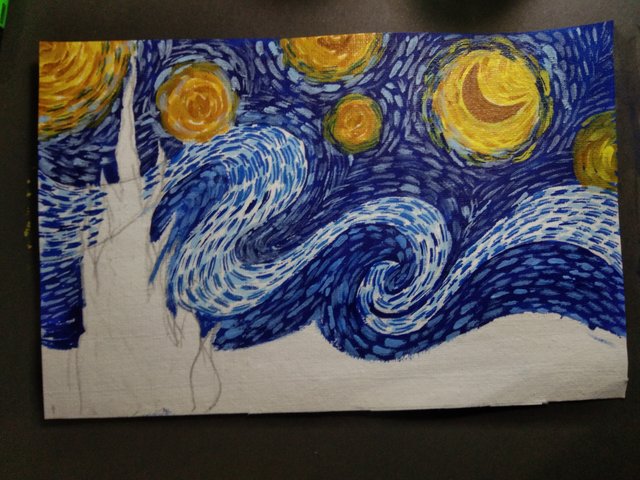
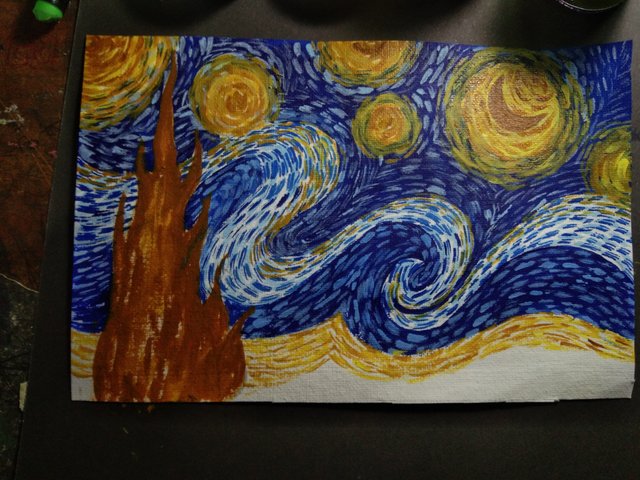
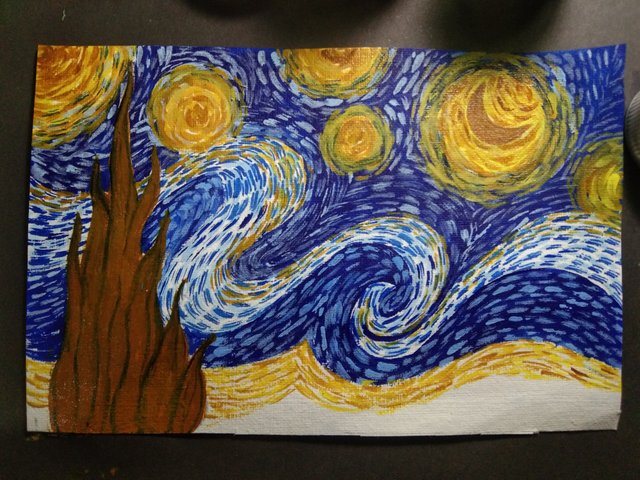
In this step I took the big waves first with a white base. Later we mixed white color with blue color and made light blue color. And I started the basic tainting of Starry Night by lightly dabbing the white over the base. Small spots have been drawn throughout the painting of Starry Night. I also started to paint the first waves with light blue paint. And painted the entire white area. After drawing the waves of the white part, I slowly started to paint the whole part. I took a shade of light blue color on the green part. I pulled the spots as thin as possible. After drawing the stain, I used brown paint to base the burning fire part. After giving beige color, I gave shade with black color. The fire part has become very aesthetic.

Step 4: Check out the whole painting |
|---|
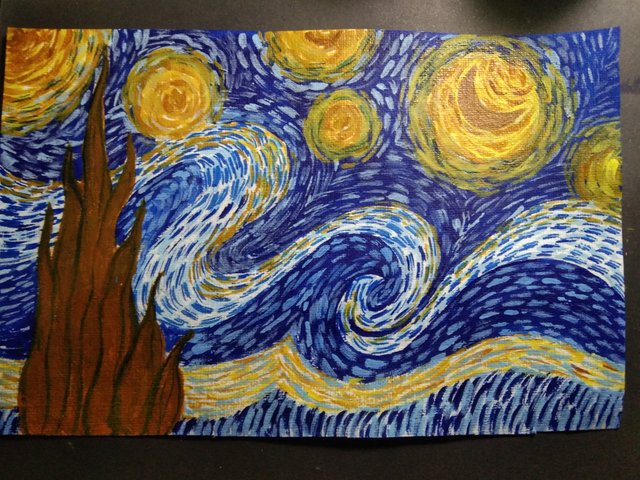
At the beginning of this step, I drew waves in yellow at the bottom. And I gave the light brown shade to make the waves aesthetic. After giving the shade of brown color, I gave the shade of light blue color. After that I drew a vertical mark on the empty part with blue paint. After removing the stain, I painted some houses. I used black, blue and white colors for the houses. After finishing the coloring, I took a look at the whole painting. I tried to make corrections little by little. I gave light brown and yellow shades to the waves.

Final step: Framing the art to make eye-catching |
|---|
I got a suggestion from previous posts that I frame and bind my paintings. That's why I decided this time to frame my paintings from now on. So I bought some frames in advance. And framing today's painting. After framing, the wall hanging becomes a fitting and eye-catching show-piece.

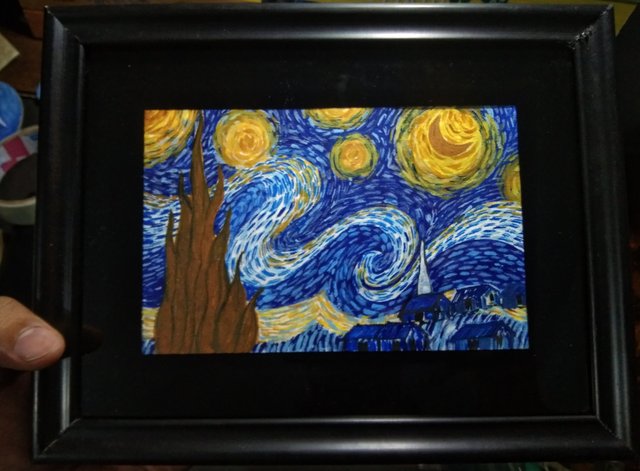

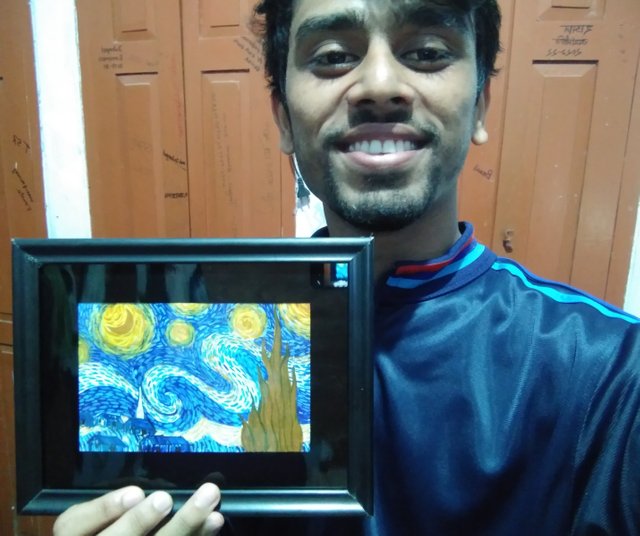
Lastly I took a selfie with my painting final output. And then pulled up with my other paintings in front of my reading table.

I hope you all enjoyed my post. It's time to leave. Keep me in your prays. See you in another blog.


TEAM 2
Congratulations! Your post has been upvoted through @steemcurator04. Good post here should be..Thank you so much.
Hi, Greetings, Good to see you Here:)