SLC-Home Repair Club | S23W3 | Full Tutorial: Square LED Panel Light Chip Testing and Repair.
Assalamualaikum Everyone. I am @imranhassan
From #Bangladesh
.png)
Summary of today's work:
The square LED panel light used in our house often breaks down. Usually it is used as a ceiling-mounted light. Today I repaired a square LED panel light, whose LED chip was broken, but the circuit was fine.
While doing the work, I did LED chip testing and saw how to test and replace the LED chip in a simple way. Many times we do not understand whether the problem of the light is in the circuit or the LED chip. So in today's post, I will show you easy ways to test the LED chip, diagnose the problem, and solve it.
I am going to start the steps of my tutorial post today.
Step -01
 |  |
|---|
 |  |
|---|
First I took the broken square LED panel light. Then I removed the five screws around it with a screwdriver. Then I separated the LED driver and the screws from the LED chip and put them aside. Now, you can see—when I opened the lid, the positive and negative wires of the input voltage of the LED light were exposed. Maybe this happened because the light has been running for a long time, but I will see more problems inside after that.
Step -02
 |  |
|---|
 |  |
|---|
After removing the top lid, there are three more layers of steps. First, there is a white plastic sheet, which helps to reflect the light downwards. I removed it. Then, as you can see, there is a transparent acrylic or glass-like layer, which collects the light from the surrounding LEDs and spreads it evenly. Finally, there is another plastic cover, which softens and smoothes the light and prevents the light from falling directly into the eyes. After removing everything, we can see the LED chips inside the panel. As you can see, the area where the negative and positive voltage wires were connected was damaged.
Step -03
 |  |
|---|
 |  |
|---|
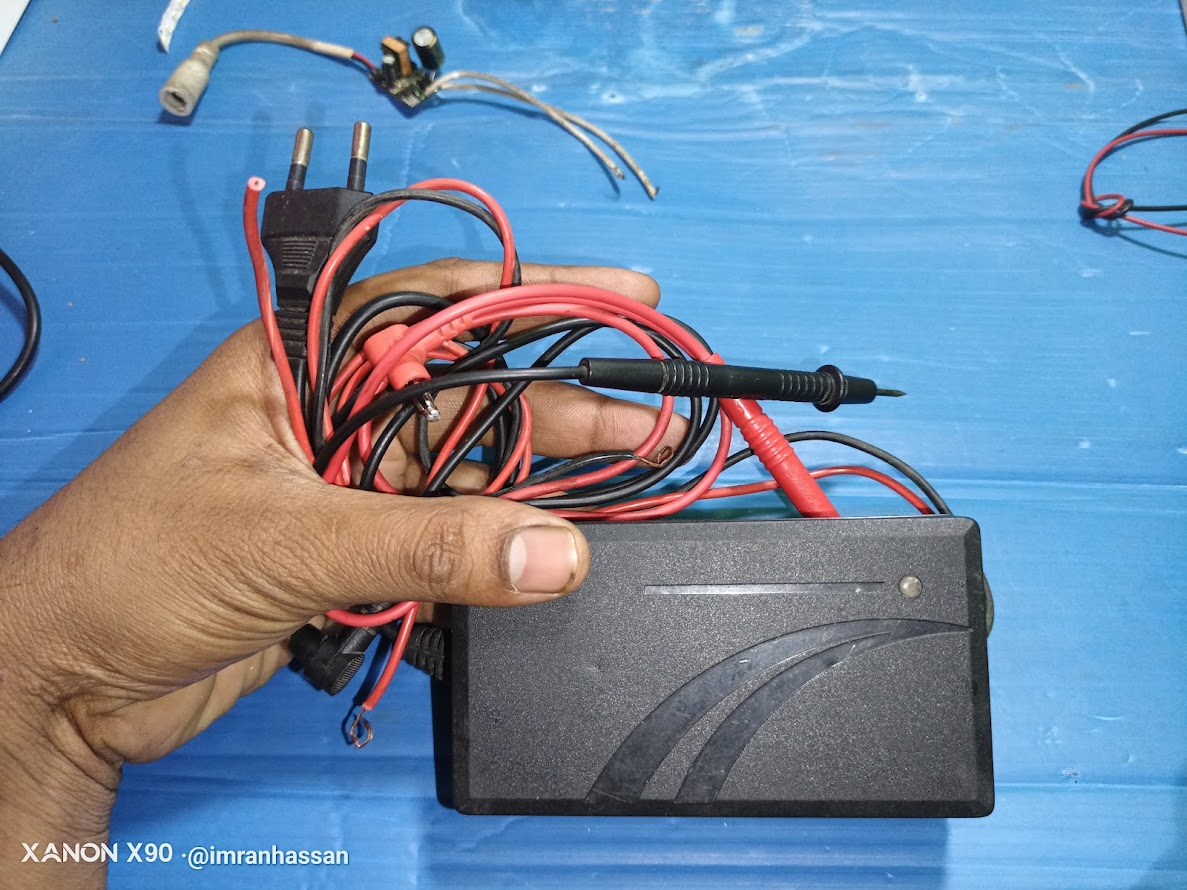
Then I put aside all the covers and plastic sheets that I had removed earlier. Then, I gently pulled the LED chips out of the square panel. Then, I opened the cover of the LED light driver unit and observed the circuit carefully. I checked that the driver circuit was fine and there was no problem with it.
Step -04
 |  |
|---|
 |  |
|---|
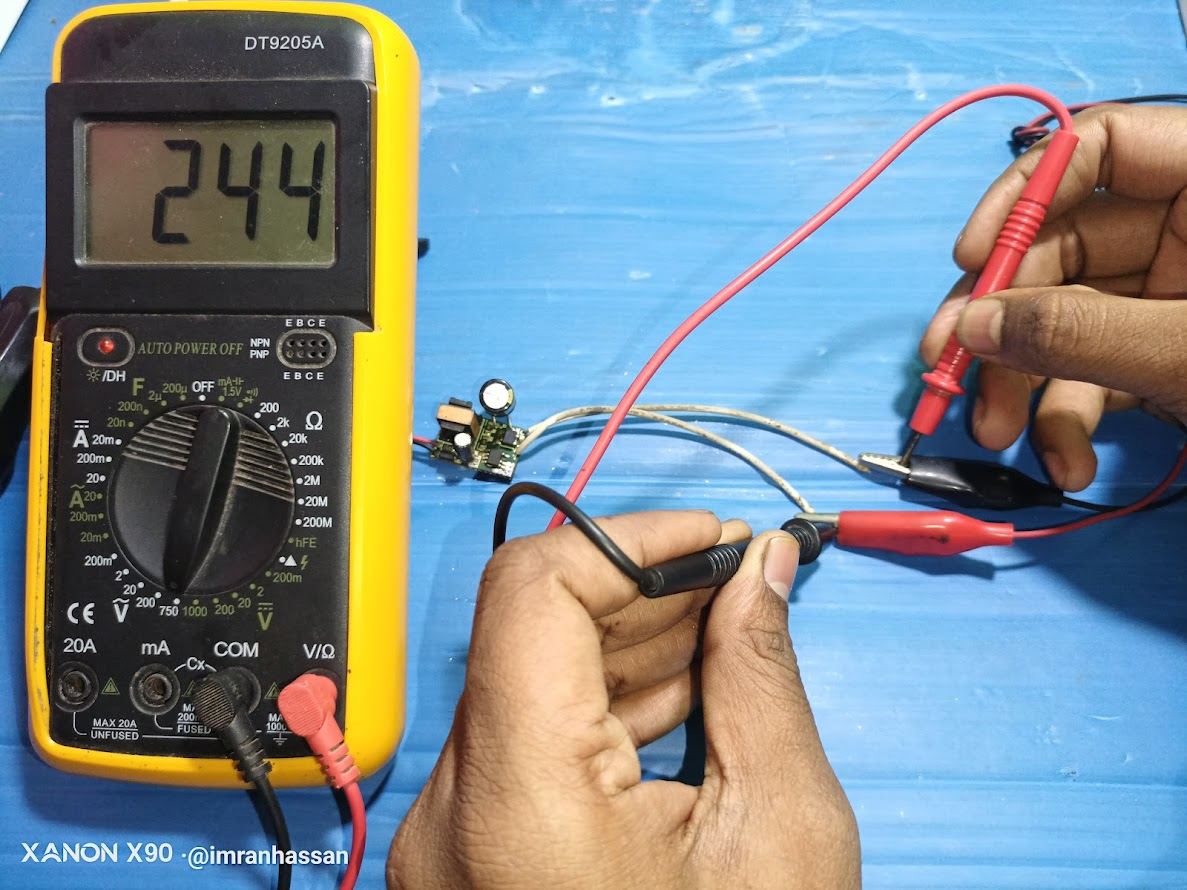
Then, first of all, I tested the circuit by connecting the 220 volt input and using a multimeter. As you can see, it is showing 244 volt input voltage. Then, I set the multimeter to the DC voltage mode and checked the output voltage of the circuit. Here, it is showing 324 volt DC output, which indicates that the circuit is working properly. Now, I will test the LED chips. So, I took the LED tester I had made earlier, with which the LED chips can be easily tested. Next, I tested the LED chips using a 12 volt input voltage before I measured the output voltage.
Step -05
 |  |
|---|
 |  |
|---|
Then I tested the LED chips with the help of a tester. As you can see, all the LED chips were lighting up nicely, but there was a specific spot where the light was not lighting up. The series line was disconnected at this spot, which caused the entire light to go off. Then, I used a soldering iron to shorten the spot and connect a jumper. This re-established the series-line connection, and the LED chip started lighting up again as before. Then, I modified the LED chip and collected red and black wires to connect the positive and negative and prepared to install them properly.
Step -06
 |  |
|---|
 |  |
|---|
Then I soldered the red wire to the positive line of the LED chip with the help of a soldering iron. Next, I soldered the black wire to the negative line, which you can clearly see. After the positive and negative wires of the LED chip were connected, I applied 220 volts of AC input voltage to check the circuit. Then, I tested the LED chip using the DC output voltage of the circuit. After making all the connections correctly, you can see that my LED chip is glowing beautifully and working perfectly.
Step -07
 |  |
|---|
 |  |
|---|
Then I took the driver cover to completely re-fit my square LED panel light. Then, I placed the LED circuit there. After that, I completed the fitting of the LED driver by properly attaching the circuit body cover. Now I am preparing to install the LED chip on the square panel.
Step -08
 |  |
|---|
 |  |
|---|
First, I installed the white square cover and placed the LED chips around it. Then, I placed the light-diffusing glass in the middle. After that, I placed a plastic sheet to reflect the light downwards. Finally, I placed the iron plate to attach the screws.
Step -09
 |  |
|---|
 |  |
|---|
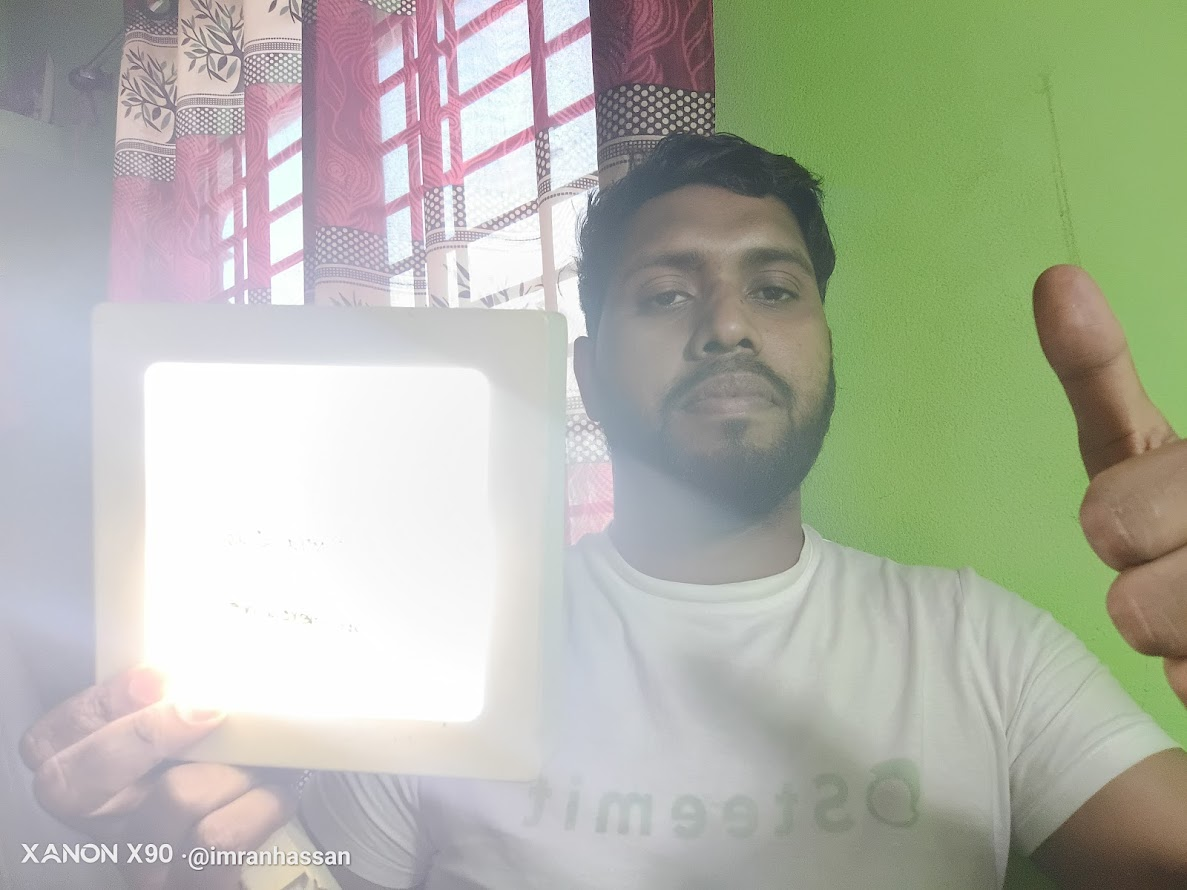
Then, I will test the LED light with a 220 volt input voltage by installing the screws. For this, I connected it to a circuit with a 220 volt AC input voltage. Then, as you can see, my LED light is working very well. I took a picture with my username and my club name to verify the authenticity and took a picture with me while the light was on.
Temporary solution: Warning for short circuits in LED lights
The square LED light that I fixed had a chip burn out. For this, I shorted it with a jumper. However, this is a temporary solution. Shorting can increase the voltage on the LED, which is not suitable for long-term use. So, after a few days, I will change it and install new LEDs. It will work better if it is installed with new LEDs later.
| Specification | Details |
|---|---|
| Appliance | Square LED Panel Light |
| Brand | China |
| Wattage | 12W |
| Voltage | 175-265V AC |
| CCT | 6590K |
LED Fixing and Troubleshooting Guide
Step-by-Step Fixing Process
Check Power Supply
- Make sure the LED is receiving the correct voltage (175-265V AC).
- Check that the power supply is properly connected.
Inspect the LED Connection
- Check that the LED wires are properly connected.
- Repair any loose or broken wires at the connection points.
Test with a Multimeter
- Measure the LED circuit with a multimeter to see if it is working properly.
- If the voltage is OK, check the resistance of the LED.
Check for Burned Components
- Observe whether the LED or other components are burnt.
- Replace with new LED or related parts if necessary.
Safety Precautions
- Disconnect power: Be sure to turn off the power before repairing.
- Use correct voltage: Work according to the specified voltage of the circuit.
- Use insulated tools: Use safe tools to avoid short circuits.
- Take precautions during testing: Do not test the LED while the power is connected directly.
- Seek help from a professional electrician if necessary.
| Video Tutorial: To better understand the practical part of this tutorial, you can watch the video below. |
|---|
| 📢 Course and Challenge Deadline: These courses and challenges will start on February 3, 2025, and will run until Sunday, March 9, 2025, at 11:59 PM (UTC). So be sure to participate in time. |
|---|
Here are our selection criteria for the Home Repair Club; if you want, you can read the post and understand it: Clubes de Aprendizaje de Steemit Temporada 23 | Introducción y Bienvenida al Home Repair Club
I invite you to join the Home Repair Club. @kalidsyfulla @saikat01 @shihabuddin48
Photography Details: 📱DeviceWalton Xanon x90
Best regards
@imranhassan
My friend @rmm31

Saludos amigo @imranhassan, en esta ocasión nos presentas un tutorial para solucionar una de las fallas más frecuentes en el hogar, la avería de las luces leds.
Este tipo de luces es de bajo consumo, son embargo generan calaro y en algunos casos los modelos de lámparas no cuentan con un adecuado método de disipación de calor, haciendo que los leds se dañen con más facilidad.
Si nos fijamos en tu lámpara, se puede evidenciar que un par de leds se quemaron, podrían reemplazarse sí estuviesen colocados en una placa, pero se encuentran en una tira leds.
Este tipo de tiras también las fabrican de manera que se quiebren cuando estén en contacto con un calor excesivo, además que son frágiles como para poder manipularlas al momento de soldar desoldar o soldar un led de reemplazo.
Lo ideal en dado caso es reemplazar la tira leds y tu nos muestras como hacerlo. Gracias por compartir también las precauciones que deben tener las personas al trabajar con electricidad.
Greetings @rmm31 Friend, Thank you very much for your detailed comment. It is true that LED lights are very effective, but sometimes they can be damaged more easily due to the lack of a good heat dissipation system.
The observation on LED strips is very accurate. Sometimes, LEDs can burn out due to fragility and excessive heat, and it is important to know how to handle these situations. As you mentioned, in many cases replacing the LED strip is the best option, and I am glad that the tutorial was helpful for you.
Thank you for your support and for sharing your ideas on improving power consumption. It is always a pleasure to learn together and improve on these topics.