Show us your Skills by Creating any Craft with Paper.
As-salamu Alaikum.
Hello Steemians! Hope you all are doing well. Today, I am participating in an amazing contest in the "Steem For Bangladesh" community, organized by honorable @shiftitamanna .
Here is: Contest Link .
Let’s get started!
Papercraft of a Blooming Handbag |
|---|
 |
|---|
Designed with Canva Pro

 |
|---|
 | A Glimpse of My Craft |
|---|
Crafting Tools
🟥 Colour Paper
🟨 Pencil
🟩 Ruler
🟦 Scissors
🟪 Anti Cutter
⬛ Adhesive-Glue/Tape
✅ Present your paper craft to us in at least 4 steps.
Today I’m going to share the process of making a handbag using paper. So, without any delay, let’s get started.
💠 Step I
 |  |
|---|---|
 |  |
First, I gathered all the necessary materials at hand. Then I took an orange-colored paper and a ruled compass. Using the pencil compass, I drew a circle on the paper. After that, I cut it using a scissor. As you can see after cutting, a beautiful circle is formed.
💠 Step II
 |  |
|---|---|
 |  |
Then I folded the paper in half. After that, I folded both sides of the paper in the same way. Now I opened the folded parts again.
💠 Step III
 |  |
|---|---|
 |  |
 | Bag shape |
|---|
Now I carefully tucked the folded parts on each side inward, neatly. Then I applied glue on both sides. I pressed the sides with my hands and secured them nicely. After securing, you can see how beautifully the bag’s shape has formed.
💠 Step IV
 |  |
|---|---|
 |  |
| Adjust the handle |  |
|---|
Now I took the same colored paper again and cut it into two thin strips using an anti-cutter. Then I applied glue to both ends of the strips. I adjusted these glued paper strips inside the top part of the already made bag. These are the handles of the handbag. Now you can clearly see how beautiful the bag has turned out.
💠 Step V
 |  |
|---|
 | Some leaves |
|---|
Then I took a green-colored paper to design the front part of the bag. I cut the paper into thin leaf shapes using scissors. Then I applied glue to the bottom part of the bag and adjusted the leaf shapes so that they look like real leaves.
💠 Step VI
 |  |
|---|---|
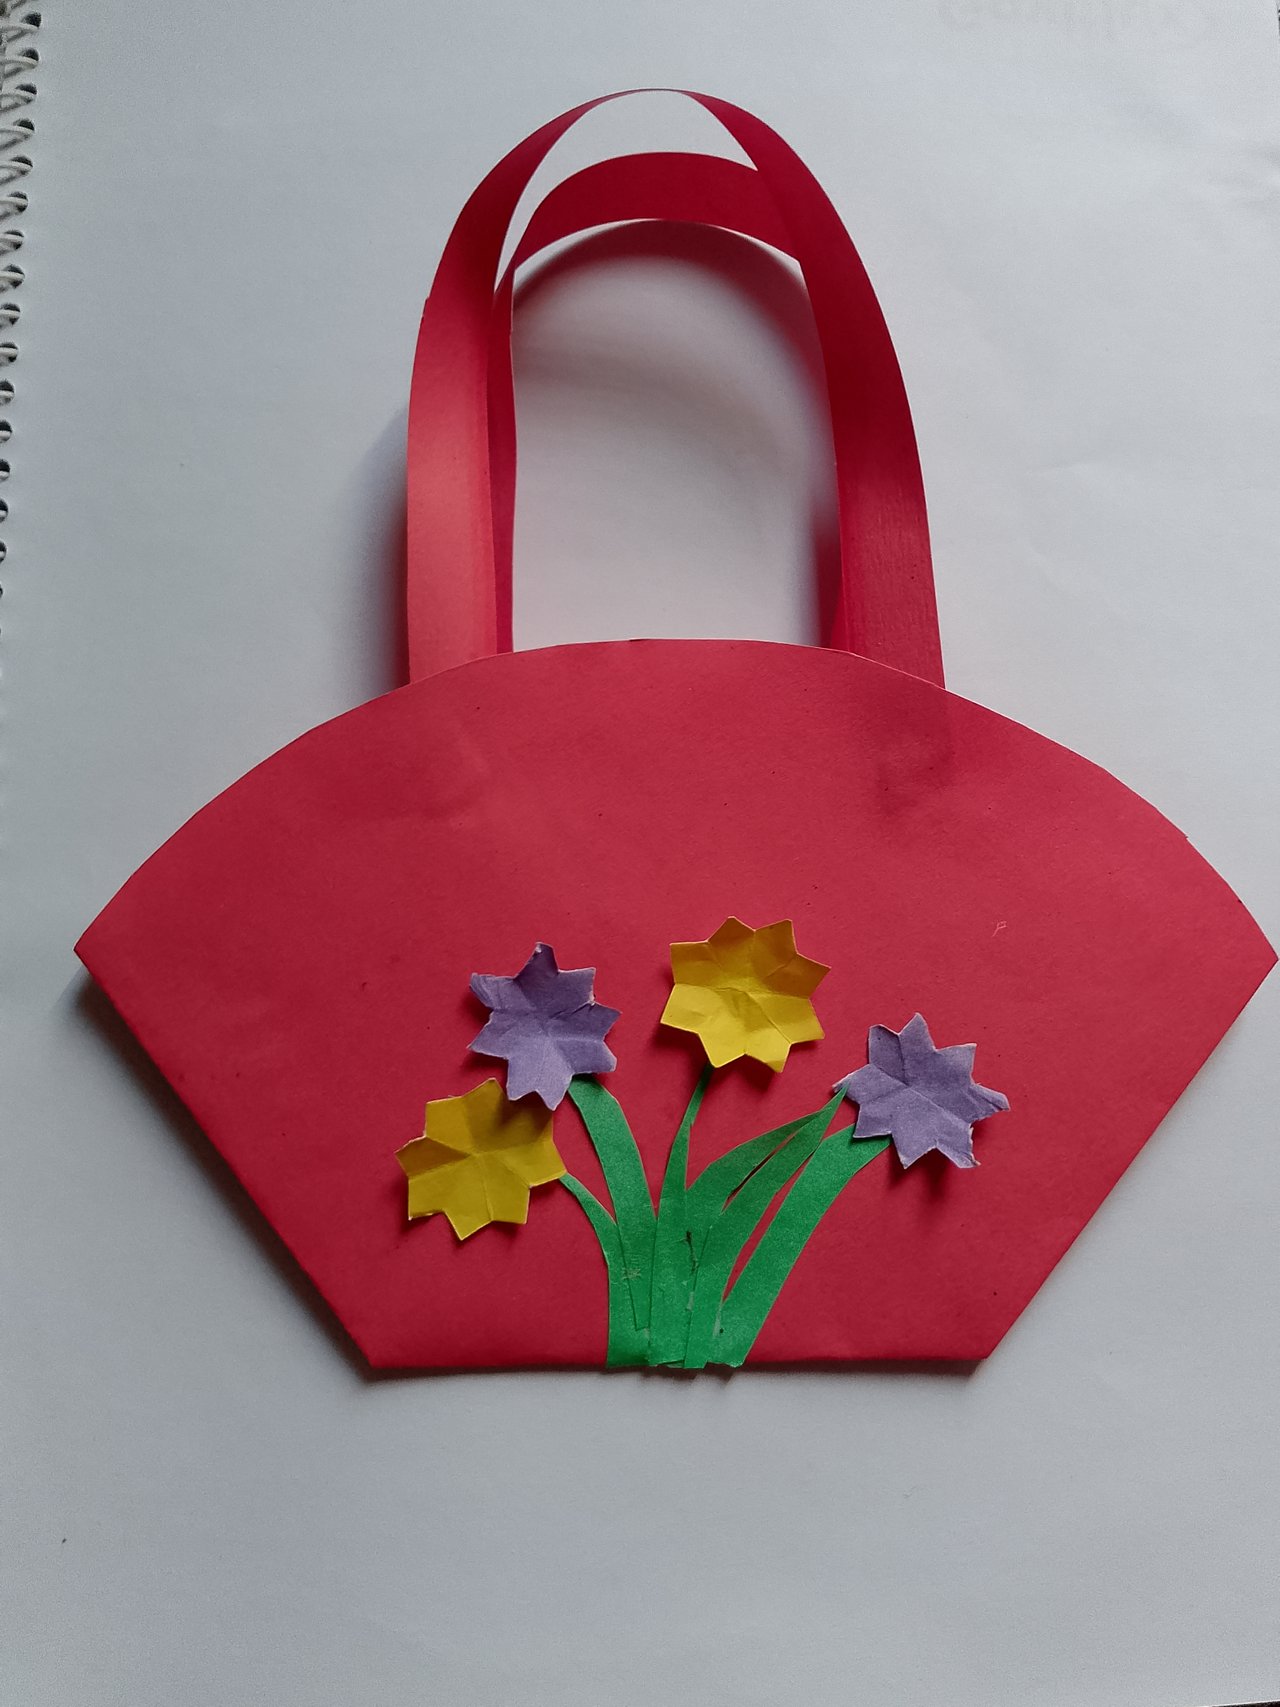 |  |
After that, I took yellow and purple colored papers and cut them into flower shapes using scissors. Then I applied glue and adjusted them on top of the leaves. I used a gel pen to add some design in the middle of the flowers. And thus, my paper handbag is ready, beautifully decorated with flowers.
💠 Step VII
 |  |
|---|---|
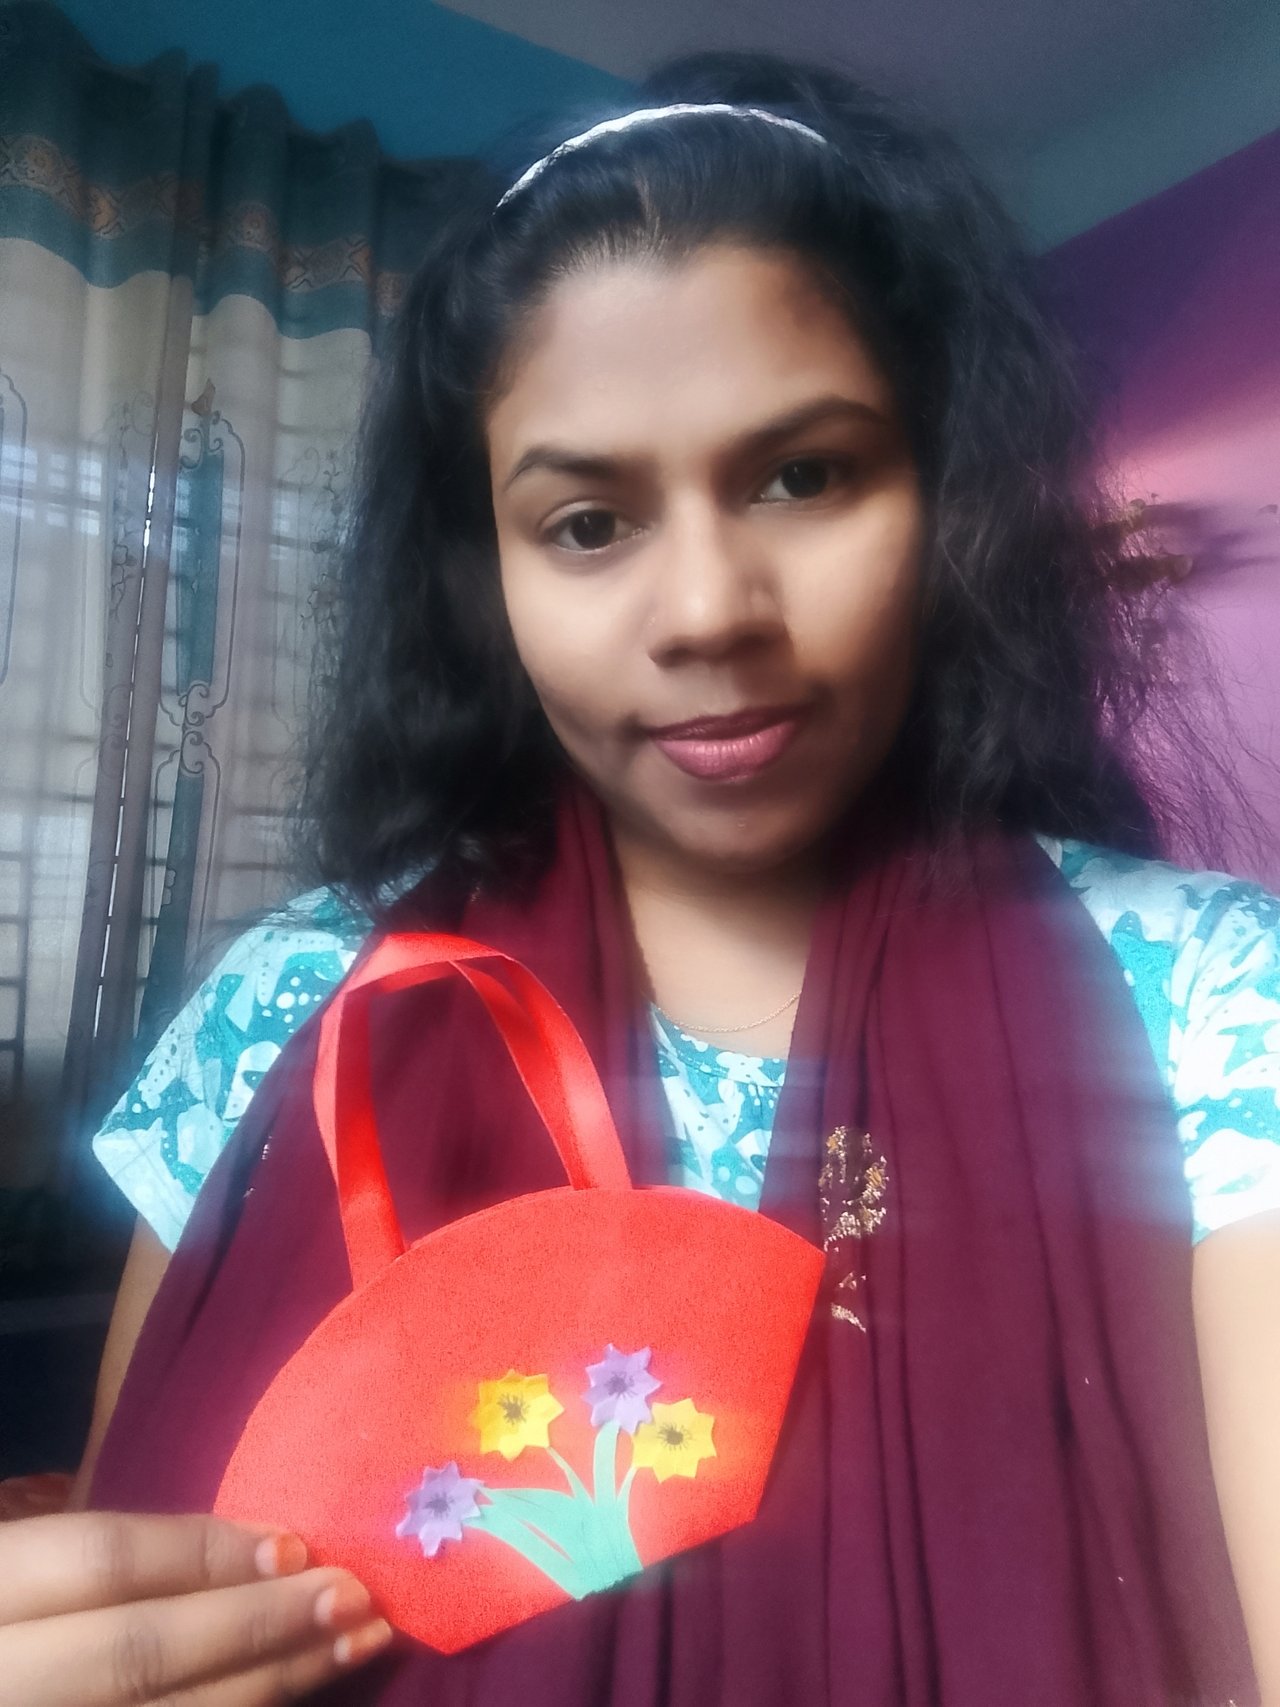
Finally, I took the handbag in hand and captured a selfie with it.

✅ How did you get the idea of making paper craft?
One day I was scrolling through Facebook. Suddenly I saw a reel. The bag shown there was small but cute. That’s where I got the idea to make this paper handbag.
✅ Briefly tell us how you felt while making the paper craft
From the moment I started making the bag, I was excited to see its final look. And when I finally saw the completed look, I felt so much joy and satisfaction.
Here are some photographs of the handbag:
 |  |
|---|
 |
|---|
 |
|---|
Image Information |
|---|
| Device Name | infinix |
|---|---|
| Captured by | @arjinarahman |
| Crafted by | @arjinarahman |
I invite the following users for the contest
@jasimuddin0
@elpastor
@yulexys21
Upvoted! Thank you for supporting witness @jswit.
https://x.com/arjina_rahman/status/1919454559052640362
First of all, thank you for showing your creativity by participating in a beautiful competition. You have shared your skills and talents with us through an amazing papercraft. You have also supported and mentioned me as a friend. Your work is truly amazing. Best wishes to you.
Congratulations!! Your post has been upvoted through steemcurator06. We encourage you to publish creative and quality content.
Curated By: @yonaikerurso
Hola bella que bonito trabajo la verdad que cuando queremos aprender algo damos todo el amor para que salga muy bien te felicito mucho gracias por compartir tu experiencia y darnos el paso a paso para poder hacer nuestro bolsito que son prácticos.
Felicidades y éxitos en tu participación.
Bendiciones 🙏