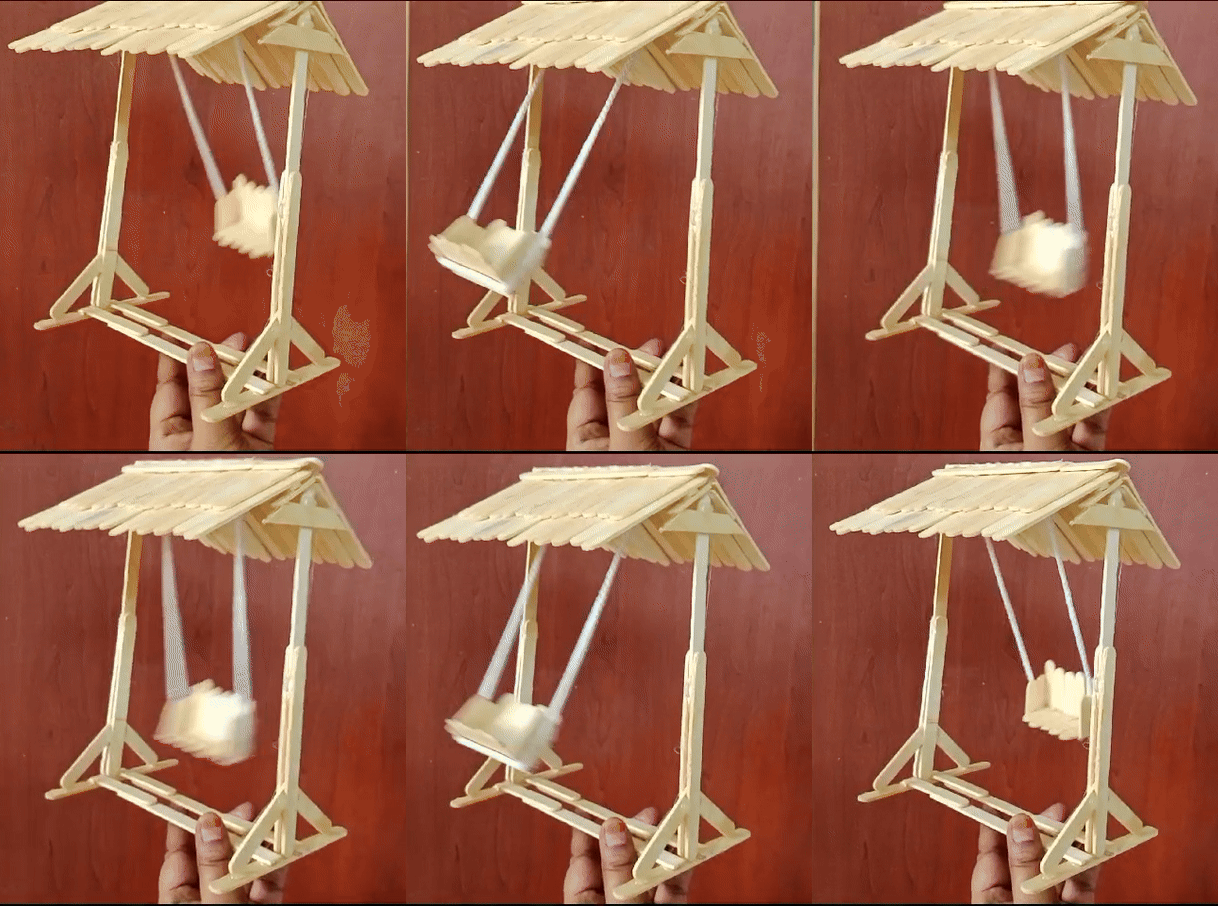
👉Let's do it...Do It Yourself 👉 Garden Swing - Craft with Ice Cream Sticks
Hi friends,
I am Jyoti from India I would love to participate in this 78 week Let's do it...Do It Yourself contest : https://steemit.com/steem-for-ladies/@ngoenyi/winners-for-week-77-or-or-week-78-begins-let-s-do-it-do-it-yourself-craft-creativity-drawing-origami-diy-recycling-and-more @ngoenyi in the Steem For Ladies community.
As I have already said, you can make a lot of crafts with ice cream sticks. Today I have made a Garden Swing miniature craft with Icecream sticks. I am going to explain how I made it here. I hope you like it.
Garden Swing - Craft with Ice Cream Sticks |
|---|
Required materials
- Icecream sticks
- Glue gun
- Pencil/Scetch pen
- Scale
- Scissors
- Knife/Cutter
- Thread
STEP1:
Take 14 ice cream sticks and line them up, draw a line down the middle, then take them one by one and cut them into pieces with scissors. Similarly, line up another 14 sticks and draw a line across three-quarters of them. Then cut each stick and keep it separate.
STEP2:
Now take two ice cream sticks cut into three quarters and place them in a row and stick an ice cream stick cut in half between them. Similarly, place all 14 sticks in a row and stick the sticks cut in half on top of them. After sticking them in this way, it will look like a tiled roof. Similarly make another roof.
STEP3:
Take four ice cream sticks and draw lines on both sides of two of them about an inch wide. Cut the remaining two into sections and run the sticks over the lines to extend them.
STEP4:
Now to make the garden swing side pole, take three ice cream sticks and place one in the middle of the two sticks and stick it as if to extend it. Glue an ice cream stick horizontally at the bottom. To balance both of them, cut two sticks in half in the shape of a triangle and glue them. Now one side pole is ready, similarly make another pole
STEP5:
Now attach the two poles to the two platform sticks you have already made and glue them together. Then attach the sticks to a one-inch long "V" shape at the top of the two poles and glue them upside down.
Then take the roof shapes you already made and glue them together on both sides.
STEP 6:
Take five stickers and cut them into one and a half inch lengths. Place them in a row. Place one sticker on top of it and run it through the glue gun. Do the same with another one and stick both of them in a V shape. Then stick some pieces at the side of the v shaped sticks to make swing chair.
STEP 7:
Now take the roof you have already made and attach this swing chair to its base with a thin rope to hang .
STEP8:
Now the Garden Swing miniature is ready, keep it in your showcase table to decorate your home. You can paint it to make it more real.


Hope you like this Garden Swing - Craft with Ice Cream Sticks , please send your valuable commnts in my commnt section.

I would like to invite my friends
@ulfatulrahmah to take part in this contest.
Discord : @jyoti-thelight#6650 Telegram :- https://telegram.org/dl

.png)

.png)
.png)
.png)
.png)
.png)
.png)
.png)
Upvoted! Thank you for supporting witness @jswit.
Vote @pennsif.witness for growth across the Steemit platform through robust communication at all levels and targeted high yield developments with the resources available. Vote here
Thank you @ngoenyi for the valuable support
Curated By sergeyk
Thank you @sergeyk for the valuable support
Hola querida, ¡Que hermosura de manualidad en miniatura¡ Ideal para decorar cualquier rincón de cada, gracias por compartir el proceso de creación.🥰