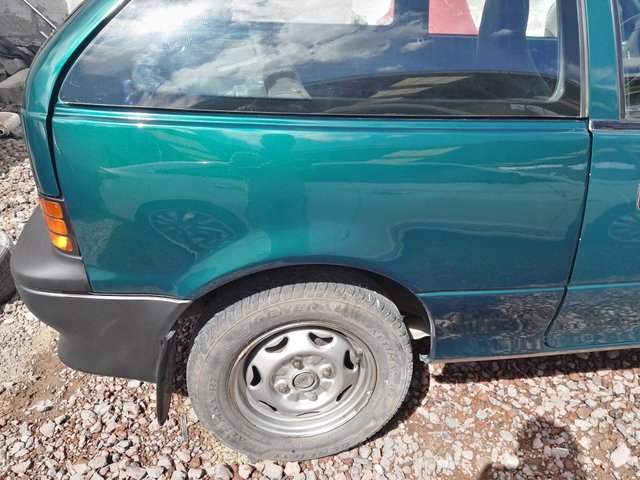
New project, repairing crashed car / Nuevo proyecto, reparación de auto chocado
Good afternoon everyone, greetings to the Steemit community and the gems community and to you who are here. Welcome to a new post, if you don't know me my name is Alejandro Cordero and I usually create content referring to different projects than the one carried out in my workplace
These are various projects, and to give you an idea of work painting cars
Well, let's start with today's project
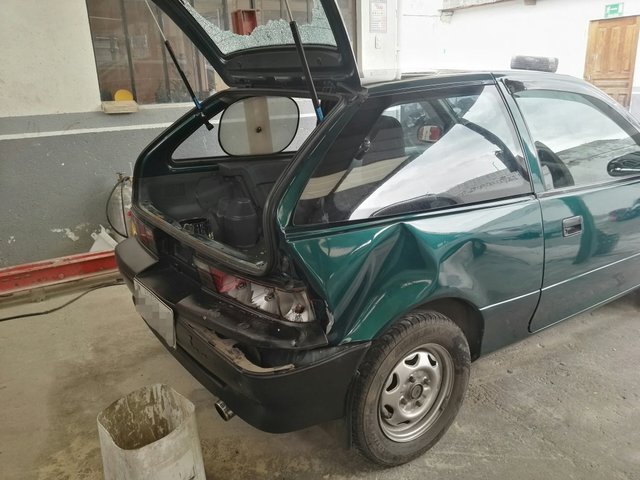
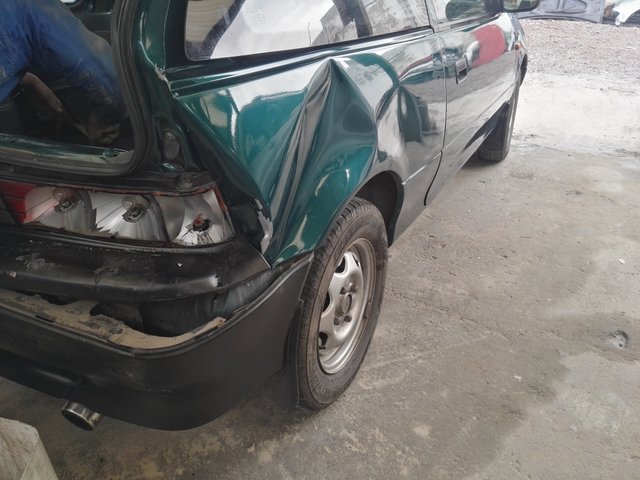
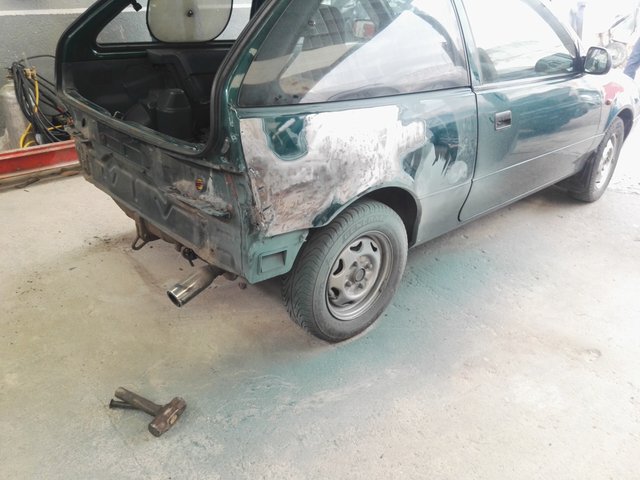
Very well what we have today is a crashed car in the back right. It was a very strong collision and as we can see it broke the bumper and the tail light. The goal is to repair it and leave it looking like new
Muy buenas tardes a todos, saludos a la comunidad de Steemit y la comunidad de gems y a ti que te encuentras aca. Bienvenido a un nuevo post, si no me conoces me llamo Alejandro Cordero y habitualmente creo contenido referente a distintos proyecto que el realizado en mi lugar de trabajo
Estos son diversos proyectos, y para darte una idea trabajo pintando autos
Pues bien vamos a iniciar con el proyecto del día de hoy
Muy bien lo que tenemos el día de hoy es un auto chocado en la parte posterior derecha. Fue una colisión muy fuerte y como podemos observar rompió el parachoques y el faro trasero. El objetivo es reparalo y dejarlo como nuevo
The first thing is to demonstrate the rear bumper to repair it separately. And we began to take apart the upholstery of the trunk of the car. This is done to be able to hit from the inside of the car out in the hit area
Lo primero es demostar el parachoques trasero para repararlo a parte. Y comenzamos a desarmar la tapicera de la cajuela del auto. Esto se hace para poder golpear de adentro del auto hacia afuera en el área del golpe
Of course that only helps us a little. But it helps us to shape the piece and it is a great start
Por supuesto eso solo nos ayuda un poco. Pero nos sirve para ir dandole forma a la pieza y es un gran inicio
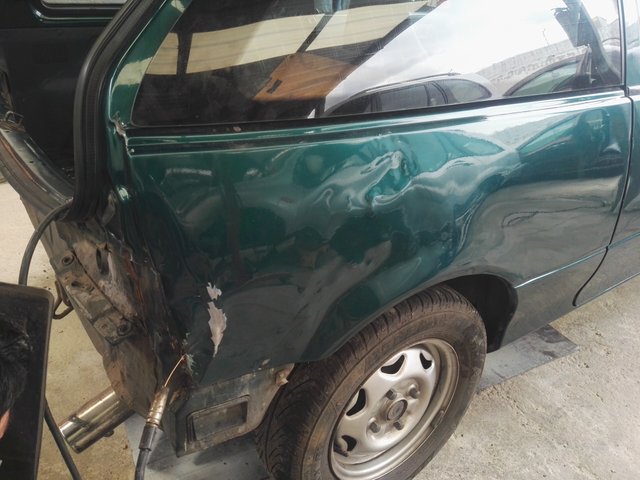
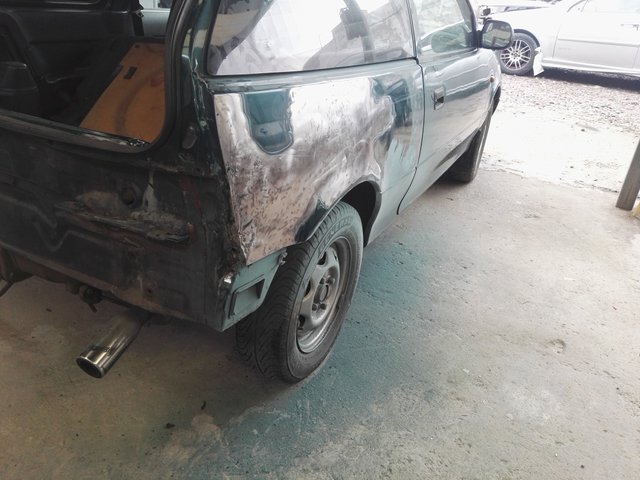
Now with the help of a tool called emery. We remove the paint that is in the affected area
This is done for two reasons, first so that you can better see the surface of the part when hitting it with the hammer while it straightens
Ahora con la ayuda de una herramienta llamada esmeril. Quitamos la pintura que se encuentra en el area afectada
Esto se hace por dos motivos, primero para poder ver mejor la superficie de la pieza al momento de golpearla con el martillo mientras se endereza
And second to be able to temper the piece with heat, and once the straightening is finished, it is polished with the emery so that it is the best possible
Y segundo para poder templar la pieza con calor, y una vez que se termina el enderezado, se pule con la esmeril para que quede lo mejor posible
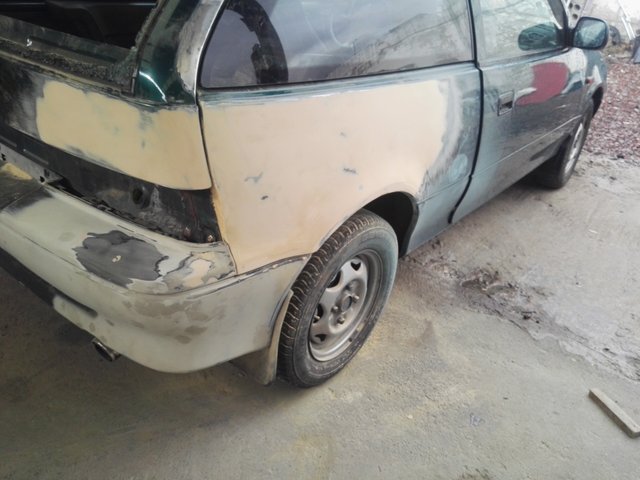
Then to give it its shape and correct defects, we need to apply a producer called putty
This product once dry hardens and with the help of various sandpaper it is given the appropriate shape
And now what follows is to assemble the already repaired rear bumper and check with the new headlight. That everything is correct on your site
Luego para darle su forma y corregir defectos, necesitamos aplicar un productor llamado masilla
Este produco una vez seco se endurece y con la ayuda de varios papeles de lija se le da la forma adecuada
Y ahora lo que sigue es armar el parachoques trasero ya reparado y verificar con el faro nuevo. Que todo este correcto en su sitio
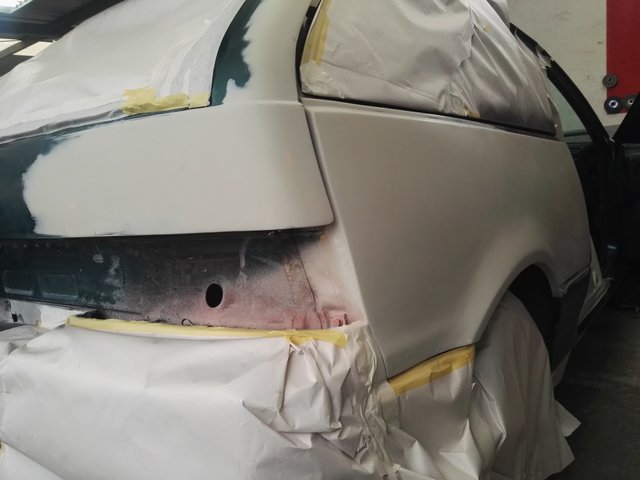
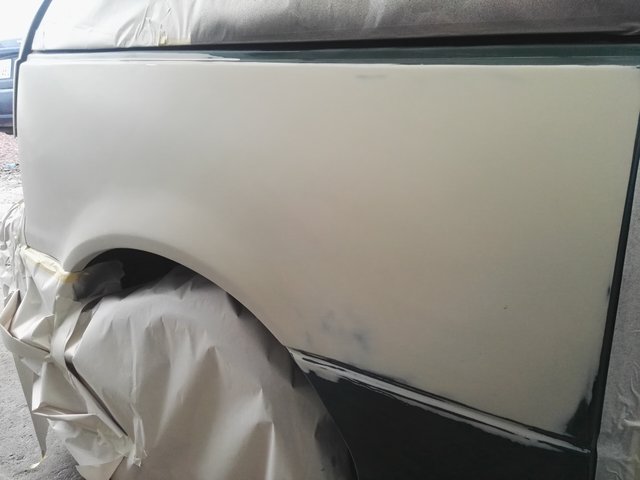
Now we have to apply a product called a background. This product protects the Putty from moisture and also serves as a base to apply the paint on it
Ahora tenemos que aplicar un prproducto llamado fondo. Este producto proteje a la masilla de la humedad y también sirve como base para aplicar la pintura encima de el
This product is liquid and to apply it we need the help of a compressor and a paint gun. And of course this product is only applied on top of the putty
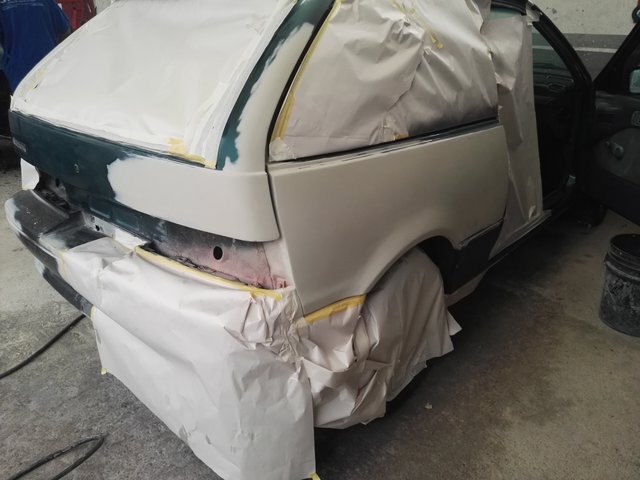
For this reason, we must frame with paper what we do not want to be stained
Este producto es líquido y para aplicarlo necesitamos la ayuda de un compresor y una pistola de pintar. Y claro este producto solo se aplica encima de la masilla
Por esa razón hay que enmarcar con papel lo que no queremos que se manche
This product dries from 2 to 4 hours, once dry and with the help of various sandpaper. We leave the surface with a very fine finish to apply the paint on it
Este producto seca de 2 a 4 horas, una vez seco y con ayuda de varios papeles de lijas. Dejamos la superfie con un acabado muy fino para aplicar la pintura sobre el
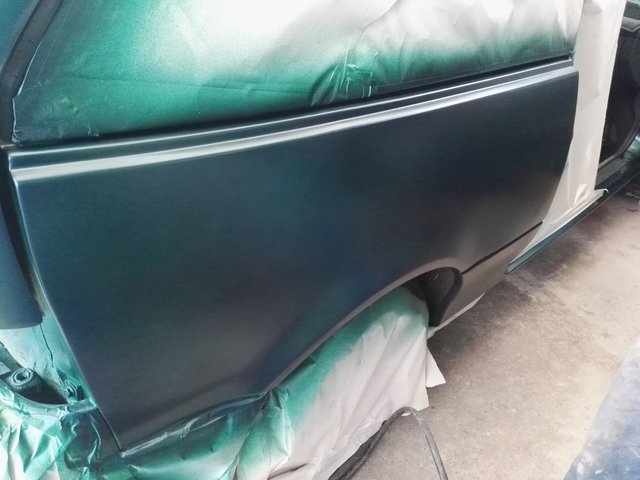
3 coats of paint are applied to completely cover the color of the car, for this the help of an air compressor and a paint gun is used
Se aplican 3 manos de pintura hasta cubrir por completo el color del auto, para esto se emplea la ayuda de un compresor de aire y una pistola de pintar
Once the paint dries we apply a product called varnish, this product is the one that gives the shine to the paint. And it takes 24 hours to dry
After that period and with the help of very fine sandpaper, we sand the painted pieces to give them a smoother finish
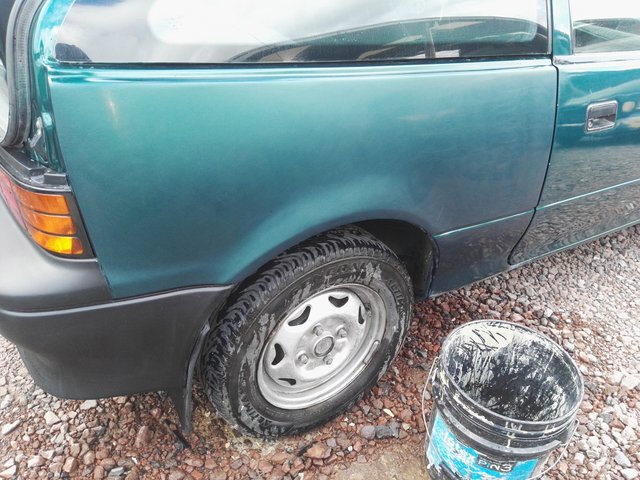
This is what a painted part looks like once sanded for polishing
Una vez seca la pintura aplicamos un producto llamado barniz, este producto es el que le da el brillo a la pintura. Y tarda 24 horas para secar
Luego de ese lapso y con la ayuda de un papel lija muy fino, lijamos las piezas pintadas para darles un acabo más suave
Asi es como luce una pieza pintada una vez lijada para pulir
Now it is the turn of the polished to restore the shine but with a very smooth finish
Ahora es el turno de la pulida para devolverle el brillo pero con un acabo muy suave
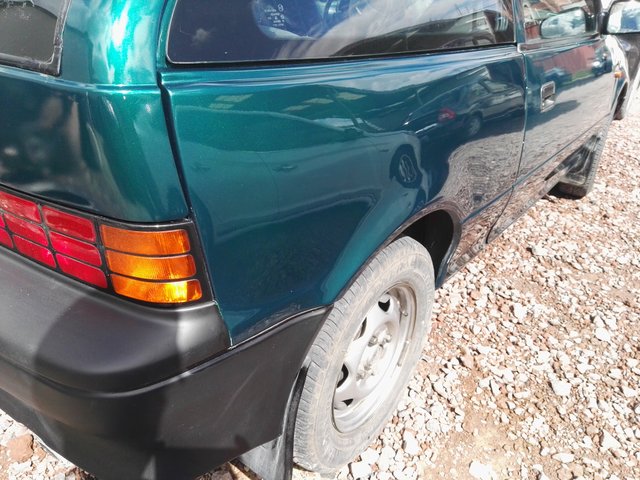
And this is the end result of the car already polished and finished
Y este es el resultado final del auto ya pulido y terminado
and with this the project ends
If you made it this far, thank you very much. Greetings to the entire community of gems, and see you in another post.
y con esto termina el proyecto
Si llegaste hasta aquí, muchas gracias. Saludos a toda la comunidad de gems, y nos vemos en otro post.
