FROM WASTE CLOTHES TO CROSSBODY BAG | HOW TO DO IT?
Good day everyone! Here’s another touch of creativity to share in this community by Me. For today’s content, I’ll show you how I made this crossbody bag from waste/old clothes earlier.
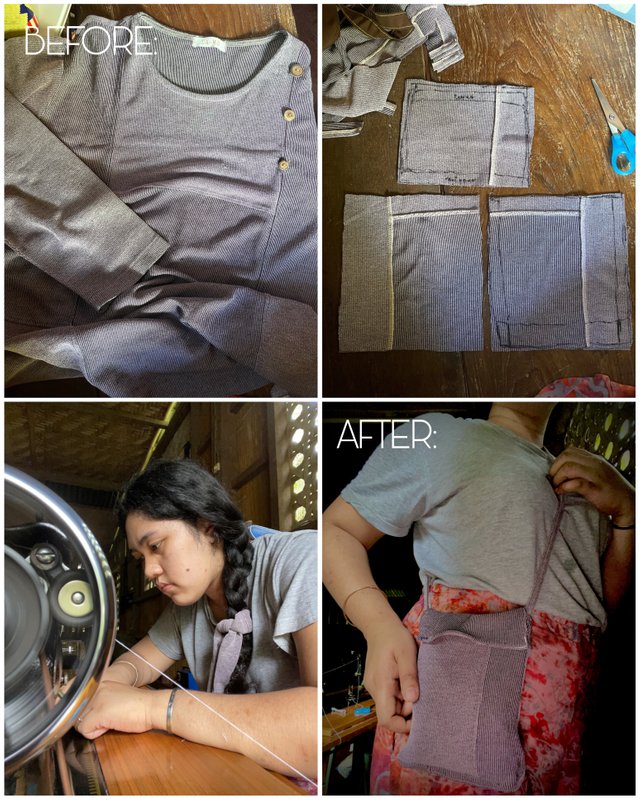
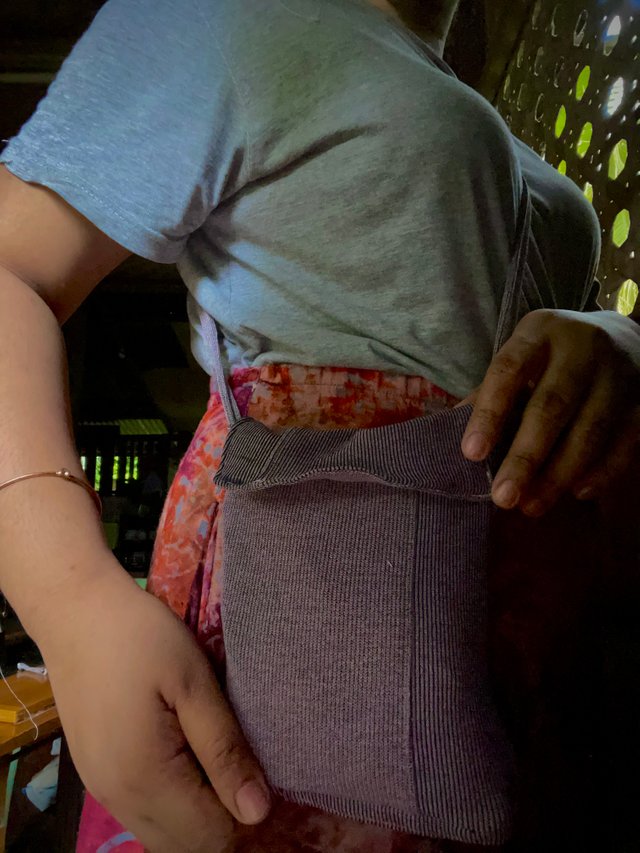
This crossbody bag can be used for errands or if ever you wanted to bring outside your phone and wallet only. Just like me, I only bring my important essentials such as hand sanitizer, lip balm, phone and coin purse (because wallets are too big to carry so I just fold my money in half and put it inside the purse -depends on your situation because some of us use cards).
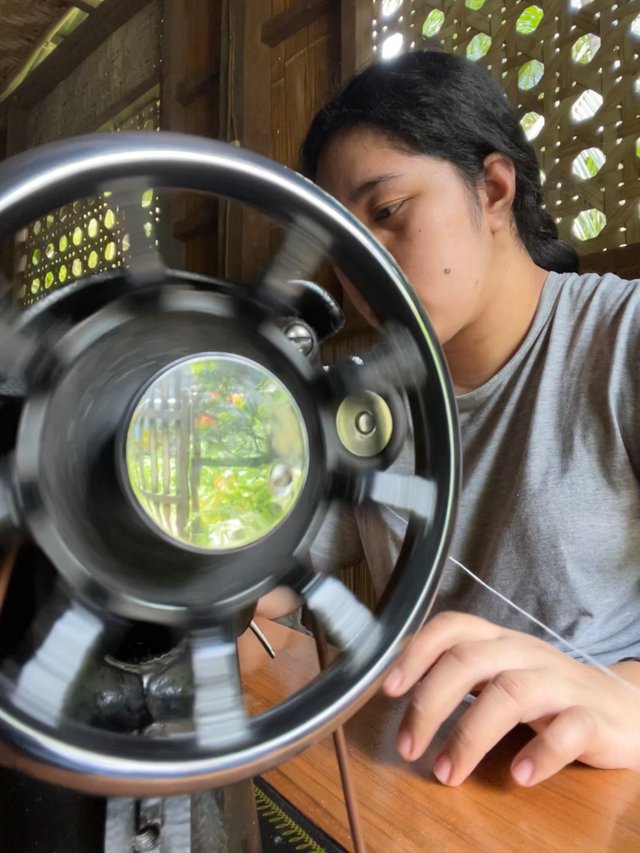
In sewing this DIY crossbody bag, I used old or retro type sewing machine which have to be operated manually. This was my late grandma’s sewing machine and no one is using it now so instead of making it as display or keeping it from dust, I use it every time I visit here.
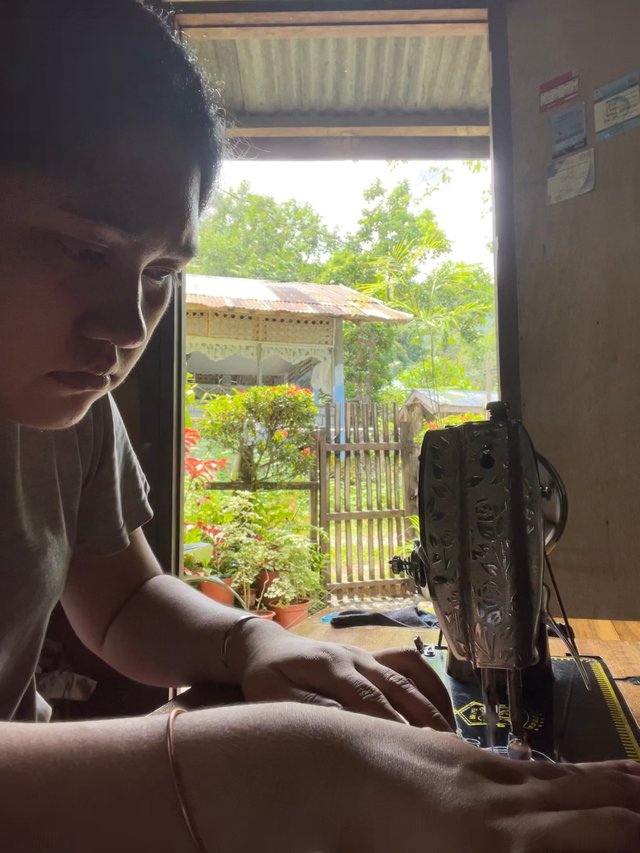
Please excuse my serious face. I just have to focus in keeping the fabric aligned to avoid cutting the thread on its own. 🥲
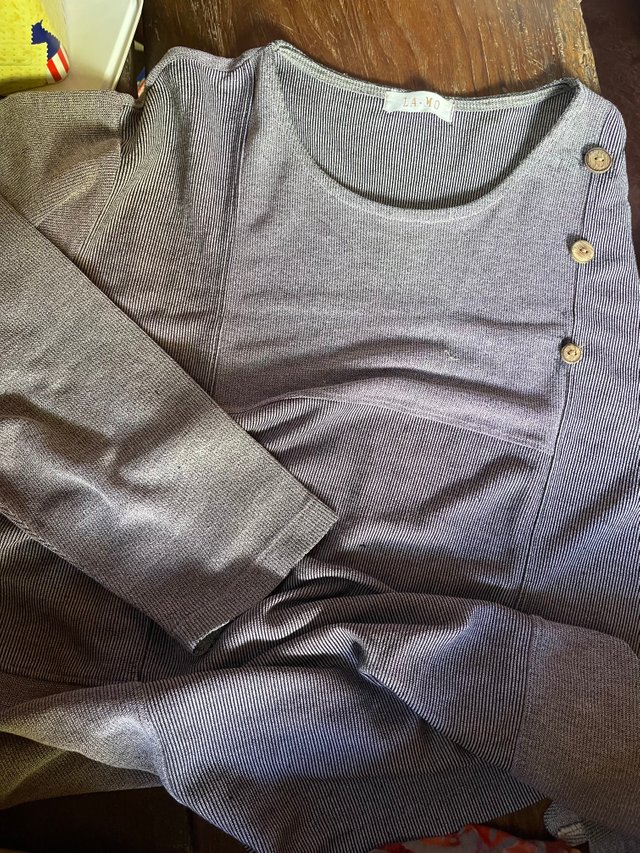
In making this crossbody bag, I used old or waste knitted sleeves. What I like about its fabric is I can assure that my essentials will be put at safety because of its quality -thick fabric.
HOW TO DO IT?
In order to know how I made this bag, I will show you a STEP-BY-STEP PROCEDURE in detailed instructions and defined photos.
First, draw or make a pattern with the desired exact measurements of the bag. In my case, I inverted the knitted sleeves and draw lines/figure as pattern for my bag using marker.
Dimension: 6.5 x 4.5 inches (front body), 5.5 x 4.5 inches (back body), 3.5 x 4.5 inches (cover)
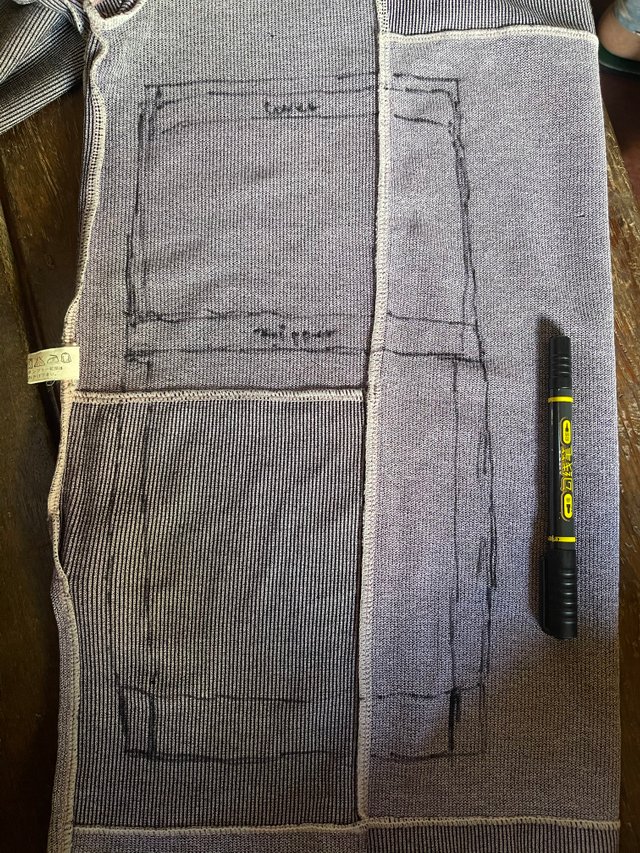
When done, cut the figure using scissors.
Note: I folded the knitted sleeves into half so I can have 2 body parts for the bag immediately as each part should be x2ply (2 front, 2 back, 2 cover) to make it more durable/thick.
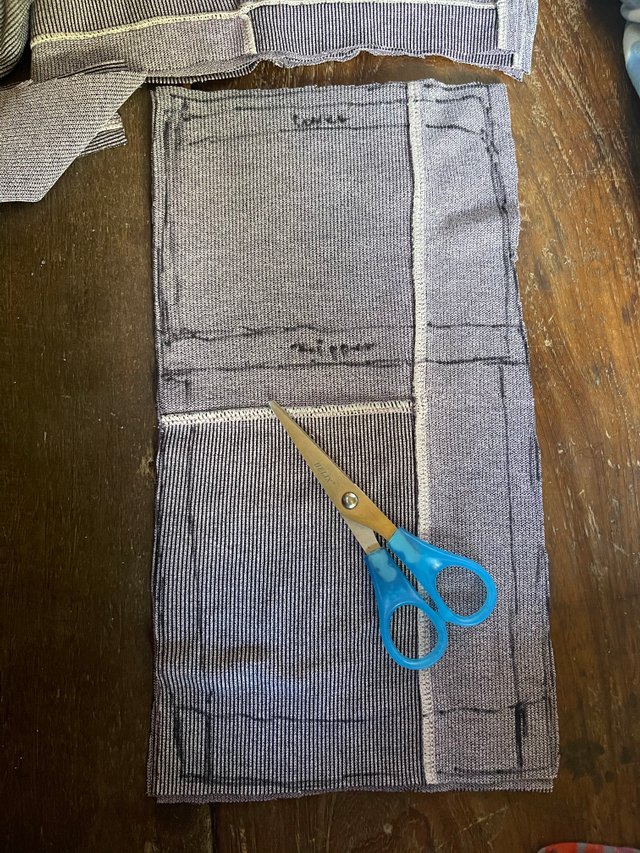
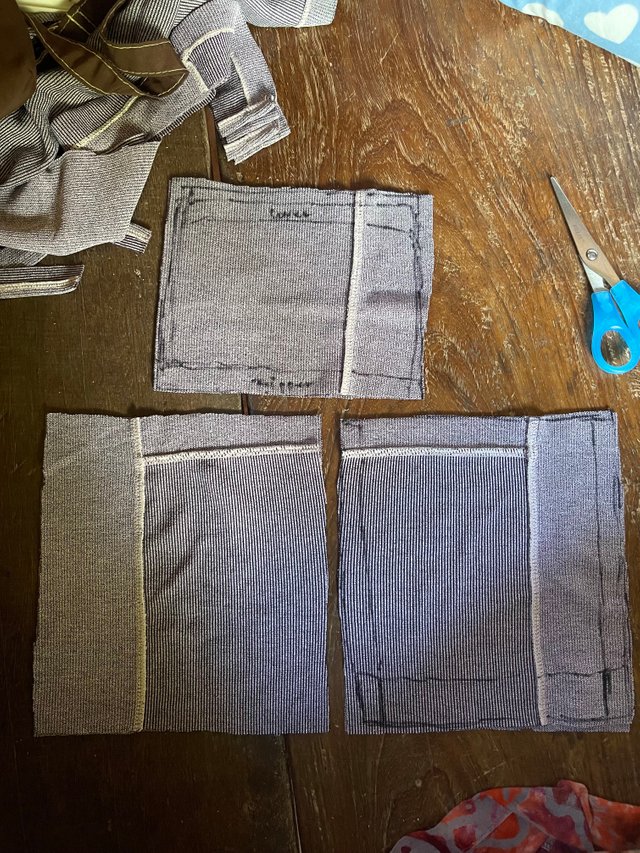
Next, let’s do the sewing session.
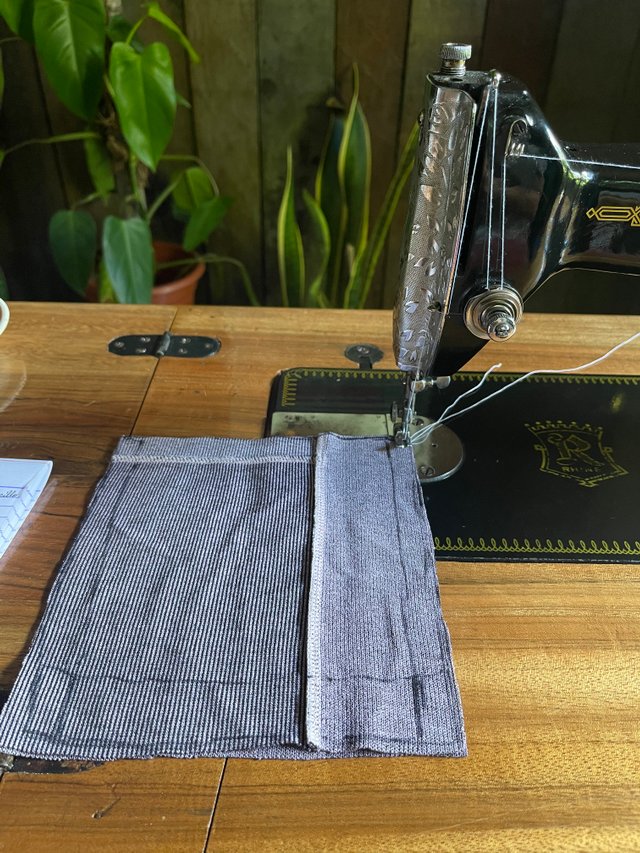
Carefully sew the sides first.
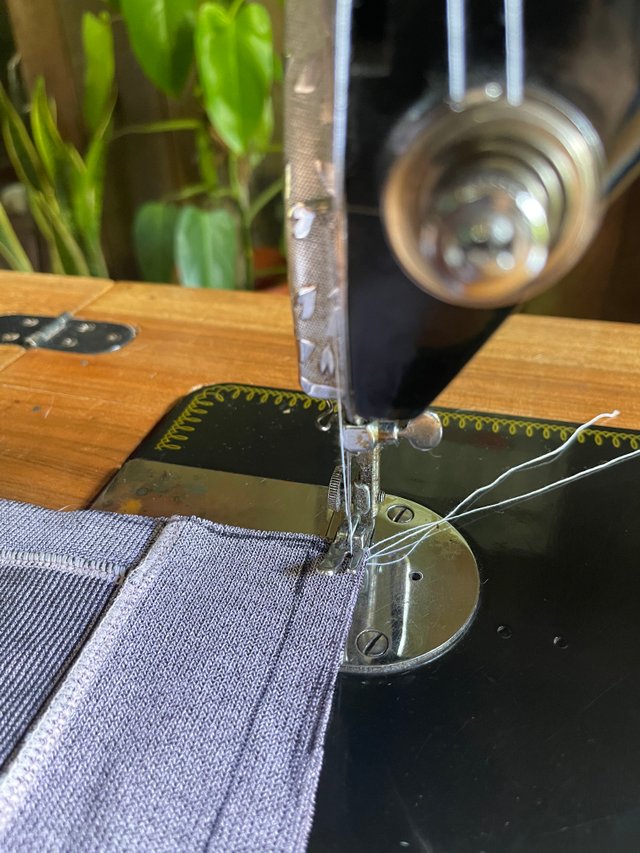
Make sure to leave 2 inches unstitched. It’s purpose is for you to invert it cleanly after sewing the sides of the other cut parts.
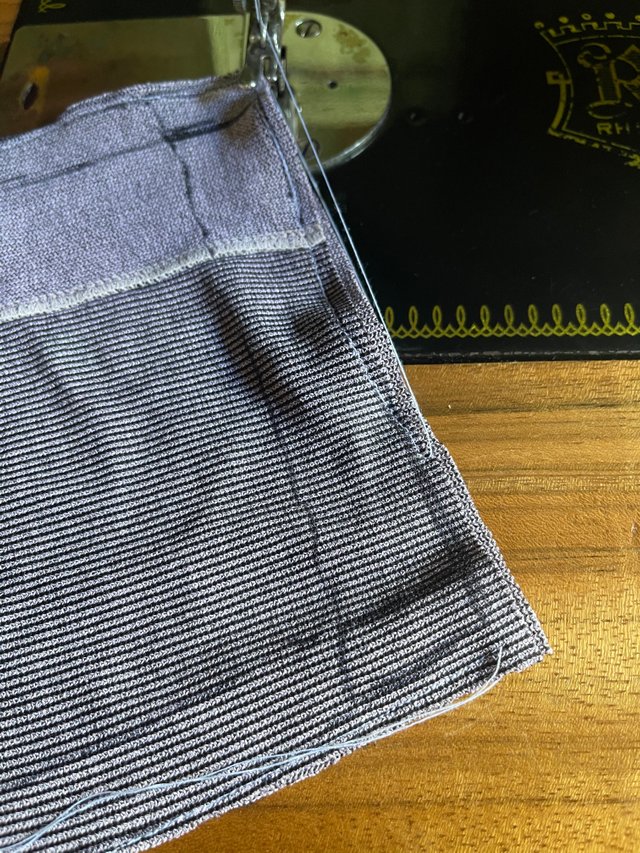
Do the same method in other cut parts.
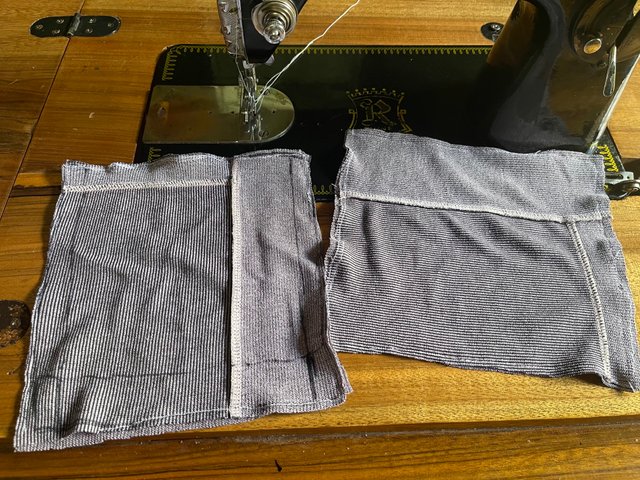
Then, it’s time to invert these cut parts pr the front and back parts of the crossbody bag.
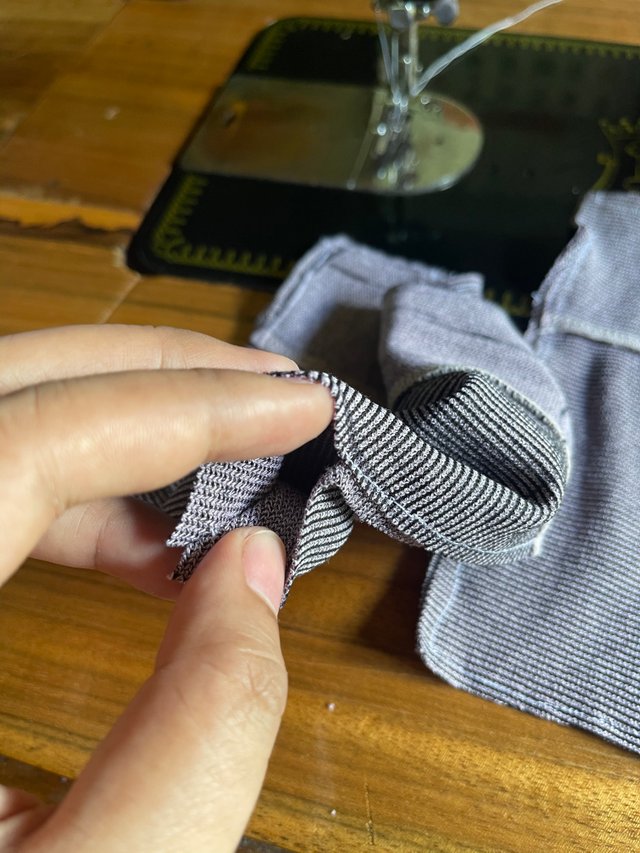
Just open the unstitched part gently then invert it (if you use printed fabric, make sure to stitch the inside out or the unprinted part of tour fabric).
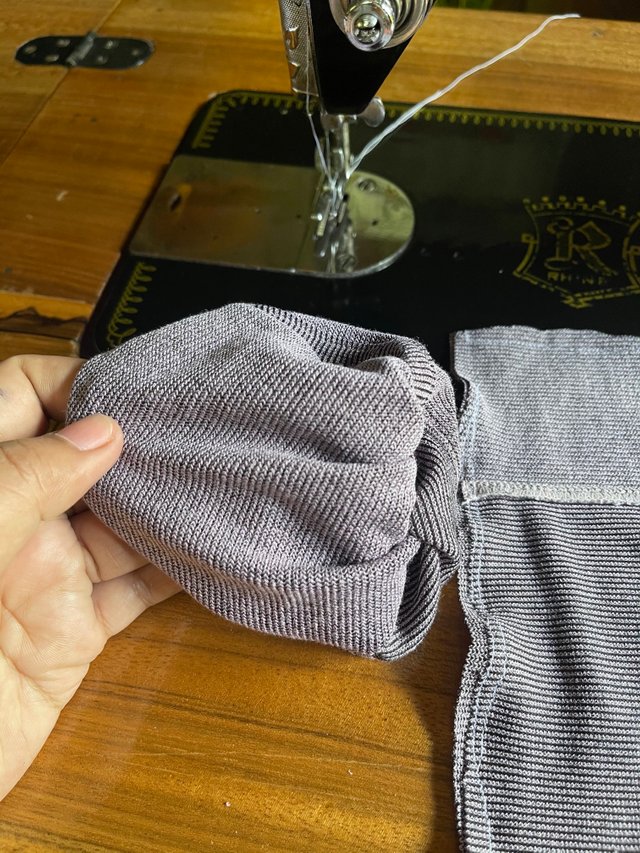
This is how it should look like when inverted. The stiches can’t be seen.
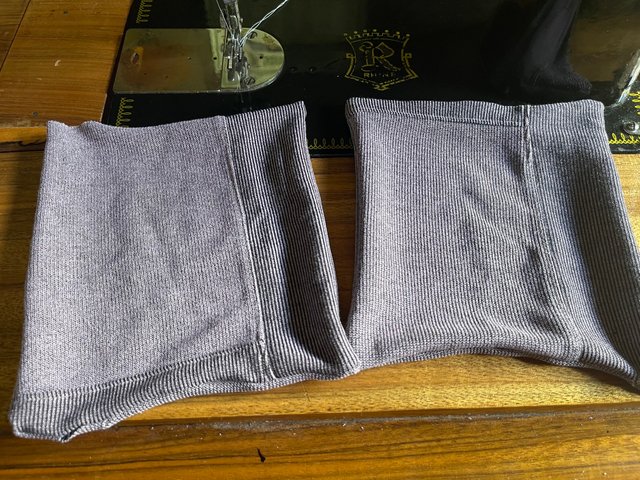
For the crossbody bag’s cover, do the same method in sewing.
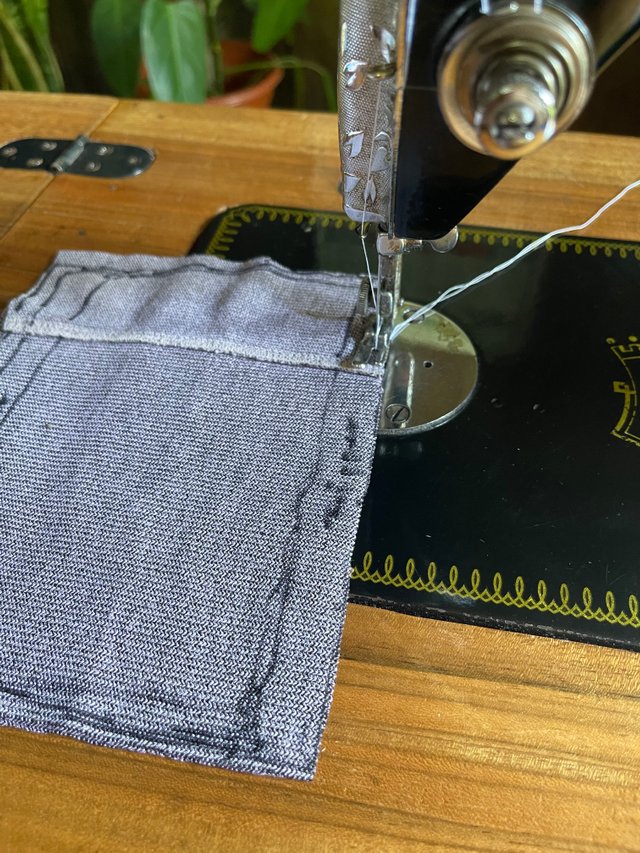
Invert it like the other cut parts.
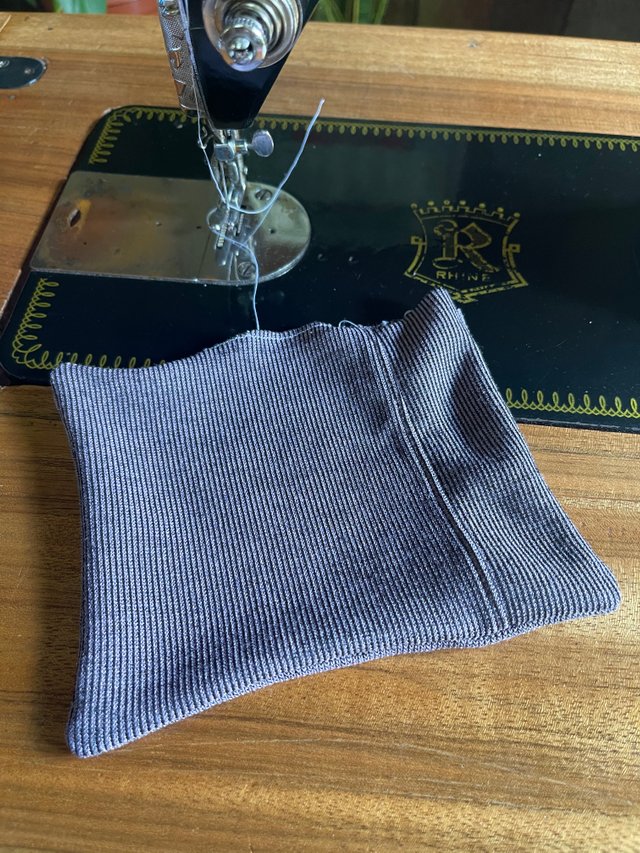
Now, the three parts I need are complete.
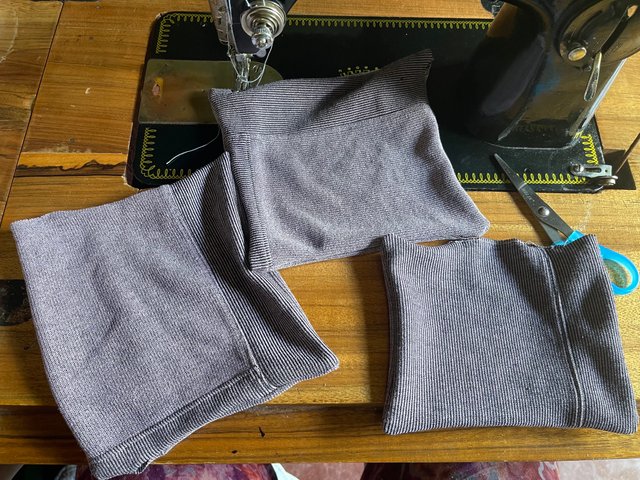
After sewing the three parts, let us now proceed in connecting these 3 cut parts. First to connect is the front and back part of the crossbody bag.
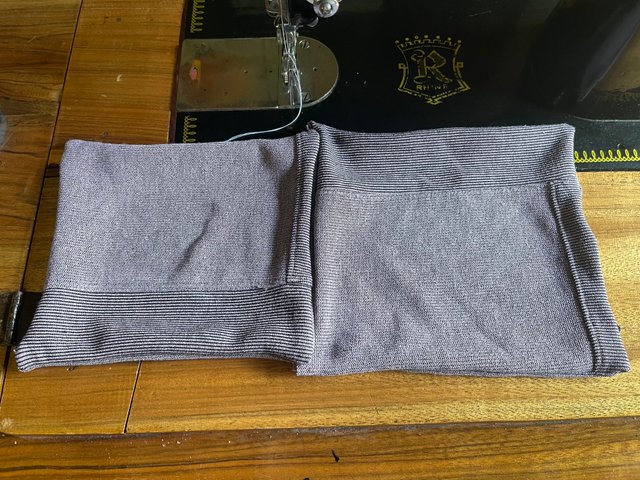
Make sure to stitch the part that you chose to be the inside part pf the bag. In my case, the fabric I used has defined lines (vertical and horizontal styled-lines) so I sew and connect with the side which has no lines because the side which has design is the front/outside part of my bag.
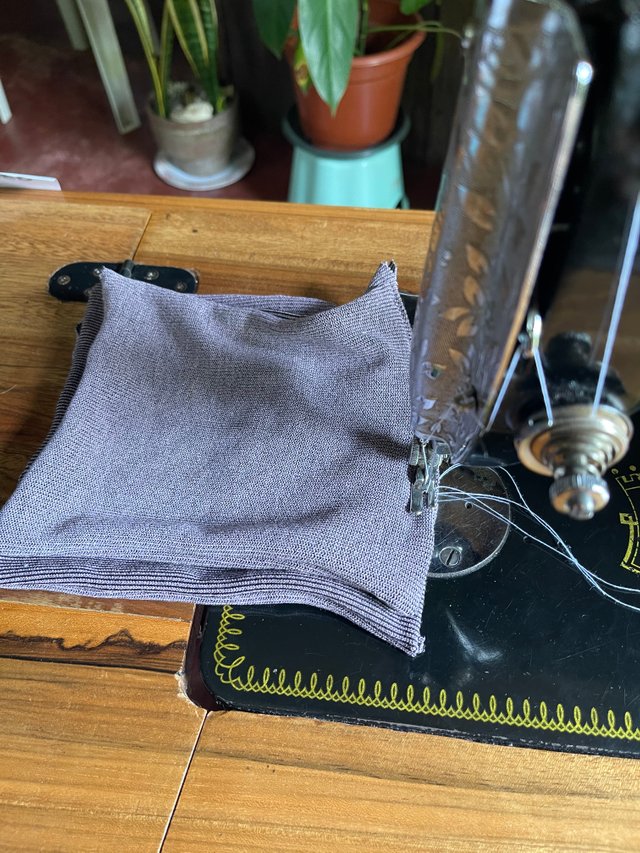
To assure if it’s well stitched, stretch the connected part hardly. If the thread didn’t break, it means that the quality passed.
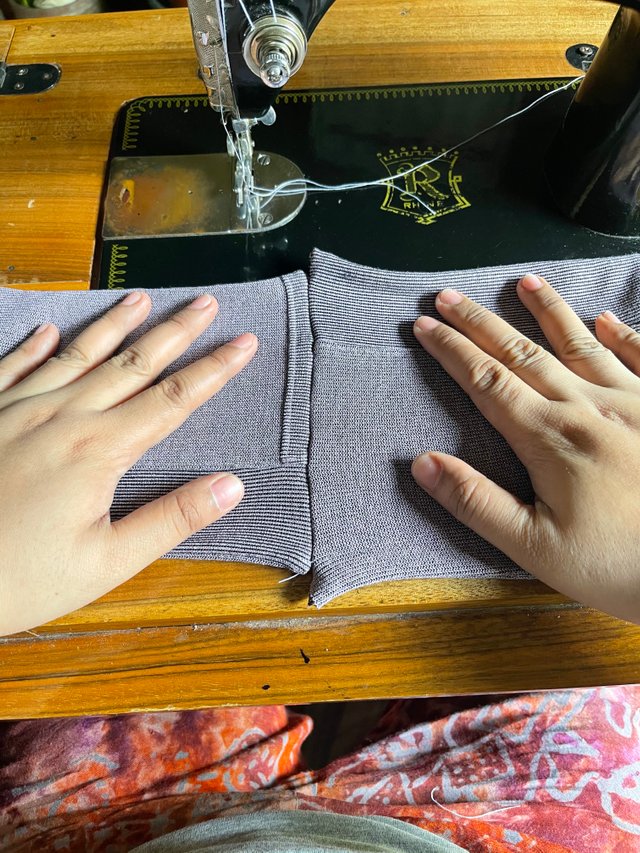
As you observed that the front is larger than the back part like what I put in dimensions above when the procedure started, it’s purpose is for the bag to have half inch width so the bag can have an allowance in size like, you can pit inside thick wallet or pouch or perfume pr other bottled essentials.
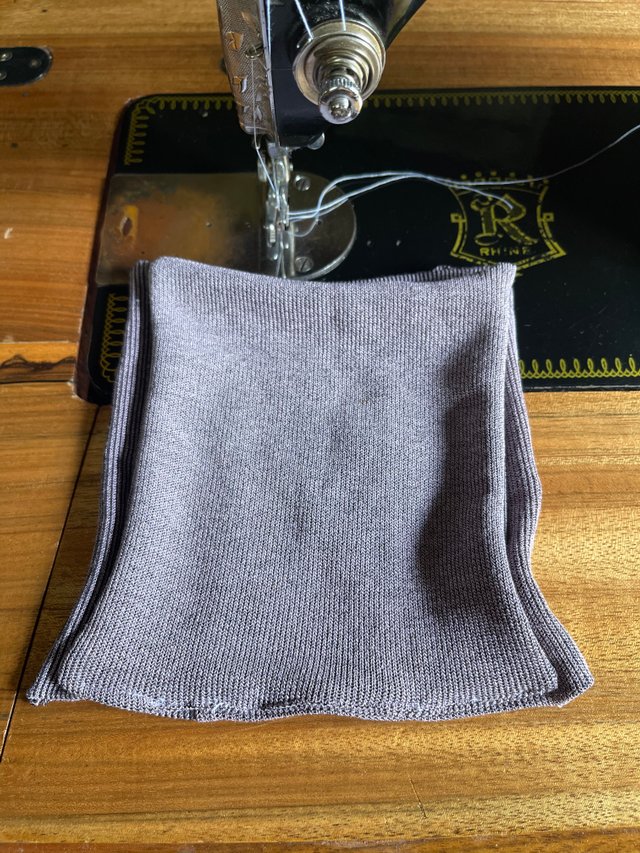
To connect the sides, stitch the below sides of the bag like what I dis in the photo below. Align it in arc then stitch.

The continue stitching the sides of the bag.
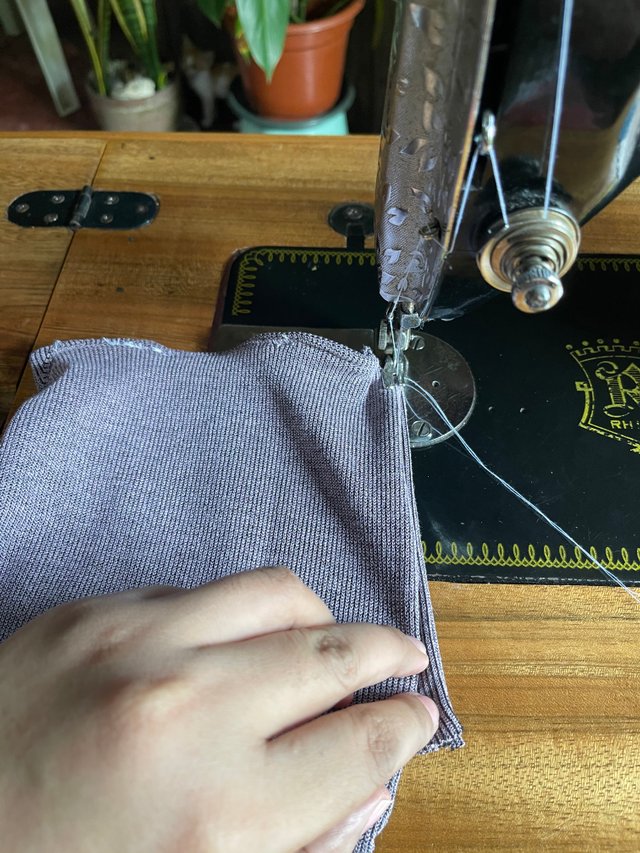

This is how the base should look like.
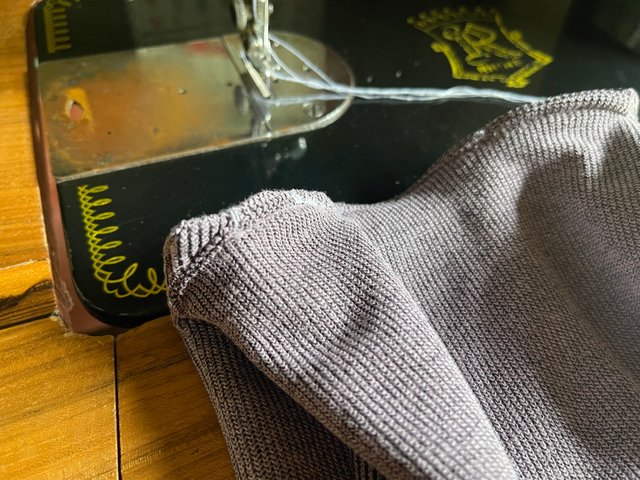
Do the same method on the side.
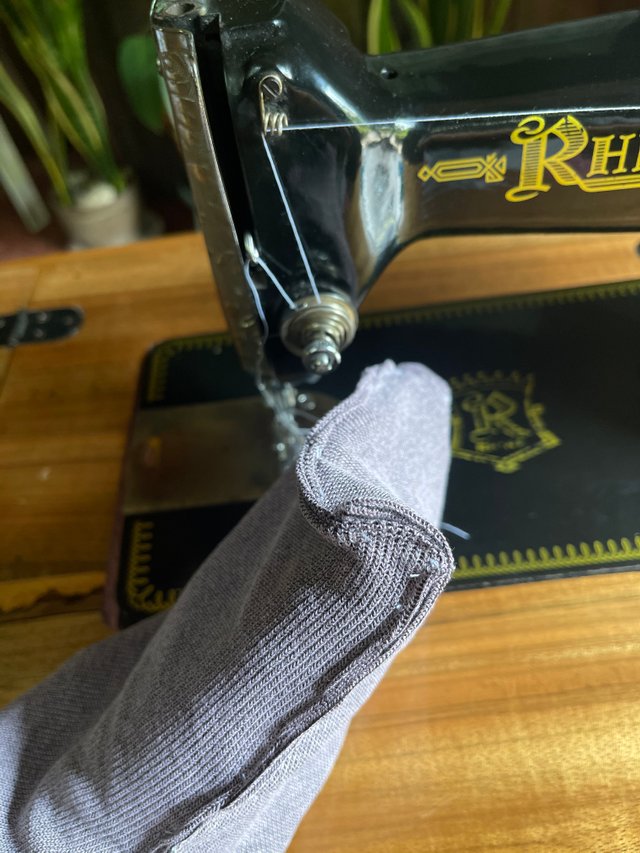
And invert it. This is the sides should look like when done.
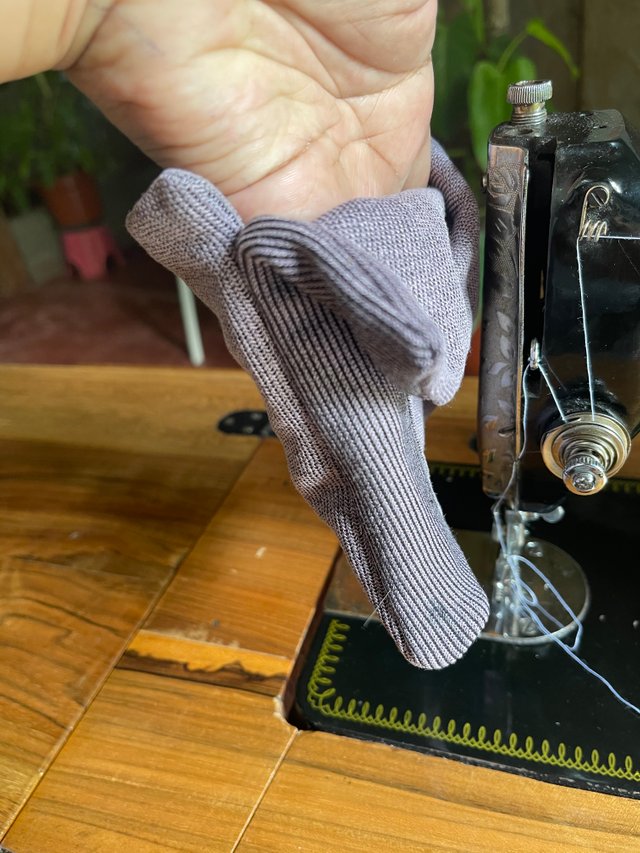
To complete the parts, connect next the cover. Stitch still in the inside part of the bag then continue stitching the sides when the cover is finally stitched or connected to the body.
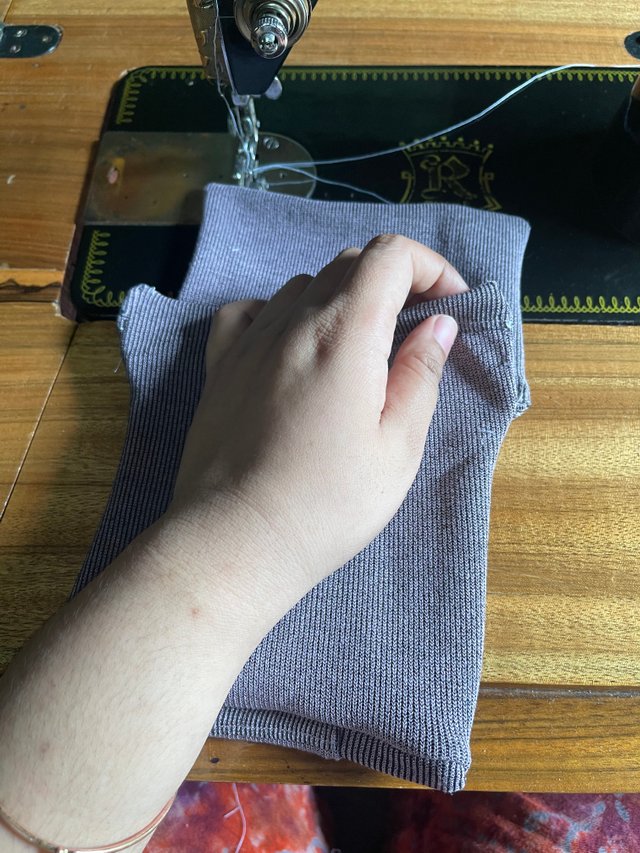
Stretch once again the body and cover to make sure the durability.
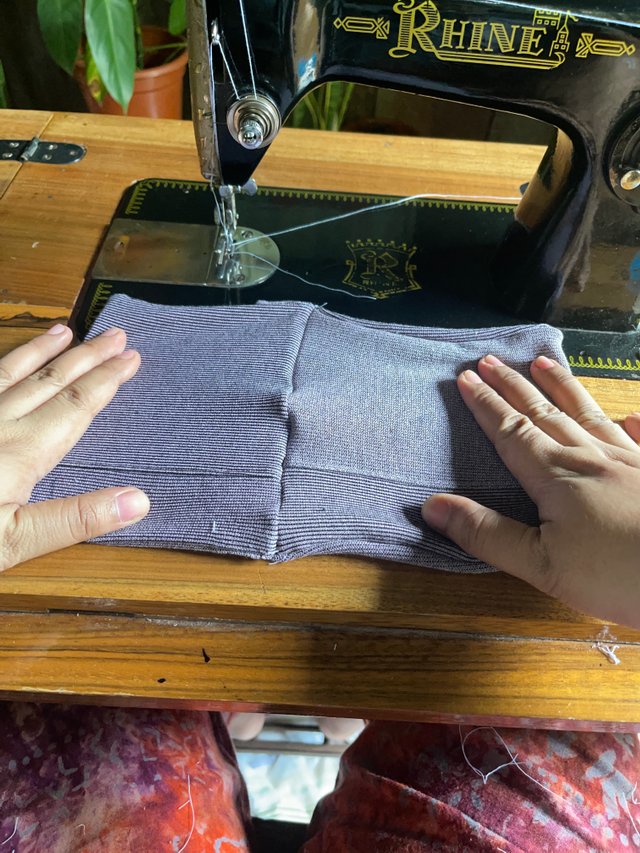
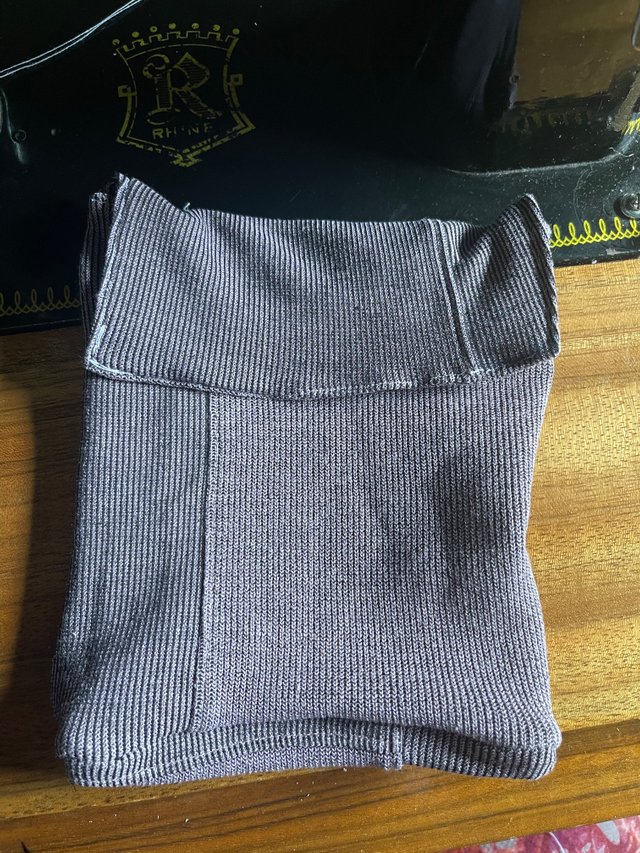
For the last part, cut strips from the remaining fabric. These will act as sling or strap of the bag. I don’t have the exact measurement in this part by the way. I just cut strips and wear it like sash so I would know if the length will be fine (above my hip).
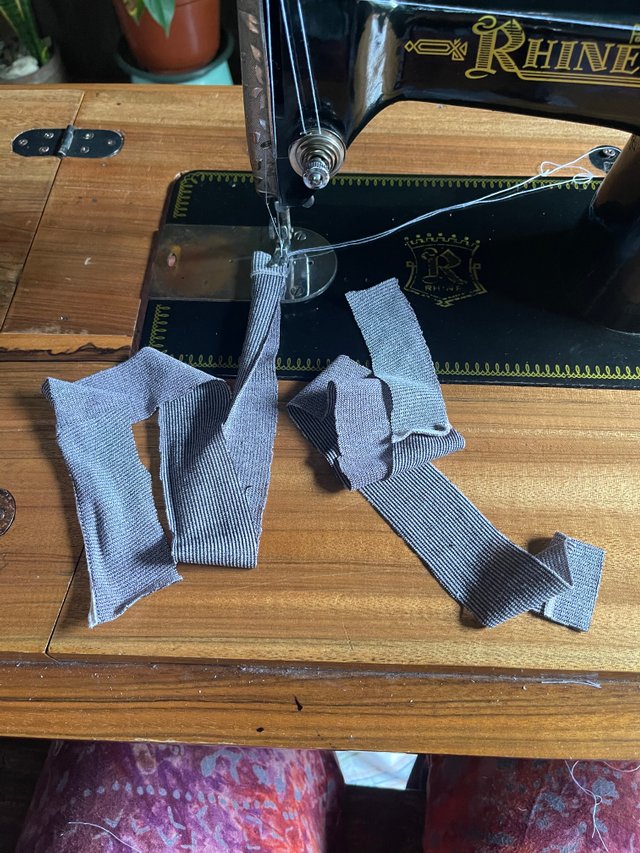
Stitch the whole sides while inverted.
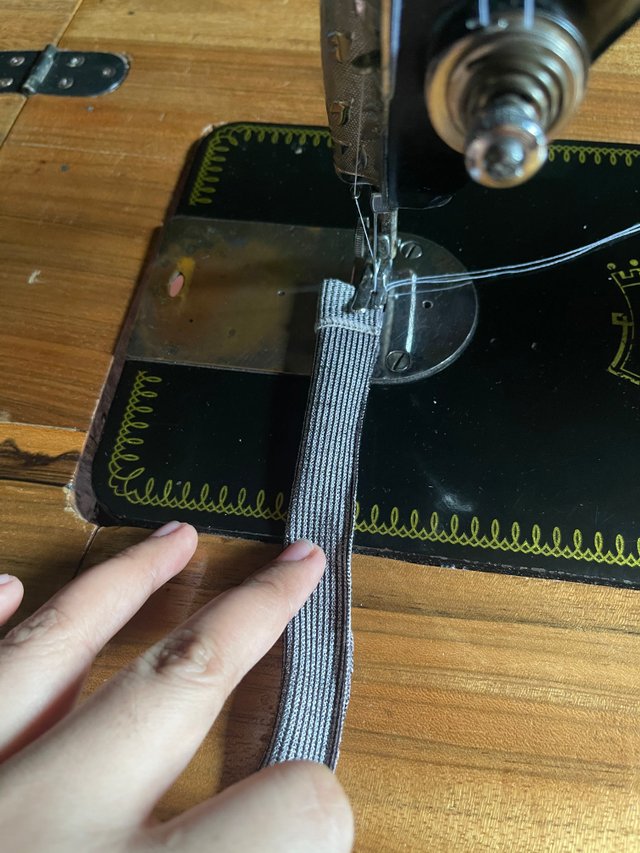
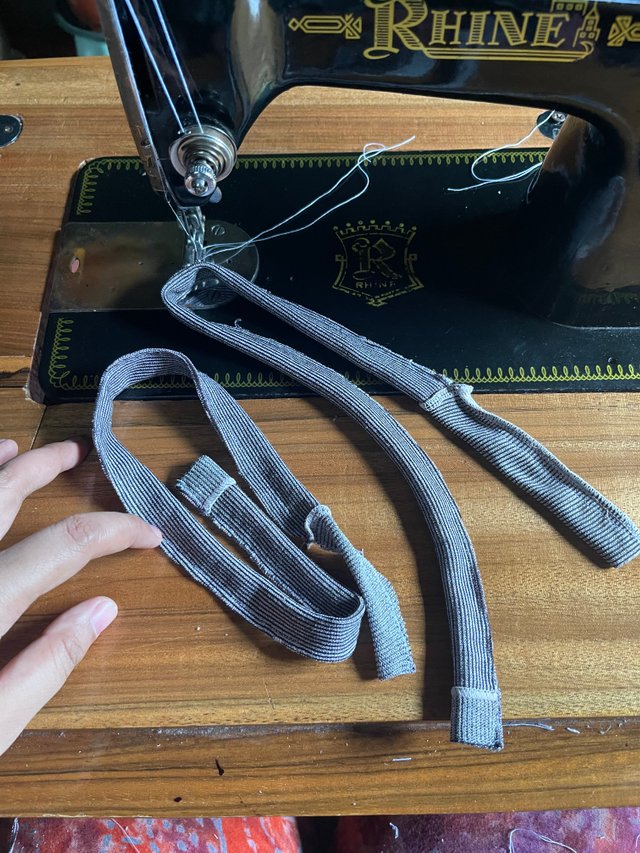
When done, invert it using safety pin as an easy tip.
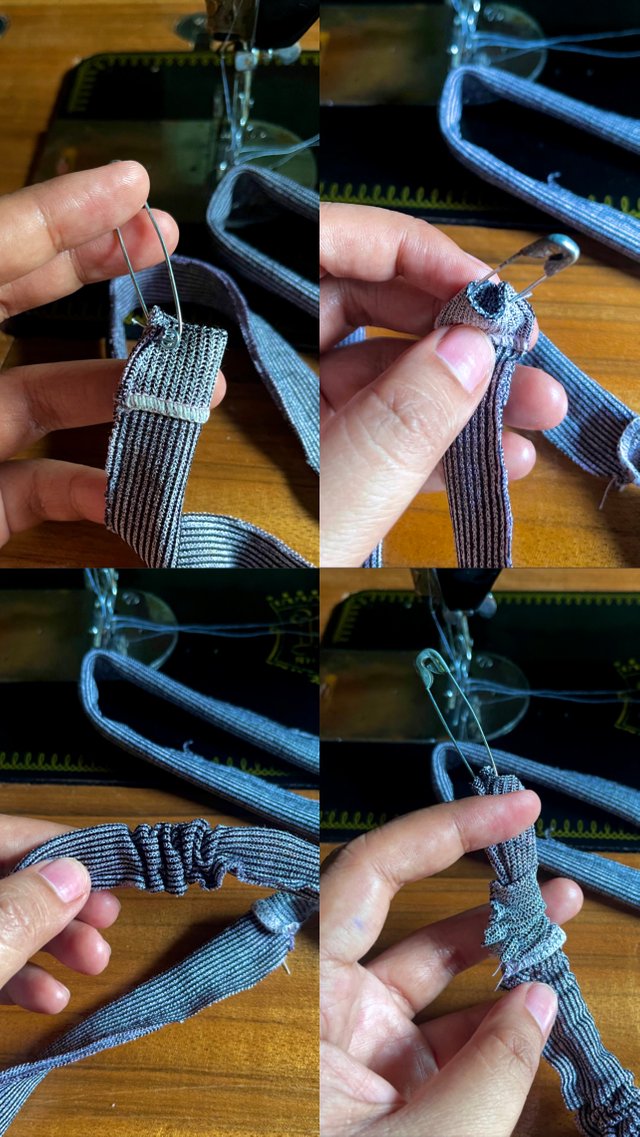
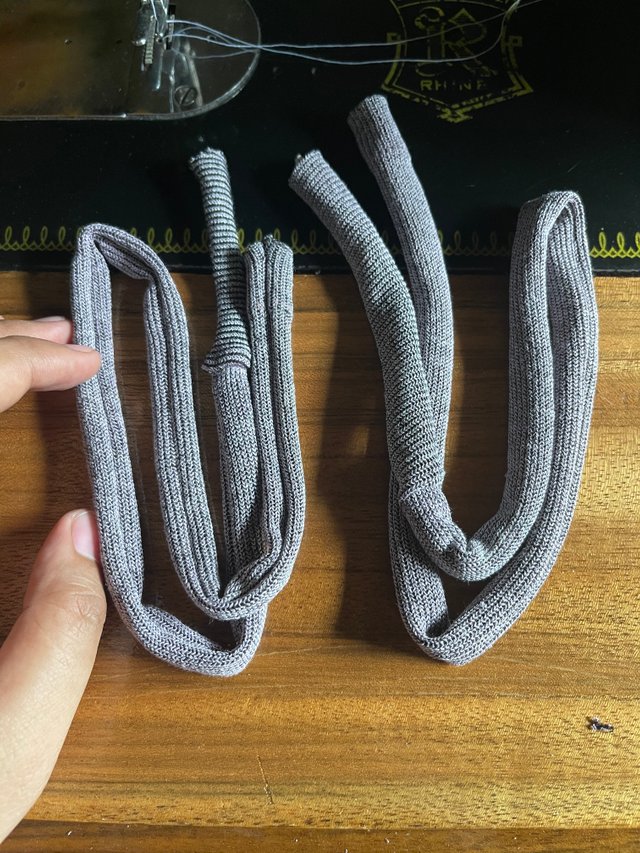
When successfully inverted, stitch once again like Valenciana kind of stitch.
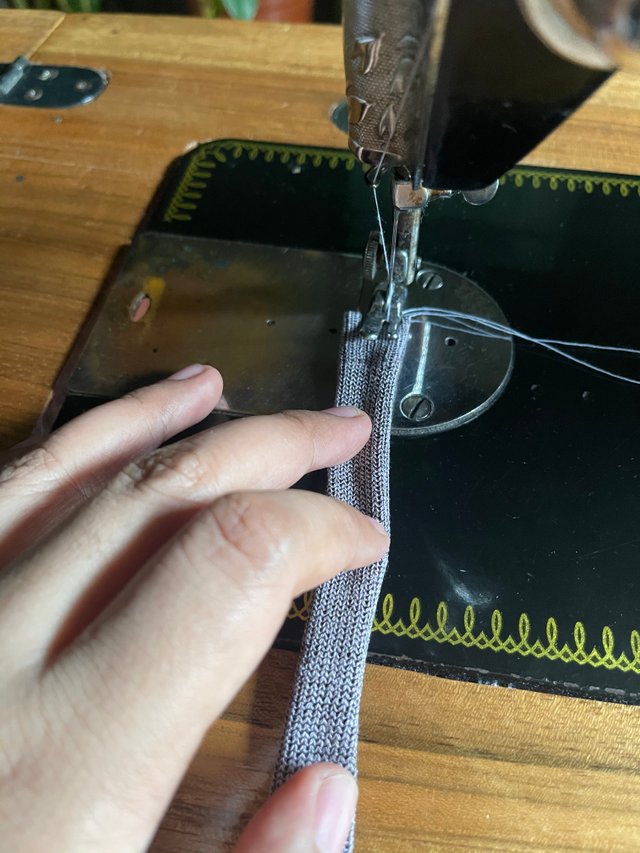
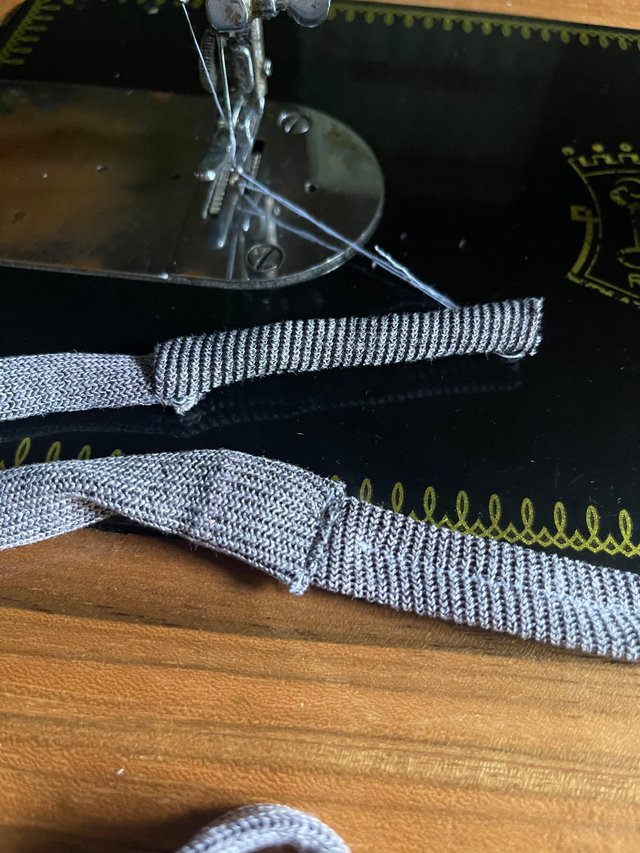
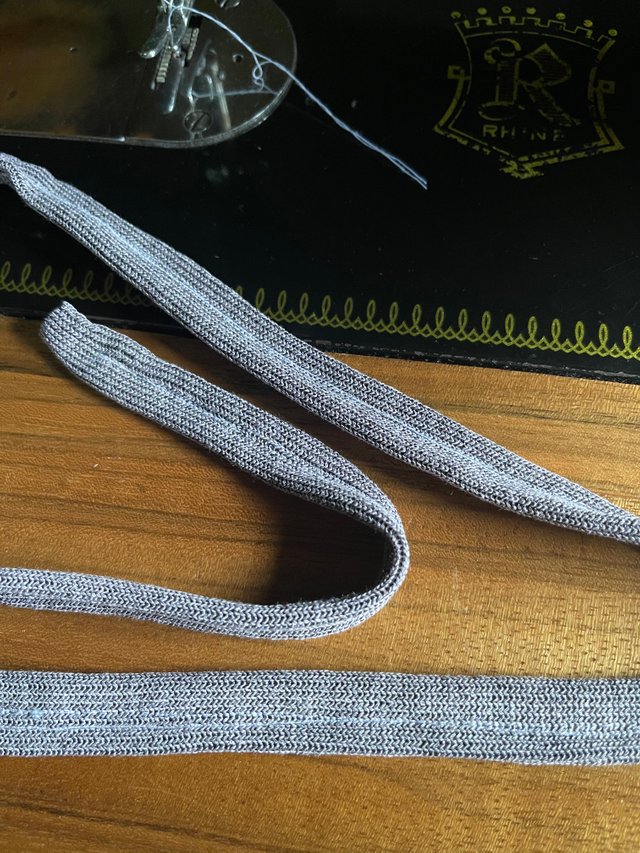
After it, connect and sew the strap to the sides of the bag (inside part).
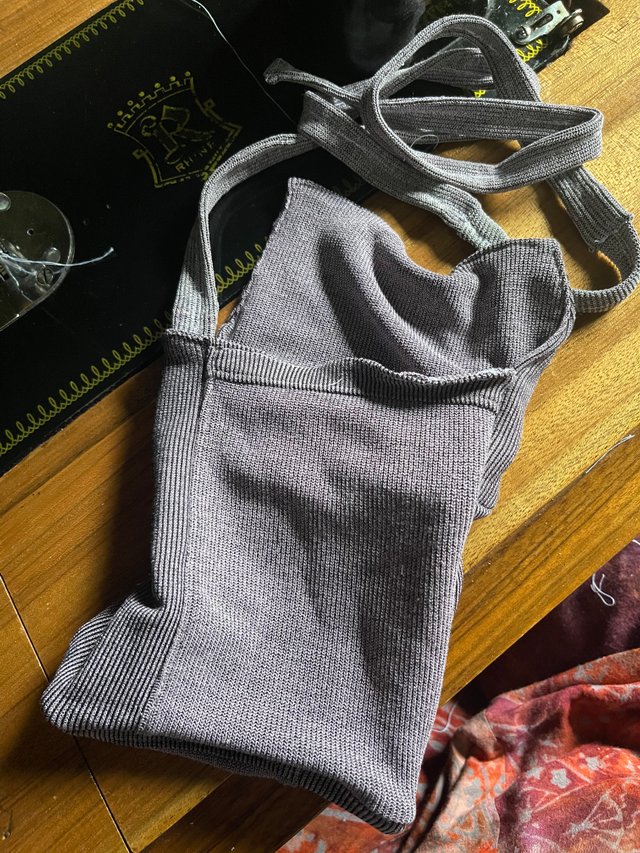
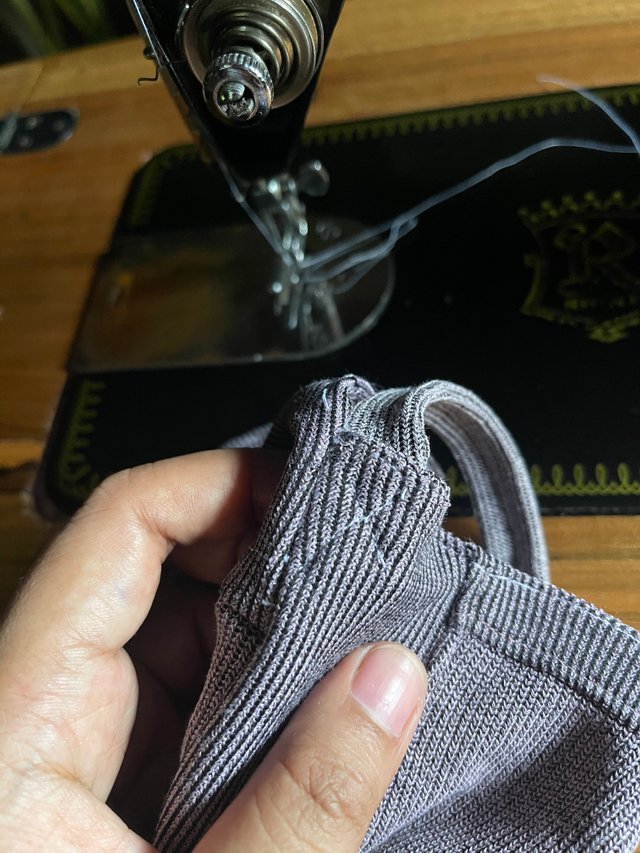
Lastly, sew it in cross to make it more durable or heavy duty bag -another tip.
Tadaaa! From waste clothes to crossbody bag. 🤩
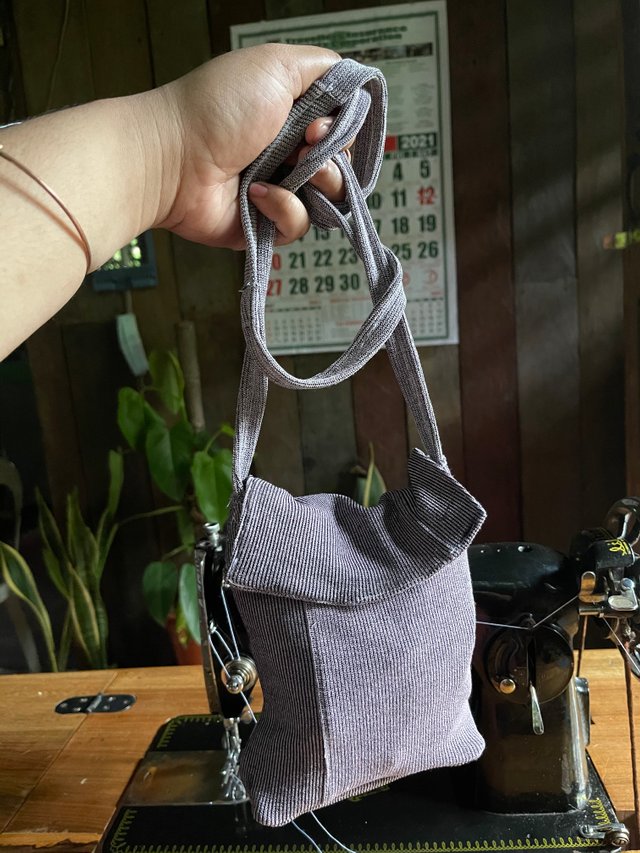
Who would have thought that this can be reused as accessory instead of throwing it out or make it as dirty rag! Even my Aunt got amazed by this touch of my creativity as since then I really like remaking old stuff to useful one.
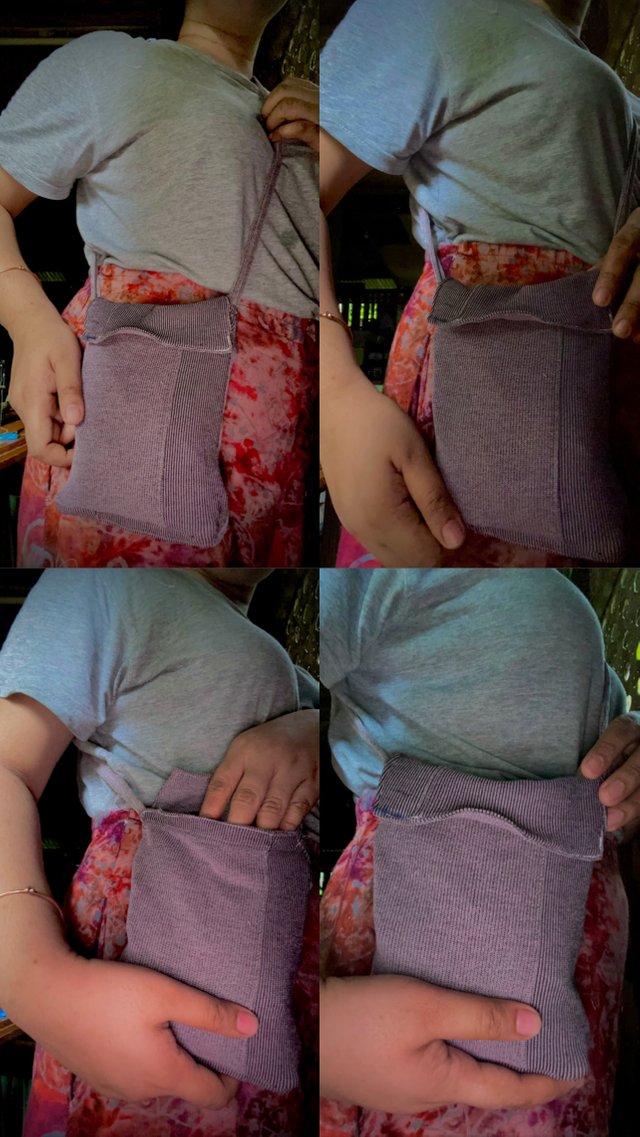
This is how it looks like when worn. I made a hair tie from excess fabric to match with my crossbody bag. 🥰
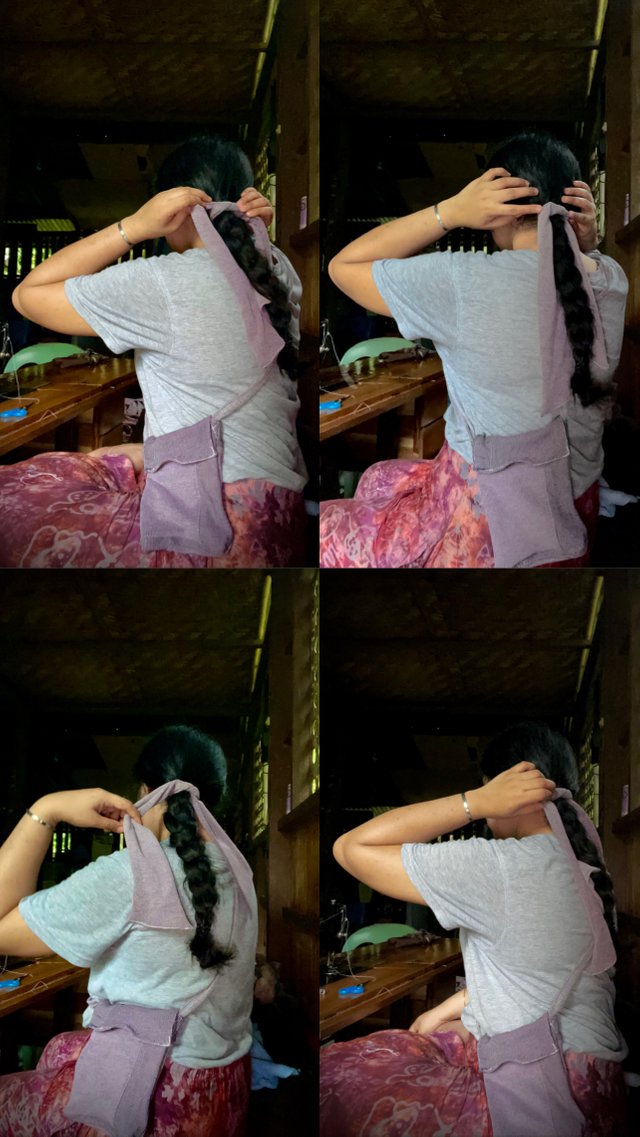
That’s it! I hope you find this idea useful and creative. And I also want to greet all the Fathers out there a HAPPY FATHER’S DAY and I hope you get spoiled today. 🥳
HAPPY STEEMING


LeoFinance is Live on Steem Network
Finally LeoFinance is here on STEEM Network and we will make the steem network more mainsteem in front of the world.
For our collebration we are happy to share some welcome rewards with the new users who join us.
SO Join, Create and Earn with us -> CLICK HERE TO SIGNUP
Thank you for sharing your creative work. Great to see you work with a traditional sewing machine. People need to see how you produce your original work.
Thank you very much @abduhawab! Happy Steeming! 💚
Hello friend @lullettematz happy to see you with your very creative work that you share..
Good job....👍👍
Thank you so much @ipolatjeh1988! I’m always happy to share. 💚
Dear your are looks beautiful and your work are very good. Thanks a lot for sharing your best work.
Love you
Thank you so much mate!
HAPPY STEEMING 💚
♥️have a nice day 🌻
I want to friendship with you can you give me your WhatsApp number? @lullettematz
You do really have creative hands @lullettematz! Keep on sharing and let’s steem on! 👊🏻👊🏻👊🏻
Excellent friend, your bag is spectacular and very well explained.
Thank you so much @quiaratiby! I’m always happy to share. HAPPY STEEMING! 💚💚💚
Blessed day, my friend, it is very good to share good things. A fraternal embrace
That’s so true ma’am! You, too. Have a good day and keep safe always. 💚💚💚