VARIOUS FORMATING STYLE/MARKDOWNS/TOOLS TO USE ON STEEMIT/2-9-2021/CORRECTED POST.
INTRODUCTION.
Markdown and formating styles need not be confusing. It is a way to make our work beautiful and appear catchy to any intending reader. When our work is neat, a person will be interested to glance and read through it. On the other hand, when our work is shabby it will detract even when we have a good message to pass. Good content therefore comprises of the good message you intend to share and how neat your presentation is while sharing it.
In this post I will focus on formating style while writing on steemit.
FORMAT FOR TITLE.
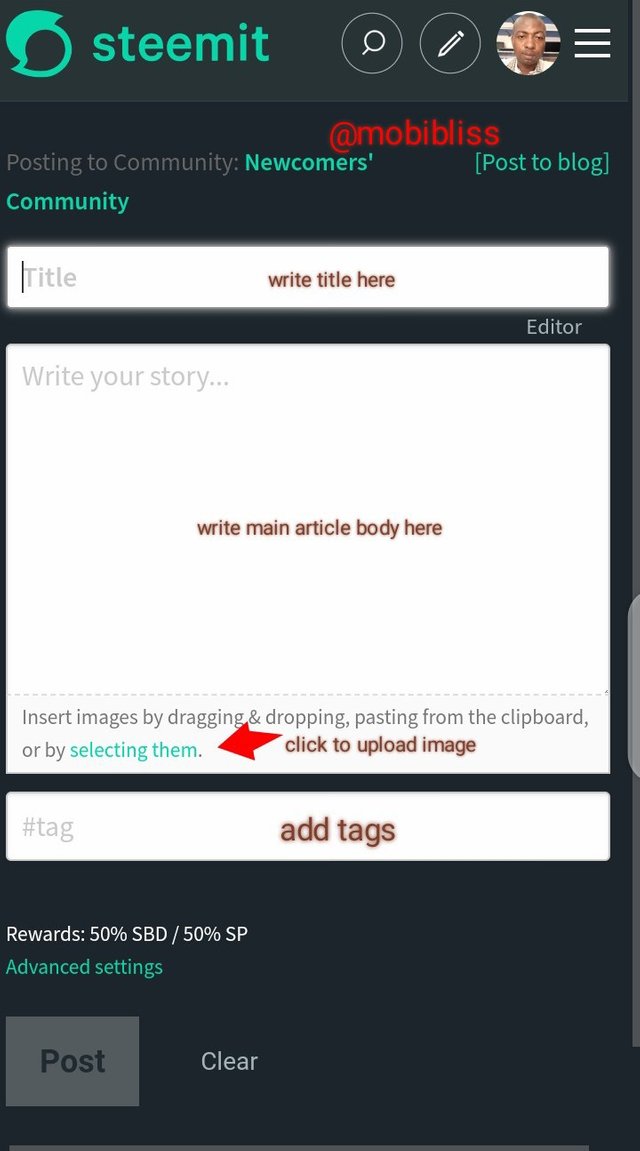
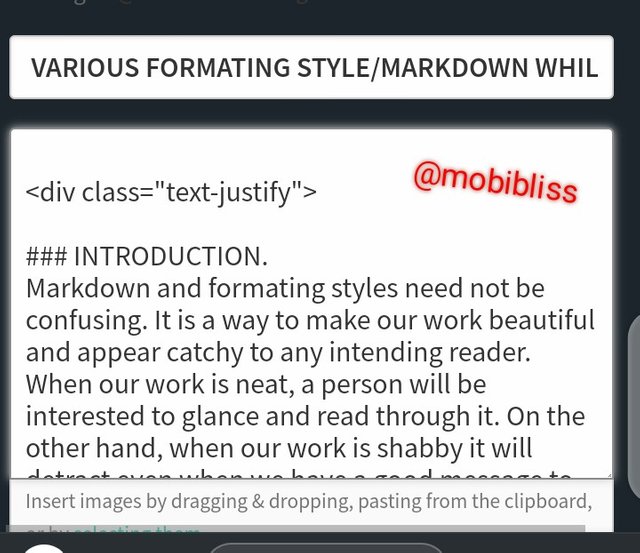
Once on your typing window, where to place your title is already determined. See image below.
Fig 1.
To make your title look good, use capital letters.
Also use dividers. See sample below:
CRYOTOACADEMY SEASON 3/WEEEK 1/SAPWOOD-S3WEEK1/TRON AND STEEM
MAKING HEADLINE.
To make a headline, use #,then space and then your headline.
# INTRODUCTION.
The more you add the #, the smaller your heading. See example below:
# INTRODUCTION
result.
⬇️
INTRODUCTION
Second example:
###### INTRODUCTION
Result:
⬇️
INTRODUCTION.
Did you notice the deference in the two examples? Go through it again. Observe that the more you add # when making a heading, the smaller the wording becomes.
Use capital letters for heading.
PARAGRAPH.
use block style. See sample below.
⬇️
Steemit is a site for content creators and curators. In steemit, you earn when you write good content.
Steemit use a stake weighted mechanism. It means that the number of steem power you hold determines your voting weight.
I achieved this by typing enter key twice.
Notice the image I used above. This is called dividers. You can create such image to make you work appear good. You can equally use already made dividers. See list compiled by @focusnow.
⬇️
Follow this link to download. 👇
https://steemit.com/hive-167622/@focusnow/30-free-dividers-designed-by-me-use-for-free.
IMAGES.
UPLOADING IMAGES.
Uploading image is simple. Refer to fig 1. Once u have your image ready, add it using the provision as shown in fig 1.
ADDING WATERMARK TO IMAGE.
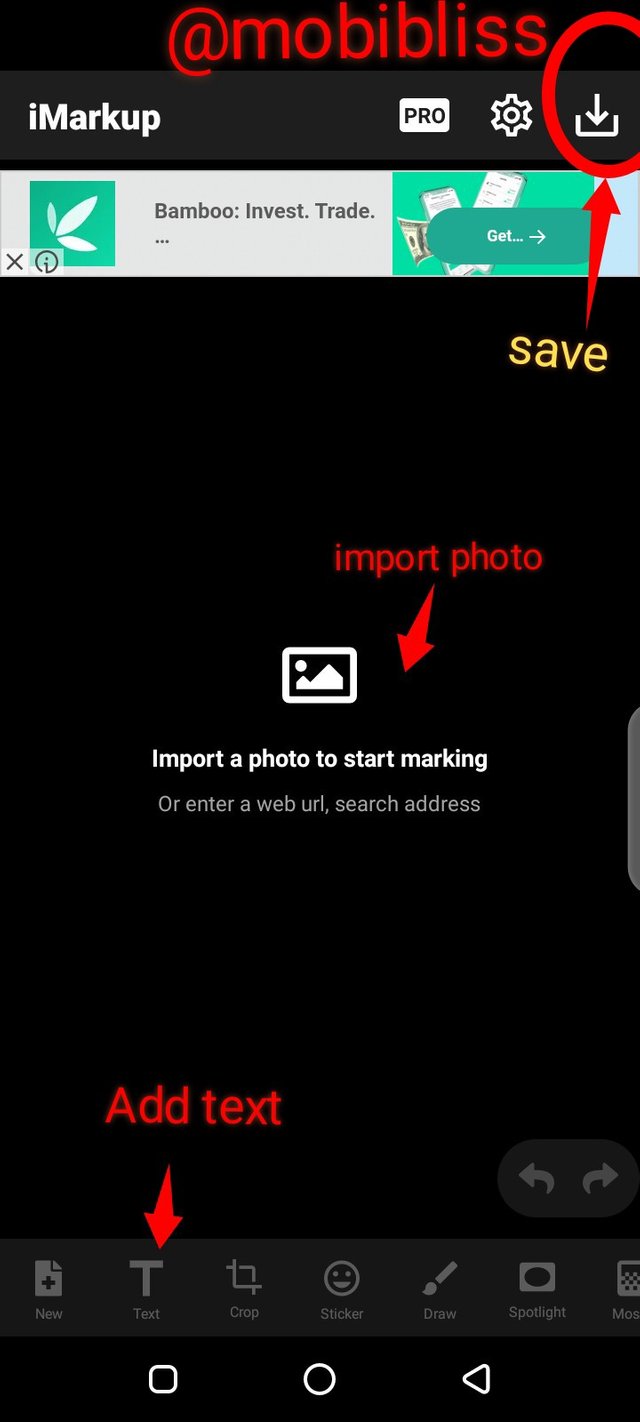
I recommend imarkup app, if you are using smartphone. Download imarkup app on Google play. Use it to add word to image, trace work etc. Imarkup is a wonderful app and quite easy to use.
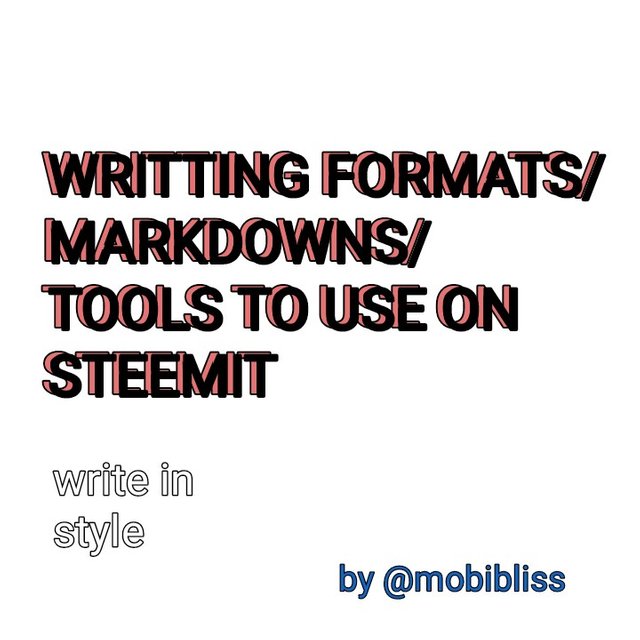
CREATING YOUR TITLE PHOTO.
Use "add text to photo" app for Android users. It is very easy to use. You can download it in the Google play store.
Here is a sample of a tittle image made with this amazing app.
Fig 3.

image source
As you may have noticed on the image above, I provided the source although it is my work. This is to avoid plagiarism. Copying from your very article, when it has been posted online can equally be termed as plagiarism.
SOURCING IMAGES.
If you have copied a free image online, provide the link. Follow the below method.
[Image source](paste the link)
It will appear as shown on fig 3.
ALIGNING IMAGES (RIGHT/LEFT/CENTER)
ALIGNING IMAGE RIGHT/LEFT
Use below command.
<div class="pull-right"> for right.
<div class="pull-left"> for left.
Above the image.
And then.
</div>
bellow the image.
Example:
<div class="pull-right">
(Upload photo)
</div>
See result below.
⬇️
There will not be noticable difference when you align image to center. Because while uploading, the image is already centered.
OTHER MARKDOWNS.
MAKING IMAGE BOLD.
use **the word** (sample)
Double ** then add the word or group of words, close with ** without space at the begining or ending.
Use three dash below a word or group of words to make it a head line.. example:
Result:
⬇️
Word
ITALICS
use *your word or group of words, and close with * to give italics. Without space before the first word and after the last word.
Example:
*we are not afraid to try*
Result.
⬇️
We are not afraid to try
Create a bold italics by adding three ***
Example.
***we are not afraid to try***
Result.
⬇️
We are not afraid to try
ITEMIZING YOUR WORK.
Use * and space to itemize your work.
Example.
* we are not afraid to try
* we believe in God
Result.
⬇️
- We are not afraid to try.
- We believe in God.
MAKING A QUOTATION.
To add a quote of another person to your work, simply use >
Example.
>I am far from my fears every time I take a step_ Nwaeze Chima
Result.
⬇️
"I am far from my fears every time I take a step." _Nwaeze Chima.
CREATING A BOX.
Use | and --- . Type your word or phrase, give space, use | to divide, give space, type the next word or phrase. Click enter. Then below the created first line, use --- give space, use | to divide give space, type ---
Example.
tron | steem
--- | ---
10 | 20
Result.
⬇️
| Tron | steem |
|---|---|
| 10 | 20 |
Making three column.. just add space and use | to divide, add space, add next word.
Result.
⬇️
| Tron | steem | sbd |
|---|---|---|
| 10 | 20 | 30 |
Four column
| Tron | steem | sbd | steem power |
|---|---|---|---|
| 10 | 20 | 30 | 40 |
| Good | better | better | best |
CROSSING A AWORD OR PHRASE.
Use ~~ type your word or phrase then close with ~~
Example.
~~say no to laziness~~
Result.
⬇️
say no to laziness
CREATING HYPERLINK.
If you noticed, I have used hyperlink extensively in this post. To create hyperlink, follow below method.

Result.
⬇️
we are not afraid to try
TAGGING A POST.
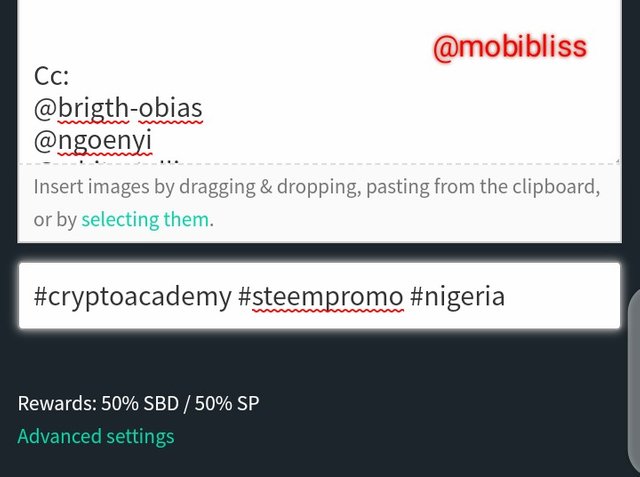
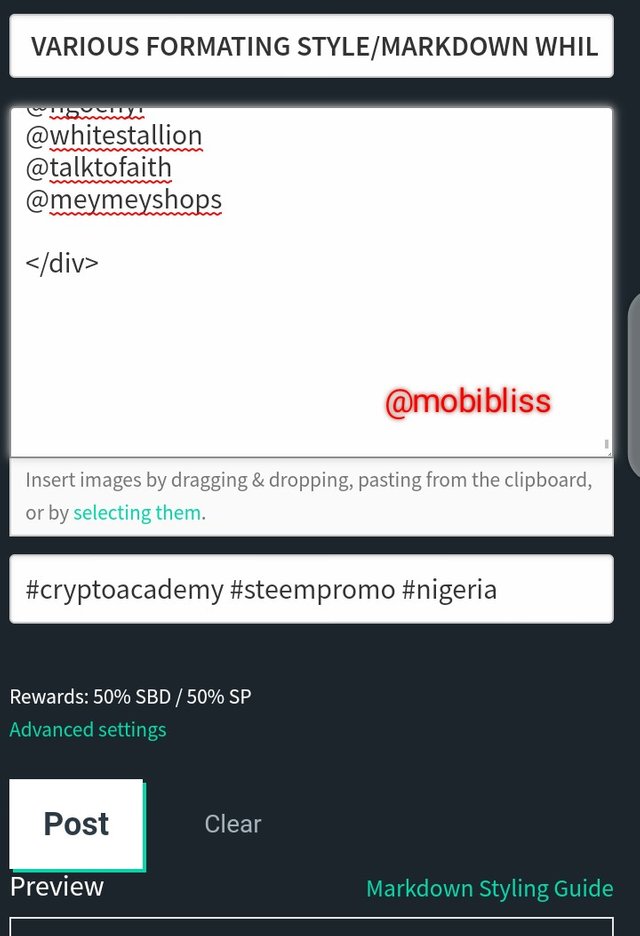
Use # and @.
# is used when we want to tag a community or post.
We use it before the word and without space. The word will change colour to show that it has been properly tagged.
Example.
#cryptoacademy
Result.
⬇️
We use @ to tag an individual user.
Example.@mobibliss
Result.
@mobibliss.
Where to tag
At the column provided, use the #tag. See fig 1.
On the body of your work, use the @ tag.
How to tag
JUSTIFY.
Make your work fit to page and look nice. I mentioned this last because, this is the last thing to do.
To justify, we will use,
<div class="text-justify"> at the beginning of our write up, click on enter; Then we will place </div> at the end and click on enter.
IMPORTANT TOOLS
download "grammarly" it is an important tool to check for errors in Grammer. Download Gboard, if you are making use of android. Gboard is an Android keyboard and from Google. To me, it seems to work well with android than most keyboards out there in the market. Use http://www.quetext.com to check for plagiarism.
Thank you for reading through.
Cc:
@brigth-obias
@ngoenyi
@whitestallion
@talktofaith
@meymeyshops
@sapwood
@yohan2on
@kouba01



This work is timely, I've learned more markdown practicals from it. Thanks a lot
Thank you @meymeyshops
@mobibliss,
Welcome to the Steemit Nursery family!
Have a pleasant stay in Steemit Nursery Community, Thank you! 💐
Best regards,
Steemit Nursery Team
Link:
Steemit Nursery Community Announcement updated on 2/June/2021
Reglas Steemit Nursery Community / Rules & Guidelines
Rules & Guidelines Steemit Nursery Community
#onepercent #venezuela
Thank you
This is one of the best lectures for me this week and i want to say thank you thank you @mobibliss
Thank you for reading through
Extensive and educative. Thank you
Thank you @nehklaus for reading through.
Join #cryptoacademy. Go through the weekly update. Check out the six fixed introductory post
Most detailed post I’ve read on steemit so far. Nice work sir.
Thank you , I invite you to join #steemfitnesshub