Let's do it...Do It Yourself👉Craft, Creativity, Drawing, origami, DIY, Recycling and more
Assalamualikum, everyone(Peace be upon you). |
|---|
Hello friends, myself @jubayedhossen91 from @bangladesh.
How have you been? Hope you all are well. I am also fine by the grace of almighty Allah, Alhamdulillah. I feel very glad to express my activities here. Actually I always try to show my paintings infront of you through my blog. Undoubtly, we can say it's a beautiful contest organized by honourable @mesola in this community. I'm truly grateful to her for this effort.
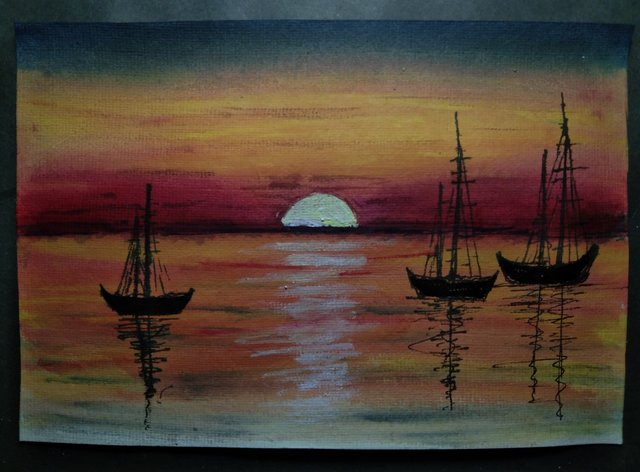
All individuals have talent of some kinds. Who have talent can put it to work and increase the existing quality by participating this participatory and free contest. Our Steemit platform is a fair platform where anyone can express all creative activities, skills, and spread out their hidden talent around the world. Today I'm trying to drow a Sunset scene. I've included sun that is going to set and some boats in the ocean. I've completed this painting through several steps. Here I'm trying to explain these all process with appropriate photos. Let get started.

Ingredients |
|---|
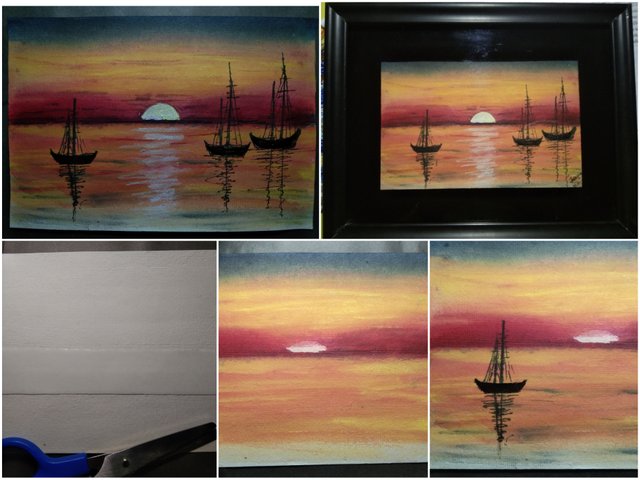
- Art paper
- Colors
- Paint brush
- Scale and
- Water.

Step 1: Fundamental stage and set-up tape |
|---|
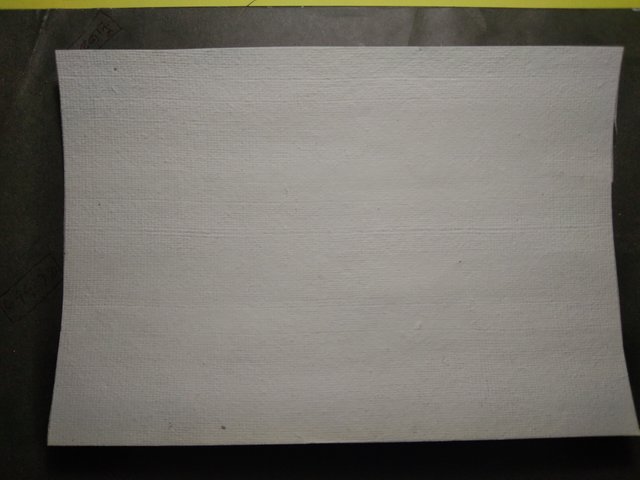
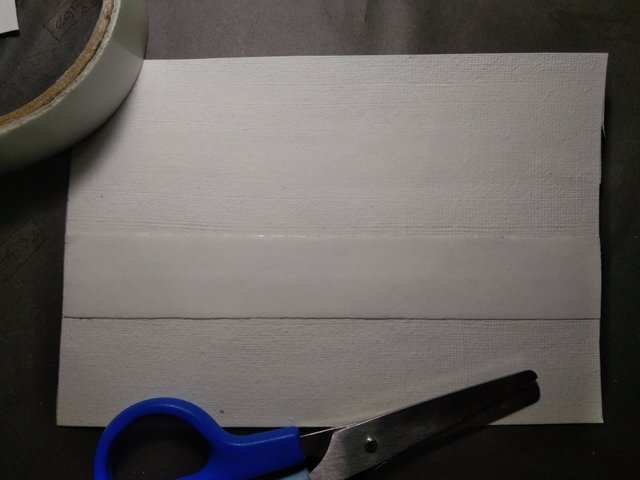
First I cut the paper as needed from the large painting paper. Then I put the tip in the middle. I first divide the scene I decide to paint into two parts. Above is the sky, in the middle is the upper part of the sea and below is the water where the boats are moving. So first I taped off the upper part so that I can easily draw the sky and the upper part of the water. If the tape is applied, the color does not mix in the lower part. This makes the painting very beautiful. So I applied the tape well.

Step 2: Painting sky with colors |
|---|
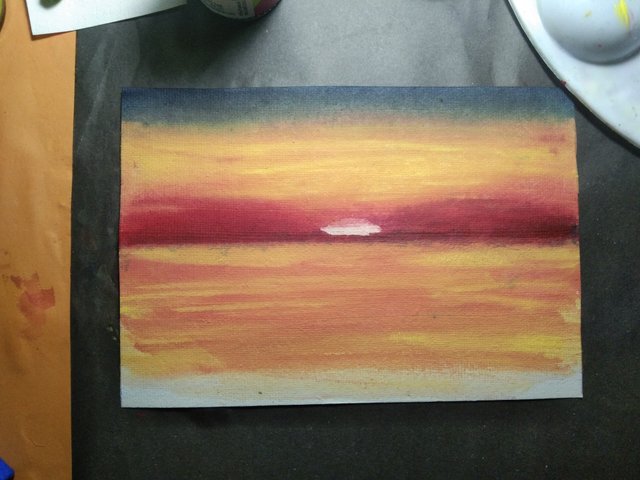
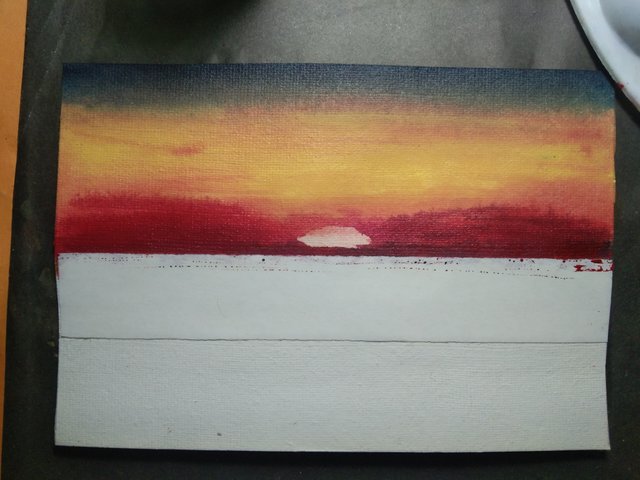
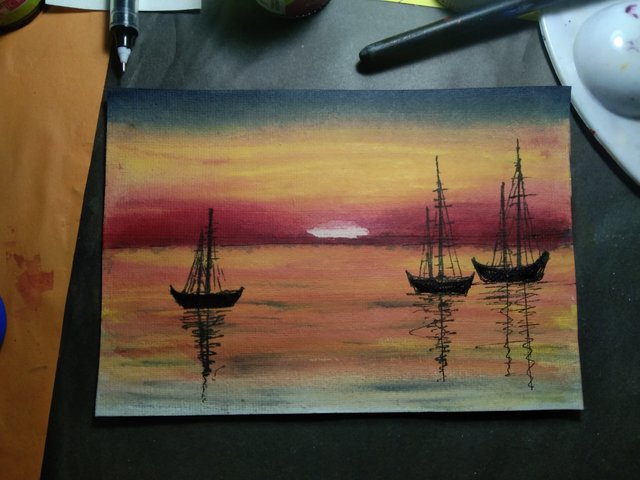
At this stage I started painting with colors. I did nothing with pencil in this whole work. So I started working with colors first. First, I mixed black and blue colors on the upper part and lightly painted the sky. I tried to paint the color of the sky when the sun sets in the afternoon. A mixer of black and blue colors gives just such a color. Then I painted the reddish afternoon sky using yellow and red colors. I tried to paint the upper part with a bit of yellow and then mixed orange, black and blue to create a reddish sky shape. I left some part blank to draw the sun. In this part I added a beautiful skyscape over the pre-taped part where the sun is setting.

Step 3: Painting water |
|---|
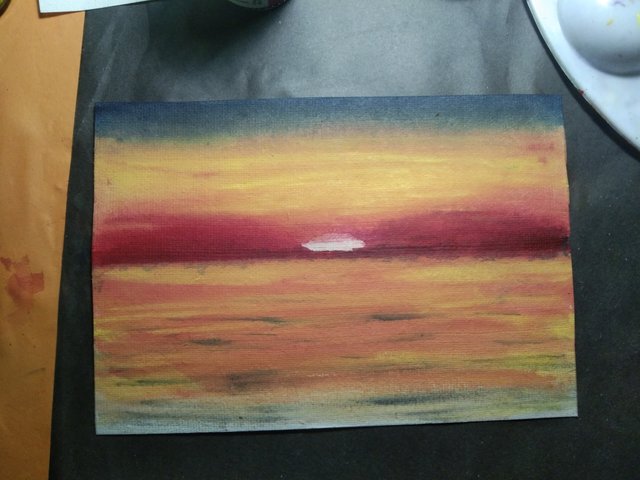
After the sky shape I picked up the tape. Be careful not to tear the paper when removing the tape. After separating the tape from the paper, I dabbed the water part with yellow, red, and orange paint for shape. Then I gave a light shade with blue and black colors so that the ripples in the water can be seen. If you don't give a shade of light black color, the waves will not appear in the water. So this work has to be done very carefully so that there is no more or less. After giving a light shade, I saw that my desired scene emerged perfectly beautifully. So I completed the work of this phase here.

Step : Painting boats on the water |
|---|
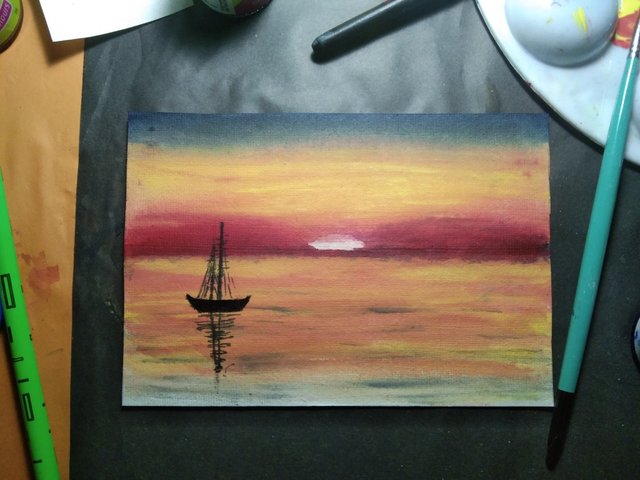
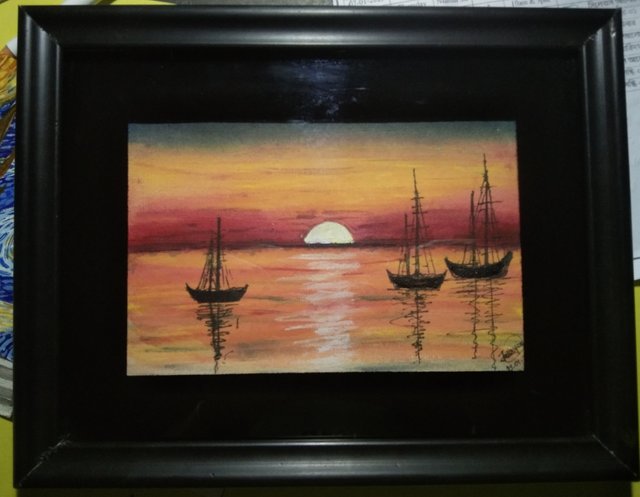
All the painting I have done so far was beige. Now I started painting the boat. First I drew a boat. Then I drew the shadow of the boat. When the afternoon sun casts a red glow, the shadows of nearby objects fade far away. I tried to paint a similar scene. Then I drew a total of three boats. I added pillars to the boats. Boats look more realistic and aesthetic by adding pillars and wires. And lastly I painted the scene of the sun and the sun's shadow on the water with white paint. I painted the shadow of the sun in the water with white color, it makes the whole painting look very beautiful and realistic.

Final step: Framing the painting |
|---|
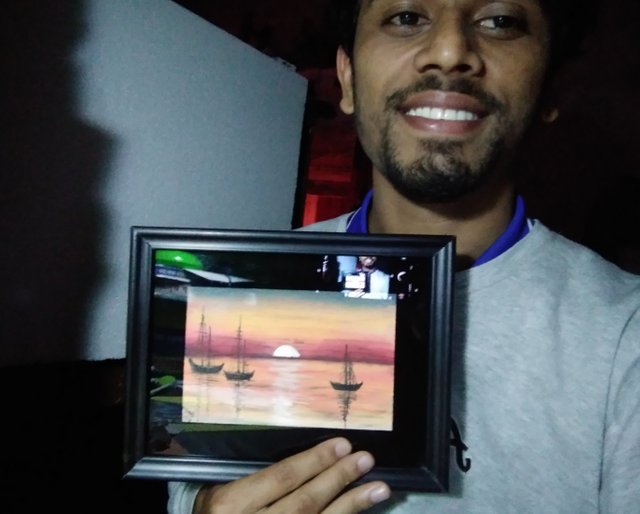
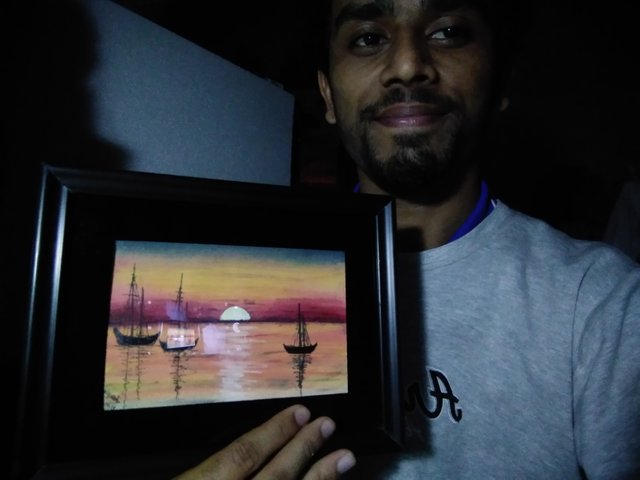
When the painting was completely finished I framed my beautiful painting in a pre-purchased frame. It's @mesol Ma'am's idea. I have not framed the paintings I have shown in previous blogs. So @mesola ma'am suggested that to frame my paintings. So I bought some frames. And framed each of my paintings. After placing it in the frame I finally took a selfie. It's late at night, my roommates are sleeping. Room lights off and I was working with my table lamp on. So the selfie is dark.
I hope you enjoyed my post. It's time to leave. Keep me in your prays. See you in another blog.
Now I would like to invite three of my beloved @ulfatulrahmah, @steemflower, and @zisha-hafiz to participate in this beautiful contest.


Lukisan yang sangat indah dan seperti hidup.... membuat saya terpesona akan hal ini, anda sungguh sangat berbakat teman🌹👍
I'm truly grateful to received such kind words and appreciation from you. Thank you so much.
Thank you for publishing an article in the Steem Kids & Parent community today. We have assessed your entry and we present the result of our assessment below.
MODs Comment/Recommendation:
What a Unique Artwork from you dear Friend, You really did a great Job and have also given a well detailed description on how it was actually made. Thanks for sharing with us It is highly Appreciated 😊
Remember to always share your post on Twitter. This POST LINK is a guide to that effect.
Hi @jubayedhossen91, Please you must share this post on Twitter (X). Check the post below to learn how to share your post on Twitter. This POST LINK is a guide to that effect.
Congratulations, your publication has been supported using @steemkidss, our official account! Keep active! Keep publishing quality publications in our community!
Your color flower art is amazing. It has been beautifully described. Thank you very much for sharing such a beautiful picture with us.
Your such kind words and appreciation really inspiring me a lot. I'm truly grateful to received your observation.
This is an amazing art, the mixture of colour's is just so perfect and well coloured. Bravo and keep it up
I'm truly grateful to have this kind words. Take loves and keep me in your prayers.
The picture you drew looks great. I think the picture is very colorful. You have drawn it exactly as nature looks in the evening. When you finished drawing the picture and sent it to the frame, the picture became complete and its beauty increased even more. I wish you all the best for presenting such a beautiful picture to us.