SLC-Home Repair Club | S23W4 | LED Light Repair: Problem Solving by Changing Holder and Resistance.
Assalamualaikum Everyone. I am @imranhassan
From #Bangladesh

Problem Cause Analysis
After opening and examining the light, two major problems were found. First, the pin holder of the light was completely damaged, as a result of which it could not receive the power connection properly. Second, a resistance in the AC input voltage circuit was burnt, due to which the power flow was interrupted and the light was not working.
Solution Process
First, the input and output voltages were measured using a multimeter. It can be seen that the battery line or power connection is not working properly. Then the pin holder of the light is changed, and a new connection is made. In addition, the part where the resistance is burnt in the circuit is identified and fixed. After reassembling everything, the light starts successfully and starts working normally.
Conclusion
To maintain the performance of an LED light, it is necessary to regularly check the condition of the holder and circuit connection. Many times, if the pin holder is damaged or the resistance in the AC input line is burnt, the light stops working. However, it is possible to make it work again if it is checked and repaired properly. I shared this experience through today's post. I hope it will be useful to many.
Components and functional steps of LED light repair
I am detailing some important components and repair steps of the Transtec Power LED 50W light that I fixed. An LED light is usually made up of several important electronic components. The light I fixed had:
LED chips: This produces light and determines the brightness of the light.
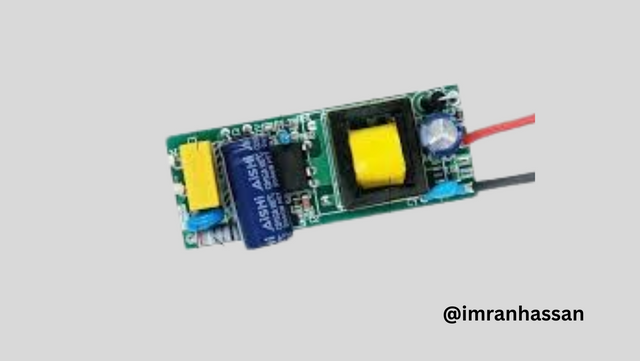
Driver circuit (LED driver): Converts AC current to DC current and provides the correct voltage to the LED chips.
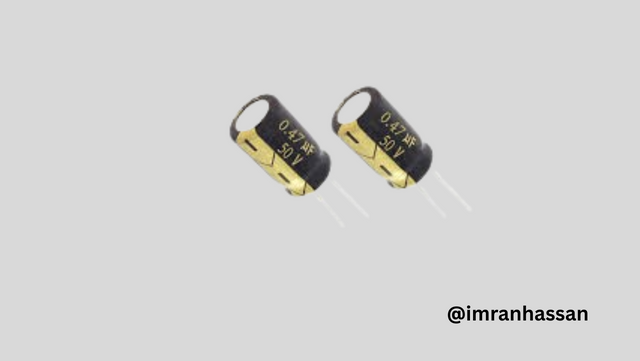
Capacitor: controls the flow of electricity and helps stabilise the voltage.
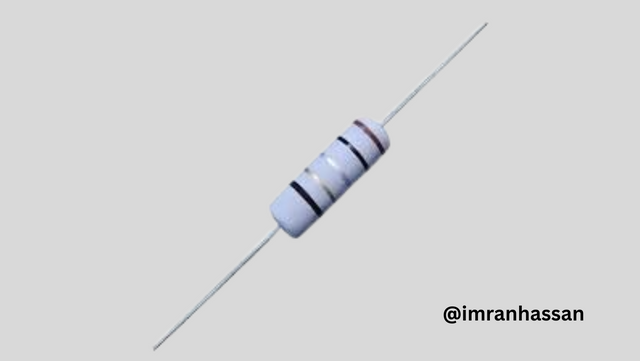
Resistance: This controls the flow of current in the circuit, but in my case it was burnt out.
Diode bridge rectifier: used to convert AC input to DC.
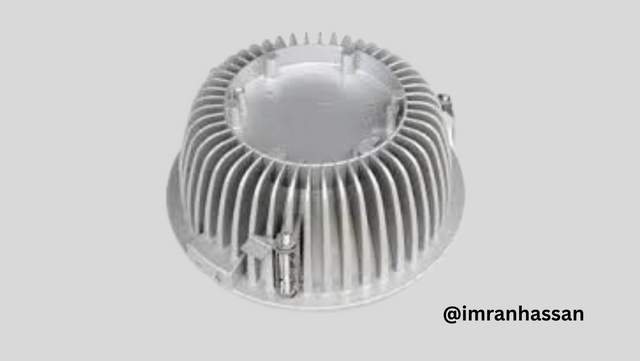
Heatsink: Used to dissipate excess heat, which increases the longevity of the LED.
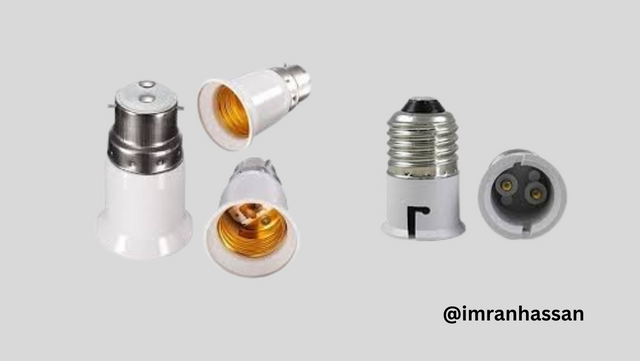
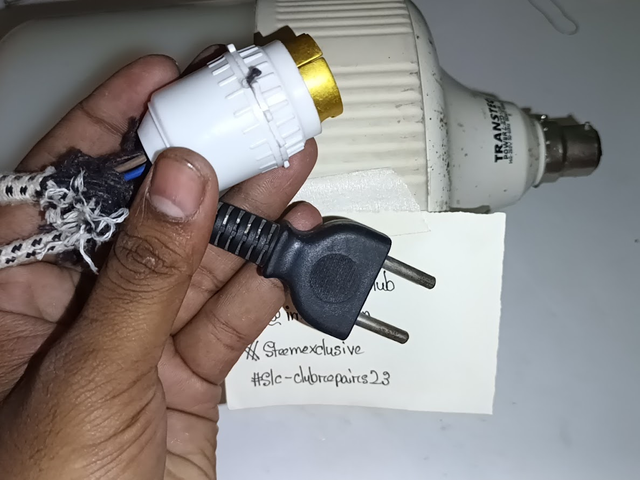
Pin holder: This serves as the connection for the power supply, but the holder on my light was broken.
Today I am going to share the repair process of an LED light.
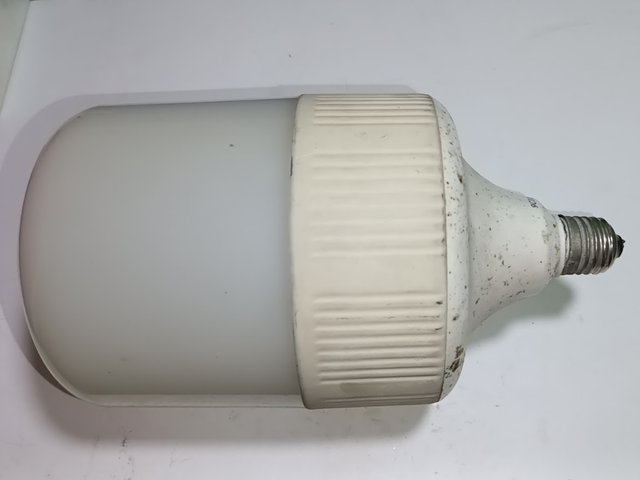
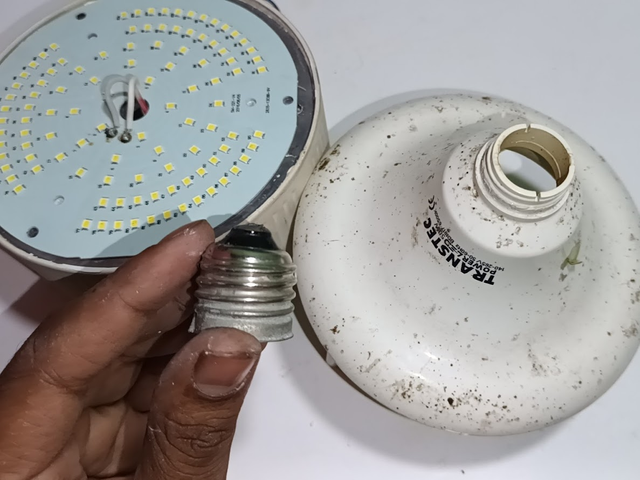
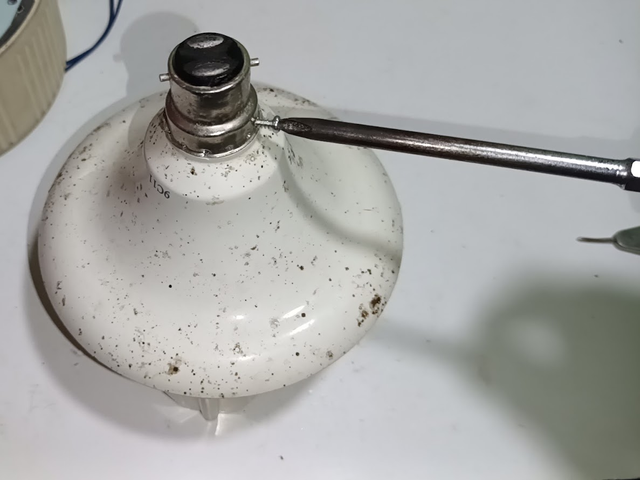
First, I took the light in my hand, which was used in the mosque's veranda. The mosque committee informed us that the light suddenly stopped working.
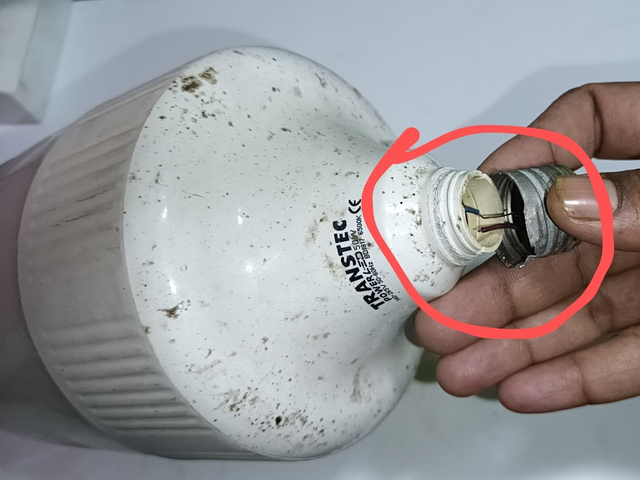
While taking it down, the holder came loose, making the light completely useless. Then, I noticed that the holder of the light had come loose and was in my hand.
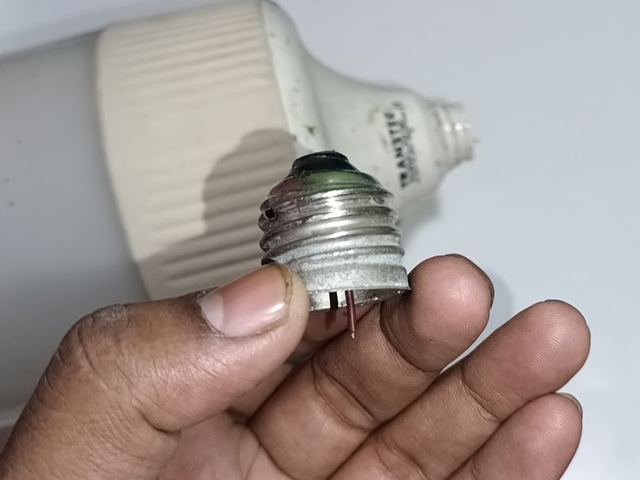
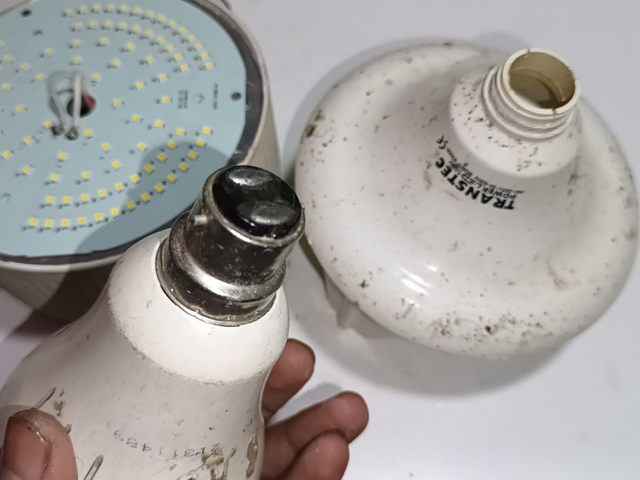
It was not possible to reuse it, so I decided to change it by removing a new holder from another light. Now, I am preparing to open the entire unit to diagnose the problem inside the light.
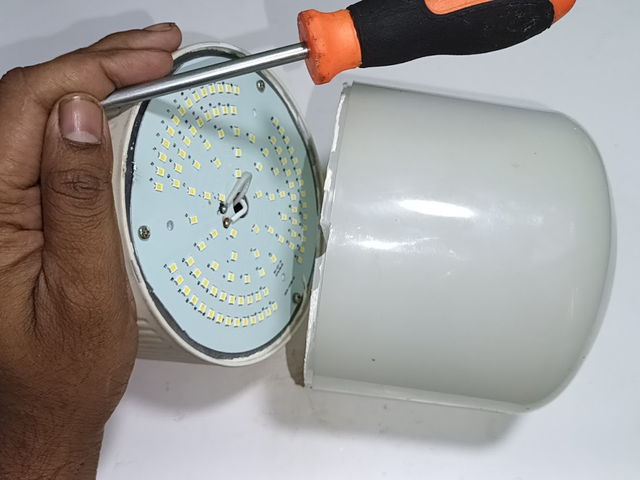
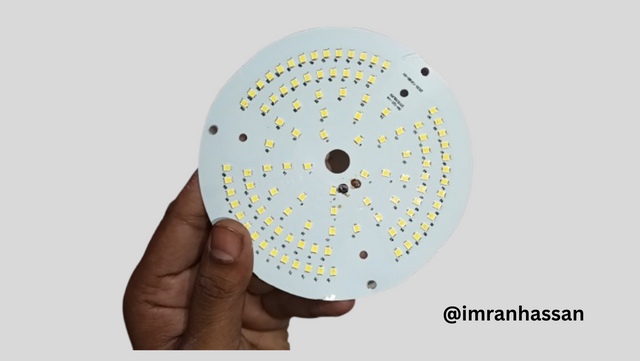
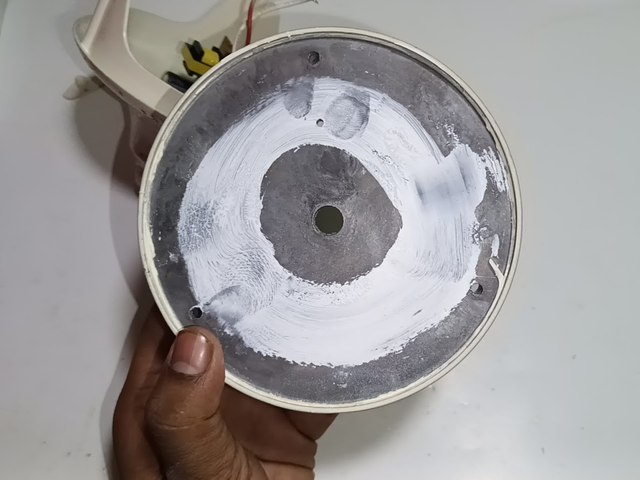
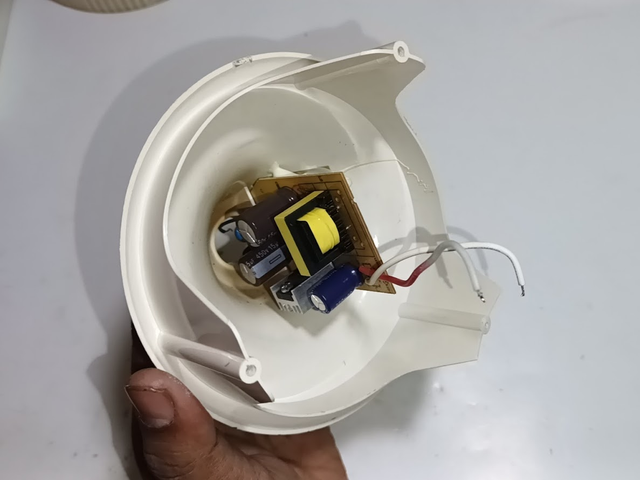
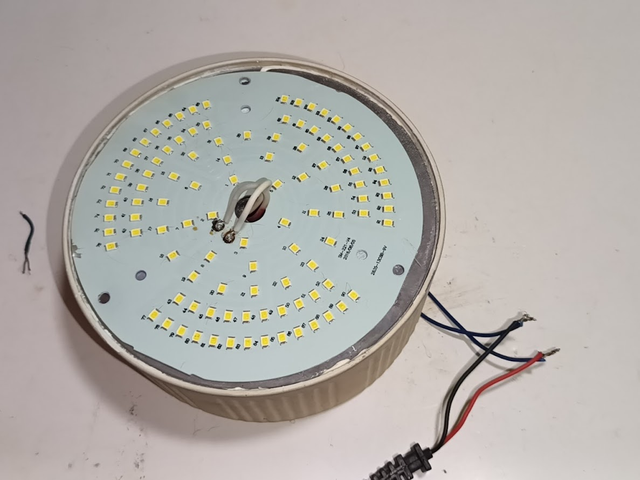
In the first step, I removed the white cover on the top of the light so that I could observe the circuit board and other components inside better.
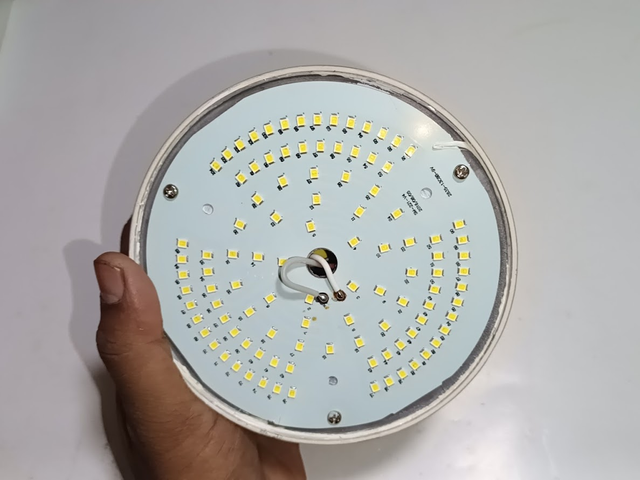
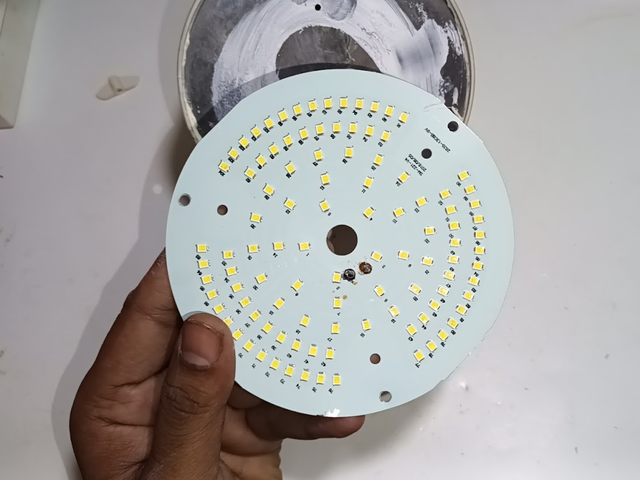
Here it is clearly seen that the LED chips are still in good condition; there is no damage, and they are working normally.
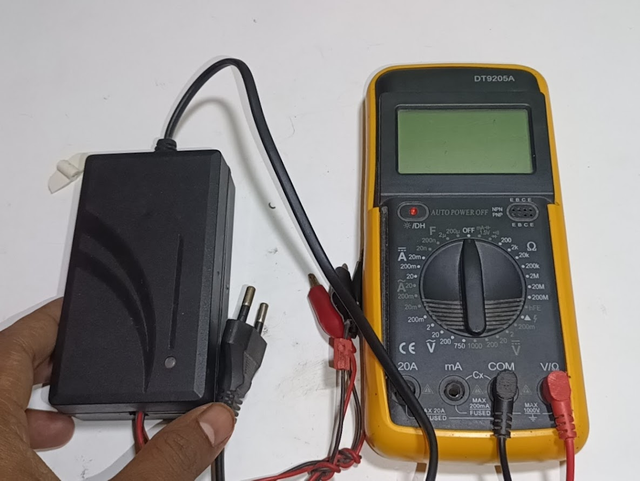
To confirm the condition of the LED chip and circuit, I used my LED chip tester. Besides, I also used a digital multimeter to check whether the circuit is functioning properly or not. Now I will check each part of the circuit board to find out the real cause of the problem and restart the light.
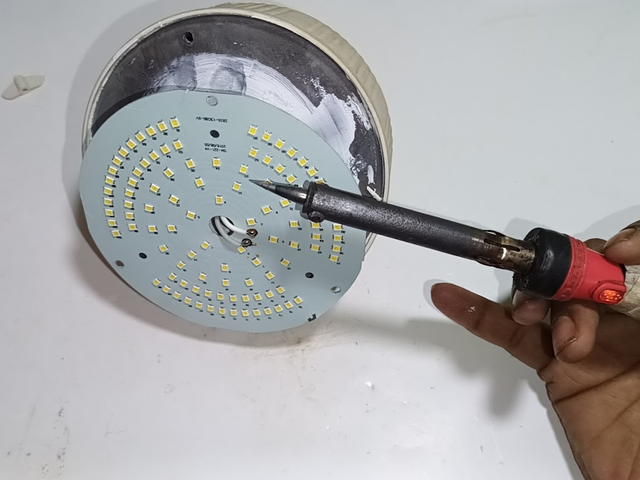
I have isolated the positive and negative input voltage of the LED chip connected to the LED circuit with the help of a soldering iron.
Next, I have prepared the LED chip for testing. Testing will confirm whether the chip is working or needs to be replaced. Now I will test its performance using an LED chip tester.
After removing the LED chip, you can see that there is a beautifully designed heat sink, which helps in controlling the temperature of the LED chips. Thermal paste has been used to quickly dissipate the heat, which increases the performance of the chips and prevents overheating.
Next, I have removed the heat sink, and now the internal part of the circuit board is clearly visible. However, I have not yet been able to identify the damaged component, so I need to observe different parts of the circuit.
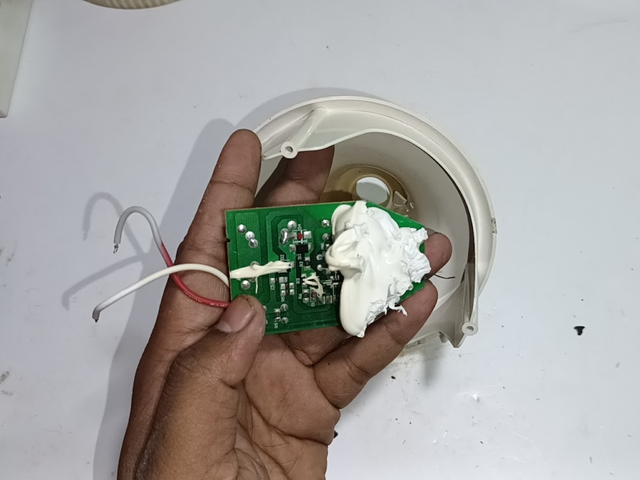
Then I removed the circuit board from the cover and started observing.
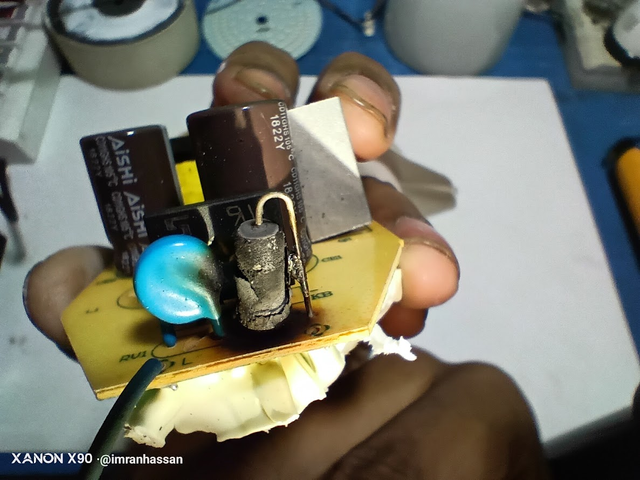
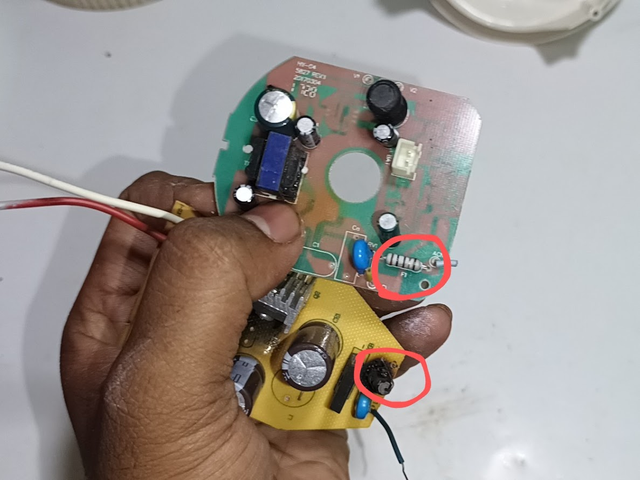
I was able to identify one problem first—a resistor connected to the 220 volt input line was burnt. This resistor basically acts as a fuse, which protects the circuit in case of excess voltage or short circuit.The resistor was damaged, which cut off the power flow in the circuit, which is why the light was not working. Now I will replace this damaged resistor and then test the other parts of the circuit to make sure that there are no other problems.
Still, I had a slight doubt in my mind, so I tested each LED chip using an LED chip tester. After testing, I found that all the LED chips were healthy and functional—no chip was damaged.
Next, to replace the damaged resistor, I collected a fuse resistor from an old, broken LED light circuit. Now I will place this resistor in the damaged circuit and test it again to make sure that the light works properly.
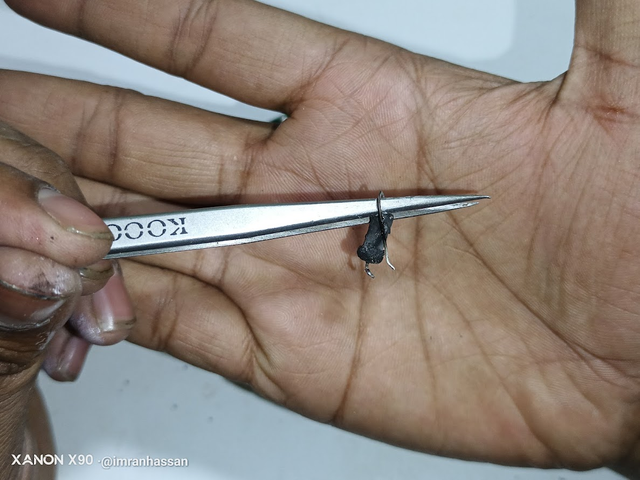
Next, you can see that I have removed the burnt resistor from the circuit with the help of a soldering iron. It was an important resistor in the 220 volt input line, which was acting as a fuse.
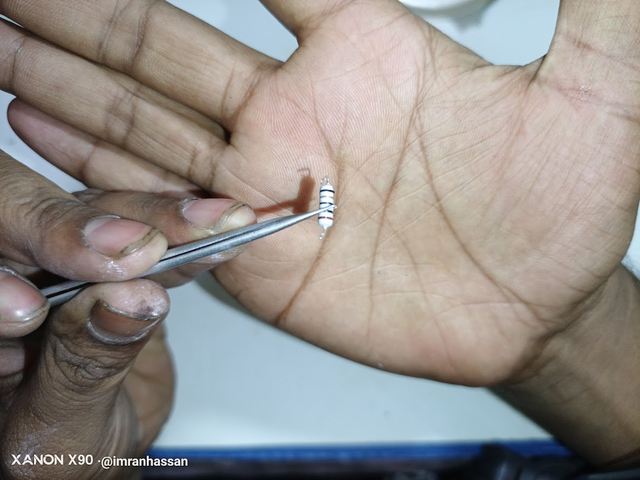
Now, I have collected a good resistor from an old LED light circuit. I will replace it with the damaged resistor so that the circuit can work properly again.
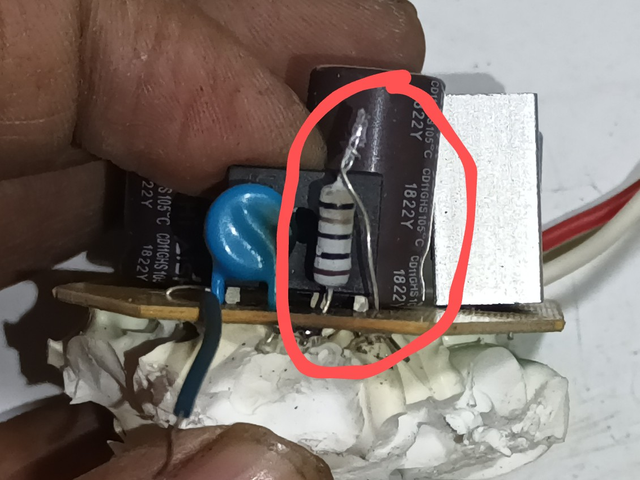
Next, you can see that I have placed the resistor neatly in the circuit, and it is now ready to work properly.

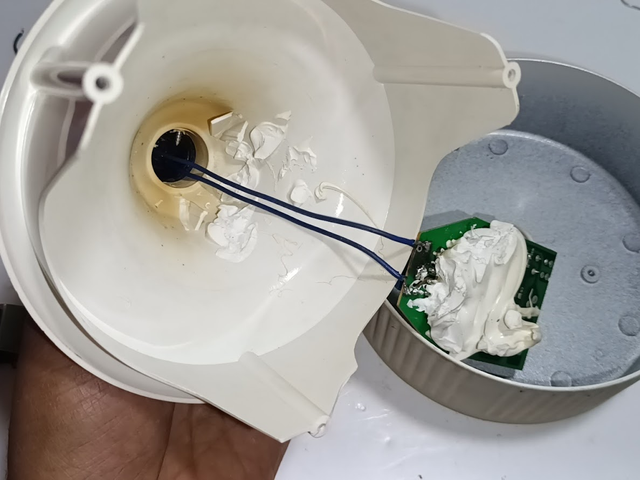
However, there is still a small problem—my input voltage wires were too short and disconnected. So, I will connect two new wires, so that the input voltage can be supplied properly and the light can be turned on effectively again.
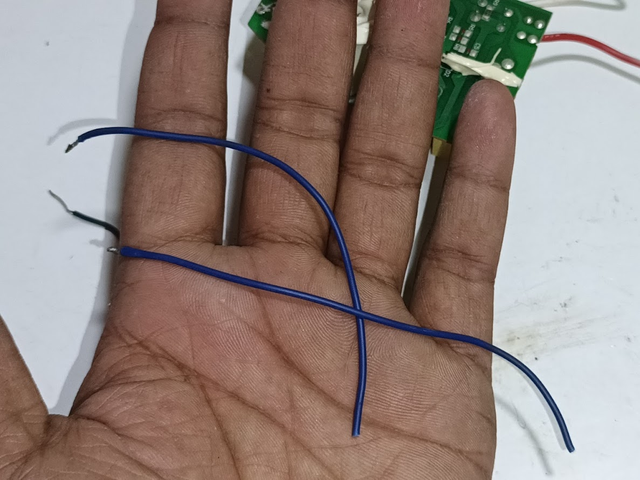
Next, you can see that I have taken two blue-coloured AC 220-volt input voltage wires and soldered them properly to the circuit. This will ensure that the input voltage will flow properly and the light will work properly.
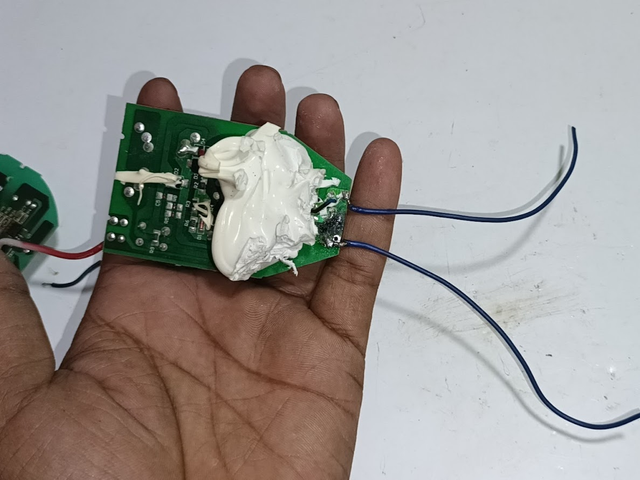
Now, I will re-test the circuit to make sure that everything is connected properly and if there are any additional problems.
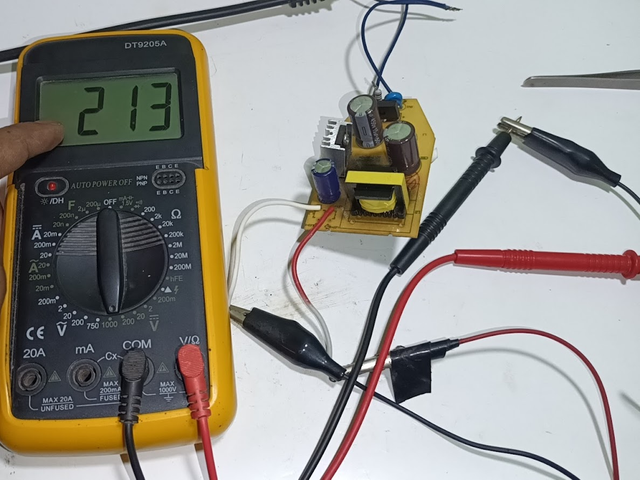
Next, you can see that I have applied an AC 220 volt input voltage with the help of a digital multimeter, and a 213 volt DC output is being obtained from my LED circuit. This confirms that the circuit is 100% functional and there is no blinking problem.
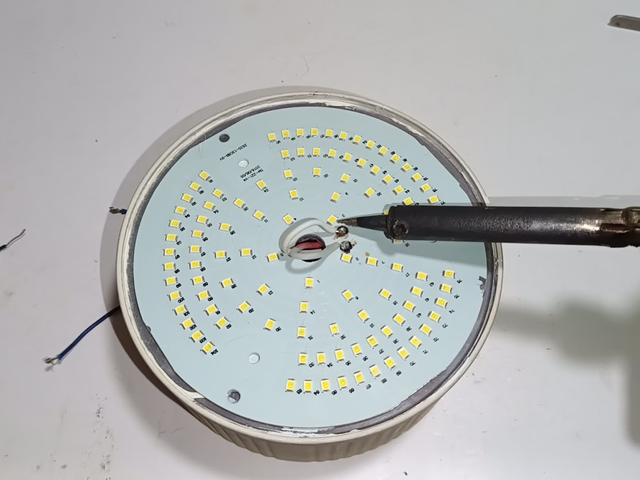
Next, I have put the circuit back inside the cover and connected the LED chip properly. I have marked the plus (+) and minus (-) lines nicely and connected them, so that there are no connection problems in the future.
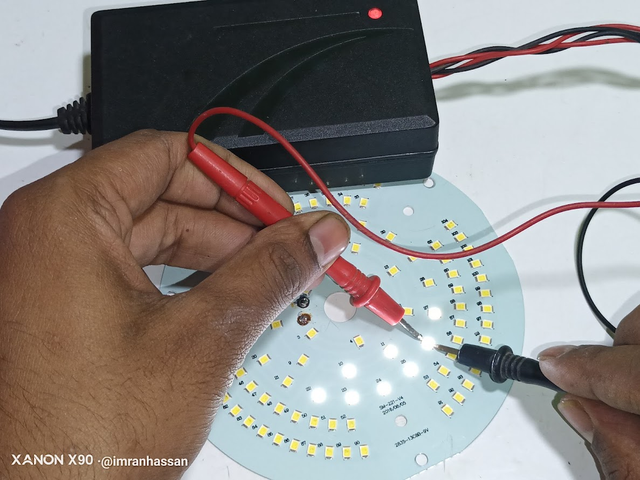
Next, I have tested the LED light by applying a 220 volt input voltage again before fully fitting it.

As you can see, the LED chips are glowing nicely and working normally without any problem.
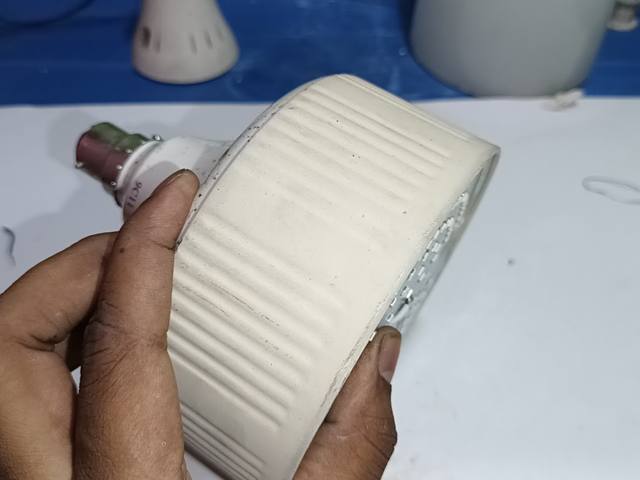
Now, it is time to fully fit the LED light. I will put the holder and other parts neatly together and bring the light back to its previous state. This will allow it to be placed again in the mosque's verandah and will work well for a long time.
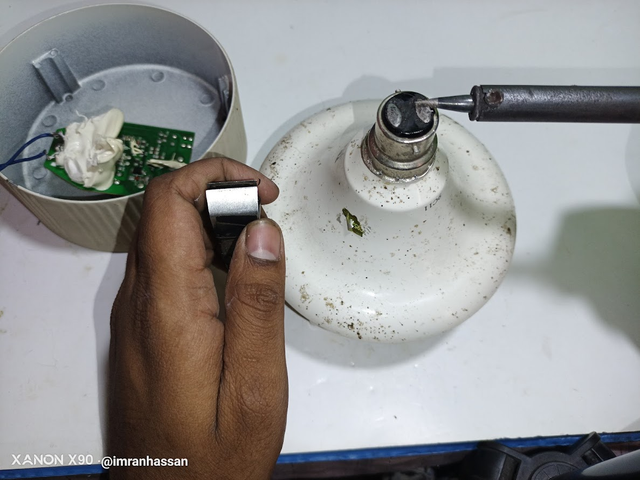
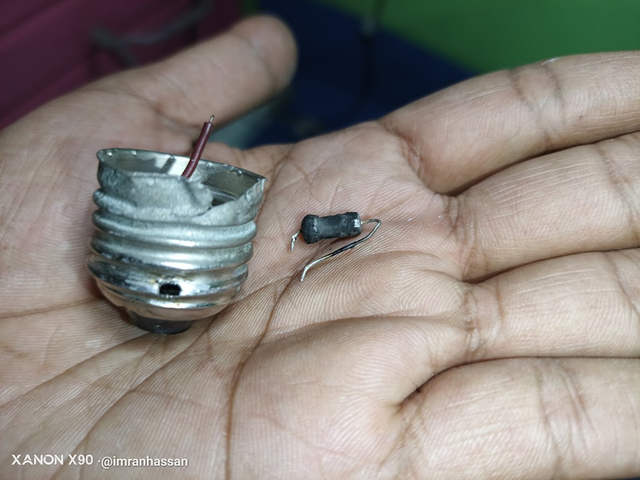
Next, I used the cover of another broken LED light to fix the pin holder of the repaired LED light. I removed the 2-pin holder from this broken light and will reuse it. By using this, the pin holder will be strong and functional again, which will help the LED light to be used for a long time.
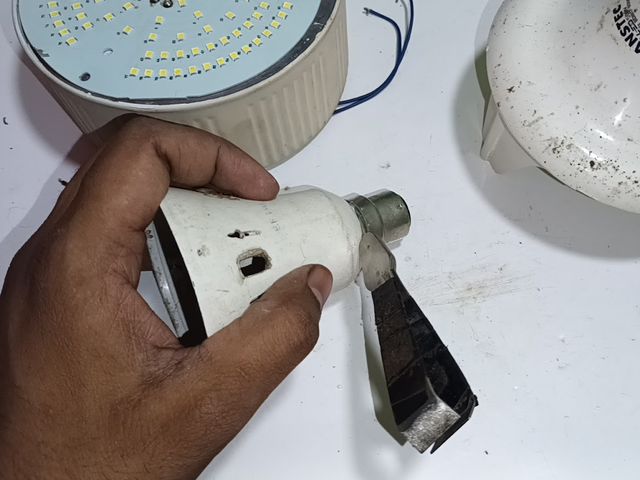
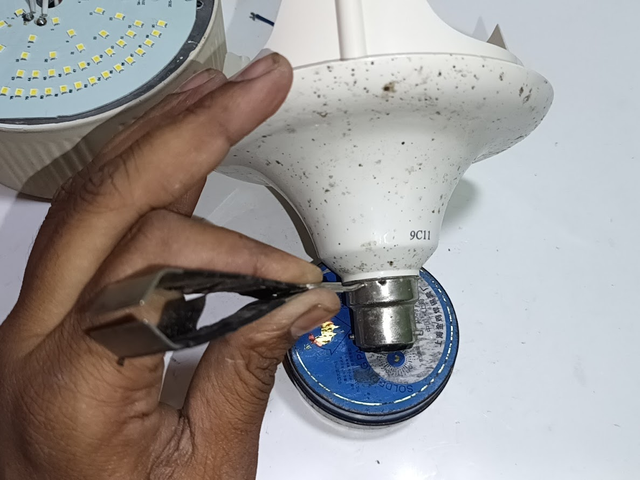
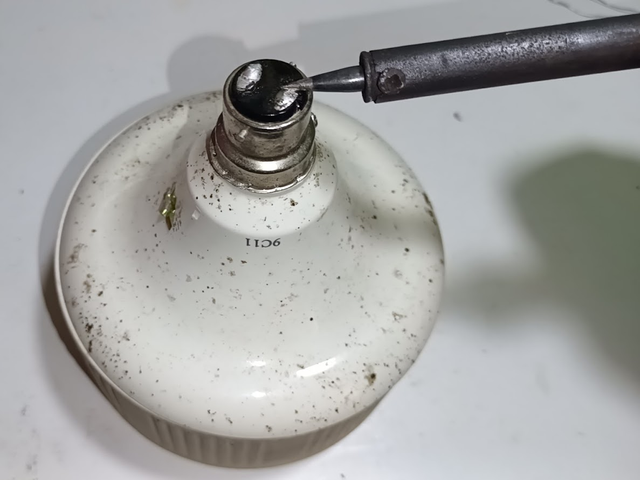
Next, I removed the pin holder by gently prying it from all sides with a pointed spoke.

By doing this, the holder came out nicely without any damage, which I can use again to repair the LED light.
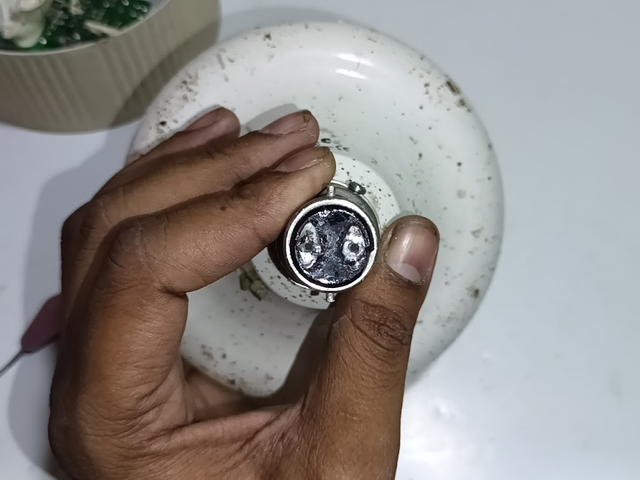
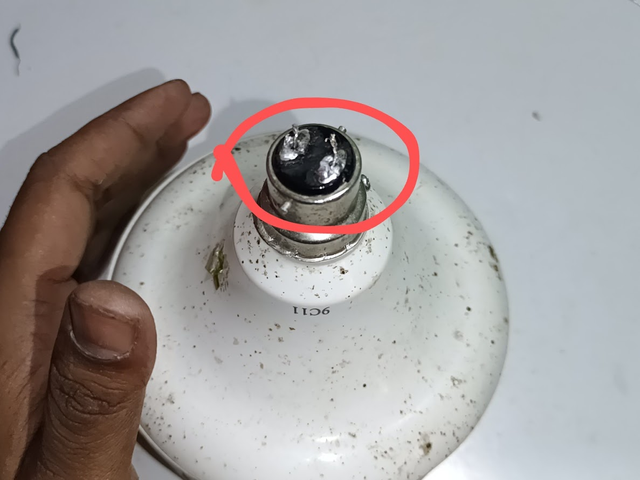
Next, I attached the pin holder to my repaired LED light.
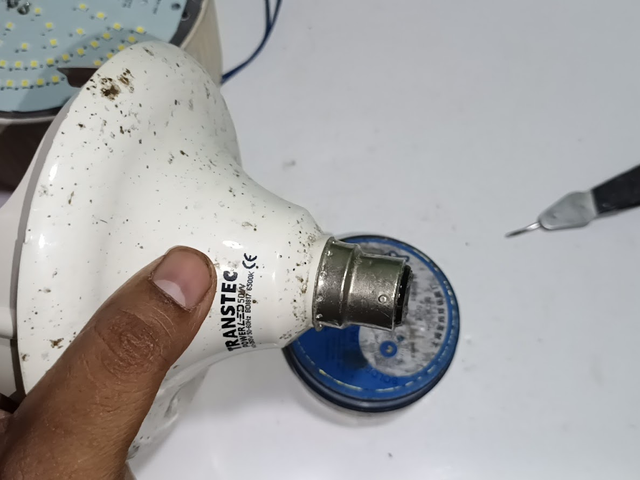
Then, I slowly turned the holder with the spoke and locked it so that it sits firmly and the light can work stably.
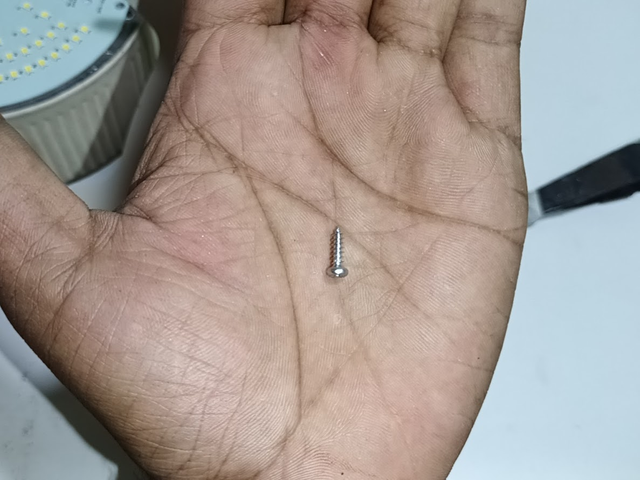
Next, I took a screw to replace the holder in place more firmly.
Then, I made holes with the help of spokes, so that the screw can be inserted properly and the holder sits firmly.
Next, I inserted the screw neatly with a screwdriver and firmly seated the pin holder. Now it is very strong, and there is no fear of moving or loosening in any way.
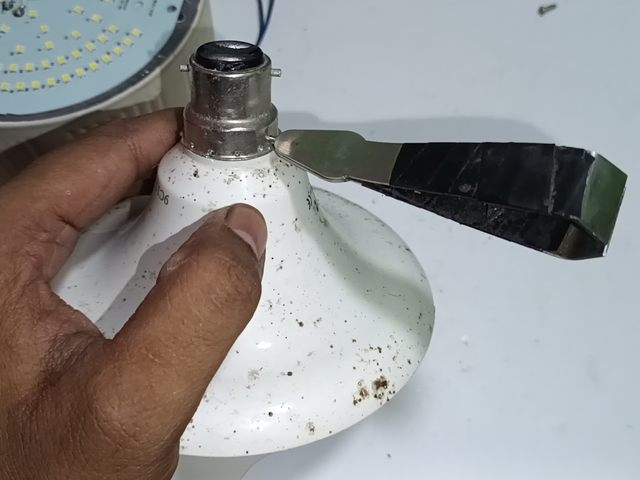
Next, I melted the previously soldered part with the help of a soldering iron to connect the input voltage line to the pin holder.
Next, I made holes with the help of tweezers to provide the input voltage to the circuit.
Then I inserted the two wires of the AC input voltage into the holes and connected them to the 2-pin holder.
Next, I made sure that the two wires of the input voltage are properly connected to the two-pin holder. As you can see, the wires are joined nicely, and the connection is strong.
To make sure, I re-checked the soldering points, so that there were no loose spots and the light would work well for a long time.
Then, I fitted the circuit body, heat sink, and LED chip neatly. I also attached the top white cover, so that the light would look and function as before.
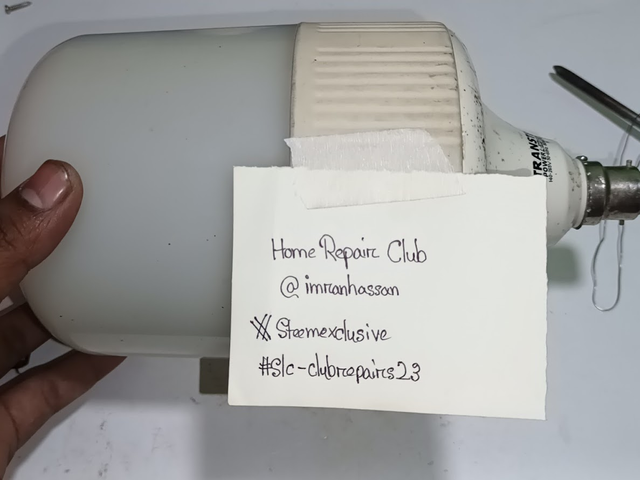
Finally, I put the sticker of my club name and username on the light to prove the authenticity of the work. Now, the repaired LED light is completely ready.
Finally, I took the repaired LED light in my hand and did a final test. For this, I connected a 2-pin socket and a wire to the lightholder.
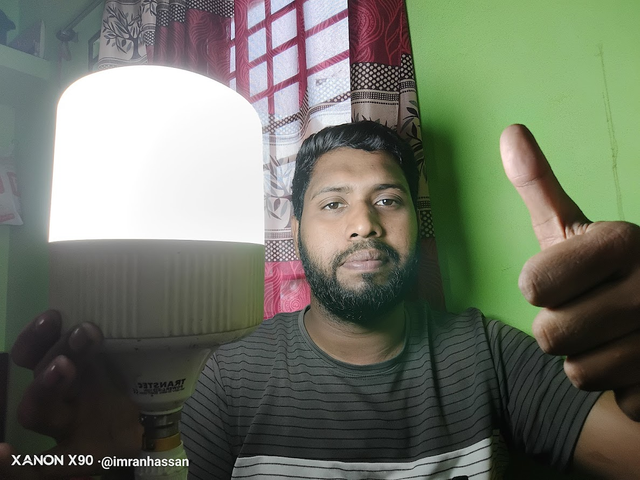
Then, I turned on the light and saw that it was working normally. Finally, I took a selfie with the light in my hand to capture the moment of my successful repair.
Finally, as you can see, I changed the burnt fuse resistance and replaced it neatly with the holder from an old broken light. As a result, the broken LED light was completely repaired, and that too at a very low cost.
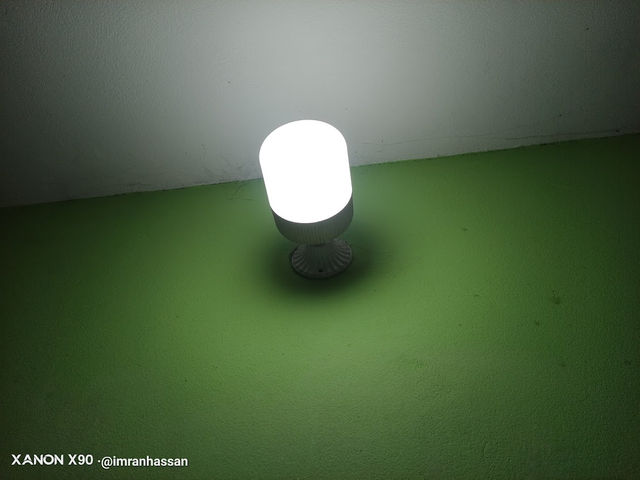
Now, I have the light connected to my house, and it is providing beautiful, bright light. This is how I was able to make a broken LED light reusable.
| Appliance | LED Light |
|---|---|
| Brand | TRANSTEC |
| Model | BD1917 |
| Power | 50W |
| Voltage | 140-265V AC, 50-60Hz |
| Color Temperature | 6500K |
| Problem | Burnt fuse resistor and damaged two-pin holder |
| Solution | Replaced the burnt fuse resistor and changed the two-pin holder using a functional one from an old LED light. |
| Video Tutorial: To better understand the practical part of this tutorial, you can watch the video below. |
|---|
| 📢 These courses and challenges will run from today until 11.59pm UTC, on Sunday, March 16th, 2025. |
|---|
Here are our selection criteria for the Home Repair Club; if you want, you can read the post and understand it: Clubes de Aprendizaje de Steemit Temporada 23 | Introducción y Bienvenida al Home Repair Club
I invite you to join the Home Repair Club. @caringmanasseh @chigraze @azit1980 @mueeinislam @rashid001
Photography Details: 📱DeviceWalton Xanon x90
Best regards
@imranhassan
My friend @rmm31

https://x.com/ImranHosen98536/status/1900612930485579878
Greetings! @imranhassan, Thank you for being part of the community, participating in our community and sharing your quality content with us.
Admins/Mods Observation
My dear friend you are talented and we should knew little knowledge about the basic of electronics my father taught me how to change holder and bulb and I can do it when it needed. I wish you success in the challenge.
You can help us in our community growth by adding a 10 % beneficiary to the community account @hive-126193 or delegate to our community account. If you're willing to support us.
Keep engaging with other community members to get support & participate in other community contests.
Join Steemchat & freely chat with your Steemit fellows. Here is the link below.
https://steemchat.org/
Keep Sharing Quality Posts With Us.