Welcome to my first repair tutorial of Home Repair Club The 23rd season of the Steemians Learning Club has started with new hopes and positive expectations. Although we know that a new season means new challenges! However, our goal is to make the learning process easy and fruitful for everyone. Therefore, this tutorial has been arranged in such a way that those interested in learning about home repair can easily follow and apply it in practice. Due to unavoidable reasons, the post had to be published late, but now I have come with full details for you.
Today I repaired an LED light. The circuit of this light was fine, but the LED chip or bulb was burnt. So it was possible to repair it by changing only the LED. If your LED light is not working and the circuit is good, then this tutorial will help you.
Now I am going to start my tutorial post.
We use 220-volt AC LED white lights in our house every day, and we throw these lights away when they break. In today's tutorial post, I will show you how to fix an LED light with very little money and modify it to make it last longer. The light I repaired today had a very poor quality heat sink, which caused the light to fail. Today, I added a separate heat sink purchased from a market. When using an LED light, excess heat is generated, which reduces the performance of the light in the long run. The heat sink absorbs heat and dissipates it quickly, thus increasing the life of the LED.
Step -01
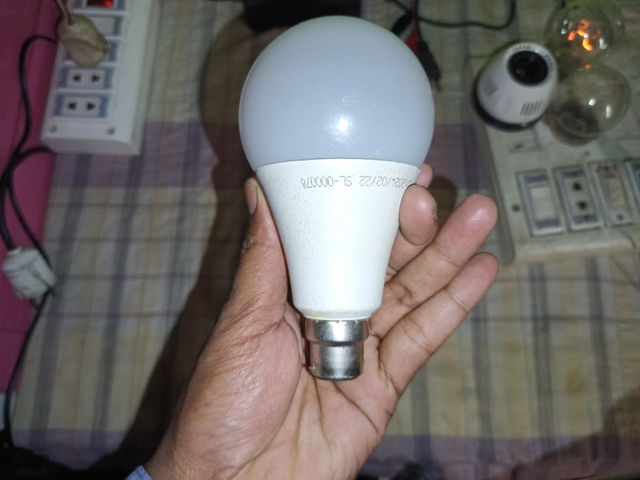
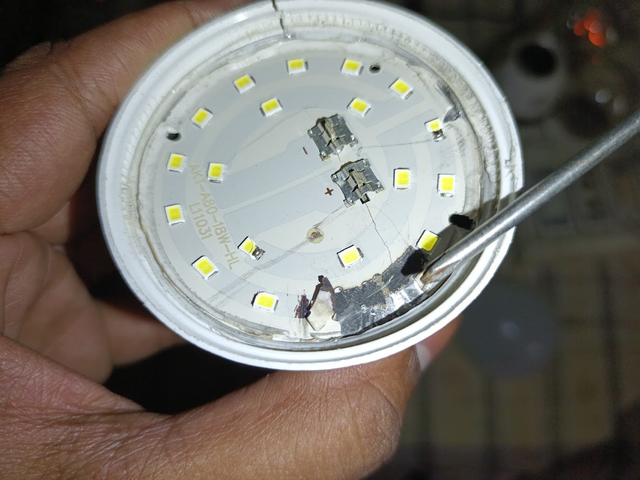
First, I took the broken LED light in my hand. Then I opened the top white cover by hand. Then I saw that many of the chips in this LED light were burnt, probably due to excessive overheating. Then I started opening the circuit of the light. For this, I loosened the pins from the back holder to separate the circuit.
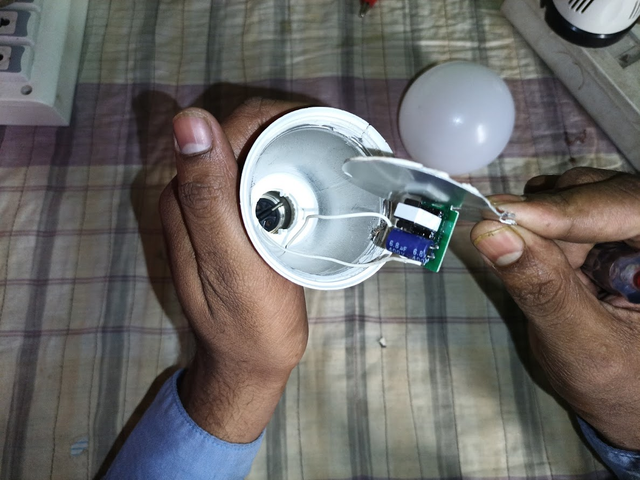
Step -02
Then I opened the top LED light with the help of a screwdriver. Then I pulled out the entire light with the circuit from inside. Then I disconnected the light connection from the circuit and found that the circuit was in good condition. Then I collected some connecting wires to test the circuit using a series board with 220 volts.
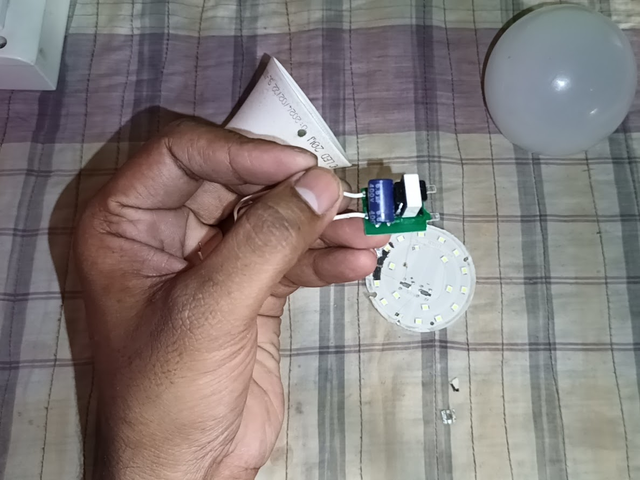
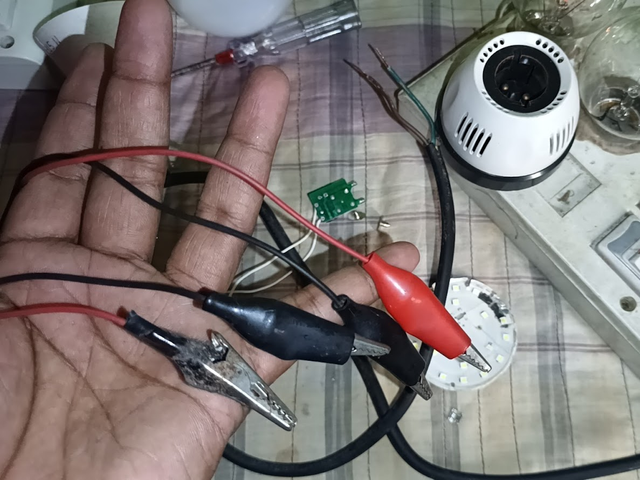
Step -03
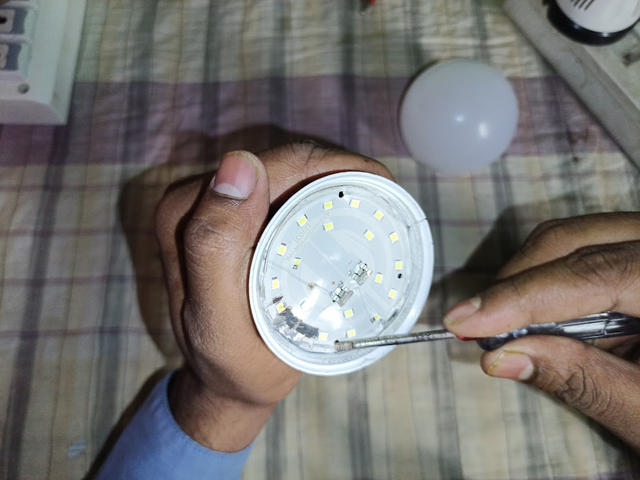
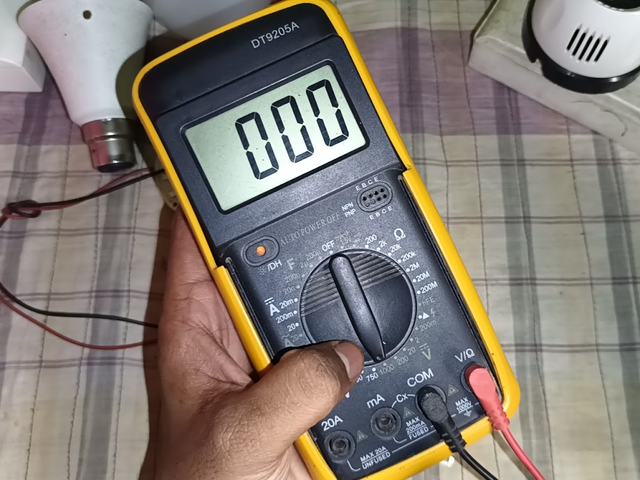
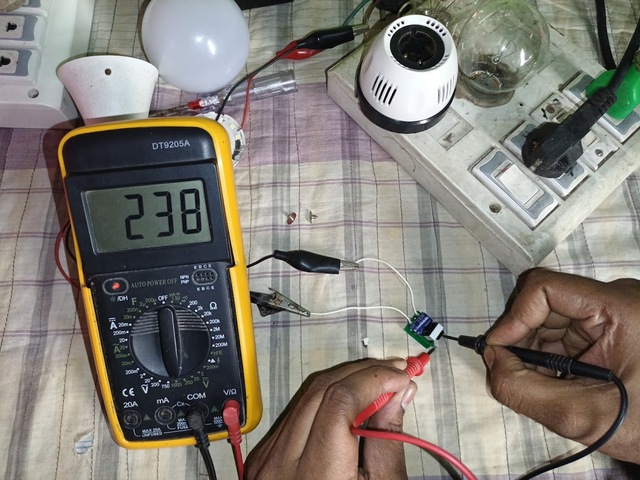
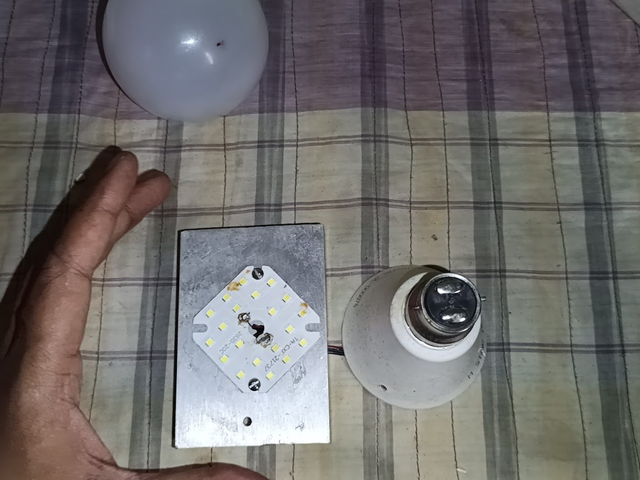
Then I connected the circuit to check if it was giving DC voltage properly. I tested the circuit and found that it was giving a DC 238 volts output, which proves that the circuit of my LED light is completely fine. Then I removed the previous burnt LED chip and collected a new, different model LED chip.
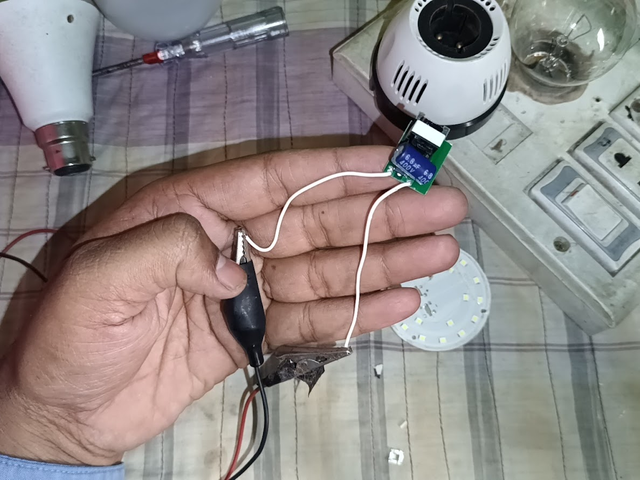
Step -04
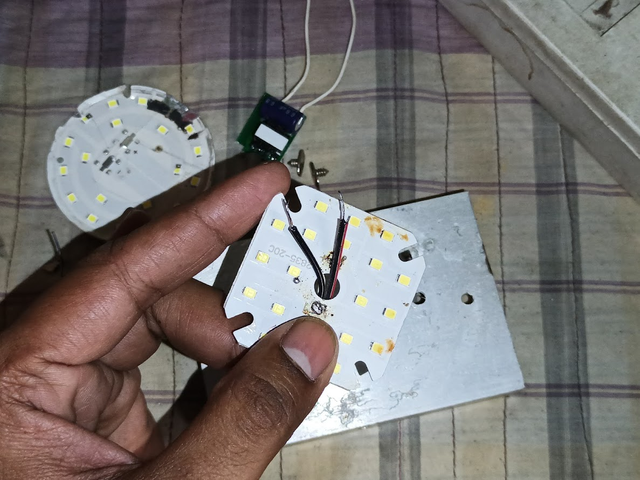
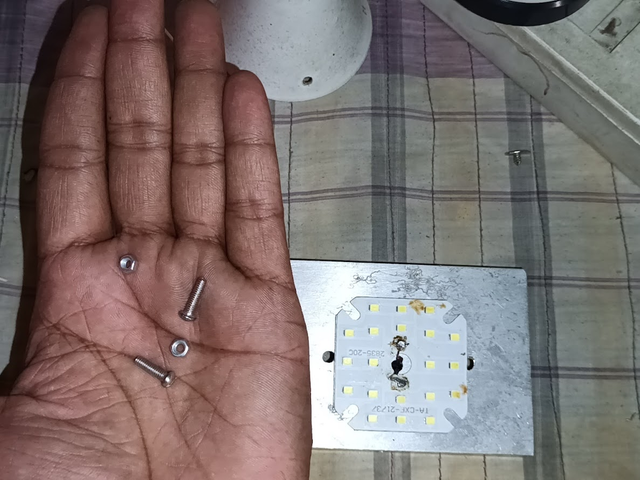
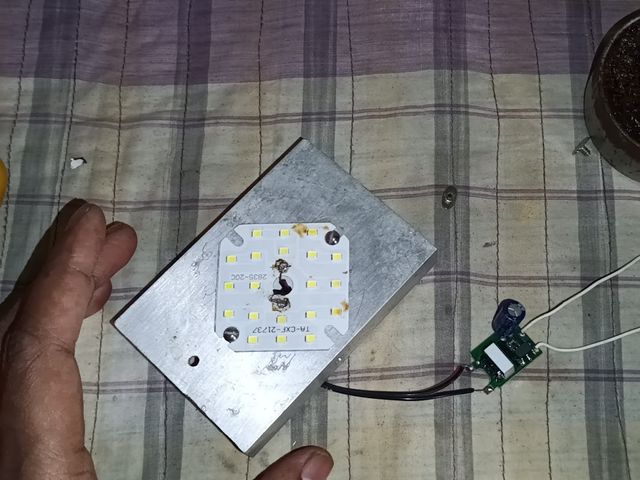
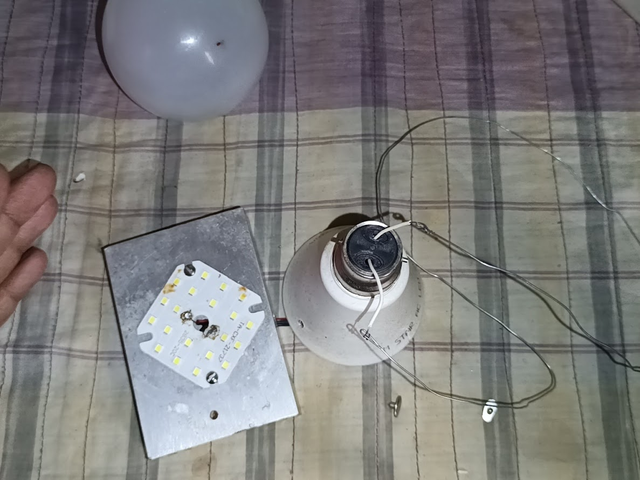
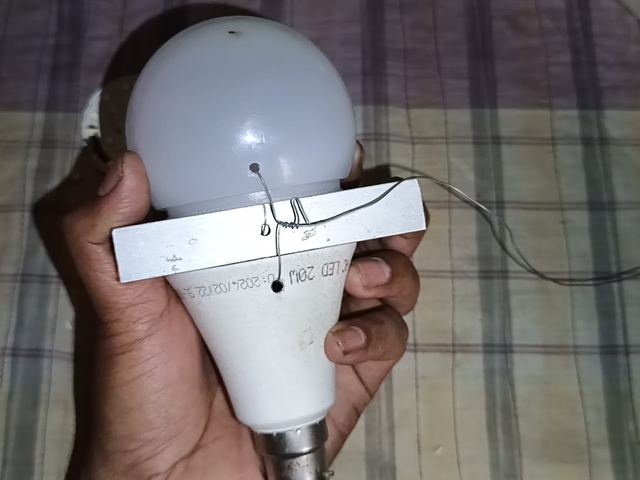
Then I soldered two red-black wires on the new LED chip. As you can see, there is a large heat sink under the light, which I used for modification. Using this heat sink will keep the light cool for a long time and reduce the chances of overheating and burning. Then I took four small nuts and bolts so that the LED chip can be firmly attached to the heat sink. After placing the LED chip neatly on the heat sink, I soldered the plus-minus wires of the LED chip properly to the plus-minus part of the circuit. Then, before fitting it to the body, I tested it again with 220 volts input for initial testing.
Step -05
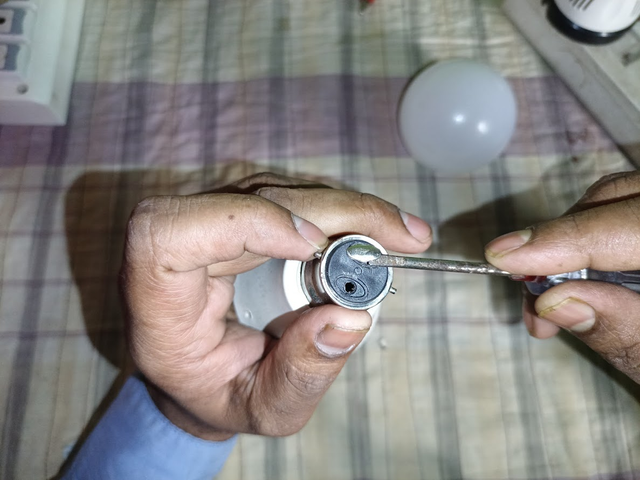
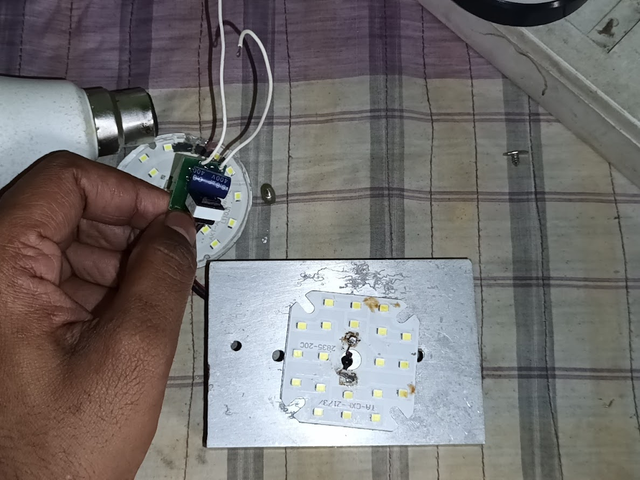
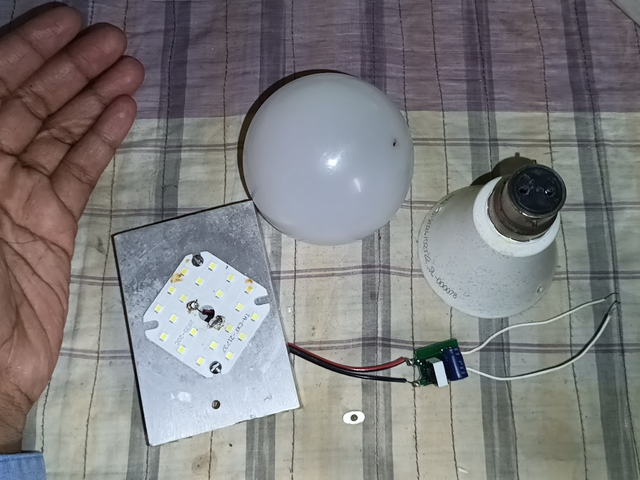
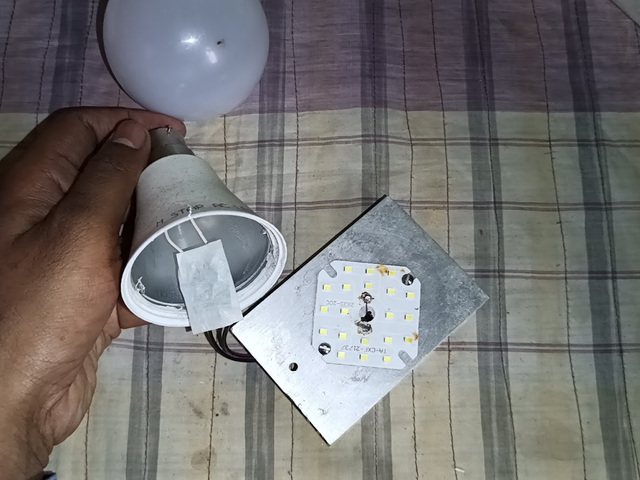
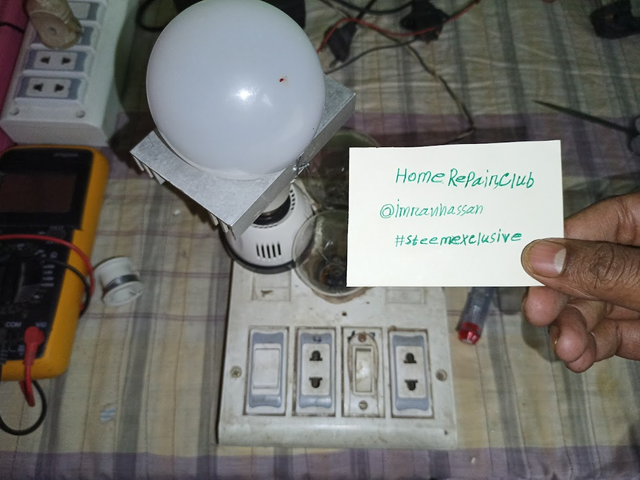
Then I turned on the switch of my series board, and immediately the newly fitted LED light lit up brightly. This confirmed that my project was working successfully. Now I prepared the circuit, LED light, and heat sink together to fit it inside the body, which you can see in the picture. Then, I used a wire cutter to pull out the circuit wire through the light holder. With the help of a wire cutter, I pulled out the two input voltage wires of the circuit through the light holder.
Step -06
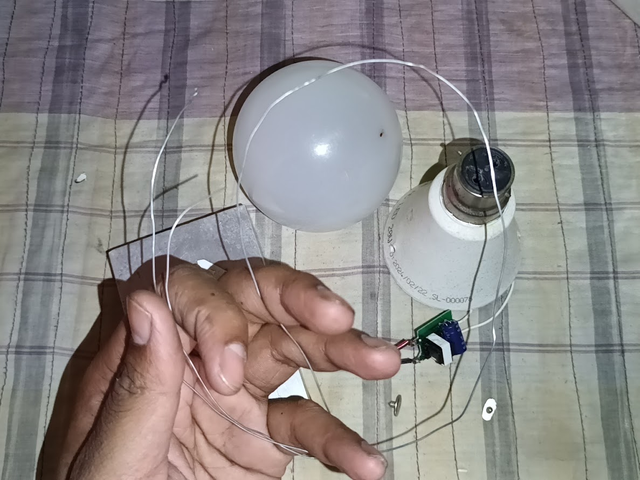
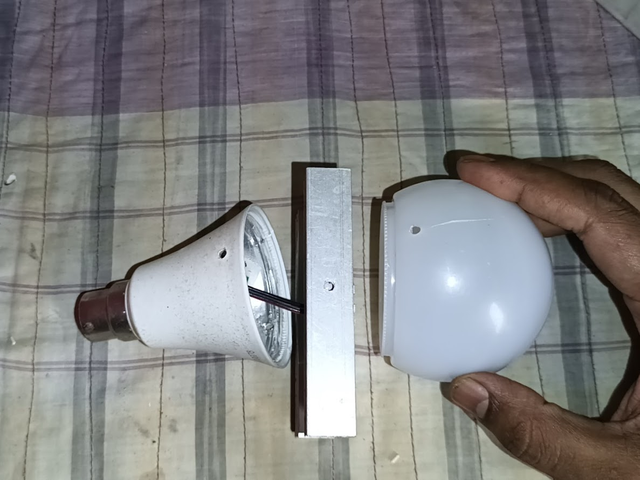
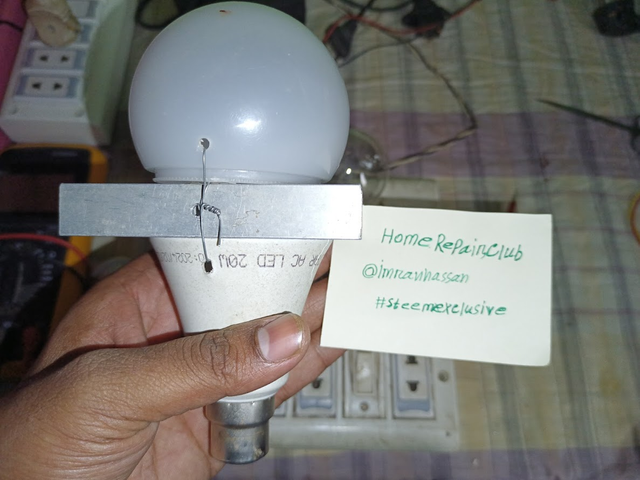
Then, I connected the two pins inside the holder neatly to hold these two wires properly, which you can clearly see. Even if it looks different, its service will be long-term. Next, I made sure that the circuit did not short-circuit by touching the thin heat sink on the previous body. For this, I put some insulating tape there for protection. Next, I connected the holder, heat sink, and the top white cover together to assemble the body of the light. After placing everything properly, I wrapped them neatly with the help of wir and fitted them properly. Although it looks a little different, it will be better in terms of functionality and durability. There will be no overheating problem due to the heat sink, so the light will serve for a long time.
Step -07
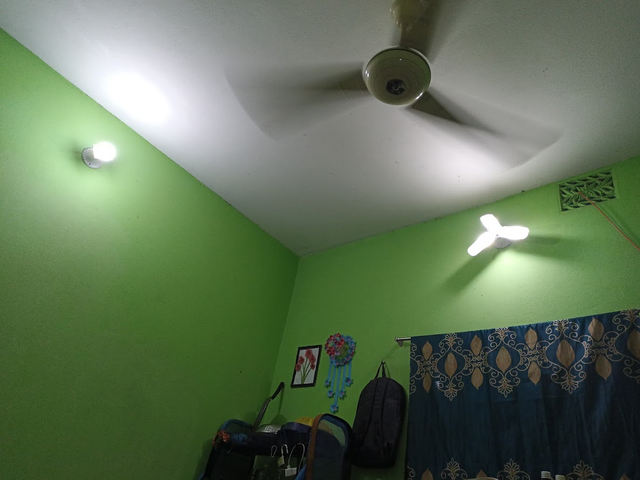
Then, when my work was completed, I tested it again to make sure. I placed the light in the bulb holder of my series board and connected it directly to the 220-volt AC input voltage. As soon as I saw it, the light lit up very nicely, and I was very happy to see it because all the modifications I had done were successful. After that, I installed the light inside my room. It is very bright and provides beautiful light, which is comfortable for the eyes. If I hadn't used the white cover on top, the direct intense light would have hit my eyes and could have damaged them. But now, it's giving off soft and natural light, which is suitable for long-term use.
Technical Specifications
Appliance
LED bulb
Brand
Non band
watts
20
AC Voltage
220 V
DC Voltage
230 V
Failure
The circuit of this light was fine, but the LED chip or bulb was burnt
Our #slc-clubrepairs23w1 home repair tutorial series will provide step-by-step instructions that will help you solve various problems easily. This tutorial will be published within a certain time frame, so if you want to participate, please complete your work within the specified time frame. I am sharing a video here about the details of this post, hope it will benefit you.
The tutorials for the first week of your Home Repair Club will be tracked with a specific tag. If you want, you can publish it on your blog or favourite community. Also, encourage your friends to join this learning club so that they can gain skills in repairing. I hope this tutorial will be helpful to you. If you have any questions or feedback, please let me know in the comments. I will answer you with interest.
Start date: February 17, 2025 End date: February 23, 2025, 11:59 PM (UTC)
Bro your first home repair tutorial is very nice. You have clearly explained each step and made it easy with pictures. For those who want to repair LED lights, this tutorial will be very useful. Also, the language of your tutorial is simple and fluent. You used captions with the pictures, which made it easier to understand.
Thank you very much, @mueeinislam I really appreciate your kind words and thoughtful response. I'm glad to hear that the tutorial was clear and helpful, especially with the pictures and captions. My goal is to make repair tutorials easy to follow for everyone, and it's great to know that you found this useful. I will definitely continue to work on providing more easy and understandable tutorials. Stay tuned for the next one, and thanks for the support.
Thank you so much for your kind response, brother! Your efforts to make the tutorials simple and understandable are really commendable. You are really doing a great job by providing clear and helpful information with pictures and captions. I am sure your future tutorials will be equally beneficial for everyone. Best wishes for your endeavors and success in all your future endeavors.
Es muy cierto lo que indicas referente a las bombillas o lámparas leds. Este tipo de dispositivos puede ser desechado rápidamente si no se sabe cómo aprovechar los componentes que aún sirven.
Usted ha demostrado que se puede reciclar y construir un nuevo dispositivo de iluminación eficiente y útil para el hogar.
El video es bastante completo, cuando se hacen trabajos prácticos es fácil entender solo con ver los movimientos de manos y de las piezas que se trabajan. Buen trabajo.
Thank you @rmm31 brother, your comment is really inspiring. LED light components are often thrown away as unnecessary, but with the right knowledge and skills, they can be reused. I tried to prove this by making an effective and long-lasting light. The LED chip I used here costs 10 tk in the market. And the heatsink I used to modify it costs 40 in Bengali tk. The price may be more or less depending on the location.
Thank you for your valuable feedback. If the video is easy to understand and understandable, then that is my success. I hope to be able to share more such projects with you in the future.
.png)


I promoted my post X here.
Bro your first home repair tutorial is very nice. You have clearly explained each step and made it easy with pictures. For those who want to repair LED lights, this tutorial will be very useful. Also, the language of your tutorial is simple and fluent. You used captions with the pictures, which made it easier to understand.
Thank you very much, @mueeinislam I really appreciate your kind words and thoughtful response. I'm glad to hear that the tutorial was clear and helpful, especially with the pictures and captions. My goal is to make repair tutorials easy to follow for everyone, and it's great to know that you found this useful. I will definitely continue to work on providing more easy and understandable tutorials. Stay tuned for the next one, and thanks for the support.
Thank you so much for your kind response, brother! Your efforts to make the tutorials simple and understandable are really commendable. You are really doing a great job by providing clear and helpful information with pictures and captions. I am sure your future tutorials will be equally beneficial for everyone. Best wishes for your endeavors and success in all your future endeavors.
Es muy cierto lo que indicas referente a las bombillas o lámparas leds. Este tipo de dispositivos puede ser desechado rápidamente si no se sabe cómo aprovechar los componentes que aún sirven.
Usted ha demostrado que se puede reciclar y construir un nuevo dispositivo de iluminación eficiente y útil para el hogar.
El video es bastante completo, cuando se hacen trabajos prácticos es fácil entender solo con ver los movimientos de manos y de las piezas que se trabajan. Buen trabajo.
Thank you @rmm31 brother, your comment is really inspiring. LED light components are often thrown away as unnecessary, but with the right knowledge and skills, they can be reused. I tried to prove this by making an effective and long-lasting light. The LED chip I used here costs 10 tk in the market. And the heatsink I used to modify it costs 40 in Bengali tk. The price may be more or less depending on the location.
Thank you for your valuable feedback. If the video is easy to understand and understandable, then that is my success. I hope to be able to share more such projects with you in the future.