Steem Art Contest | making greeting card with cardboard. By @ishayachris
I so much love paper craft, and I don't believe in wasting anything paper. As such, I always try as much as possible to recycle it. I believe that if we all can always give a second use to the papers around us, it will go a long way is preventing our environment from pollution.
For the sake of this contest, I will be making use of cardboard to make a greeting card for this community. Continue reading to know all the materials I used, and the procedures I followed to make it a success.
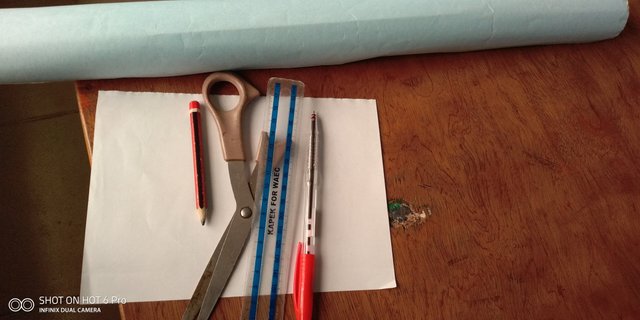
Materials used
Cardboard
A5 paper
Liquid gum
Pencil
Red pen
Green marker
Scissors
Ruler
procedures
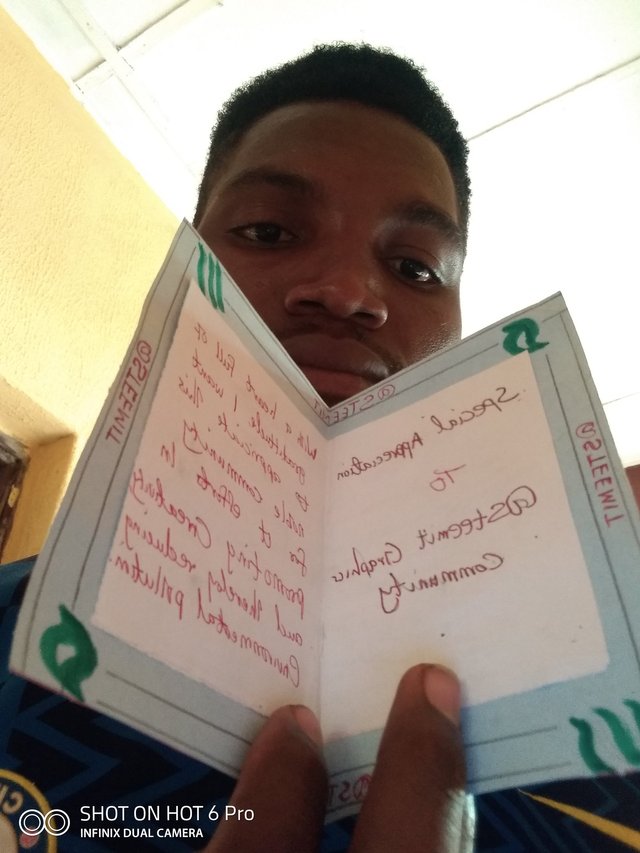
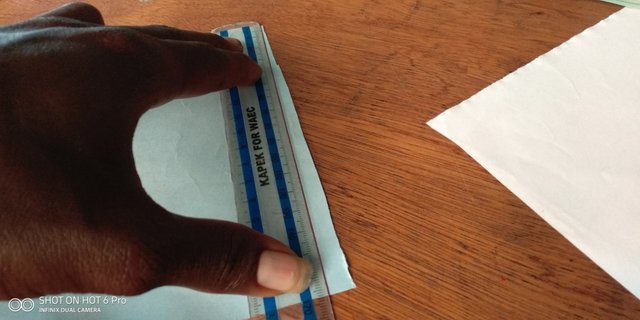
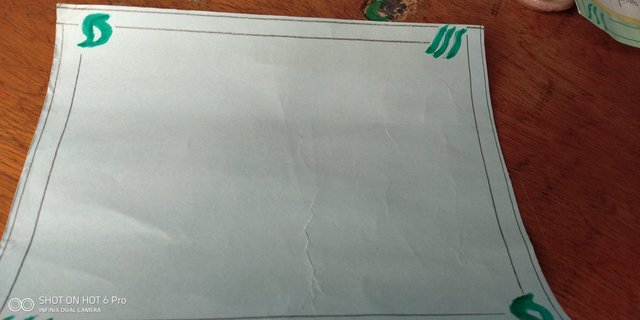
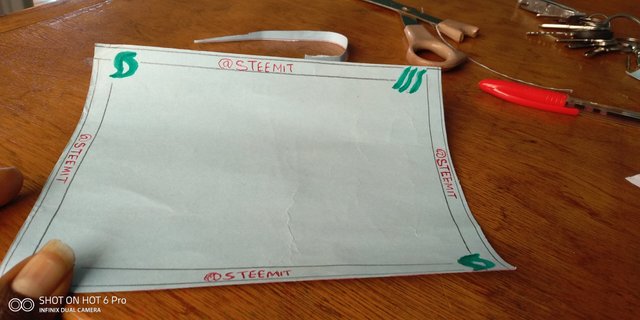
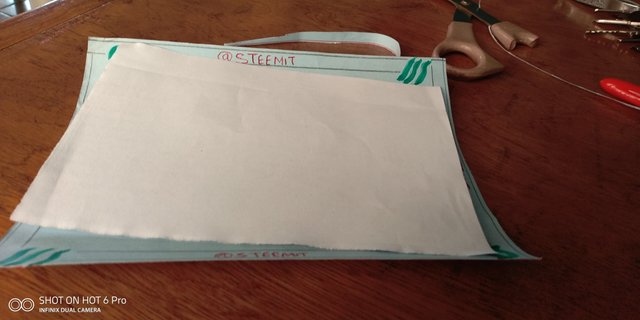
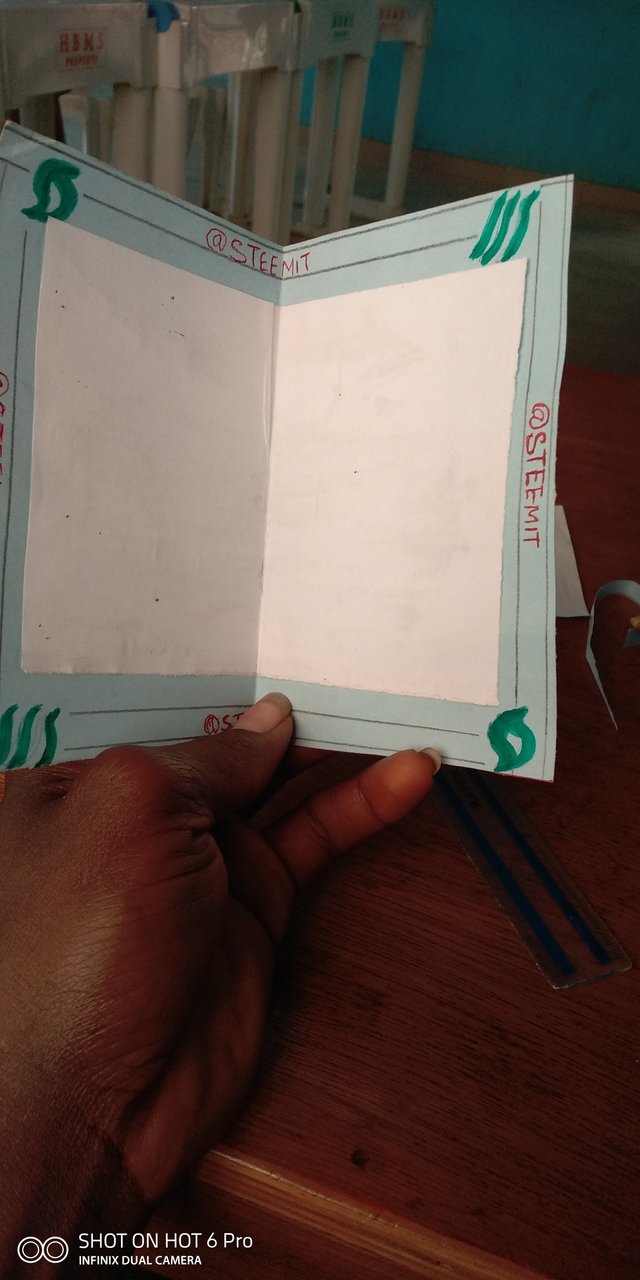
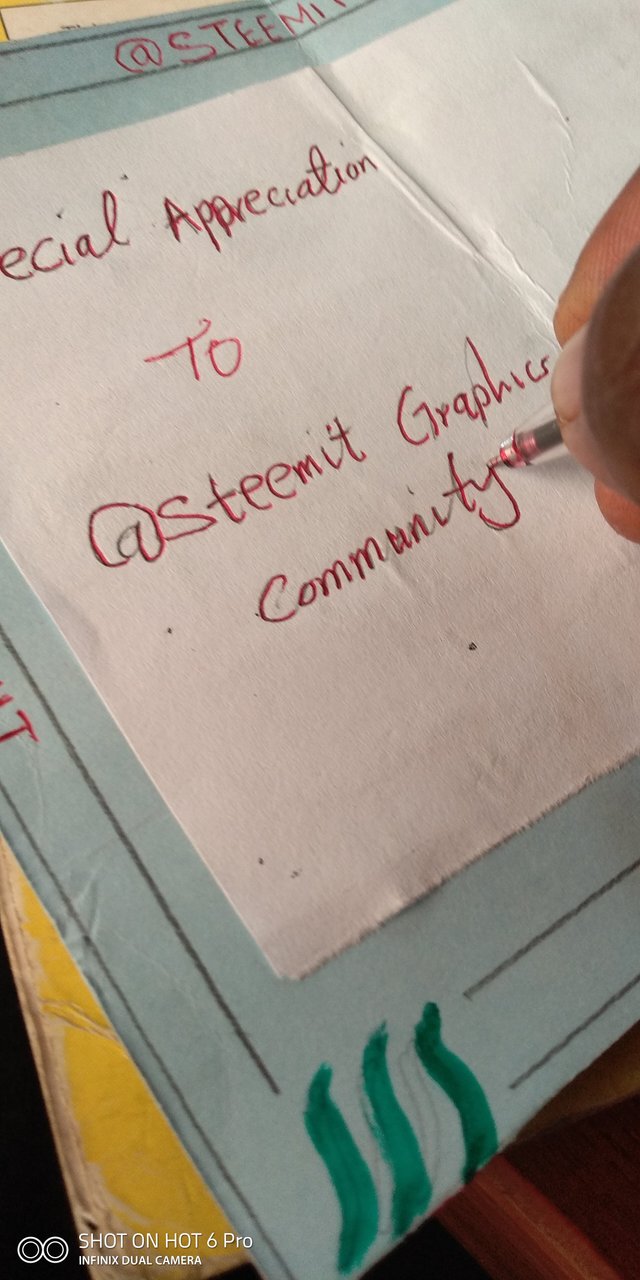
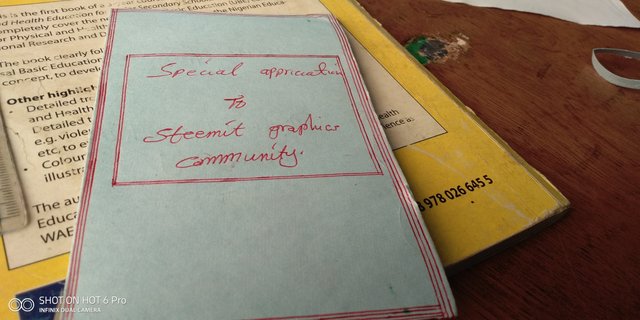
After cutting a little part of the cardboard, i used my ruler to measure both the length and the breadth of the little cardboard I will be using to make the greeting card. After the measurement, I used my scissors to trim the edges. I used my pencil, and the green marker to design the logo of steemit, as you can see below. I used the pencil to draw two parallel lines around the edges of the cardboard. After drawing the lines, I used my red pen to write @steemit between the lines. You can see that below I placed the A5 paper in the center of the cardboard, so that I can get the exact measurement of the paper that will carry my message. I applied my liquid gum on the cardboard, then I finally placed my white A5 paper on it. After gumming the white paper on the cardboard, I used my red pen to write the message I have in mind. As you can see from the image below, I wrote special greetings to @steemit graphics community on it. Finally, I turned the back of the cardboard paper, and I used my red pen to make some designs around the edges of the greeting card. After the design, I wrote special greetings to steemit graphics community on it. Here I come to the end of my greeting card, and I hope you all like the way I made it. Thanks for reading to the end. I invite @yakspeace, @v-brainer, and @mukka to participate.step1step2step3step4step5step6step7
Good effort dear friend thank you so much for take part in this contest. Best of luck for your entry.
Thank you sir. I appreciate your visit
Nice work bro. You're really creative, keep it up
Good job dear friend thank you so much for take part in this contest. Best of luck for your entry.
Thank you sir. I really appreciate
Hi, @ishayachris
Thank you so much for sharing your post at #steemit-graphics community. We are extremely happy to see your post.
Thank you so much for taking part in #club75.
Steem Power UP =374.724
Transfer Out Steem = 69.289
Thank you so much for the review
This is very beautiful, you have done a grate job. Thank you for sharing the steps. I wish you all the best.
Nice greeting card you made. With easy steps you done it simple for us. This is a tutorial post as well.
Thank you so much sir
Wow I admire your determination on the steem block chain. Great artwork sir. Thanks for sharing with us. Good luck