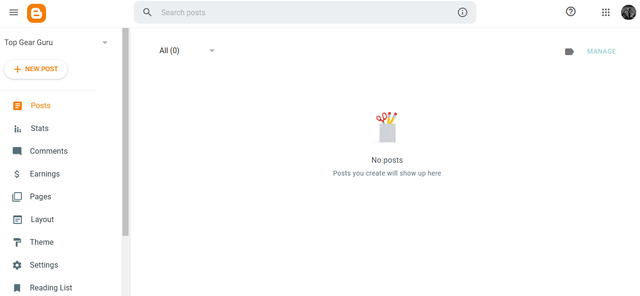
SEC-S21W1: Creating a Blog for Amazon Affiliate Marketing
Hey Steemian friends!
Starting this new season with Amazon Affiliate Marketing homework is an exciting task. Through this project I hope I will get a chance to share interesting products, and potentially earn a commission whenever someone buys something through my blog links 💰. Here’s a breakdown of how I approached each step to make my blog.
| 📱 Step 1: Setting Up the Blog |
|---|
To begin with I visited https://www.blogger.com/about/ page. Here either you can click sign in or “Create Blog” to proceed.
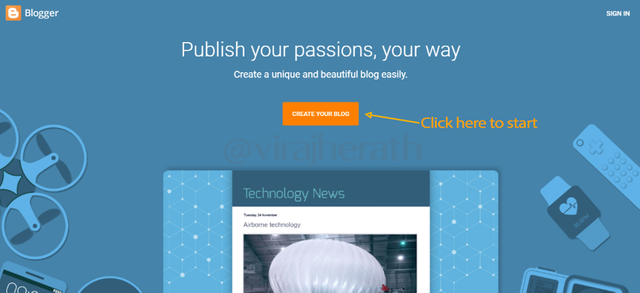
Blogger Home page
Both links will guide you to sign in with Google account.

Sign in with your google account
After that I was guided to another page where I had to chose a title that catchy and relevant to the products I want to promote. So, I gave the name for my blog as "Top Gear Guru"
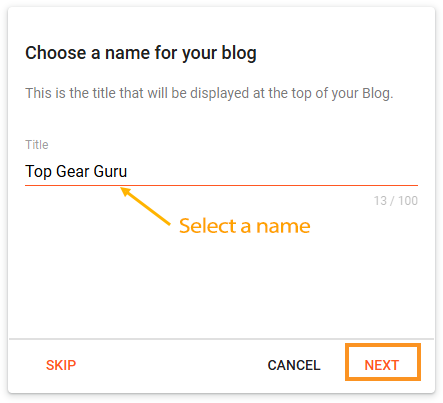 Name for the blog
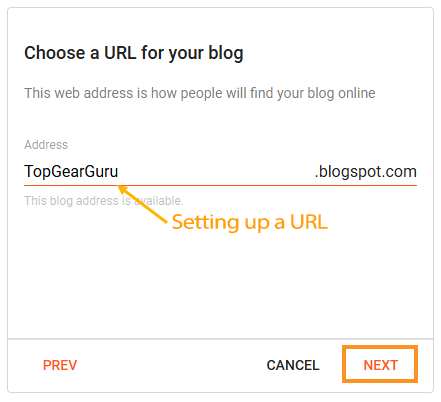 URL for the blog
After that, I picked a URL that was easy to remember, making sure it was connected to my blog's theme.

Next, I set my display name, I used the same name "Top Gear Guru" as it could be my brand name.
I then clicked “Finish” and moved on to the Blogger dashboard, where I could start customizing my blog and adding content.
Top Gear Guru Dashboard
| 📱 Step 2: Applying a Theme for a Professional Look |
|---|
Look of the blog would be crucial for anyone to engage, so as my tutor explained I downloaded the given custom theme that would make it look clean and professional. This is the link for the theme. After downloading the theme, I extracted the files from the ZIP folder to get the XML file.
Here’s how I applied the theme:
- I went to the “Theme” section in Blogger’s dashboard.
- Clicked “Customize”
- Then selected “Restore.”
- I uploaded the XML theme file from my downloads.
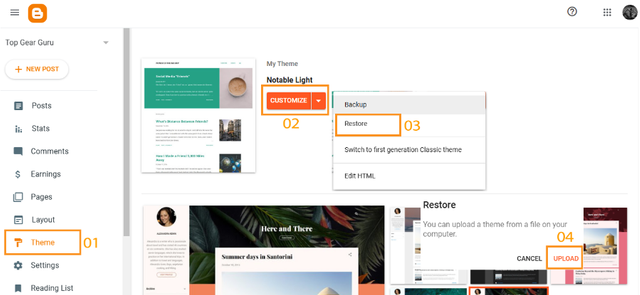
Each steps with different pop-up windows.
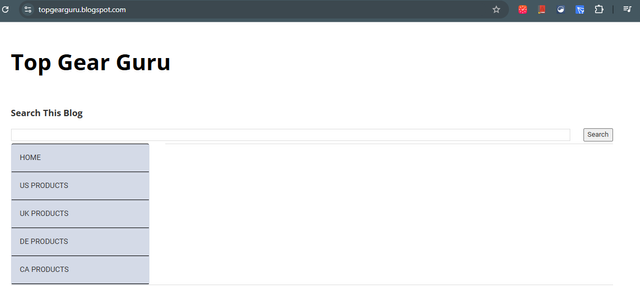
Within seconds the new theme gave my blog a fresh, professional layout.
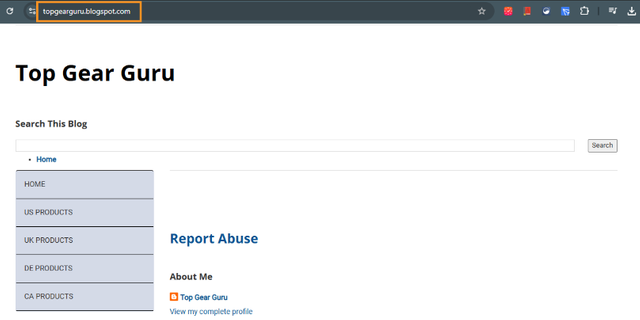 https://topgearguru.blogspot.com/ is ready for content
| 📱 Crafting a Consistent Product Post Template |
|---|
To make sure my product posts looked consistent, I removed all the unnecessary widgets to give a clear and fresh look to the blog. Then I uploaded the standard template given by the tutor to make my posts visually appealing.
Here’s what I did:
In the Blogger dashboard, I navigated to the “Layout” tab and removed the widgets such as report abuse, popular posts, Featured posts, Etc.
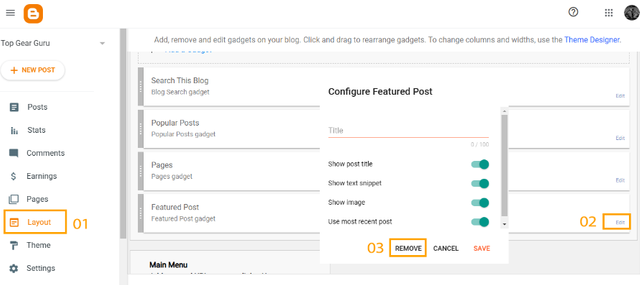
Removing all the unnecessary widgets
Look much more clear now.
Then again in the “Settings” tab I chose the “Post Template” section. I pasted the HTML template into the box and saved it, so every new post would automatically have a professional layout.
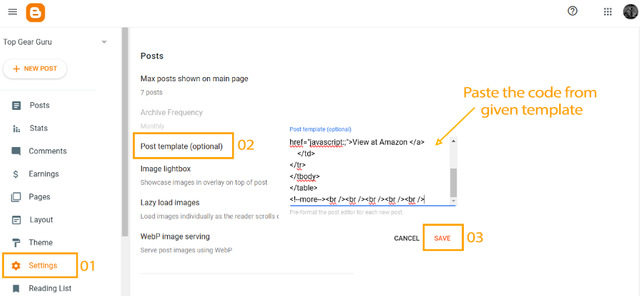
Having a consistent template saves a lot of time and helps the blog look polished
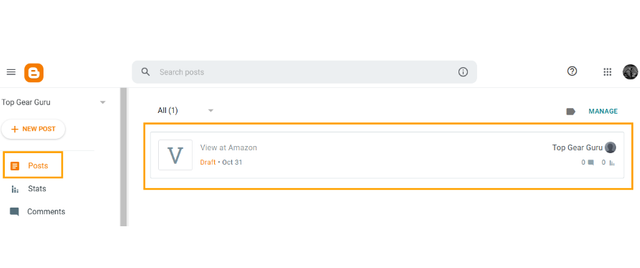
The 'View at Amazon' draft should show up if the code is set up correctly
| 📱 Choosing the Right Products to post on my blog |
|---|
Selecting the right products to feature is crucial. Here we are focusing on Amazon products so I spent some time on Amazon browsing through different categories and picking products that I found interesting and relevant. I decided to focus on a niche I’m passionate about "tech gadgets".
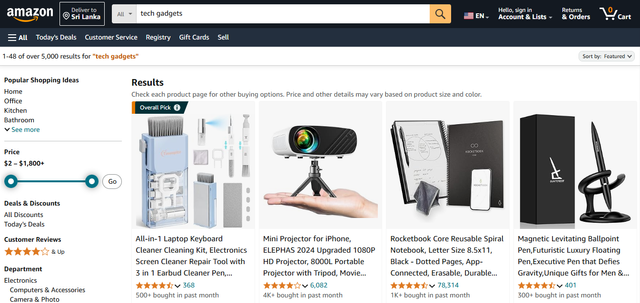 Browsing some tech gadgets on Amazon
Once I found a few items, I saved their details, including product names, main features, prices, and downloaded images that looked appealing.
| 📱 Writing the First Product Posts |
|---|
It was time to write my first product posts. So I navigated to "New Post" and start adding all the information as followed,
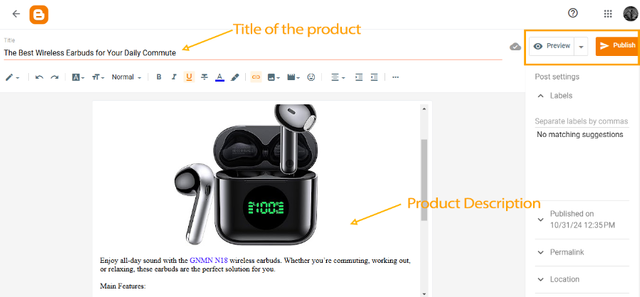
Title: I used a clear and catchy title, like “The Best Wireless Earbuds for Your Daily Commute”
Description: I provided a brief introduction about the product, highlighting why it stood out and how it could benefit the user.
Main Features: I used bullet points to list the key features, making it easy for readers to skim through the post.
Adding some Tech Gadgets to my blog
Once everything ready we can "Preview" to make sure the look on it. Then, I hit the “Publish” button to make my posts live on the blog. Likewise, I completed adding 03 products for now.
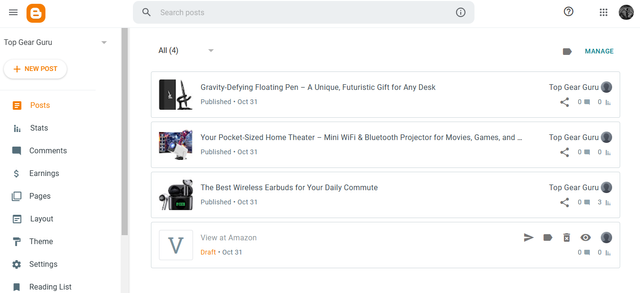
03 Products are ready for now!
My Blog Link: Topgearguru
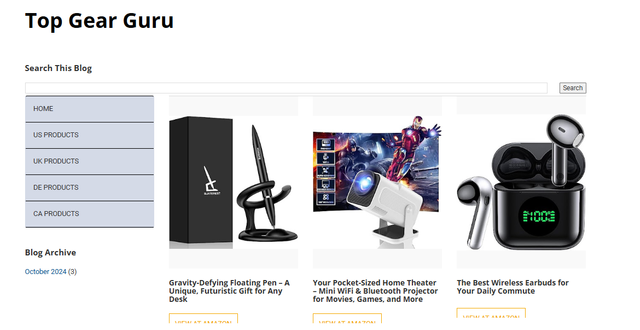
Look on the blog
Setting up an Amazon affiliate blog has been an exciting learning experience. In the next few lessons I hope to refining my content and learn how to engage with my audience to build a successful affiliate blog. Till then I hope this guide helps others who are interested in starting their Amazon Affiliate journey as a beginner.
Thank you for choosing such knowledgeable course @hamzayousafzai. Looking forward to taking on the next week’s lesson. I would like to invite @walictd, @kathy-cute & @casv to participate in this contest.
Thank you.
Peace to all 🙏
Cover image has been developed by Midjourney / Dall E and photoshoped by me. The remaining images are screenshots from my accounts, and I’ve ensured proper sourcing for all other pictures used.
Congratulations, your post has been upvoted by @scilwa, which is a curating account for @R2cornell's Discord Community. We can also be found on our hive community & peakd as well as on my Discord Server
Felicitaciones, su publication ha sido votado por @scilwa. También puedo ser encontrado en nuestra comunidad de colmena y Peakd así como en mi servidor de discordia