SLC-Home Repair Club S23W1||Repairing an Electric Stove
Good evening steemians @meraindia, it's pleasure to be here all thanks to the steemit team for creating such a wonderful opportunity for steemian to learn and also share their wonderful skills.
Today I'll be participating on SLC 23/WK1 Introduction and Welcome to the Home Repair Club. Once again I'm so happy to be here and I'll be sharing some tutorials of what I repaired at home .
Steem learning club week1 I'll sharing the repair I made which is electric stove and I'll be sharing the steps alongside.

I'm always proud to say this being the first child of the house I'm talented with some unique skills and I can take care of some electronics without talking it to the technician. Unfortunately our electric stove stopped working which made my mom to start complaining, tho I assured her that I'm going to fix it that she shouldn't worry herself.
So today I had to open the electric stove trying to check what's the problem so that I'll know the next step I'll take to fix the stove 😞
Before I begin my special regards goes to @imranhassan and @rmm31, which they'll be guiding us through the Steem Learning Club season 23 and I'm so happy to have them .
STEP 1 |
|---|
|
|
|
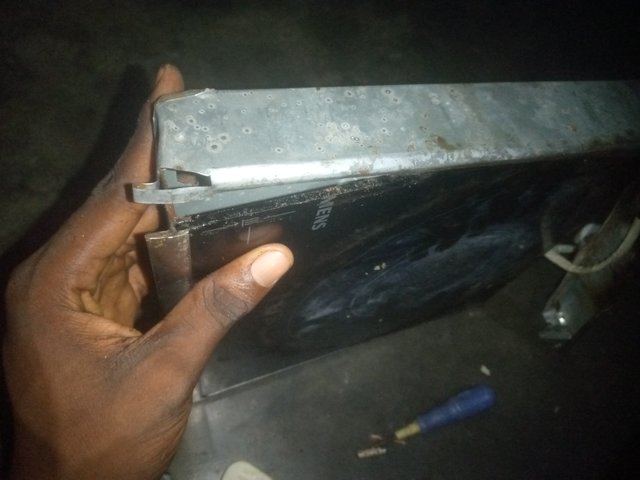
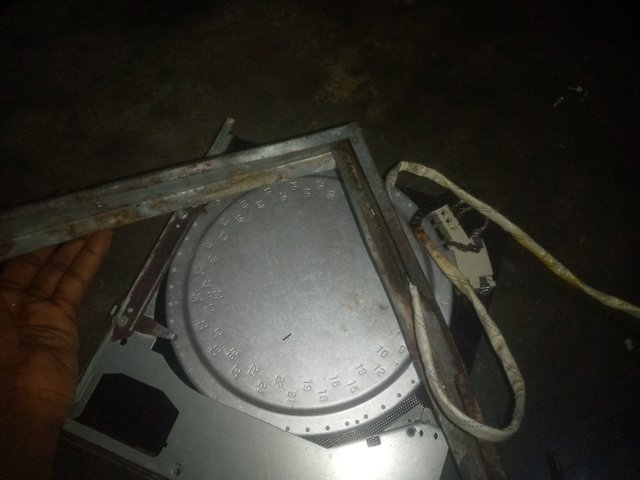
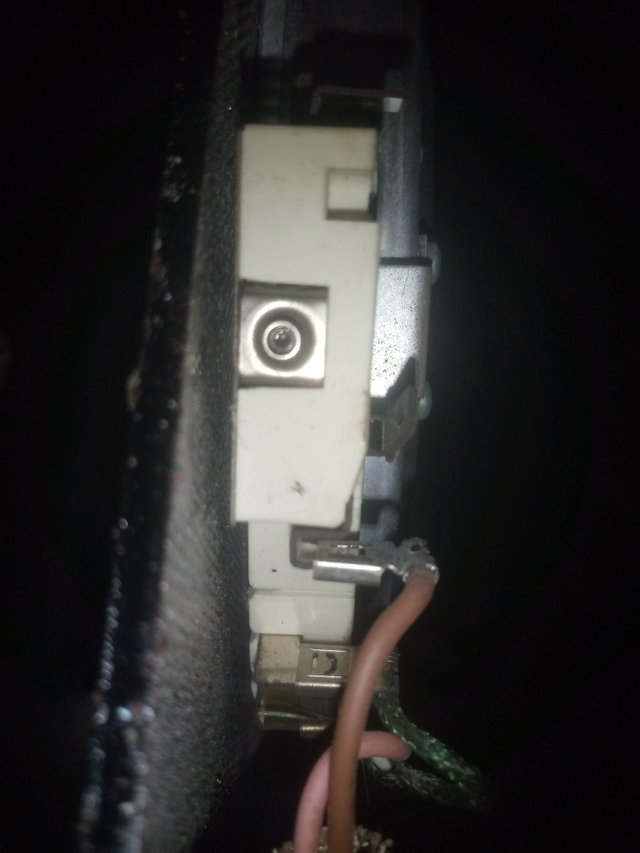
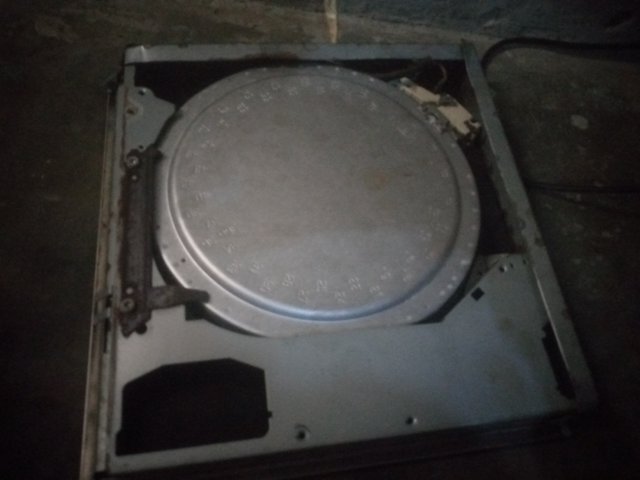
So the first thing i did was to loose the screw on the electric stone, so I used screwdriver to loosen the screw from the electric stove to enable me open it check what's the fault . So as I opened the stove I discovered some common components on the stove
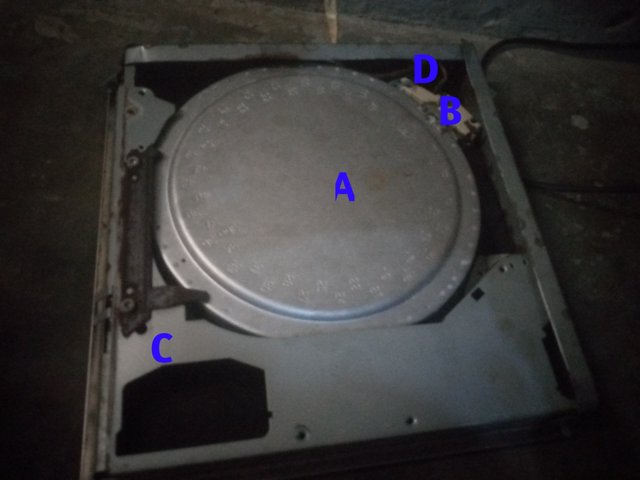
A. The Heater
B. Insulator (Ceramic)
C. The metals used to cover the stove
D. Wire
STEP 2 |
|---|
|
|
|
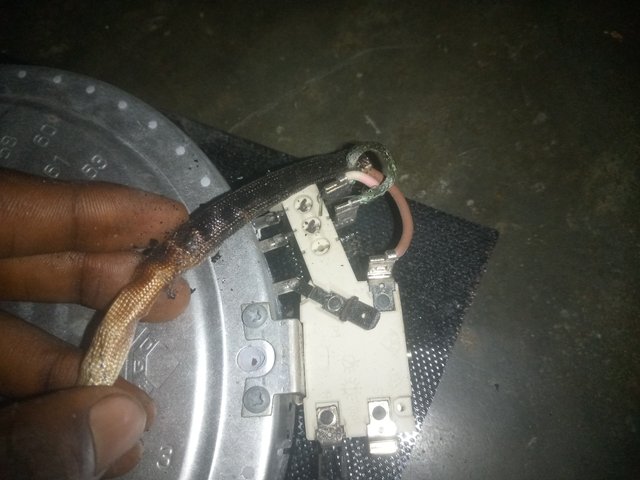
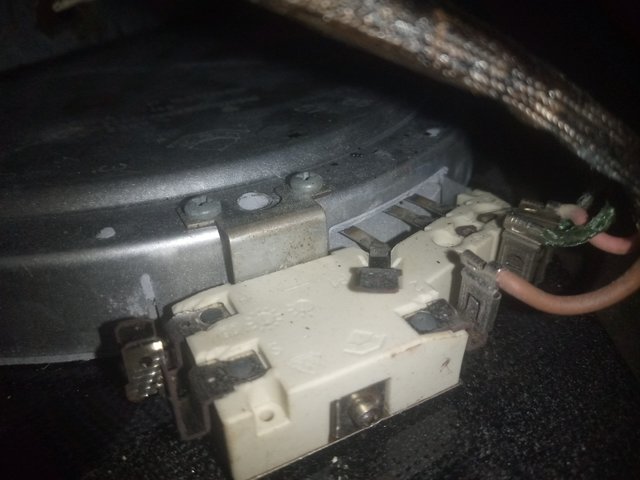
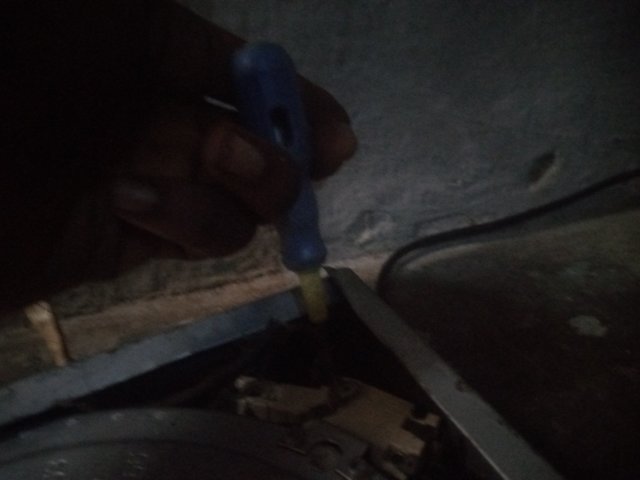
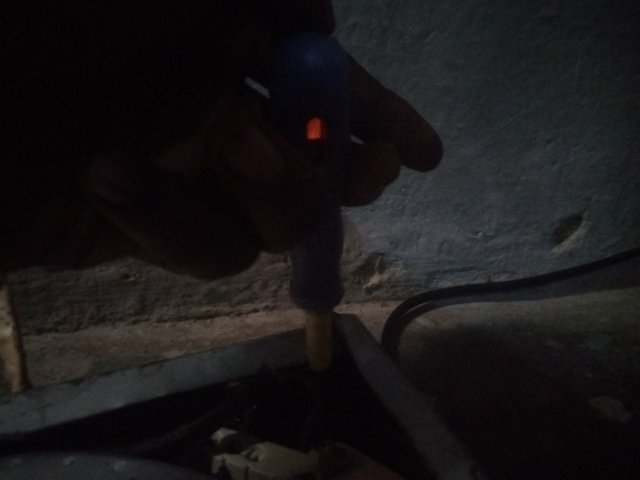
So as opened the stove I went through the stove to find out the issues so that I'll be able to fix it , then I had to check the connection circuit, from the wire of the plugging to the wire that of the heater to check if there's any burnt due to overheating . While I was checking I discovered that the wire pluggin burned and this disallowed current flow to the heater.
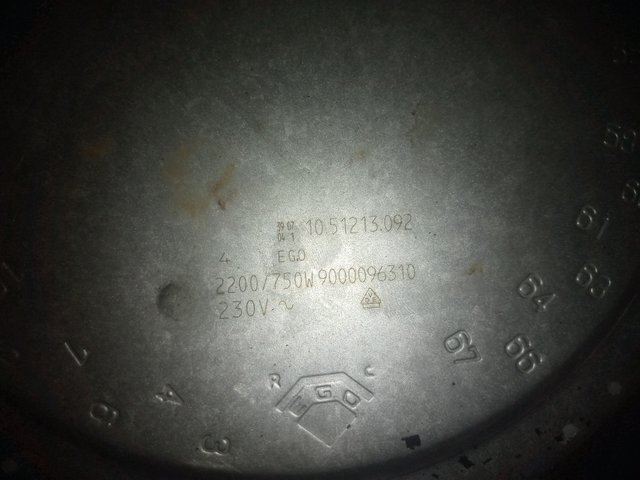
Checking of the stove , I discovered the voltage in of the heater because I couldn't find the name and other vital information of the stove because the stove is quite old
STEP 3 |
|---|
|
|
|
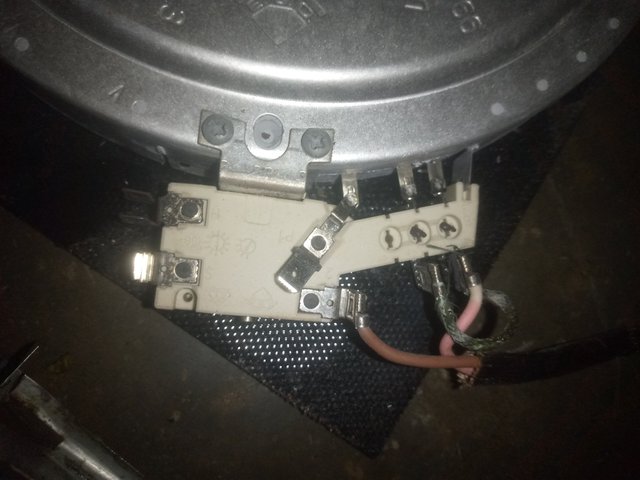
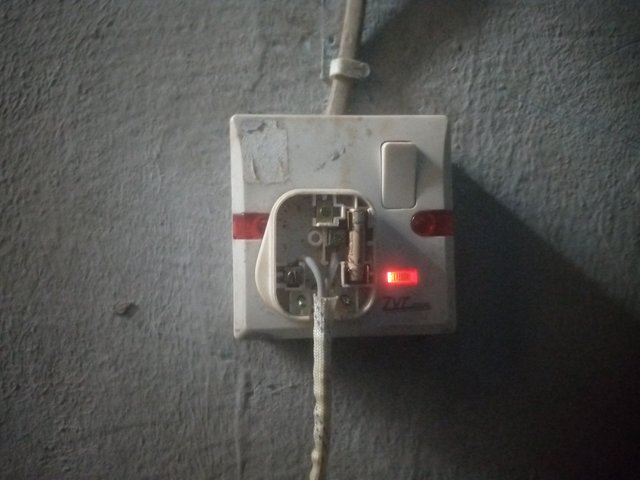
So guys after I discovered the burned wire I changed it to another one but I noticed that the the wasn't any current flow when I plugged the stove on the light and I used the tester to check the current flow in the circuit
STEP 4 |
|---|
|
|
|
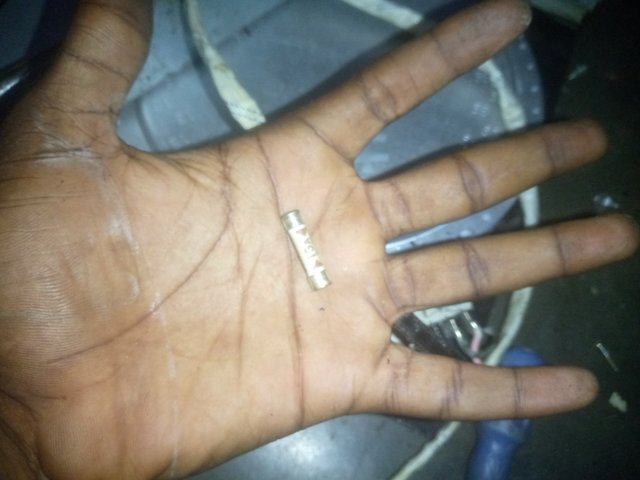
As I finished sorting out the wire side, I had to open the plugin to change of the fuse is still intact, so as I put the plugin luckily I was a spear fuse at home and I had to change the fuse and see if they'll be current flow on the circuit to the heater
STEP 5 |
|---|
|
|
|
After I finished changing the fuse I had to plugged the stove and see the results if it'll actually start working again.
While the stove was plugged to the electric, I had to use my tester to check if there's current because the electric stove don't have an indicator 😕. So as I cheed the circuit with the tester I discovered that there was current and the stove began to hot
STEP 6 |
|---|
|
|
|

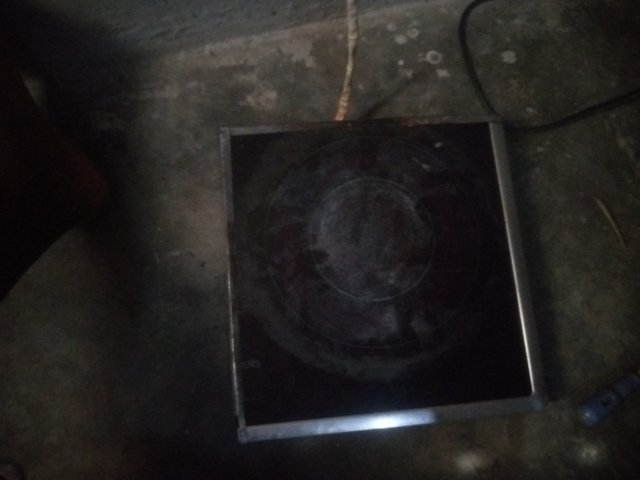
So I finished with the repair i had to fixed back the cover of the stove , so as I finished screwing everything, I had to plugged the stove on the electricity to observe if it'll stop again. So after 30 mins they wasn't any fault.
I'll be inviting some of my fellow steemians to participate on this week Steem Learning Club, @jozzie90,@samuelnkenta,@mirinda01

x promotion