SLC-Home Repair Club | S23W5 | Changing the Thermostat of a Rice Cooker.
Assalamualaikum Everyone. I am @imranhassan
From #Bangladesh
.png)
Project Summary
Recently, I solved a problem with a customer's rice cooker. The customer complained that the cooker was automatically switching from cooking mode to warm mode before cooking started and then stopped cooking. It seemed obvious that it could be a problem with the thermostat. So, I decided not to check it and be sure. In this post, I will explain the process of changing the thermostat of a rice cooker step by step and how to fix it.
Cause of the problem and solution plan
First, I opened the rice cooker and checked the thermostat. A continuity test using a multimeter shows that the old thermostat is not beeping and is showing 25Ω, which is a sign of its failure. So, I bought a new thermostat and changed it.
Steps:
Disconnect the power (for safety). Open the bottom cover of the cooker and find the thermostat. Test with multimeter (old one is broken, new one is fine). Open the old thermostat and install the new one. Connect the wires properly and put the cover back on. Turn on the cooker and test – now it is cooking properly.
Conclusion
By doing this, I have gained practical experience in changing the thermostat of a rice cooker. This is an important task, because if it is not working properly, the cooking remains incomplete. I hope this experience will be helpful to other electronics repairers and those who are interested in learning.
I am going to start my tutorial posts.
Step -01
 |  |
|---|
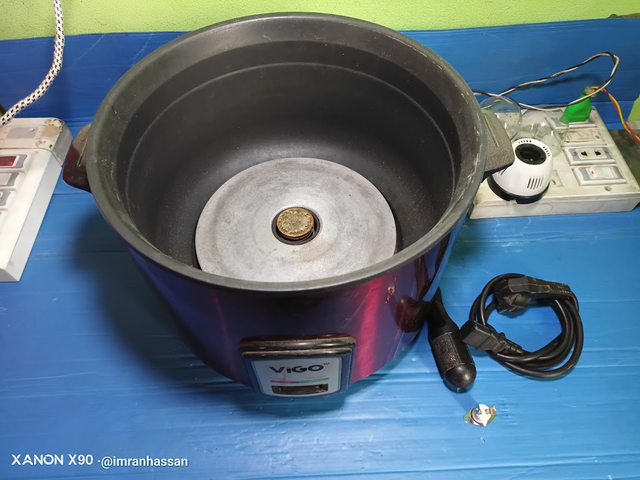
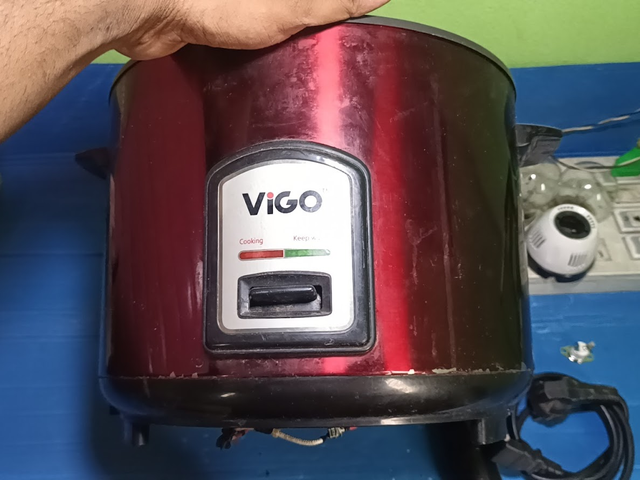
First, I took the rice cooker to my work table and am preparing to explain each step of the work to you. As you can see, this is a rice cooker from the Bigo company. Before this, the connection wire had come loose once, which I fixed.
Step -02
 |  |
|---|
Next, I mentioned earlier that there is a problem with the thermostat of this rice cooker. So, first of all, I disconnected the line from the thermostat and connected the two lines directly and tried running the rice cooker. Through this, I confirmed whether the problem is indeed in the thermostat.
Step -03
 |  |
|---|
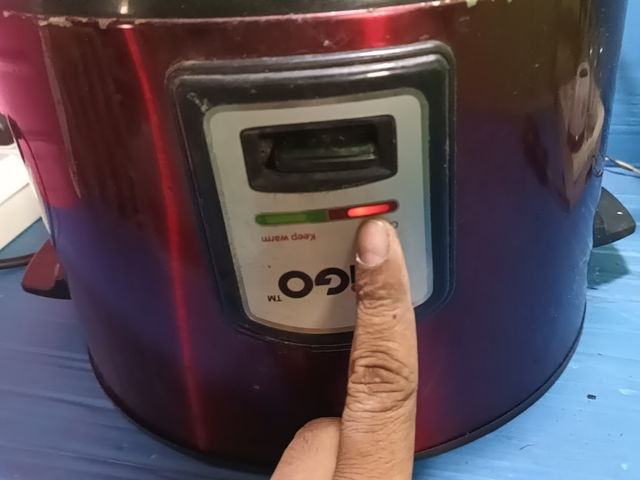
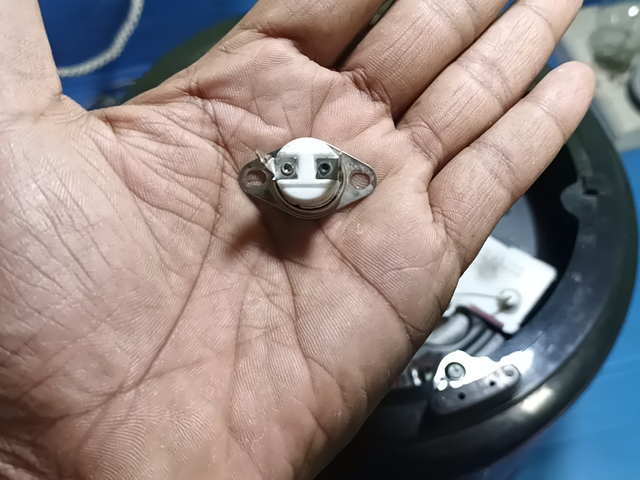
After shorting the line, you can see that after applying 220 volts, the cooking section light of the rice cooker lights up and the heating coil starts working. The cooker starts heating, and I tested it by running it for 10 to 15 minutes. During this time, the rice cooker did not turn off, so I am sure that the problem lies in the thermostat. Then, I took the new thermostat in hand, which I will now present to you.
Step -04
 |  |
|---|
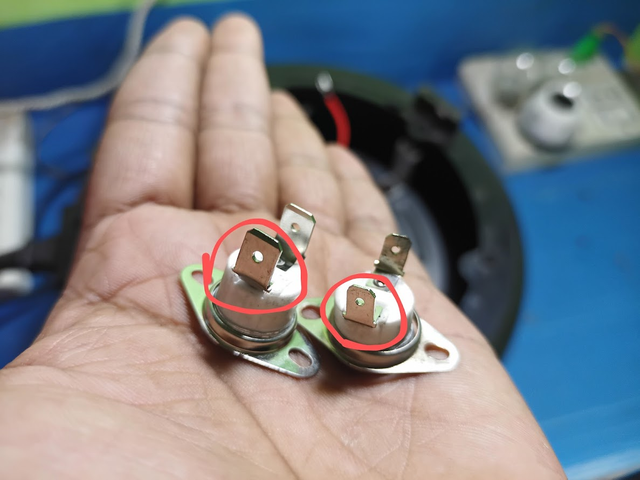
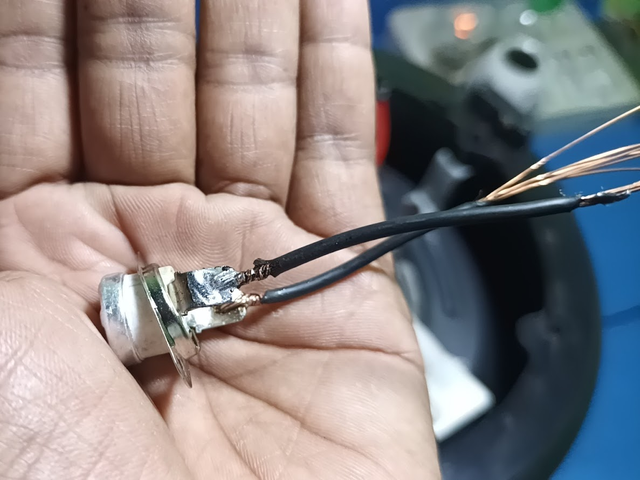
While installing the new thermostat, I faced a big problem, which stopped my work. As you can see, the two pins of the old thermostat are small, where the connection was given. But the new thermostat that I bought has a big connection pin, so it is difficult to connect. As a solution to this problem, I took a good quality, strong wire and later soldered it to ensure the connection. In this way, the thermostat will work properly and the rice cooker will run properly.
Step -05
 |  |
|---|
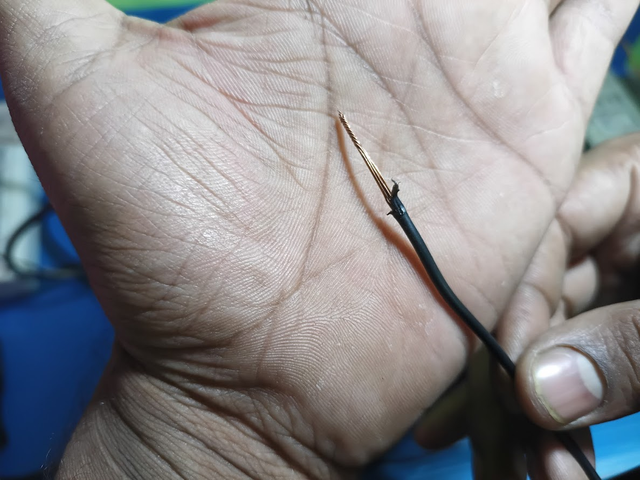
Next, as you can see, I removed the plastic cover on the strong and thick wire that I took for the connection and exposed the copper part. Then, I carefully twisted it around the pins of the thermostat to make the connection strong. Then, I soldered it neatly with the help of a soldering iron, so that the connection is stronger and more permanent. This will avoid the problem of loose connections, and the thermostat will work properly.
Step -06
 |  |
|---|
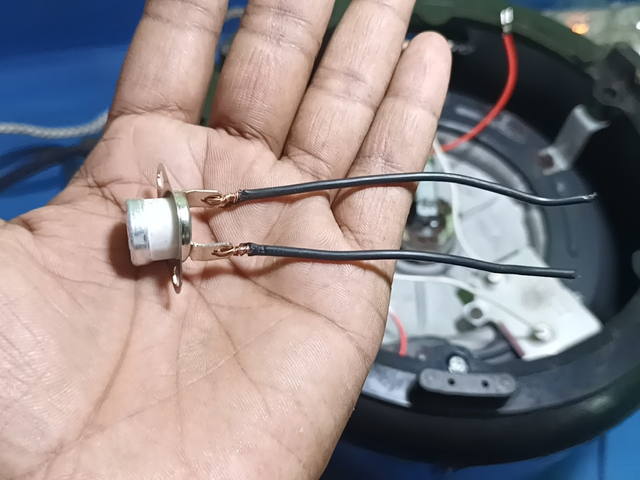
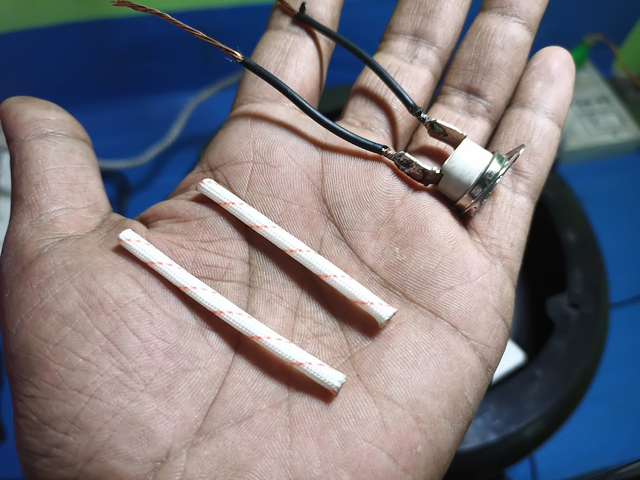
Then, when the thermostat was soldered and I was going to replace it in the rice cooker, I faced another problem. If the wire is connected directly, the plastic cover may melt due to high heat, which can cause short circuits or other problems in the future. So, I bought a heating insulation cover from our local store and put it over the wires so that the connection is safe and long-lasting.
Step -07
 |  |
|---|
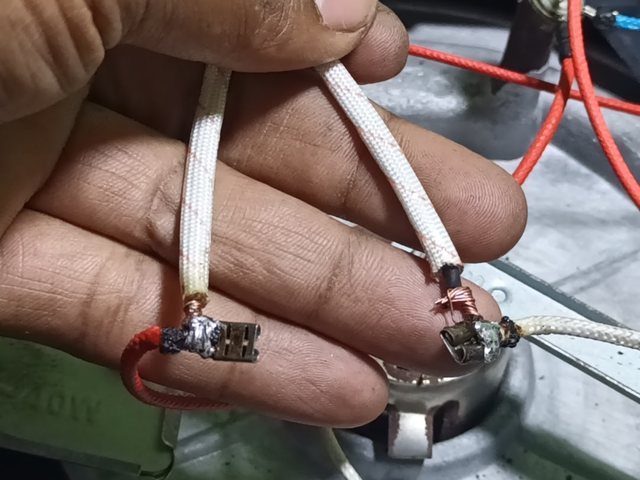
Next, I did not cut the connection pins of the previous thermostat of the rice cooker. Instead, I wrapped the wires of the new thermostat neatly around them. Then, I prepared the connection using solder paste and soldered it tightly with solder wire so that the connection is strong and does not come loose.
Step -08
 |  |
|---|
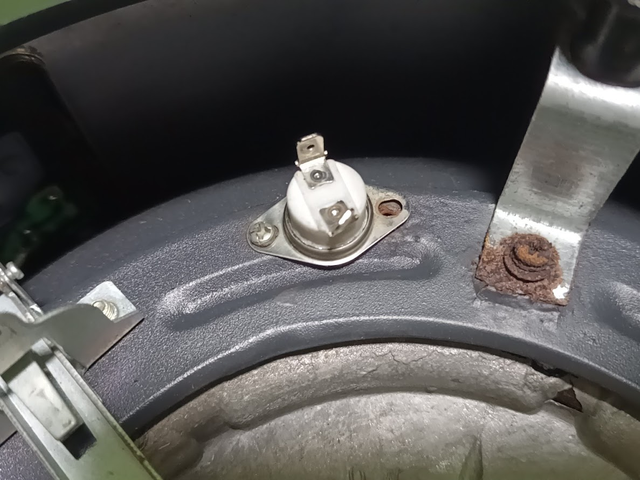
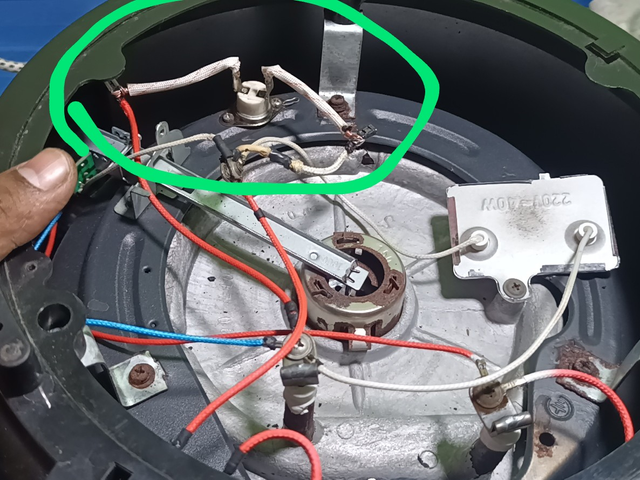
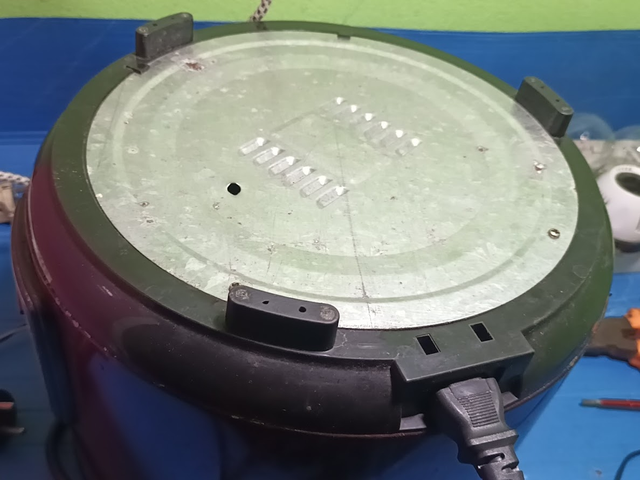
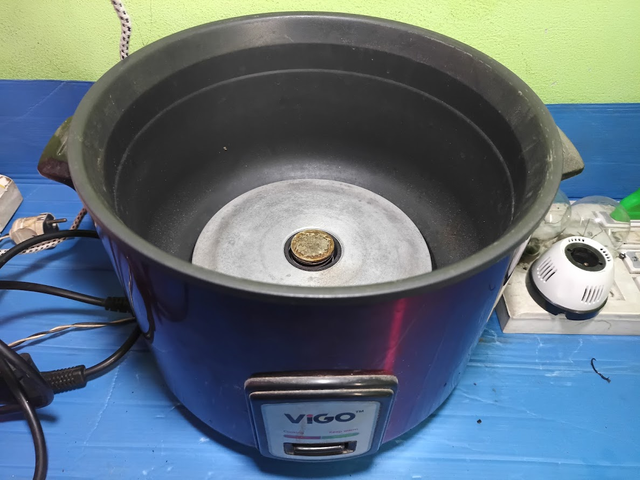
After completing all the connections, I replaced the new thermostat in its original place next to the heating plate of the rice cooker. Then, I firmly fixed it with two screws—which you can see in the blue highlighted area. Once everything was set properly, I put the bottom steel cover on so that the entire structure of the rice cooker was as it was before.
Step -09
 |  |
|---|
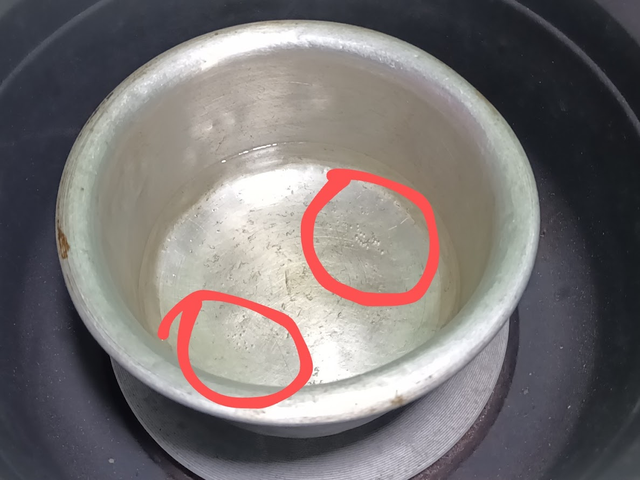
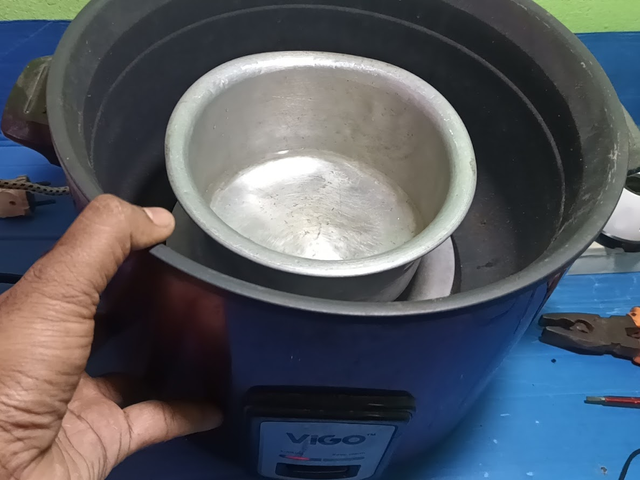
Then, I connected the input voltage to the rice cooker, and it started working normally. Next, I took a bowl of cold water and put it in the rice cooker and waited for a while. As you can see in the red highlighted area, the water gradually heated up and started to steam. This proves that the rice cooker’s thermostat is now working properly and controlling the heat properly.
Step -10
 |  |
|---|
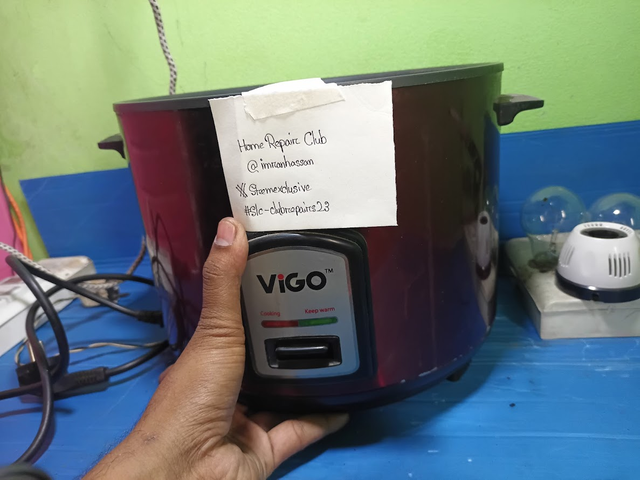
Finally, I finished the entire rice cooker and put it on my table, ready for the final test. Then, I took a picture with my club name and username written on it, which will serve as proof of the authenticity of this project and my work. This confirmed that the rice cooker is now fully functional and working properly after changing the thermostat.
Technical Specifications
Rice Cooker Repair Details
| Appliance | Rice Cooker |
|---|---|
| Brand | VIGO |
| Model | VGO-RC(50-05)SS |
| Capacity | 3.0 Liter |
| Power | 1100W |
| Voltage | 220V |
| Frequency | 50Hz |
| Failure | Thermostat problem, switching off automatically |
| Solution | Replaced and soldered a new thermostat with proper insulation, now fully operational |
| Video Tutorial: To better understand the practical part of this tutorial, you can watch the video below. |
|---|
| 📢 These courses and challenges will run from today until 11.59pm UTC, on Sunday, March 23rd, 2025. |
|---|
Here are our selection criteria for the Home Repair Club; if you want, you can read the post and understand it: Clubes de Aprendizaje de Steemit Temporada 23 | Introducción y Bienvenida al Home Repair Club
I invite you to join the Home Repair Club. @mdpolasmia @shihabuddin48 @onomzy001 @sheikhtuhin @delwar12
Photography Details: 📱DeviceWalton Xanon x90
Best regards
mentor: @imranhassan
mentor: @rmm31

I promoted my post X here.