1kva Solar Installation to end the year!
Yesterday was a fantastic day,a fulfilled day, I would say, filled with a sense of accomplishment.
I embarked on a journey to install a 1kVA solar power system for a client at Stadium road, Uyo.
The day began early, with some huge harmattan wind that made some of us to think that we are already in Europe due to too much cold..
I had a hearty breakfast and a clear plan in mind.
I gathered all the necessary installation equipment in my bag as well as some core components indicated below:
- 4 Pieces of 200-watt Canadian solar panels
- 1 Piece of 220Ah tubular battery
- 1 piece of 60A charge controller
- 23 meters of 6mm DC cables.
Day 1: Mounting Structure for Solar Panels (23rd December, 2024)
Meanwhile, just before I proceed to the installation details of the panels, I had already installed a solar panel stand the previous day which was on Monday 23rd December, 2024.
This stand is way more better than the one I did few weeks ago at the Uyo High school solar charity project.
We make improvements everyday in our lives and skills right? Well, I did it too in this aspect. There is always a secind chance...
I actually used a different welder. And this time, I gave careful attention to the neatness of the job and the strength of the structure.
Here, I remembered @don-t suggestion and I improved my job.
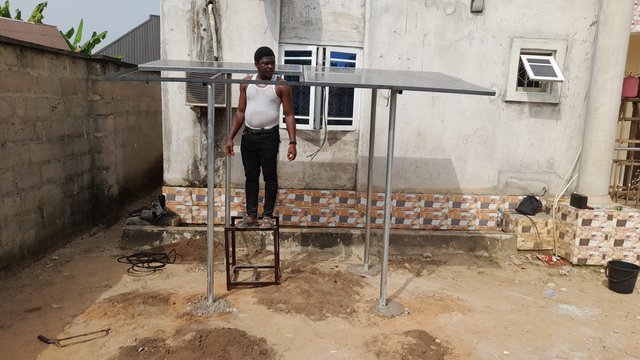
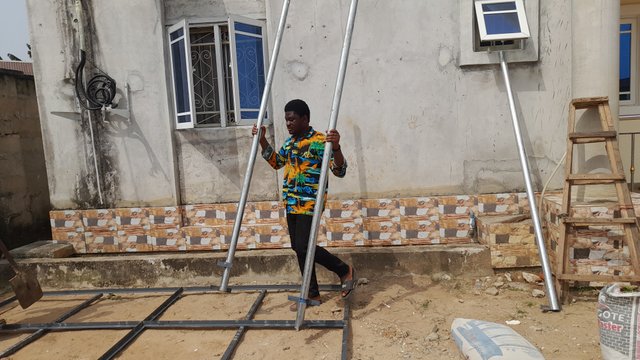
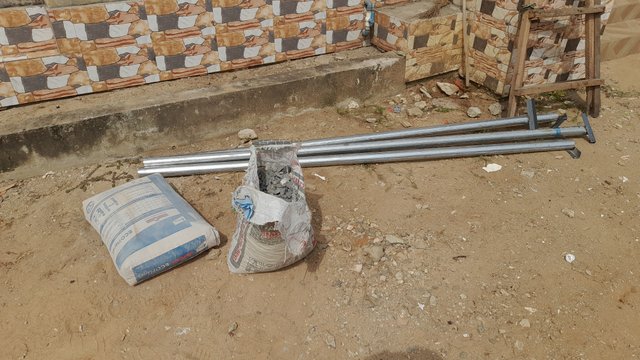
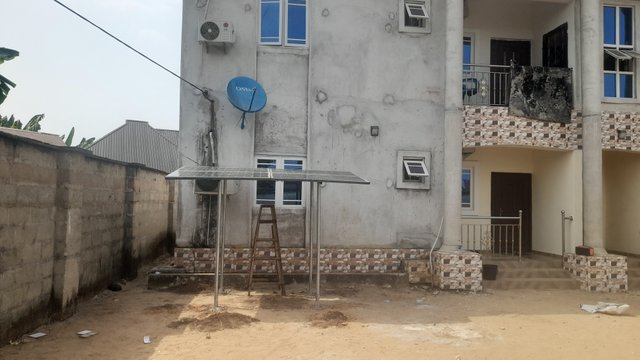
The solar panel stand is made of 2 inches galvanized pipe as the base structure (frame). And 2 inches strong angle iron for the panels base.
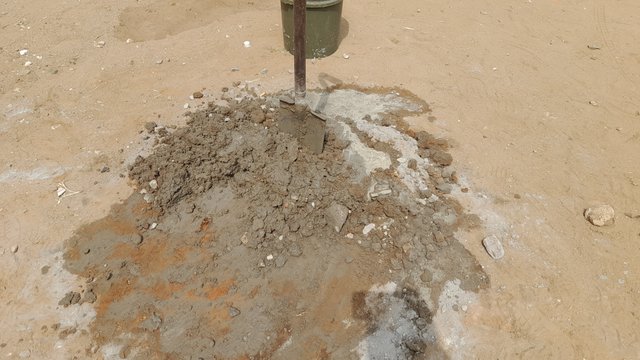
Mixing of cement, sand and gravels.
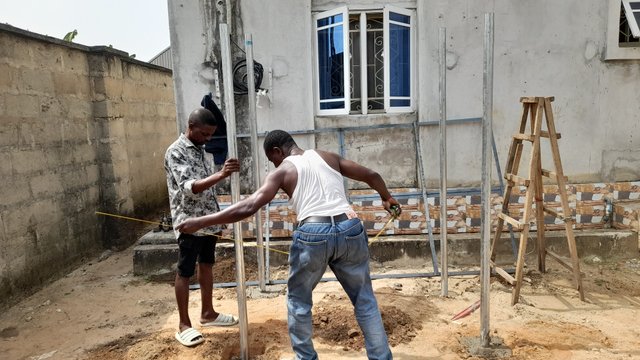
1 and a half ft of each of the galvanized pipes were buried
About 1 and a half inches were buried in the ground with cement and gravels for solidification.
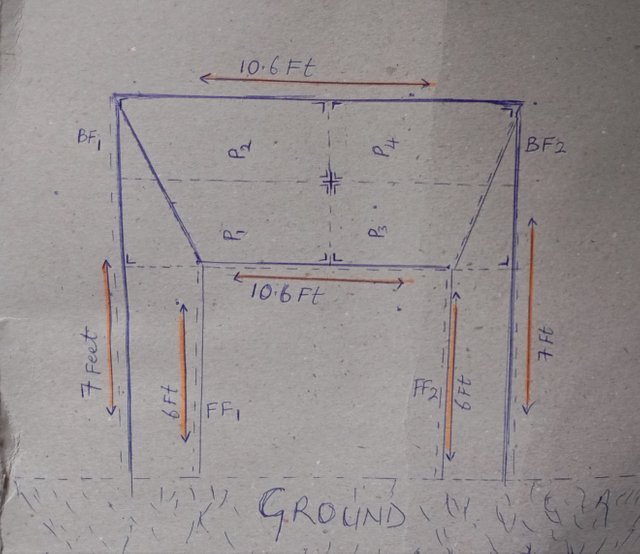
I have given a brief dimension explanation on the image below:
BF1 and BF2 represent the two back base pipes, of which each of their length from ground level is 7ft.
FF1 and FF2 represent the two front base pipes, of which each of their length from ground level is 6ft.
P1 to P4 indicates where the 4 panels were placed horizontally accordingly as displayed on the image above.
The panel I used has the dimensions below:
🔹Length: 63.6 inches (5.3ft)
🔹Width: 38.4 inches (3.2ft)
🔹Edge depth: 2 inches
There is no amount of wind that will blow that off 😄, and it's not even shaking. After mounting the structure, I allowed the cement to dry and continue my solar installation the following day.

Day 2 : Installation Process (24th December, 2024)
I got to my client house and the installation process began...
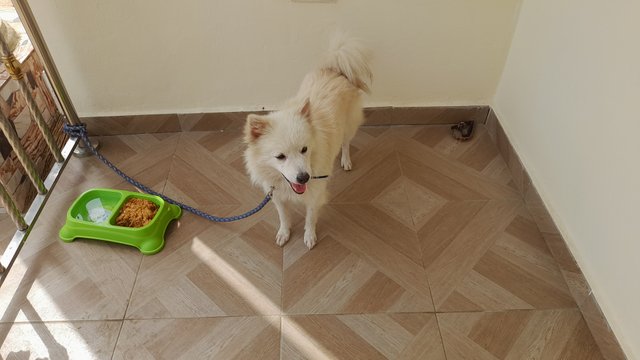
Actually, I first said hello to his beautiful and fearless dog who was always fighting till we become friends at the end.
With my tools and equipment ready, I started the installation process. Here's a step-by-step guide on how I did it yesterday:
First, I ensured that the area received sufficient sunlight and was clear of any obstacles. I actually put this into consideration before mounting the panel structure. And I encourage any who wish to install solar to consider this first if they aren't using the rooftop of the building.
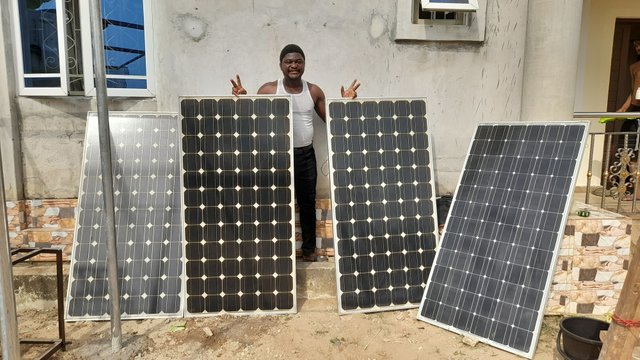
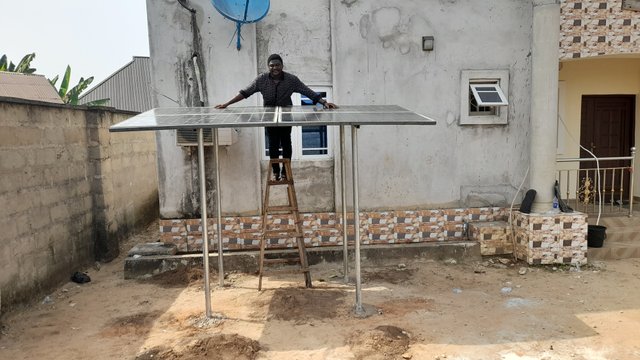
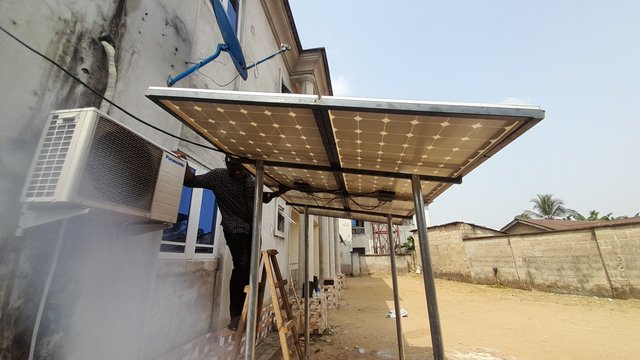
4 pieces of 200-watt Canadian panels ready to be installed.
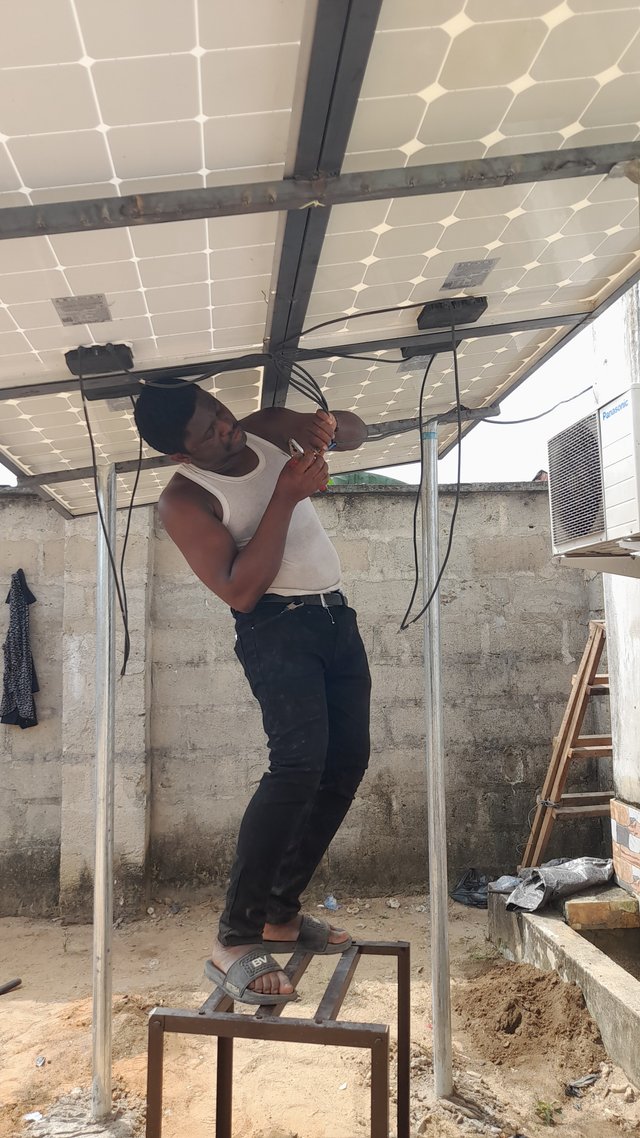
At this stage, I had already place 3 panels, remaining the last one.
Next, I mounted the four pieces of 200-watt Canadian solar panels horizontally on a sturdy frame, ensuring they were securely fastened and angled correctly to maximize sunlight exposure.
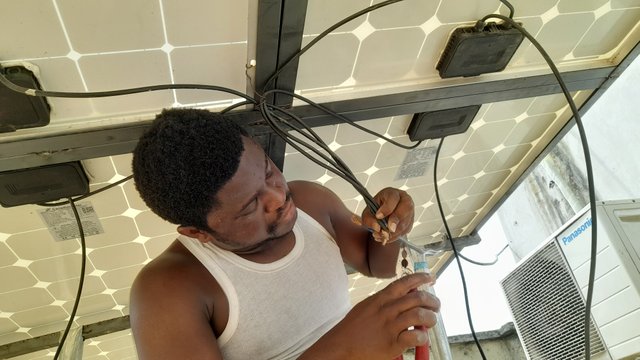
I then connected the solar panels in parallel, using the 6mm DC cables to link them together.
This configuration allows the panels to generate a higher voltage output. At this point, I never linked them to the charge controller yet. It's always advisable to connect the battery first to the system before linking the panels to the system.
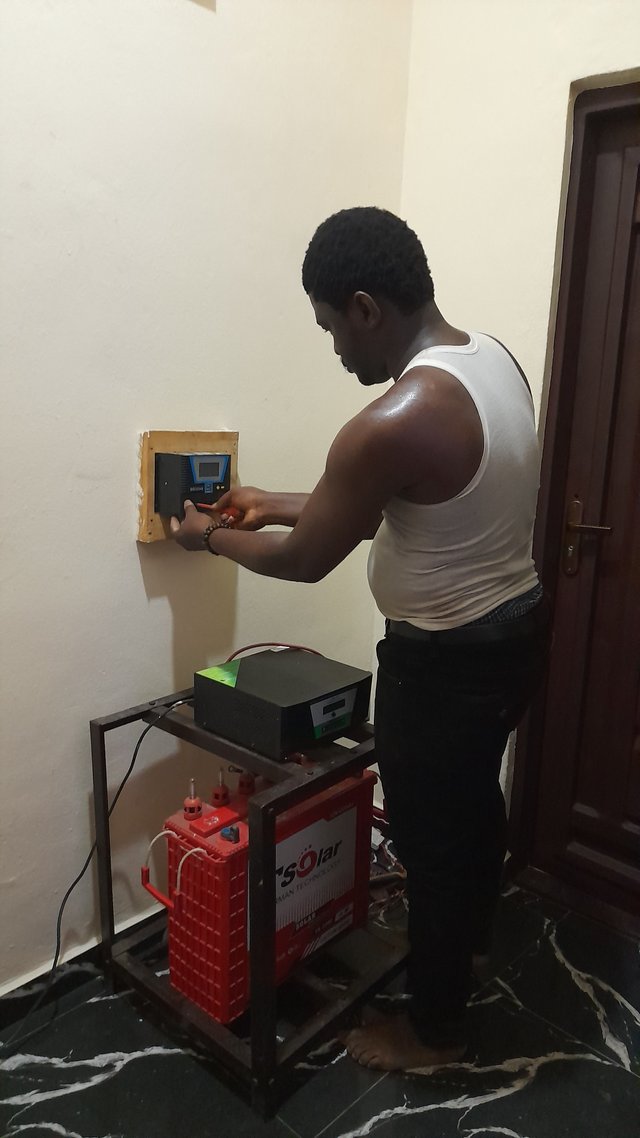
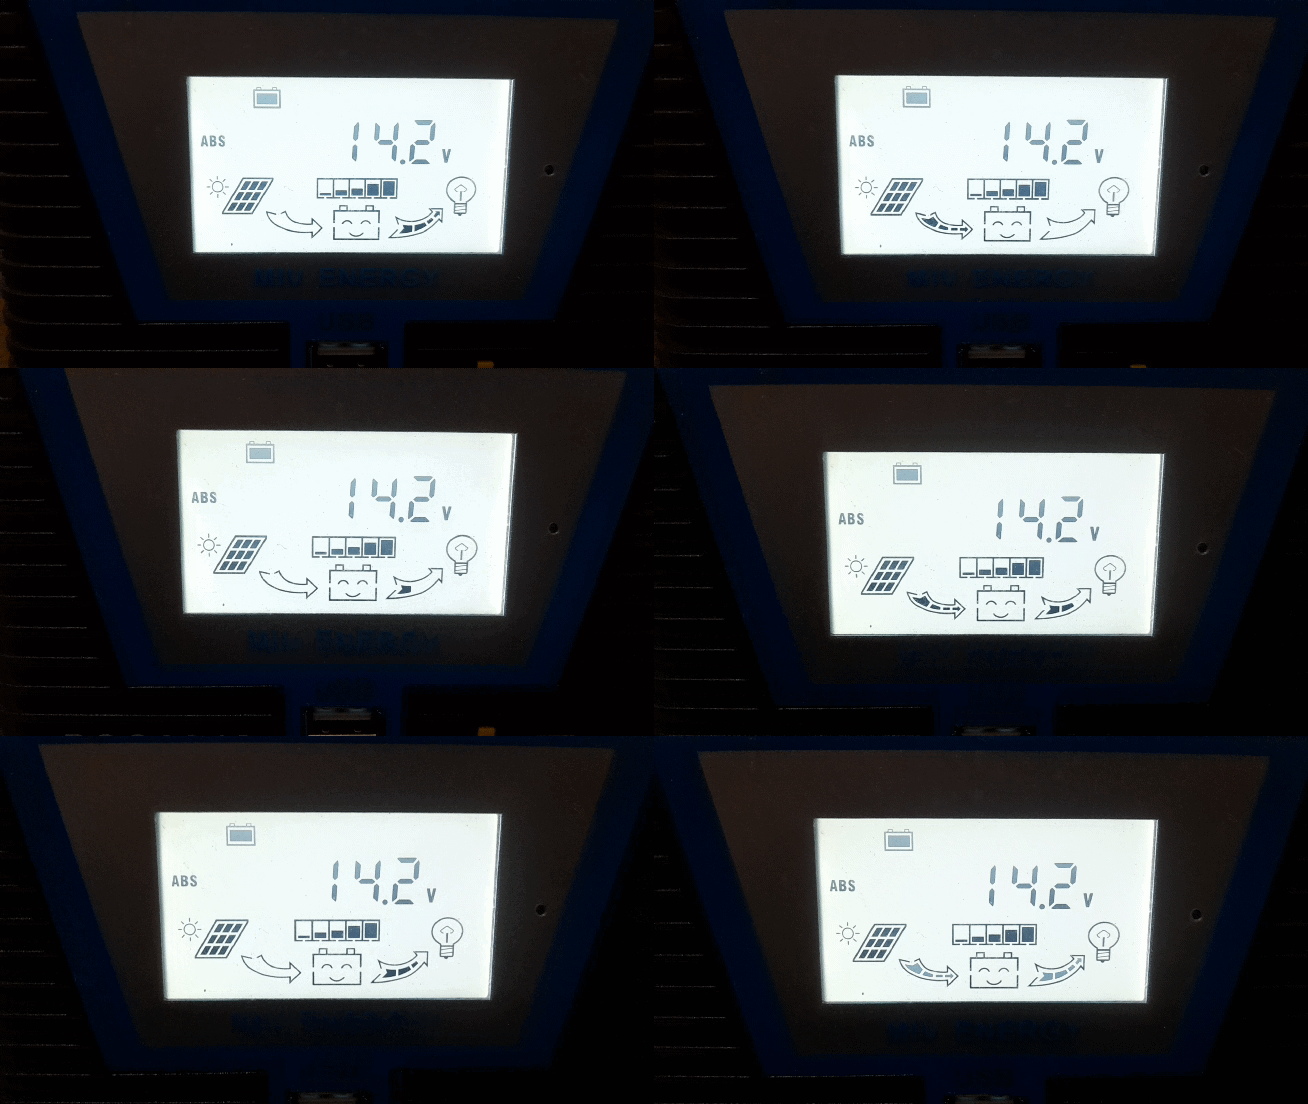
The 60A charge controller was installed next, which regulates the flow of energy from the solar panels to the battery. I ensured that the charge controller was properly configured and connected to the solar panels and battery as you can see above.
I then connected the 220Ah tubular battery to the charge controller.
And here we are ....at the final stage. I linked the panels to the charge controller and with all the components connected, I performed a series of tests to ensure that the system was functioning correctly.
The voltage and current output were okay and the charge controller was regulating the energy flow as it should.
Indeed it was a successful day and another win for Steem solar & Electricals. I guess, this was a end of the year package for me. Something to put a smile on my face despite the tough family situation I am currently handling.
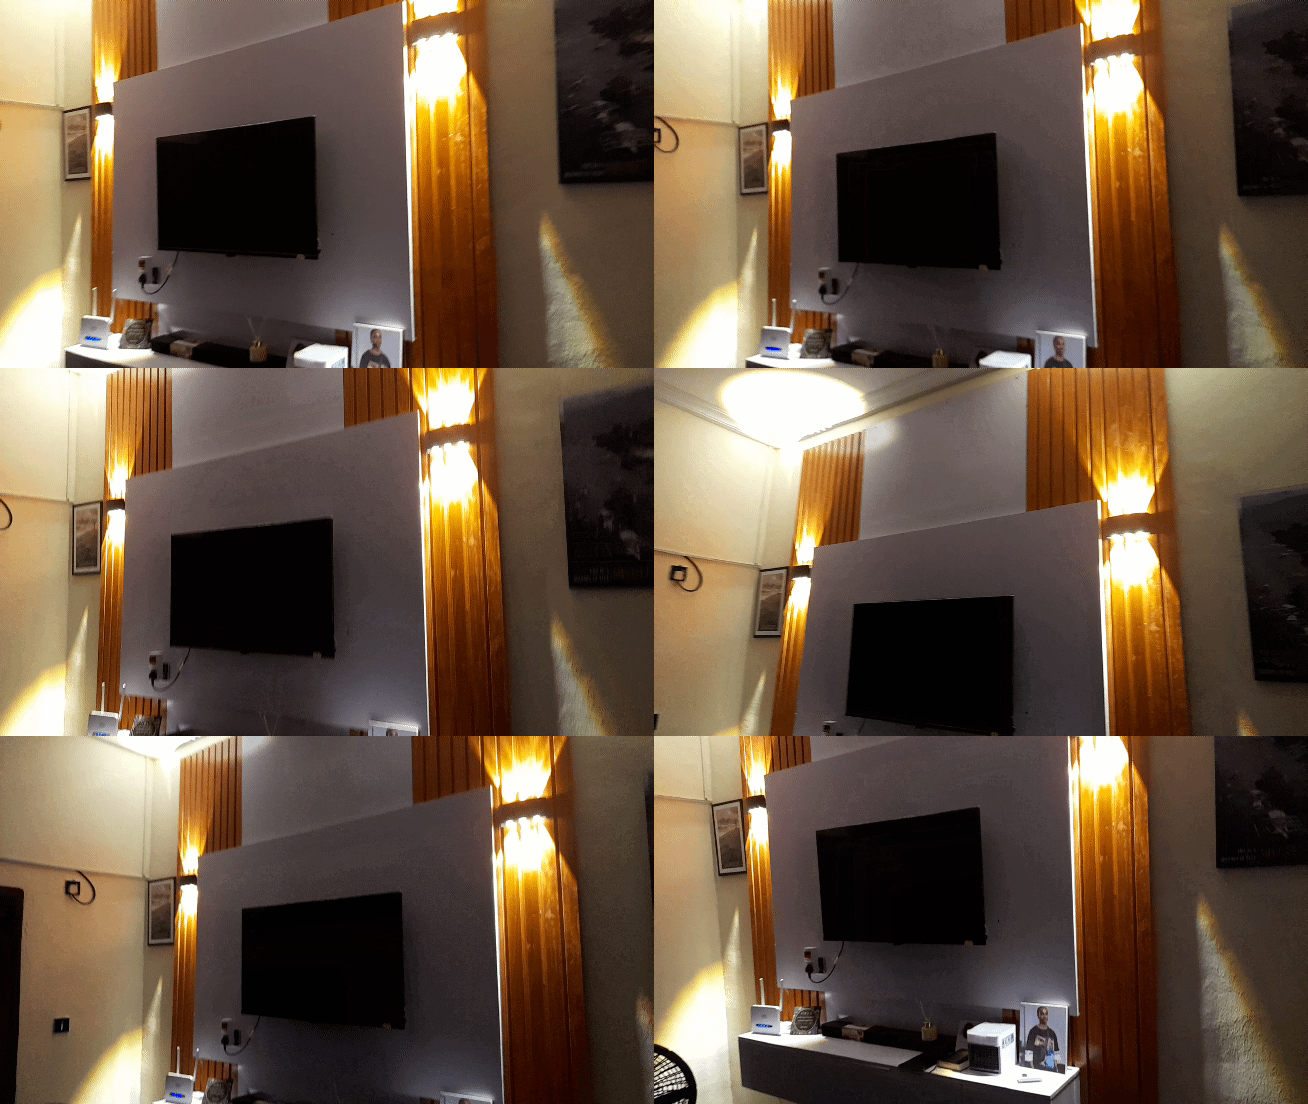
By the way, the 1kVA solar power system is now up and running, providing clean and renewable energy for my client.
He would no longer buy petrol at high cost just to have electricity anymore. Solar is here to stay.
He would enjoy 24 hours electricity in his apartment.
I often read his posts about solar panels, but they’re not very detailed—I’d love to see more specifics. Ref.
@sergeyk, maybe this is well detailed now....?
And I'm glad I could put this up for folks to read and learn.
Should you need such services or a solar installer, please kindly contact me especially if you are from Nigeria. Note that you can make your payment with STEEM.
Also, I can carry out solar installation in any part of Africa and outside Africa.
Steem solar & electricals
(25th December, 2024)
(CEO/MD)
Ubongudofot
From the shadow on the ground it looks like the sun is coming from behind the building. What compass direction are the solar panels facing?
Would it be possible to put the panels on the roof of the building to get more hours of solar exposure?
...roof top installations are the most challeging ones in such locations , it depends always on the clients needs and his will of spending more or less for having his expected solar gains met.
So this is something the installing company has to clear in the first meeting before making the plans for the installation, but anyway the installation on the ground is mostly a thing used to gain both electricity and a bit more of shade in this sunny regions, like I wrote before it´s a decission which the client has to take.
I wish you many more businesses in the future; keep soaring, bro.
Thank you so much for your kind words, hoping for more business deal.
well done my dear friend, you really remembered my words, I´m very proud of you, you´re a fast learning entrepreneur, you will make your way for sure !
Hope you and your beloved ones had some calm christmas days.
sunny greetings from the south of Spain ;)
Thank you so much for the suggestion you gave the other day. This solar panel stand is way more better than the one I did few weeks ago.
Absolutely great job! You are very skilful and knowledgeable person I wonder if you have some students who you could teach this precious knowledge
Hi @stef1, thank you so much for the support.
Thank you for your compliments. Off-chain, I have few folks who follow me to installation site to learn this skill for free.
If I have a good number and genuine interest here online, I could teach as well.