STEEMIT CRYPTO ACADEMY TASK 5: UNDERSTANDING DECENTRALIZED FINANCE PART 2 || HOW TO USE META MASK|| LECTURE BY Yohan2on || HOMEWORK DONE BY @churchangel ||
Hello dear crypto friends, hope you will like my entry of the assignment given by professor @yohan2on
In this article, I desire to write on how we can understand the functionality of MataMask or how it works. I will also show you how to start it yourself. Just read till the end.
WHAT IS METAMASK
MetaMask is another kind of open-source Ethereum wallet that backs all the recognized tokens that is the ERC-20 criterion or non-fungible tokens based on the ethereum.
With MetaMask, you are eligible to buy or receive tokens from supportable programs. Again, you can swap tokens with the assistance of coinbase and shape-shift integrations which are assembled in the platform.
The most glamorous feature about MetaMask is that it serves as a website, unlike other wallets that mandate that you copy and paste your payment addresses or scan your QR code on a different device. Your wallet is pinged with the expansion website of the MataMask. So you're favored to approve or deny the transaction.
From my experience, you can set up a wallet with the aid of MateMask but the characteristic is her way it presents information to users with smart contracts and decentralized applications.
HOW TO INSTALL A METAMASK APP
In this case, let's see how we can install a metamask app but since I do not own a computer, I will be making use of my mobile device. So, let's learn how to install the metamask app.
With the metamask android app, we can interact with a neat interface provided by their web 3 apps. Although, the android app boosts the exact task as the browser extension.
New let's proceed
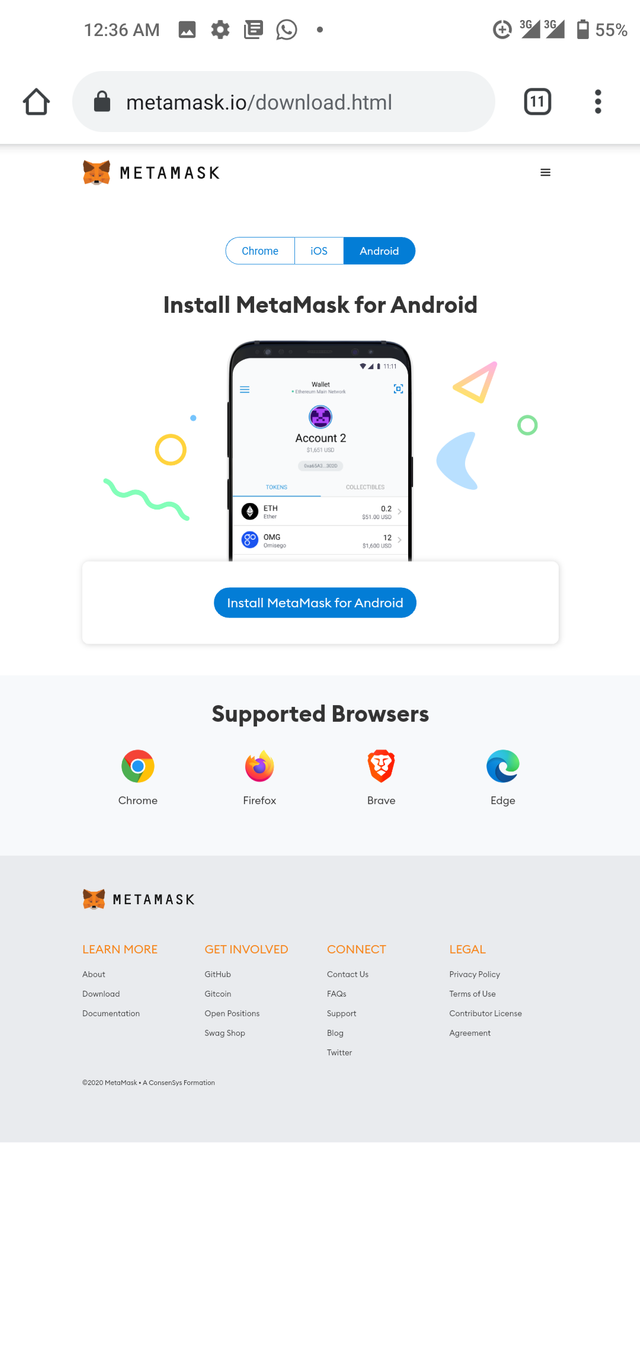
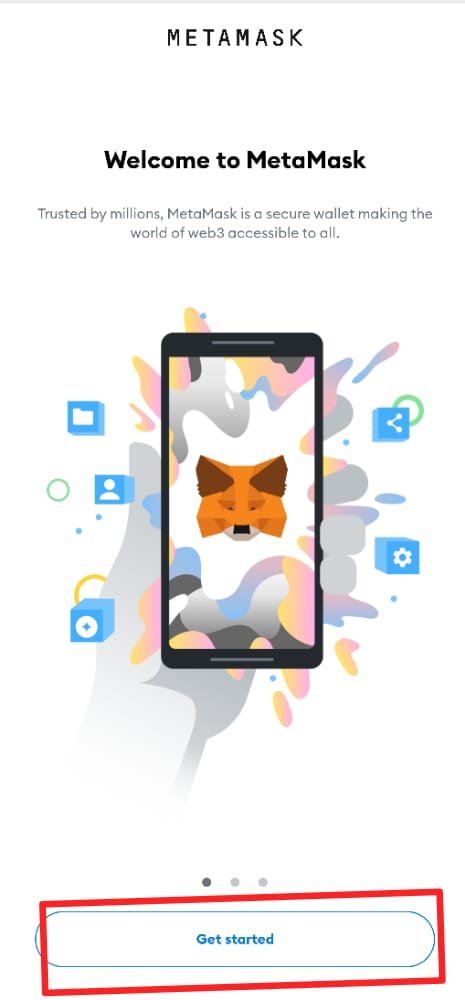
To start with, get on to the metamask download page on metamask.io to get the app. After downloading, proceed to launch it. Press on the "Get Started".
Head over to create a new wallet on the next page, type in your New passwords then confirm the password on the space provided before clicking on the portable box to imply that you have understood that metamask does not redeem your passwords for you. Then proceed to create password.
On the following page, this is where you need to protect your wallet. Like you have read from the previous page, metamask does not reserve or safeguard your seed phrases or passwords for you. So, in this case, it is advisable to store your password or seed phrases on a piece of sheet, then keep it in a safe place or you can choose to store it in multiple secret places.
The seed phrase is 12 in numbers. So pen them down according to their numbers. After you've done that, press continue to move to the next page. When you have successfully confirmed your seed phrases by matching up the correct words to the numbered boxes provided, click on Complete Backup to progress to the next page. A congratulatory message will pop up on the screen to show that your wallet has been protected successfully by you.
Press Done to continue.
On the successive page, you will need to read and agree to their terms and conditions.
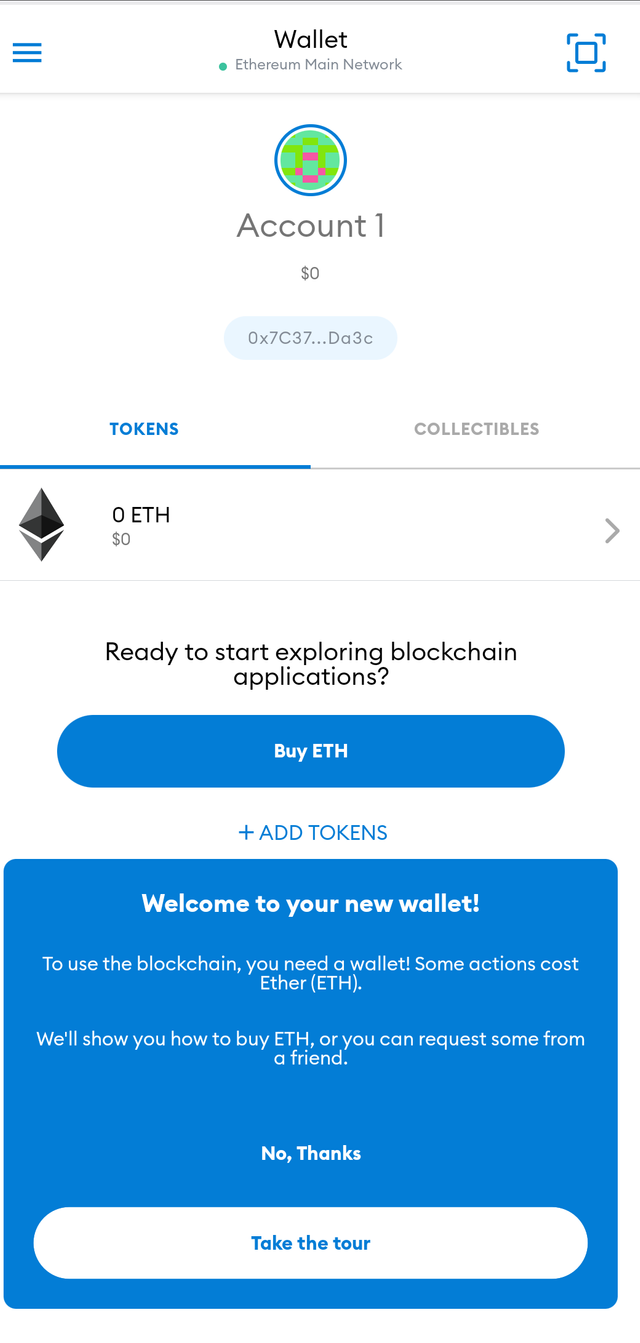
Now congratulations, you have successfully created your wallet.
NOW, HOW DO WE FUND THE WALLET
After creating your wallet, what remains is to fund the wallet. So, let's see how we can do that.
Since I'm not owning any coins to employ for this homework, I will make use of the Ropsten testnet. And with the help of Faucet, I will acquire some fake money to use for this tutorial. Thanks to metamask for providing this feature to help beginners to understand better how they operate.
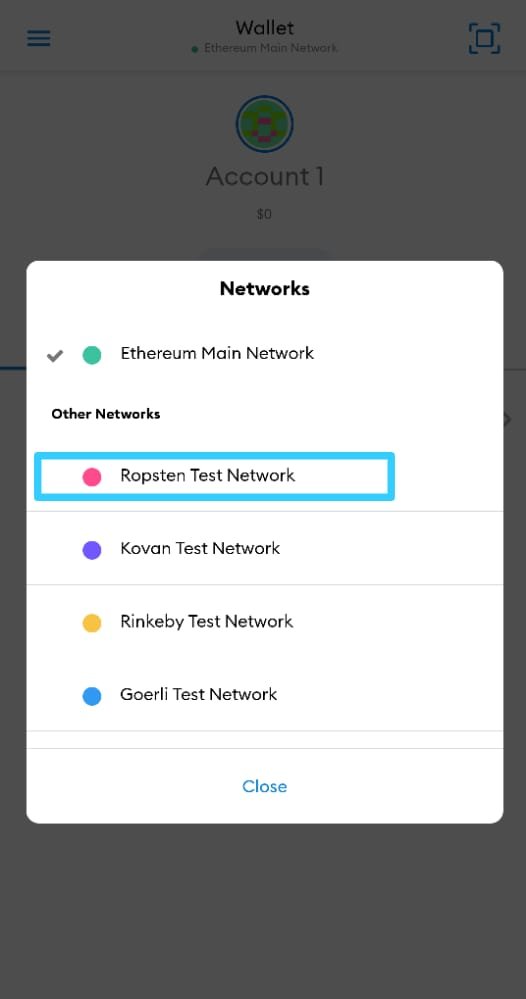
The Ropstem testnet is a fake Ethereum network with no reasonable value but can do almost like the real Ethereum network. To head over to the Ropsten testnet, click on the "Ethereum main Network" which is located at the top of the wallet interface screen. Select the "Ropsten Test Network"
Now copy your public address and move over to the Faucet site to collect the fake money.
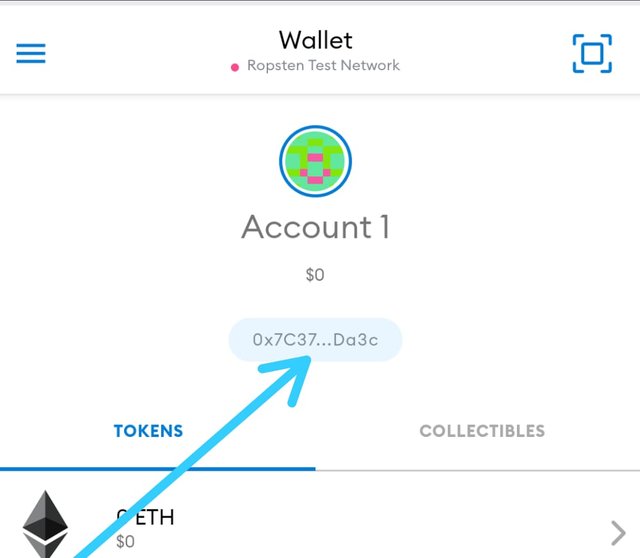
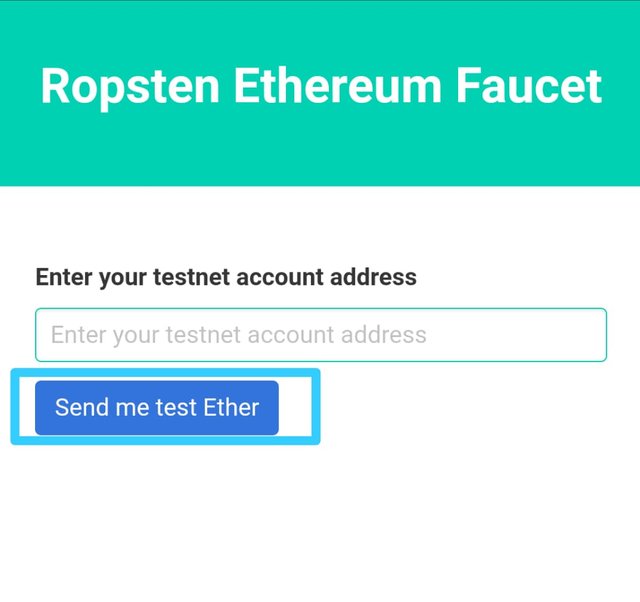
On the Ropsten Ethereum faucet, enter the testnet address you've copied from the metamask to the box highlighted in green color.
Hit the "send me test Ether" when done.
The Test Ether will be sent to the address you provided. Wait until you confirm the Ether appears in your wallet. Once seen the Ether, you can now proceed to the decentralized web.
I will take advantage of Uniswap as the DApp to use in this homework, so I will connect my wallet to the Uniswap.
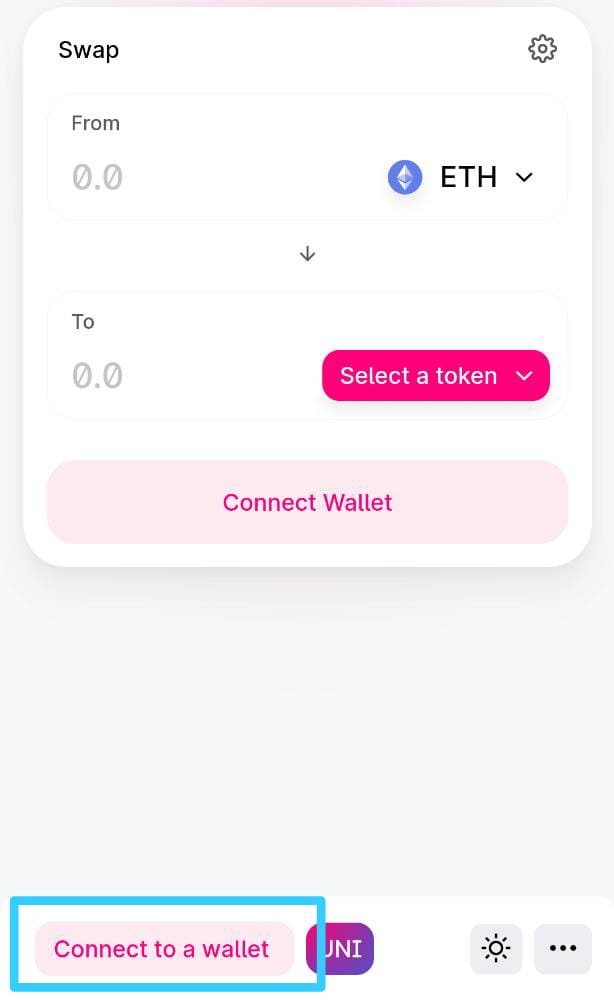
When you have accessed the [Uniswap] website, click on "connect to a wallet" which is at the left downside of your screen.
Press on "wallet connect" to choose metamask as your wallet, then grant the Uniswap access to connect to your metamask wallet.
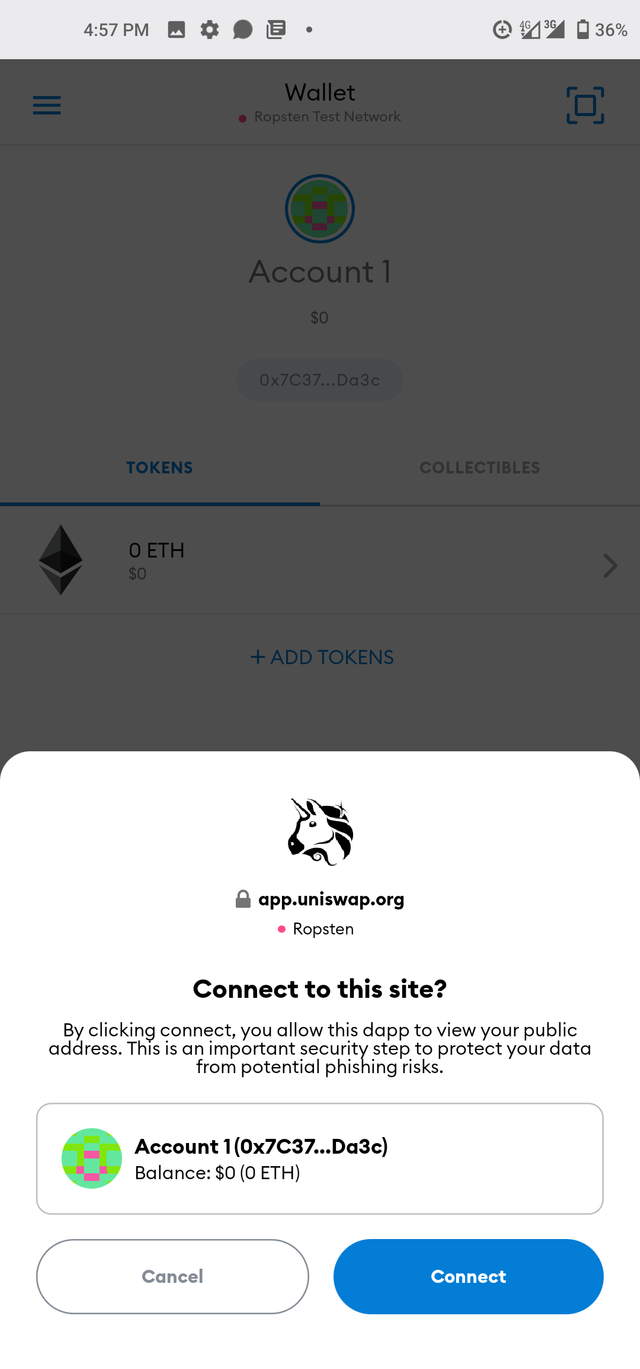
If you can attach your metamask wallet, you can now swap the Ether for DAL. DAL is a stable coin but it is an ERC-20 token. It has no real value in reality.
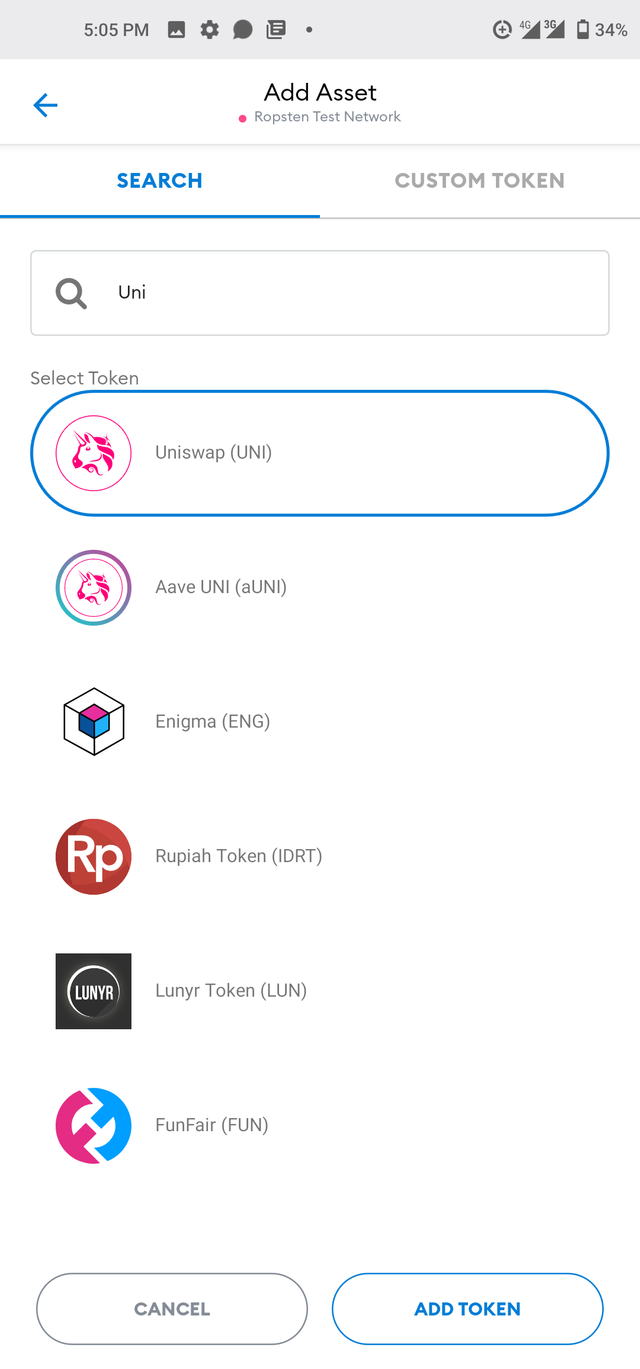
Go to your meta mask wallet (remember we are still on Ropstan Test Network), then click on " Add Tokens" to add the Uniswap. On the subsequent page, search for Uniswap. Select the token and click on "Add Token" located at the downside of the screen.
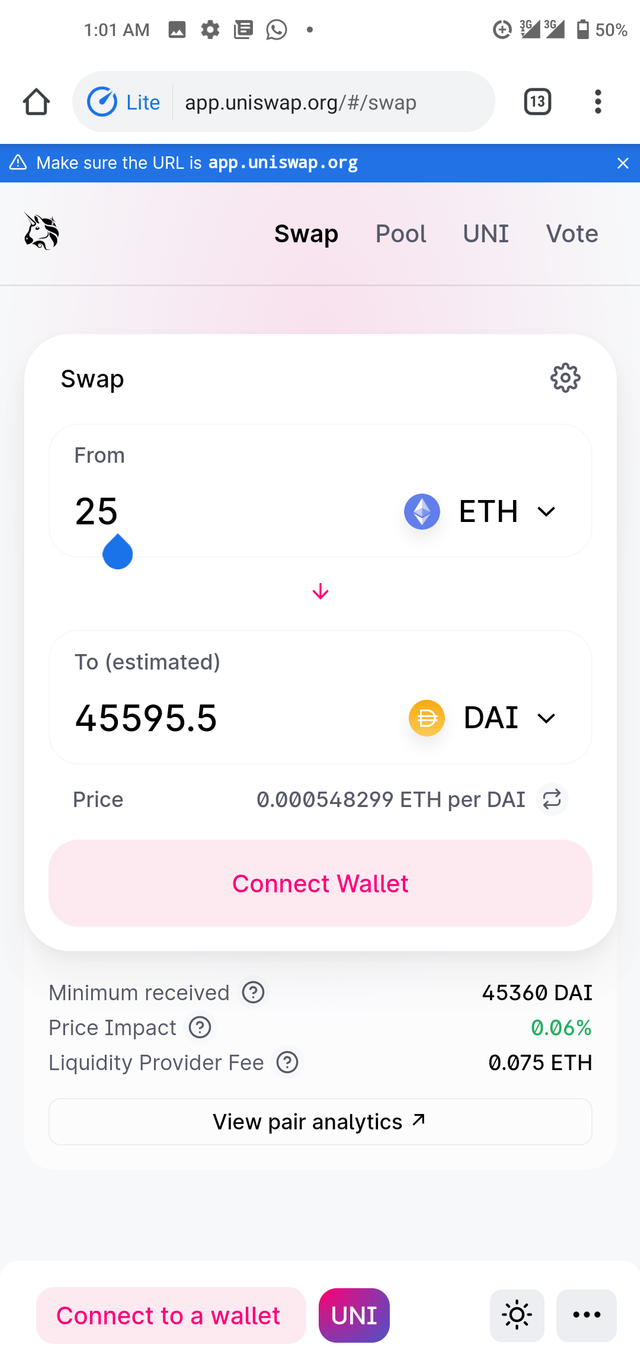
Again, head over to the Uniswap website, type in the amount of ETH you desire to swap. As you type, the equivalency will occur in the DAL section.When you're done, press the swap to progress. Complete the transaction in the metamask and the action will be executed. The transaction will take a while before becoming a successful one.
Check your wallet constantly until you receive your DAL. If you desire, you can add other coins to your wallet by clicking on "Add tokens".
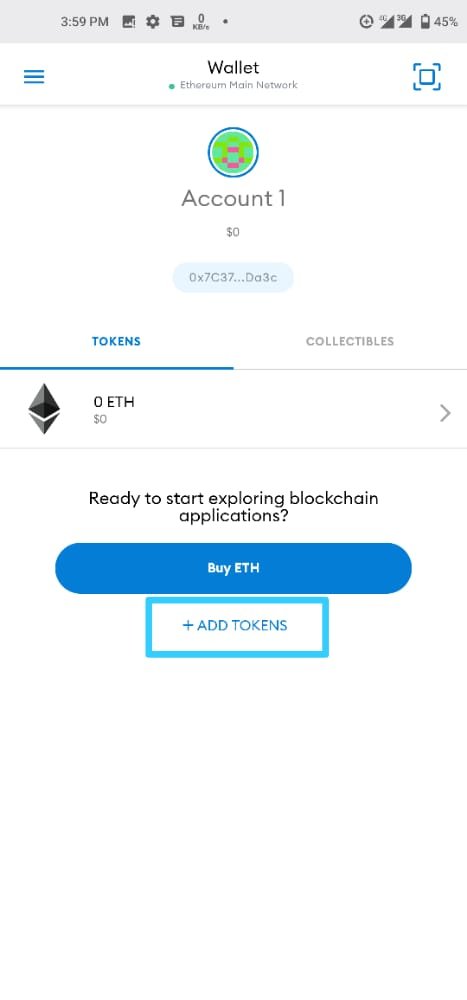

This is my presentation on how to use meta mask.
Special appreciation goes to
@steemcurator01
@steemcurator02
@yohan2on
Reference
1.https://medium.com/@mark.lasia/how-to-set-up-an-erc20-compatible-ethereum-wallet-cda8dabc4b89
ALL THE IMAGE WHERE SCREESHOTS TAKEN USING MY PHONE **
Hi @churchangel
Thanks for attending the 5th Crypto course and for your effort in doing the given homework task.
Feedback
This is excellent work. The Ropsten testnet is a great discovery that can be utilized to test the swapping and interaction with the DeFi protocols. You have just designed a great practical guide on how to use the Meta Mask wallet. Keep it up!
Homework task
10
Thank you so much for the verification. It was indeed an interesting task. Thanks once again our beloved professor