SLC S23 Week1 || Geometry with GeoGebra: Points, Lines, and Angles
 |
|---|
Task №1
What is geometry? When and why did it appear? How did you study geometry in school? Were you familiar with any geometry software?
I was meant to understand that Geometry is a branch of mathematics that deals with angles, sizes, and shapes back then in my days in secondary school, my teacher would always say that it is the properties of space since it deals with several kinds of shapes.
As a student then, I was told that geometry has ancient roots which is a topic/subject that is very broad and emerges out it practical needs like astronomy, land measurement, and architecture. Far back in the ancient roots geometry was used as a means of surveying land.
How I study geometry in school
In Nigeria, geometry is a special topic that is taught right from secondary school level to tertiary institutions which begins with definitions, theorems, and problem-solving exercises both in the classroom and as a take-home assignment. In school, I first studied what geometry is all about and went deeper into the topics where I then came across and study about triangles, angels, polygons, transformations, and circles I began studying all these by looking at diagrams before I advanced to practicings.
My Familiarity With Geometry Software
It was when I got to the higher institution I was taught about geometry software which was not practically taught in the class. However, on my own, I did some research and met someone in the architecture department who taught me AutoCAD which is a geometry software for designing when it comes to engineering. Besides being familiar with AutoCAD, I did not know GeoGebra and other geometry software while I was in school because my field of study doesn't require them.
Task №2
Explain different geometric primitives (point, line, angle, segment, ray) and illustrate them in GeoGebra.
**Primitives Point **
- Point:
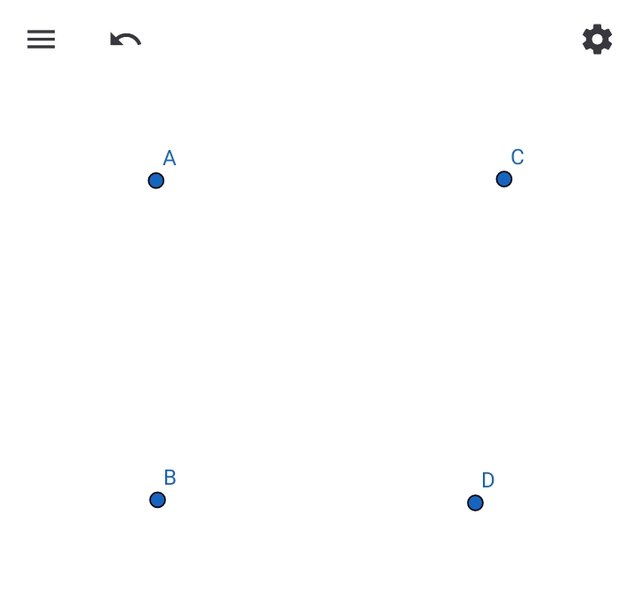
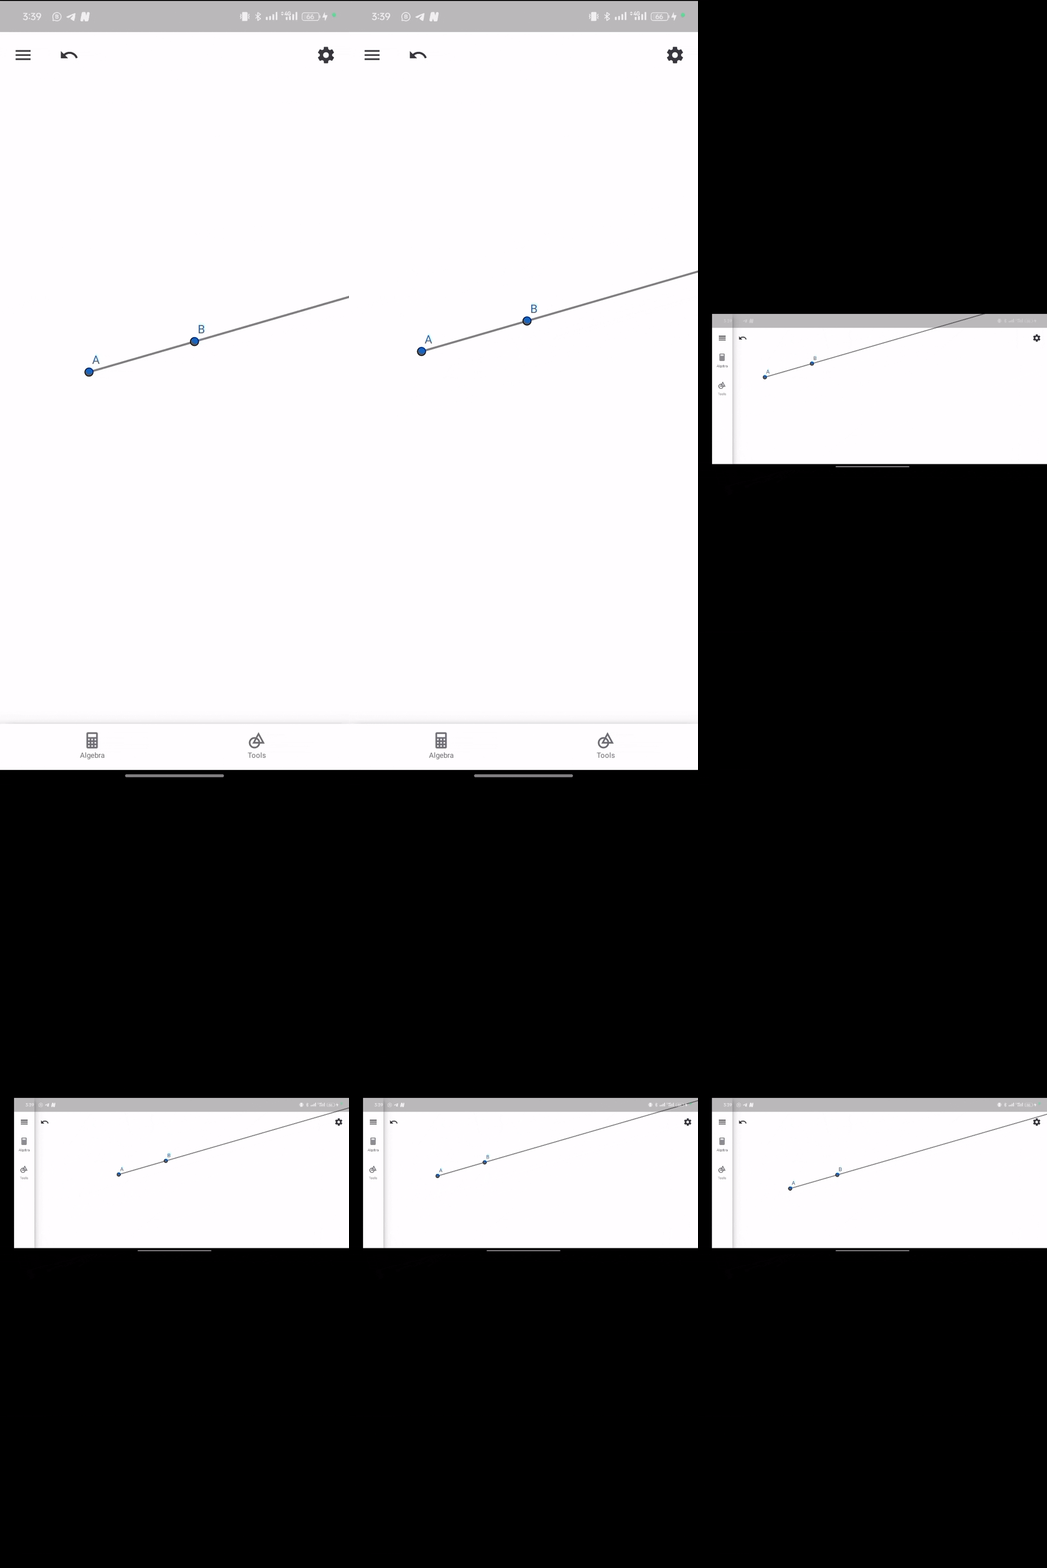
This is the location in space that doesn't have dimensions or size and it is labeled with an alphabetic letter that is written in capital form and represented with a dot which you can see in the given image.
- Line:
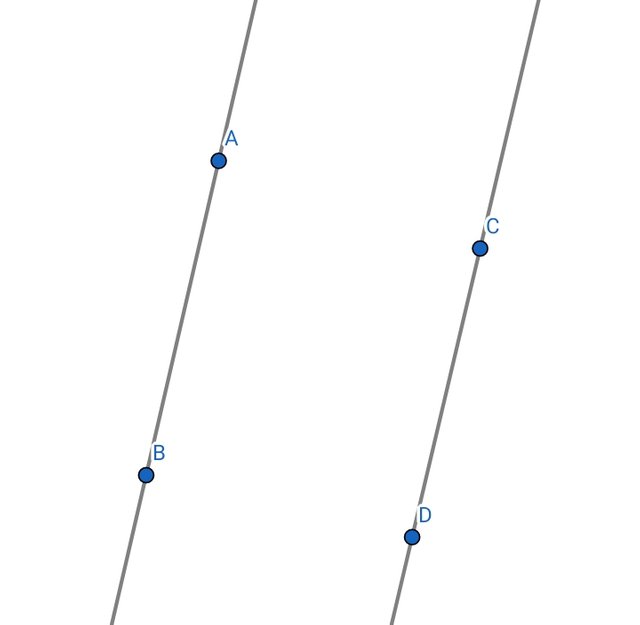
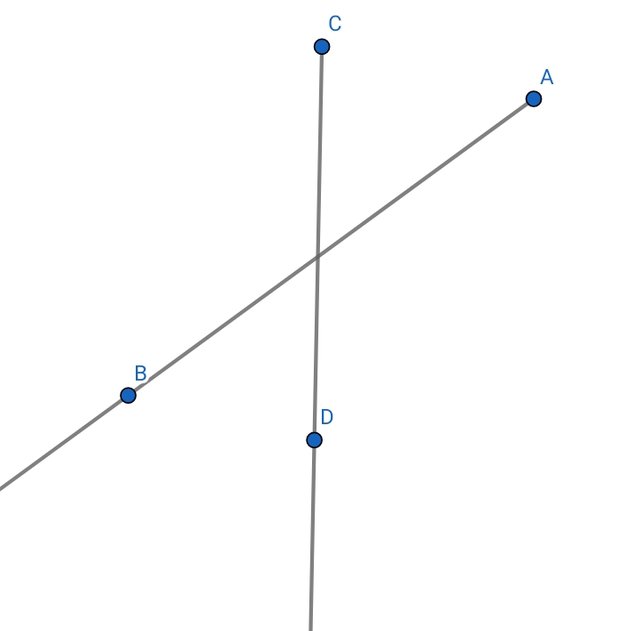
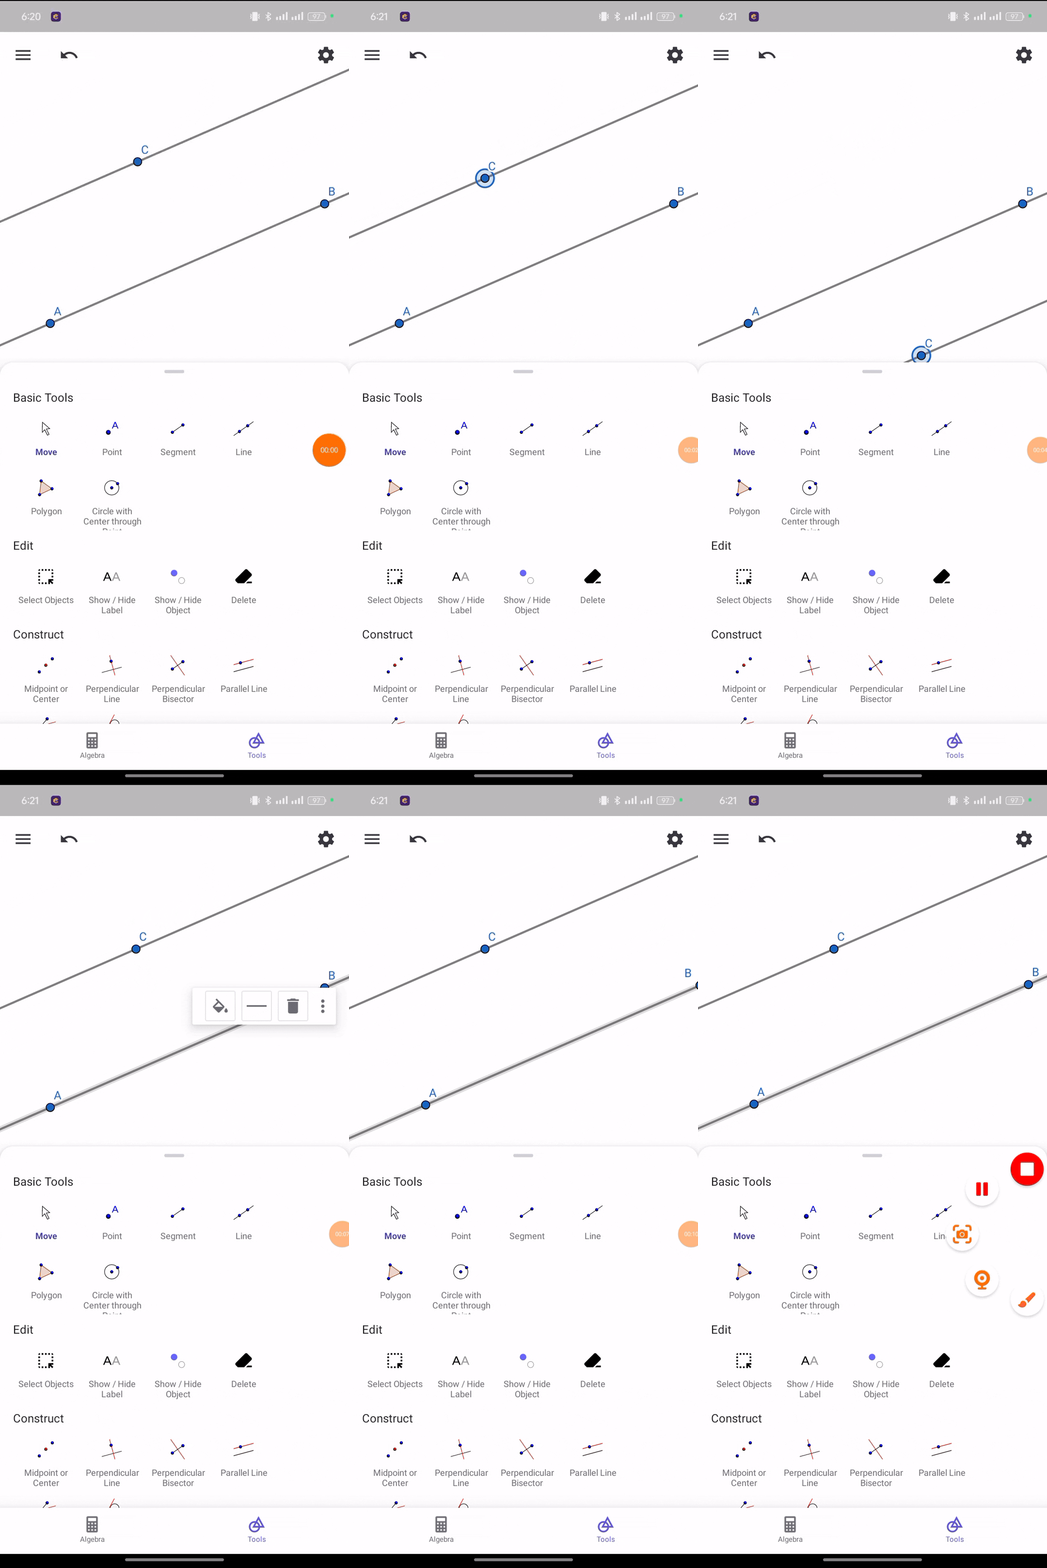
This is known as a straight line that infinitely connects in both directions such as point A extending to point B. In the example, I set a point that extends from point A to point B and also from point C to point D.
- Angle:
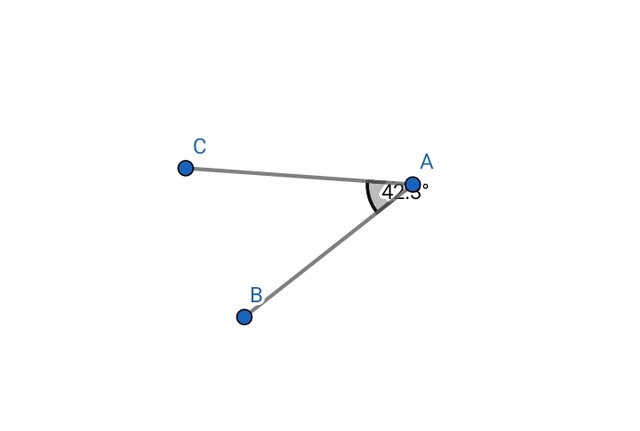
This is a figure that is formed by two rays that are originated from a single point especially when a common point is shared. An angel is measured either in radians or in degrees.
- Segment:
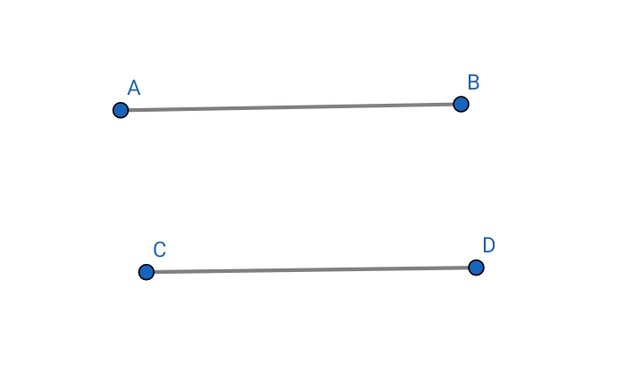
A segment is known as a part of a line that has two points and it is donated by two alphabetic letters written in a capital form.
- Ray:
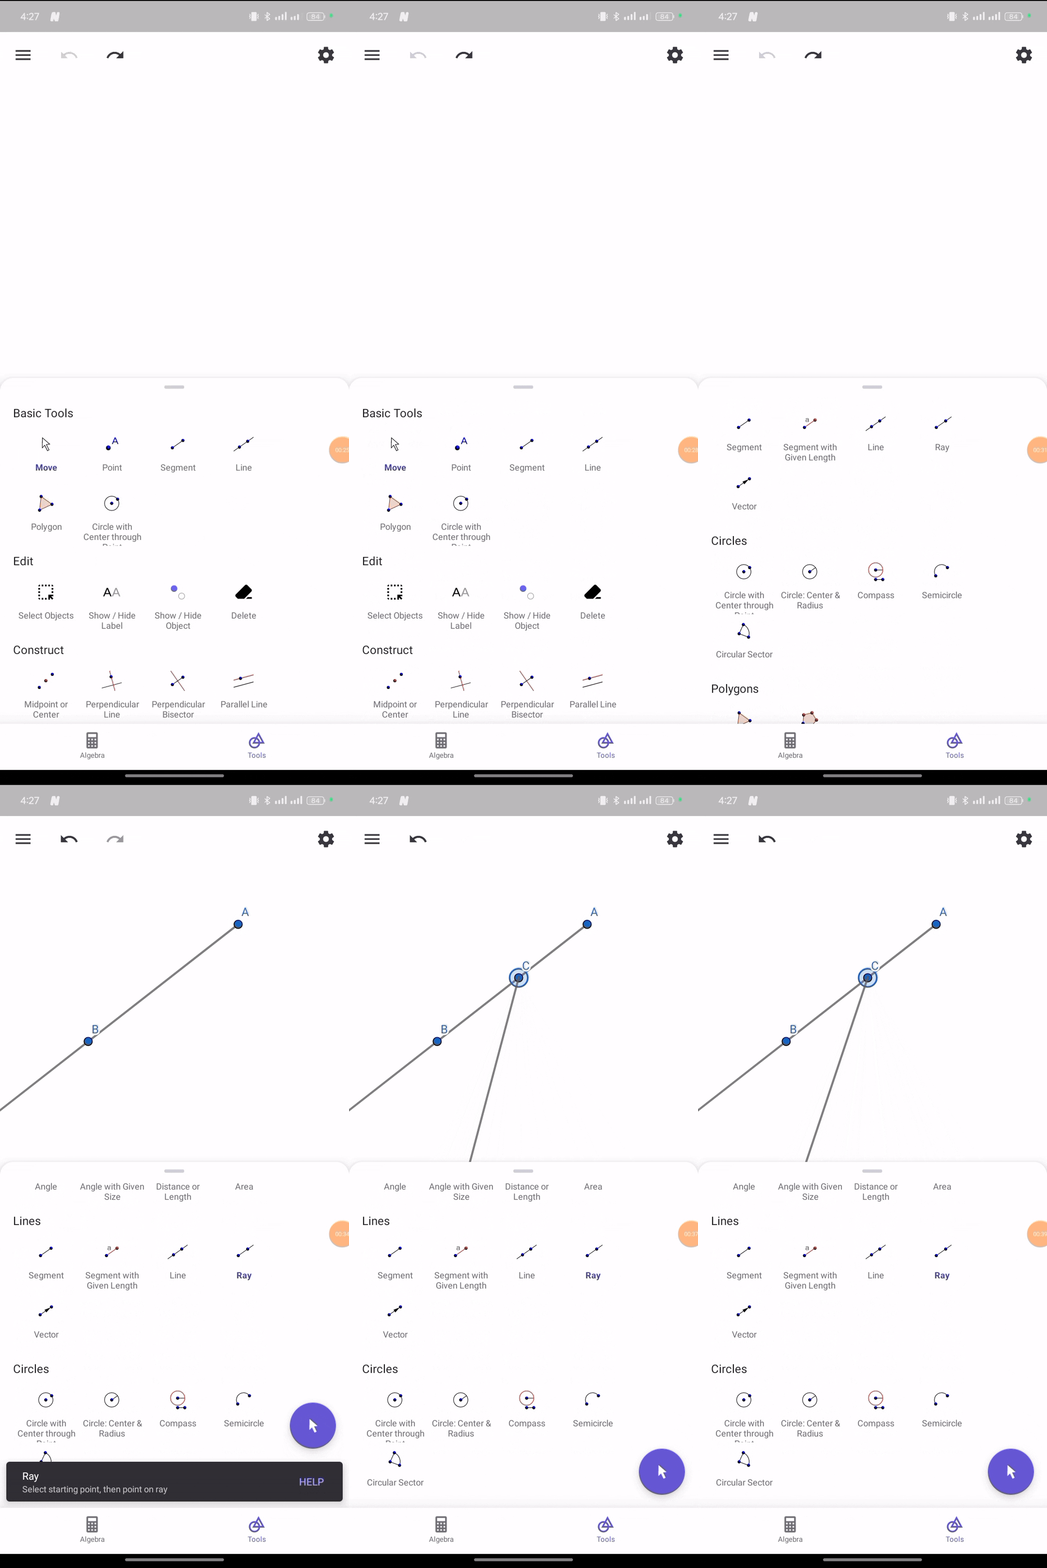
A ray is part of a line that begins at one point and expands infinitely in one direction. This means a ray has no endpoint, but a starting point.
Task №3
Construct an arbitrary angle, then extend one side to create a supplementary ray—show that the sum of adjacent angles is always 180 degrees. Construct an angle with two supplementary rays—show that the resulting vertical angles are always equal.
For this task I constructed and verified adjacent angles to 180 degrees leaving the vertical angles since they are always equal by following the given steps below.
I create two points for the initial ray by selecting the point tool which I then click to place two points A and B.
In creating a ray from the first point, I click on the ray through the points tool which I then click on A before clicking on B which then forms ray AB.
I click on the third point and place the ray close to C
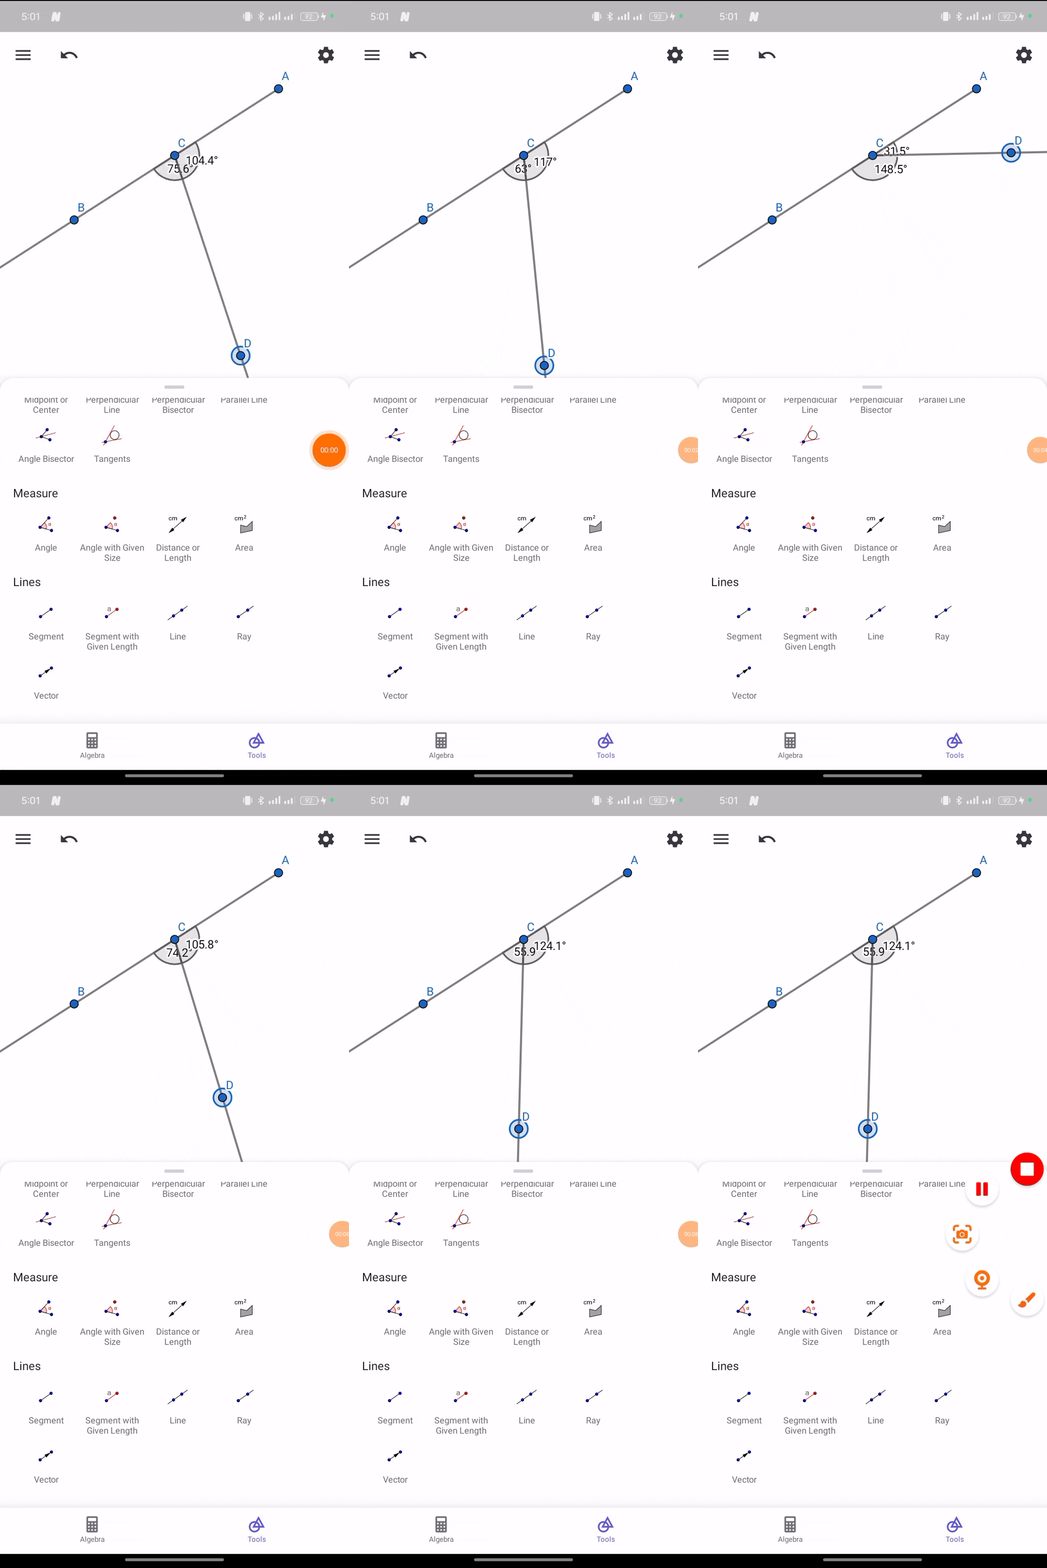
To form an angel, I select the angle tool and click on B vertex, and then A, and C which then form angle BAC
At this point, I used the Ray through two points tool to extend one side by clicking on A which is a new point D then with C at the opposite making the Ray AD.
Finally, I measured the adjacent angles by selecting the angle tool which gave me 180 degree.
Construct an angle with two supplementary rays—show that the resulting vertical angles are always equal.
What we need here is to create two intersecting Rays by doing so I follow these steps
I first select the point tool and place point A, and point B and use the ray and create ray AB through the two points. I then create another point C with a ray AC
Finally, I then create another pair that is opposite of the days, before I then measure the vertical angles.
Task №4
Construct parallel lines and perpendicular lines.
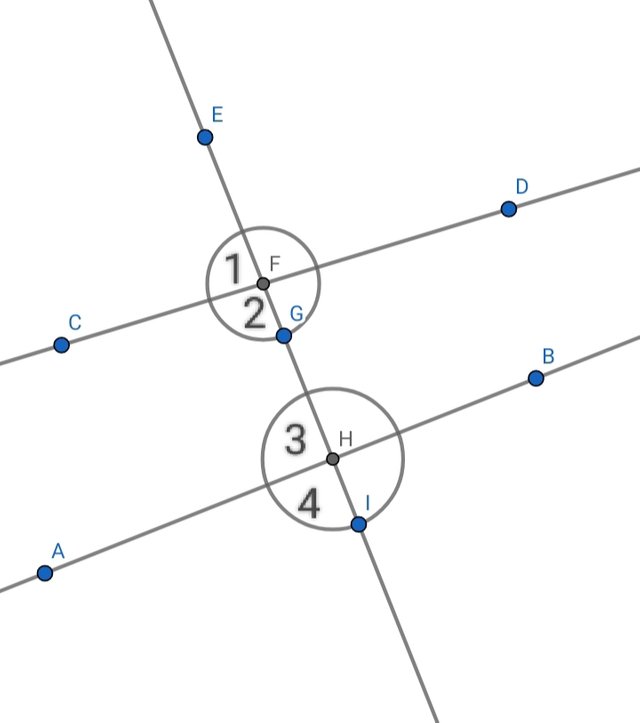
Construct two lines intersected by a third line (a transversal). Label the angles on the figure (using letters, numbers, or colors). Name the pairs of angles that have special names.
Parallel Lines
These two lines are called parallel lines if their distance is always constant, which means that despite how far I expand the lines they will still not intersect.
Perpendicular Lines
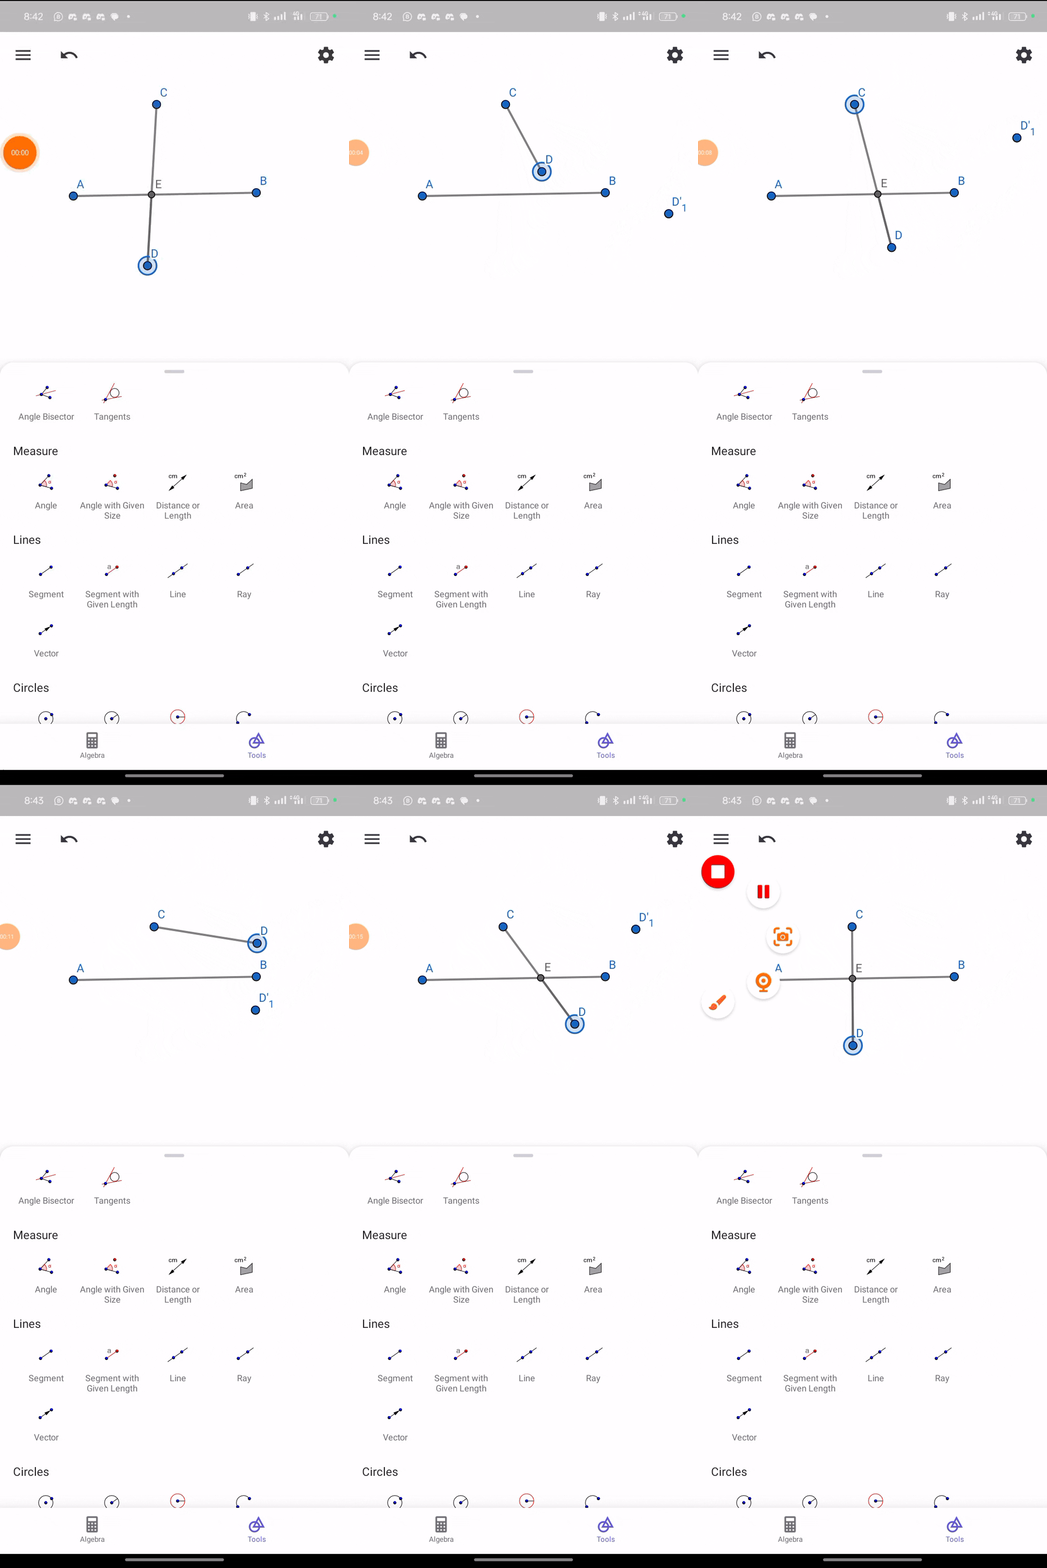
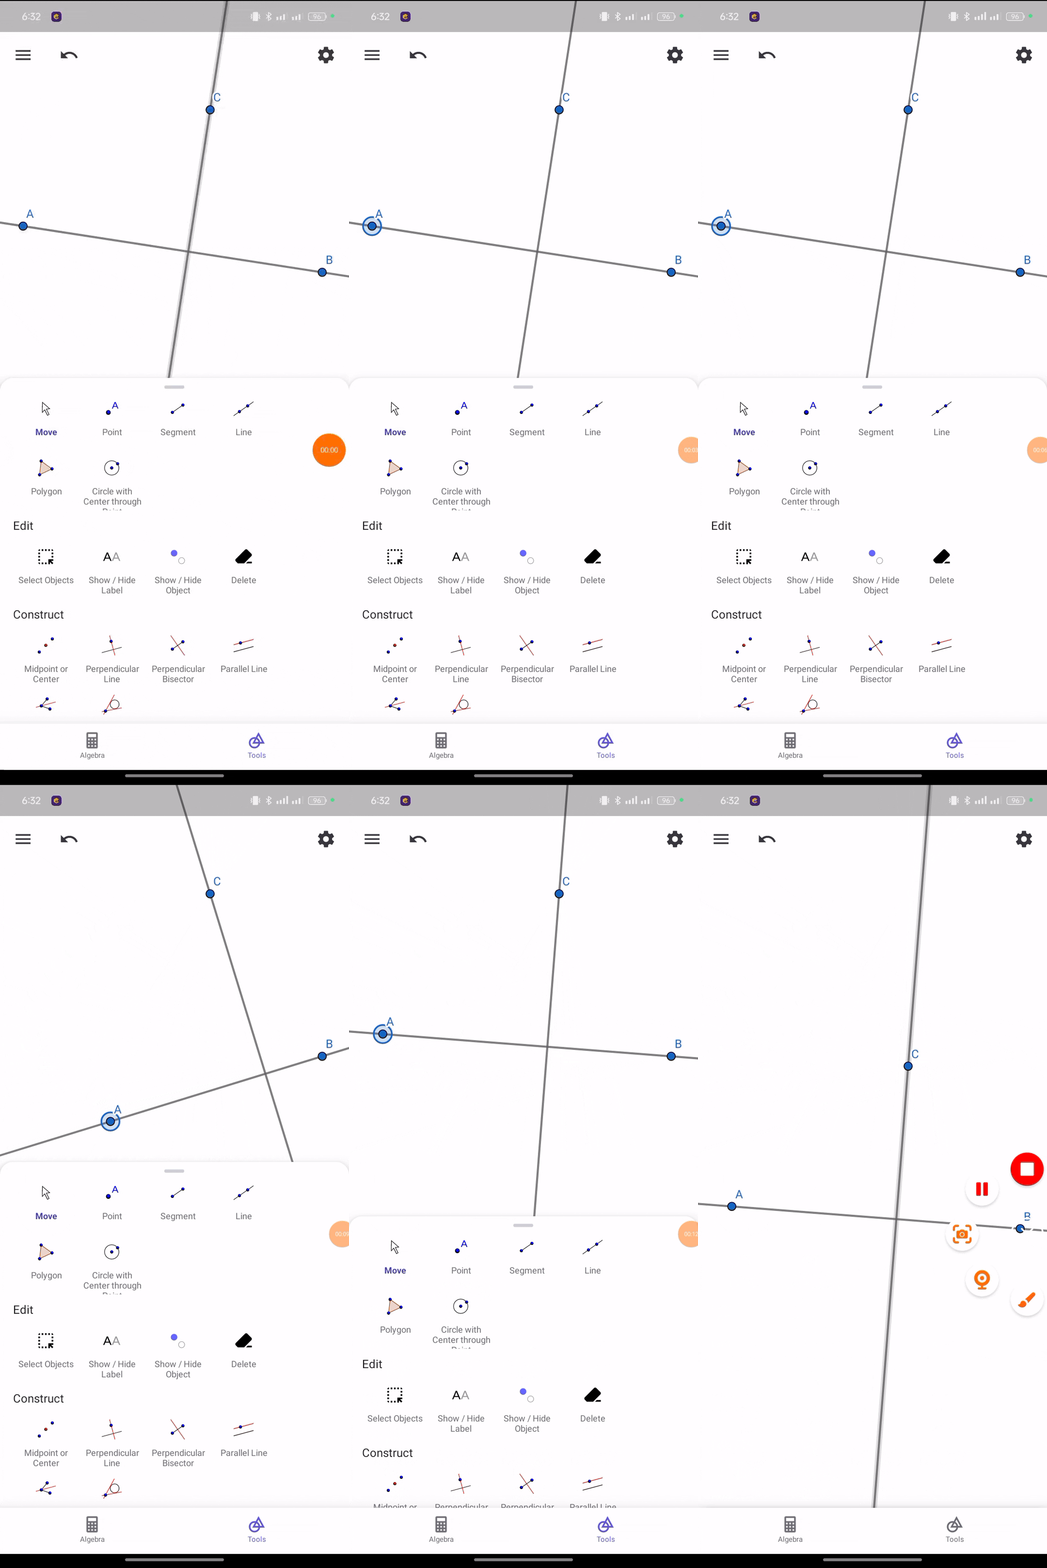
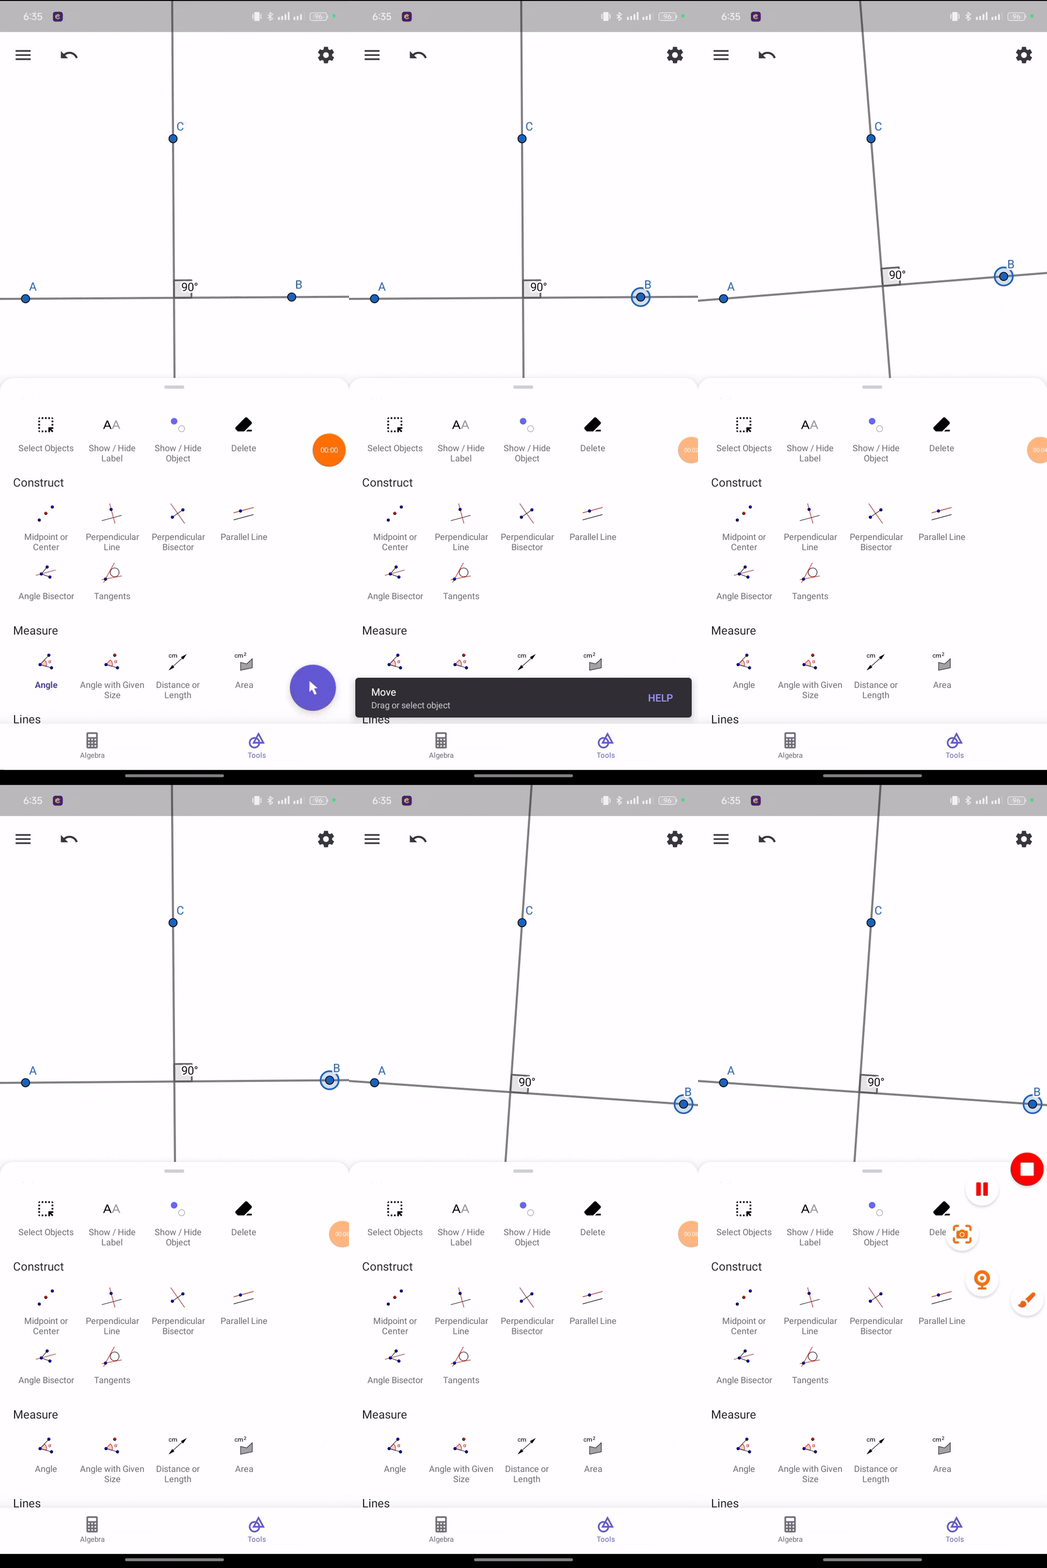
When two lines create a 90-degree angle they are called perpendicular in applying these two lines we will have to follow the same method that we have used in applying parallel lines.
 |  |
|---|
From perpendicular lines we can see that we got our 90 degrees.
Construct two lines intersected by a third line (a transversal). Label the angles on the figure (using letters, numbers, or colors). Name the pairs of angles that have special names.
| Name of angle | Coordinates |
|---|---|
| Vertical angles | (1,G) (F,2)(3,I)(H,4) |
| Corresponding angles | (1,3)(F,G)(2,4)(G,I) |
| Adjusent angles | (1,F)(2,G)(3,H)(4,I)(1,2)(F,G)(3,5)(H,I) |
Task №5
Construct the intersection of two segments. Ensure that the intersection point is always displayed, even if it does not lie on the segments themselves. If the intersection point lies outside the segments, represent this with dashed lines.
At this point, I tried bringing out the doted lines, but still couldn't.
