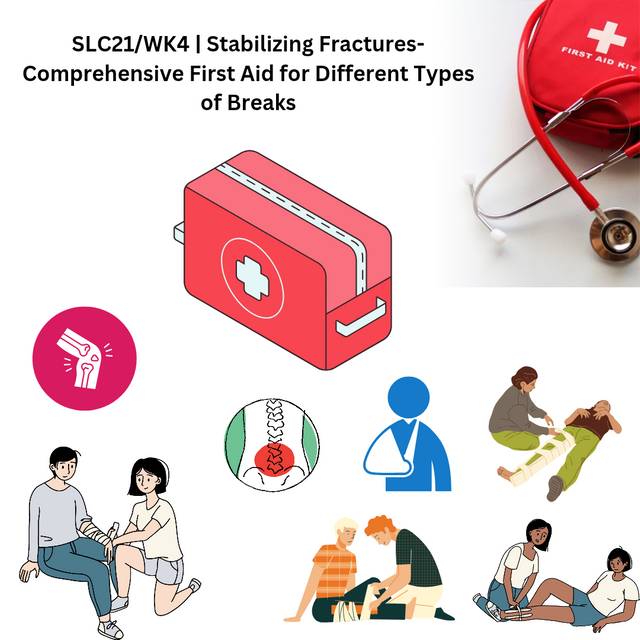
SLC21/WK4 | Stabilizing Fractures- Comprehensive First Aid for Different Types of Breaks
canva designing
This work aims to apply a Sling on the Arm and a Splint on the Finger.
Purpose of the Procedure
A sling and splint are important bandages intended for the immobilization of injuries, limitation of pain, and lessening of dangers that may lead to more harm upon the person’s arrival at a health care facility. It helps to learn how to put a sling on the arm and a splint on the finger since this is how you can do it.
Procedure for Applying a Sling
1. Prepare the Materials: As for the head, use a triangular bandage or cloth. Position the person in a way that they are comfortable sitting at a table, preferably lay down the injured arm gently.
2. Position the Arm: Submitted Gently flex the injured arm at the elbow to the position of 90 degrees while holding the wrist. Telling the patient to try and move, walk or sit if there is any form of resistance or severe pain should not be encouraged.
3. Place the Bandage: Lay open the triangular bandage and place it round the affected arm with the largest part of the corner facing the elbow so that the corner of the cloth is placed near the elbow of the affected forearm as possible.
4. Secure the Sling: Cinch the two ends of the bandage around the rear and over the head. Slide it up a little higher towards the elbow so that that portion of the affected extremity is raised above the level of the elbow to reduce the size of the edematous appearance.
5. Check for Comfort: Make sure the sling stabilizes the arm so that the shoulder is not crushed and fingers in the hand are not swollen.
The method of application of a finger splint
1. Examine the Injury: Usually, there are signs of oedema, erythema or even frank skin breakdown. If position of the finger is very much distorted, then one should immediately consult a doctor.
2. Prepare the Materials: A fold of thick paper or cardboard with a splint packing, a popsicle stick, adhesive tape, and additional soft padding if possible.
3. Align the Finger: If it can be done without howling whatsoever do touch the top of the finger and use your other hand to gently straighten it. Do not impose movement that leads to pain in the patient.
4. Apply the Splint: Slide the splint along the length of the aching finger such that the splint stretches all the way to the fingertip.
5. Secure the Splint: The next step for the procedure is to wrap the tape around the finger and splint it in three areas, the proximal, middle and distal. Avoid tight taping so that there shall be free blood flow of blood in the body.
6. Final Check: Make sure that the finger is straight and that no blood circulation to the finger is cut off either.
Key Points for Immobilization
Comfort and Safety: Break the habit of applying pressure and multiple alignment.
Circulation: Screen for the symptoms of loss of sensation, increased size and skin color changes.
Stability: A sling and splint must give enough support and cannot move away from the location it is in.
It helps to achieve only a temporary stability but does so while reducing the patient’s risk of additional damage.
Canva design
Helmet Removal in the Presence of Head and Neck Injury
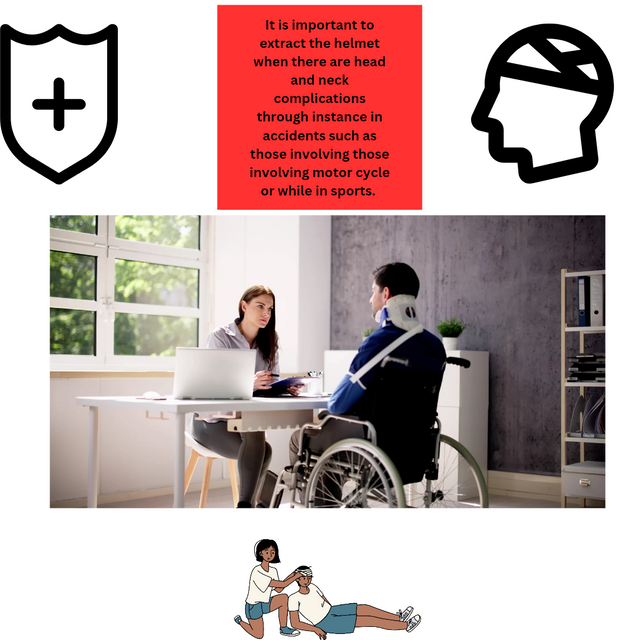
It is important to extract the helmet when there are head and neck complications through instance in accidents such as those involving those involving motor cycle or while in sports. Inadequate ways of taking off the helmet can also compound spinal injuries, and such sequelae as paralysis or death may ensue. Therefore, it should be extremely important to remove it gingerly and only when it is very necessary to do so.
Why It Is Important Not to Remove the Helmet Right After an Accident
In the case of suspected spinal injuries, the helmet plays a dual role:
1. Stabilization: It also serve to minimize the further movement of the head and neck on the spinal cord.
2. Protection: It helps to guard the head and the injured neck from blows during transportation.
Removal in the first couple of days regardlessly of the technique may lead to shifting spinal segments, making the situation even worse. This means that only a trained medical person or a first responder should assess the situation before taking helmets off.
Circumstances in Which a Rider Might Need to Remove His or Her Helmet
The patient is unable to breathe because the airway is blocked.
Either vomiting or bleeding is obstructing the airway, and must be cleared immediately.
There is a problem with its stability function because the helmet is slightly loose or damaged.
Steps for Safe Helmet Removal
1. Team Preparation: It is recommended for the operation of helmet removal two hands are needed one for holding the head steady and the second one for unlocking the helmet.
2. Head Stabilization: The first responder should sit right behind the patient, and grasp the patient’s head and tilt it in a parallel way to the spine.
3. Strap Release: The second rescuer unbuckles the helmet strap gently for the same reason as the first one.
4. Helmet Removal: The second rescuer then slowly lowers the helmet to the_horizon, tilting it gradually to free the back of the head and then slides it off patiently as the first rescuer keeps the patient’s head and neck in line.
5. Post-Removal Stabilization: After the helmet has been taken off, the head and neck of the victim shall be supported with a cervical collar or by hand until the arrival of professional rescuers.
Removing a helmet is a delicate procedure because any further impact on the cervical spine has to be avoided. The helmet should remain on a suspected spinal injury patient unless its removal is crucial for the person’s survival.
C-Spine Stabilization: Procedure and Techniques
Introduction
Cervical spine (C-spine) stabilization is an essential intervention adopted to avoid injuries on the spinal cord in patients with possible neck or spine injuries. It is useful in traumatic cases so as not to cause further harm to the patient when moving or attending to him/her.
The procedure of C-spine stabilisation: When to Stabilise
C-spine stabilization should be performed if the patient:
This means that complains of neck pain affect those who have undergone through any form of trauma.
Has changed his or her perception or is under the influence of alcohol or other substances.
May have complaints of weakness or numbness of limbs.
Presents a history of high risk injury mechanism type (frequently fall, accidents that involve motor vehicle).
Step-by-Step Procedure
1. Manual Stabilization:
Do not adjust the head or the neck of the patient when entering the patient.
Position yourself just above the patients chest, or neck, depend on the type of tattoo; then kneel at the head and lay your hands flat at the both sides of the head.
The head shall be aligned in midline and in a neutral position unless there is resistance or pain.
2. Application of a Cervical Collar:
Following manual stabilization, a cervical collar should also be applied in order to maintain the appropriate alignment.
Choose the right collar size and then put it softly around the neck. Ensure it fits snugly.
3. Using Head Blocks:
Once the patient is secured on the spine board, headblocks should be used in order to add some more stability to the head.
Place them onto the head at the left and right sides of the head and tighten the straps or adhesive tapes round it.
4. Securing the Patient:
Remove the clothing of the patient and then use straps to fit the patient’s body onto the spine board without much movement.
Check to see if the readings are correct and all belts should be tight but not too tight.
Precautions
Do not rotate the neck if some form of resistance or even pain intensifies.
You should preferably always work in pairs in order to reduce movements by accident.
Stabilisation of c-spine is a crucial requirement in the management of trauma.” Appropriate training and compliance with the procedure reduces an opportunity for the farther spinal damage.
(Turning it visually must always be done by competent practitioners, and addendum is not part of text-base website making like this one here.)
canva design
Management in the context of prioritization of an unconscious person with a compound fracture
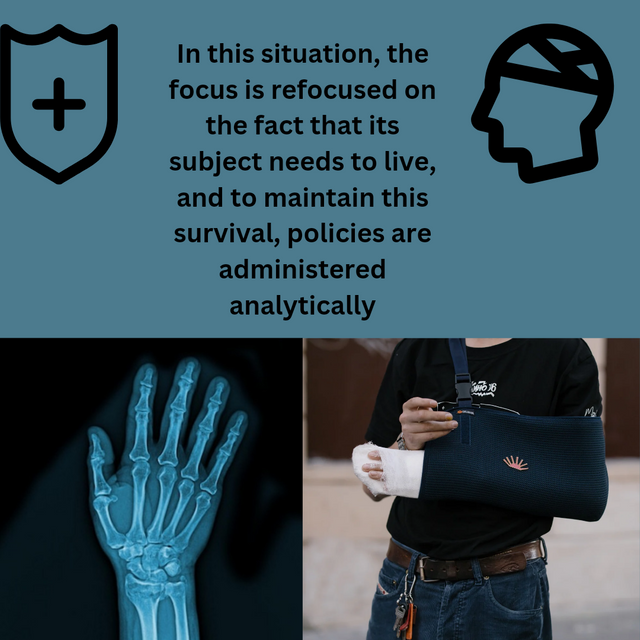
In this situation, the focus is refocused on the fact that its subject needs to live, and to maintain this survival, policies are administered analytically. It uses the principles of first aid that include the ABCs that stands for Airway, Breathing, and Circulation.
1. Secure Safety and Hick
Check the environment to avoid putting your life or that of the casualty in danger.
Dial an emergency number as soon as possible and describe the circumstances and the level of the intended victims’ conditions.
2. Assess and Open the Airway
Test responsiveness by gently poking the person and shouting out.
If no response, turn the head and lift the chin with the head-tilt, chin-lift position. If there is suspicion of spinal injury, do not to attempt to move the neck around.
3. Address Restricted Breathing
Check for breathing. if it is absent or abnormal start compressed spectrum Should you need assistance in writing a paper on this topic, you can place an order at Paramount Papers. If the person is breathing, watch and listen carefully and do not put them on their back unless there is danger, then place them 45 degrees on their side.
If there is a foreign object lodged in the airway try to remove it gently without causing more harm.
4. Control Massive Bleeding
Time is wasted if the source is not identified and a good opportunity to save the patient’s life is lost. If there is bleeding, put on a fresh sterile dressing or clean cloth and apply pressure right on the injured part.
If bleeding persists, place an abdominal band with a tight Buckle above the fracture but not over joints, record time of putting it on.
This is especially important if the injury has caused bleeding; use the other hand, if possible, to lift the injured arm above the level of the heart.
5. Stabilize the Fracture
Do not try to set the break; it is enough to make sure you have pointed out the location of the break to the patient and explained to him or her which way it must be treated.
Fracture the aching arm and apply a splint on the arm or use any fixed object by placing a cloth in between.
Slightly tie up the arm with bandages to avoid any further movement that might affect the wound.
6. Monitor Circulation
Feel for a pulse anywhere in the body using the ear or any other part, the radial artery must be checked. If absent, remove any clothing from the limbs and liberate all bandages or splints that may cut off blood circulation.
7. Reassure them and Check Their Vitality
Make sure that the person remains conscious and vitally check their breathing, pulse and prevalence of consciousness until the ambulance arrives.
Foods and drinks should be off limits in this case due to the likelihood of the person to needed surgery.
Consequently, you can be able to corral the situation effectively as you wait for professional medical help to arrive.
Infographic Guide: Managing Fractures Safely
Injury to the bone, or fracture, is a painful experience and should never be underestimated as it can lead to further complications. This infographic describes safe and practical procedures to contain fractures and basic treatment for a fractured bone until professional assistance can be sought.
1. What are the signs of Fracture?
Understanding the signs helps determine the severity of the injury:
Severe pain at the locality of the incident.
Inflammation, erythema or ecchymosis as observed clinically may be characteristic signs of a topical compound.
Abnormal orprep Joint contracture, malalignment, or angulation.
Minimal or no mobility of the part affected by peripheral neuropathy.
Fractures with exposed bones–with the skin broken and with frank bone sticks protruding through the wound (in open fractures).
- Immobilize the Affected Limb
Keeping the injured area stable is critical:
These include; they should avoid trying to straighten the limb, this only complicates the situation.
Employ a pillow, fold of cloth material, or any appropriate firm and soft material in handling the prevailing limb.
Tell the patient to as little movement as possible to reduce any further injury.
- Apply a Splint (if required)
Splinting provides extra support and prevents movement of the fractured bone:
Gather materials: Wooden baton, an newspaper rolled up and cloth strips, bandage etc.
How to apply:
Position the splint directly at the side of the affected part of the body.
Make sure it extends over the joint proximal and distal to the fracture.
It is preferable not to use elastic bands to tighten the splinting used above, and to instead fixate it with cloth or bandages without making it too tight.
Find circulation—feel for numbness, cool or blue skin.
- Take special precaution when dealing with Spinal or Neck Injuries
For suspected spinal fractures, extra precautions are needed:
There should be no further transportation of the patient until there is a risk to the individual’s life.
Ensure that ‘head is aligned with the neck and spine all the time’.
A hard flat structure like a rigid board should be arranged in such a way that the spine of the object is resting on this surface during transportation.
- It is important that you go to the nearest health facility if you have any of these symptoms.
Quick access to professional help is crucial for proper treatment:
Activate 911 or visit the nearest hospital immediately.
Reassure the patient and give them some time to stop them from going into shock, also make sure the patient is warm.
For signs for shock, including skin that may become pale or clammy, rapid breathing and fainting spells that may occur at times.
Key Do’s and Don’ts
Avoid moving bones back to their original position especially in cases of bone dislocation.
Do not offer the patient food or any beverage because they may require surgery, for example.
In the general population, check for circulation at least every 2 hours in newborns or when necessary for the patient to cooperate and the procedure to be done effectively and safely.
It means that any kind of fractures should be managed quietly and fast, so that there will be no additional troubles and patients successfully recover. Smr always follow these steps and in case of worsen seek professional medical attention.


Student Name: @shabbir86
Overall grade: 5.9
Plagiarism Check: Pass
AI Use: No
General Feedback: The student has shown good understanding of the course and has come up with a good explanation on how to manage fractures.
Thank you.
Regards,
@huzaifanaveed1
X Permotion Twitter
https://twitter.com/shabbir_saghar/status/1859765023628984688?t=UE-tZBp2i6N553ns6aakUg&s=19
@huzaifanaveed1 I think you need to give some consideration to these marks as I have prepared much better than the marks given in post-up please consider it.