How to sew a circle top
Supplies
• 1 to 1&1/2 yards of light fabric like chiffon, silk etc.
• Basic sewing supplies
• Sewing machine
DIRECTIONS:
Measuring
Put one arm straight out and measure from your neck to how far you want the sleeve to fall on
your arm and add 2½ inches (2’’for the neck opening and ½’’ for hemming) and that’s the width
measurement for your top. I measured mine up to the elbows.For the length of the top measure from the neckline to where you would prefer the top to end
and again add 2½ inches (2’’for the neck opening and ½’’ for hemming) and that’s your length
measurement. I didn’t want mine to be too cropped so I measured up to just above my navel.
Cutting
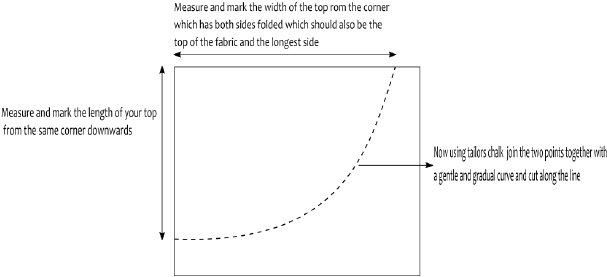
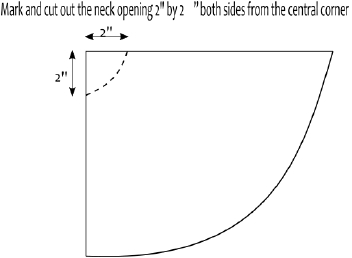
- Fold your fabric in half; lengthwise; then again, widthwise, into a quarter. Measure and mark the
width of the top from the corner which has both sides folded which should also be the top of the
fabric and the longest side before you folded into a quarter. Measure and mark the length of your
top from the same corner downwards. Now using tailors chalk join the two points together with a
gentle and gradual curve and cut along the line. See diagram A below.
.2. Mark and cut out the neck opening 2" by 2’’ both sides from the central corner. See Diagram B.
If you would want your neckline a bit lower just increase the measurements to e.g. 2.5’’ by 2.5’ or
to 3’’but remember not to make it too large because when you hem the hole will become even
larger. See Diagram B
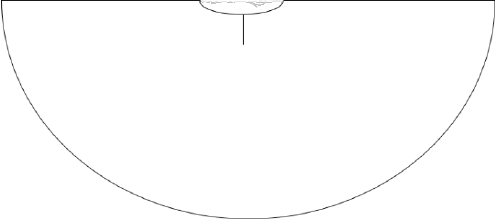
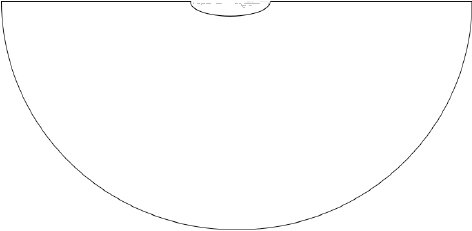
- Now open up your top it should look like diagram C below.
4.Now cut a slit 3’’ downwards on one side of the top and this would be the back of your top. See
Diagram D.
5.Now hem all the raw edges using a rolled hem foot .The rolled hem foot produces beautiful
narrow hems especially for light fabrics such as this ,it might take some practice to use one but
once you get the hang of it you will always want to use it for most of your hems.
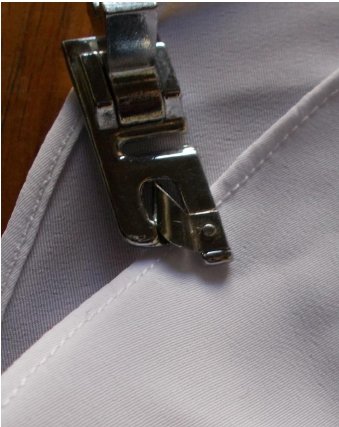
Do the same with the neck hole and slit, curves and hems are not friends and it might be a little
tricky hemming the neck hole and slit but with practice you will soon get the hang of it. If you
don’t have a rolled hem foot or you are not good with it yet you can just do the fold once then
twice hemming method, it will still come out with a nice finish.
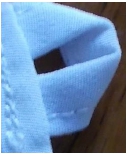
6.Now make a button loop by cutting a small piece of fabric 2.5’’ by 2’’ (or however thick/thin
long/short you prefer it to be) ,fold it in half lengthwise and sew the 2.5’’ raw edges together.
Turn the little tube inside out and using a loop turner, safety pin or needle and thread. Serge or
zigzag the 2’’ ends of the tube and sew it in the inside of one the slits at the neckline so that it
looks like something in the diagram below. Sew a button on the other side of your slits and you
are almost done.
- For me I finished my top at the last stage but if you prefer your top not as loose fitting, take
your bust measurement i.e. from your breasts (at the fullest part of your breasts) right round to
your back (make sure the tape measure remains horizontal as it wraps around your back for an
accurate measurement), add 5’’ to that for ease and divide by four and take that measurement
down. Fold your top in half and measure and mark the measurement you just took from the
folded side of the top, also make sure to mark on the side that you would have folded over. See
diagram E.
8.Now open up your top and sew vertical lines (aligned with your markings) about 20cm (you can
make it more or less, tweak it to how you like it and it also depends on the length of your top.)See
diagram F.
Press your stitches and you are done!!
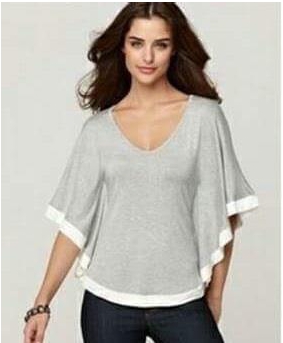
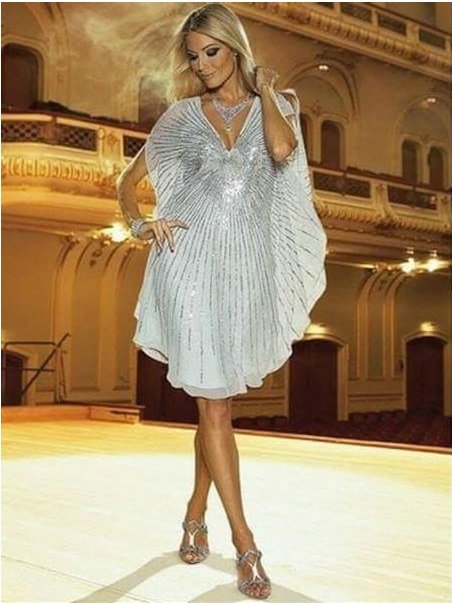
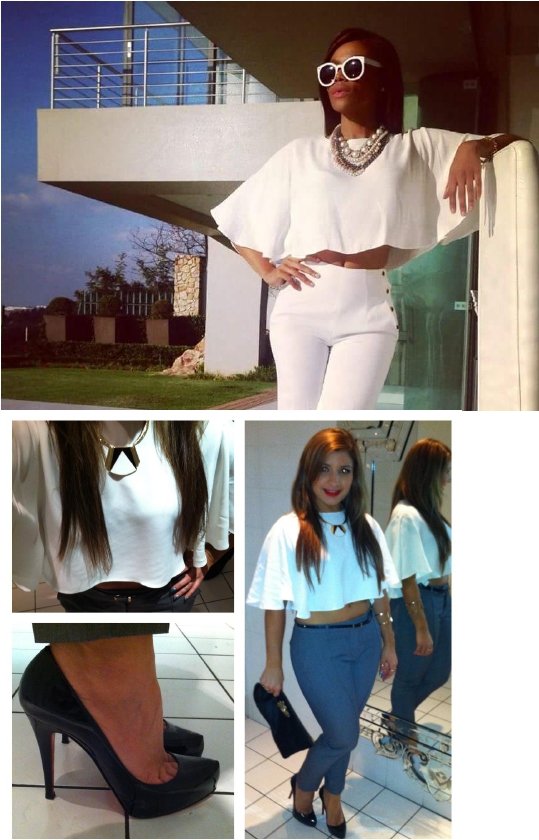
Here are a few more examples and inspiration pics for circle tops:



Hi @farie, I just stopped back to let you know your post was one of my favourite reads and I included it in my Fiber Ramble. You can read what I wrote about your post here.
Join us on Mondays for Coffee Hour at 1pm EDT in the Steemit Fiberartists on Discord or view it live on the Steem Star Network.