Fantasy RPG Cave - Step by Step Photoshop tutorial - GIF
Hello steemian friends. Today I bring you an in-depth Photoshop tutorial of one of my recent illustrations. All my cartography illustrations are published on my blog www.elventower.com and my Patreon page. They are usually accompanied by adventure lore and ideas for RPG games such as Dungeons and Dragons.
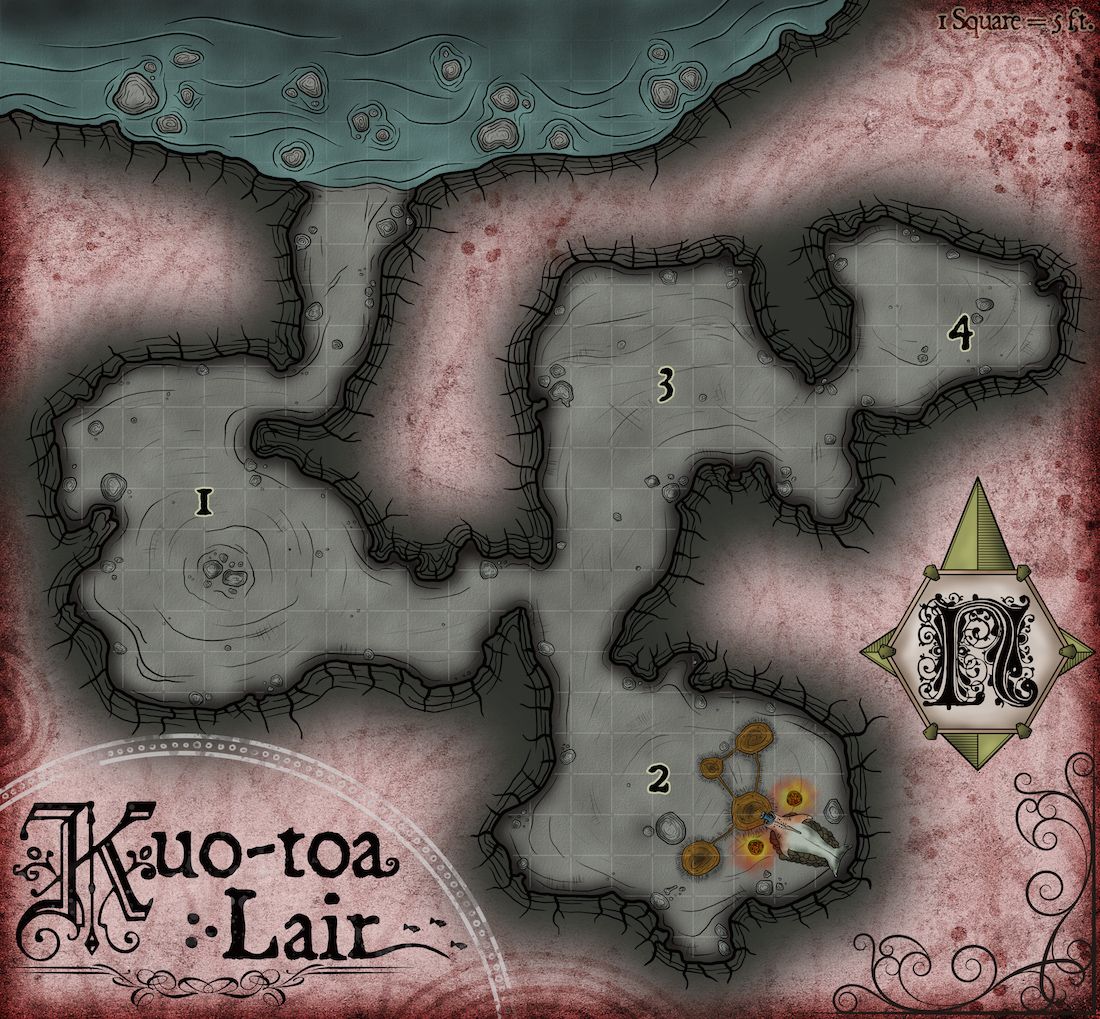
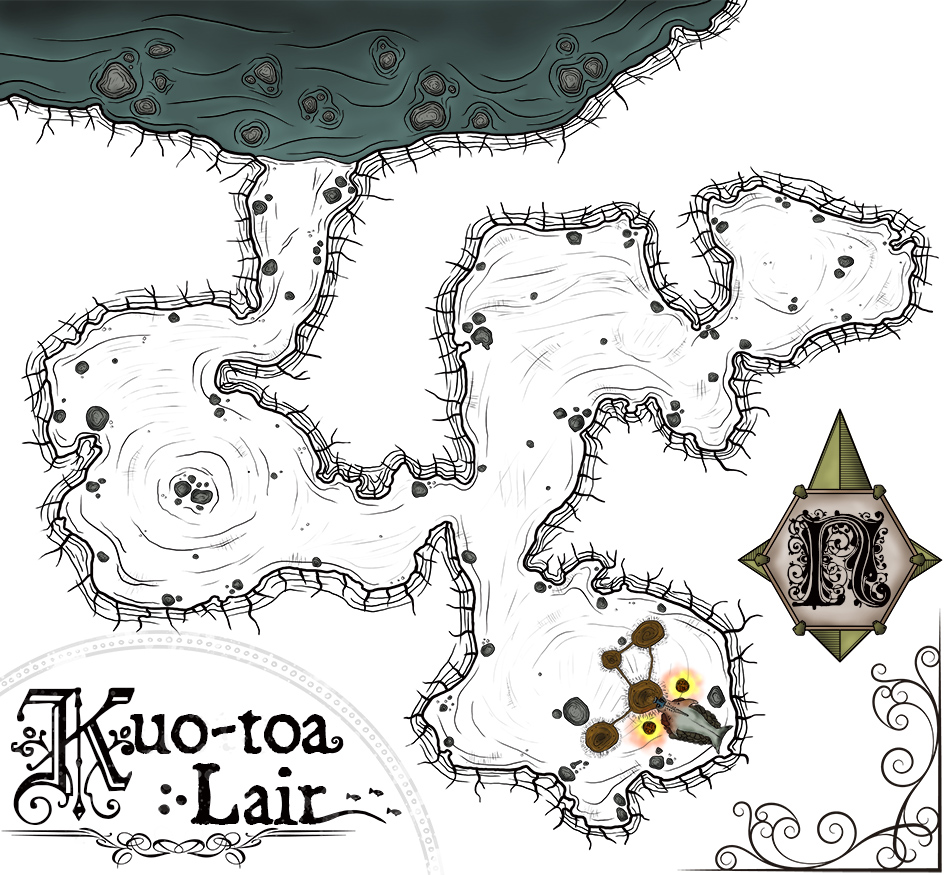
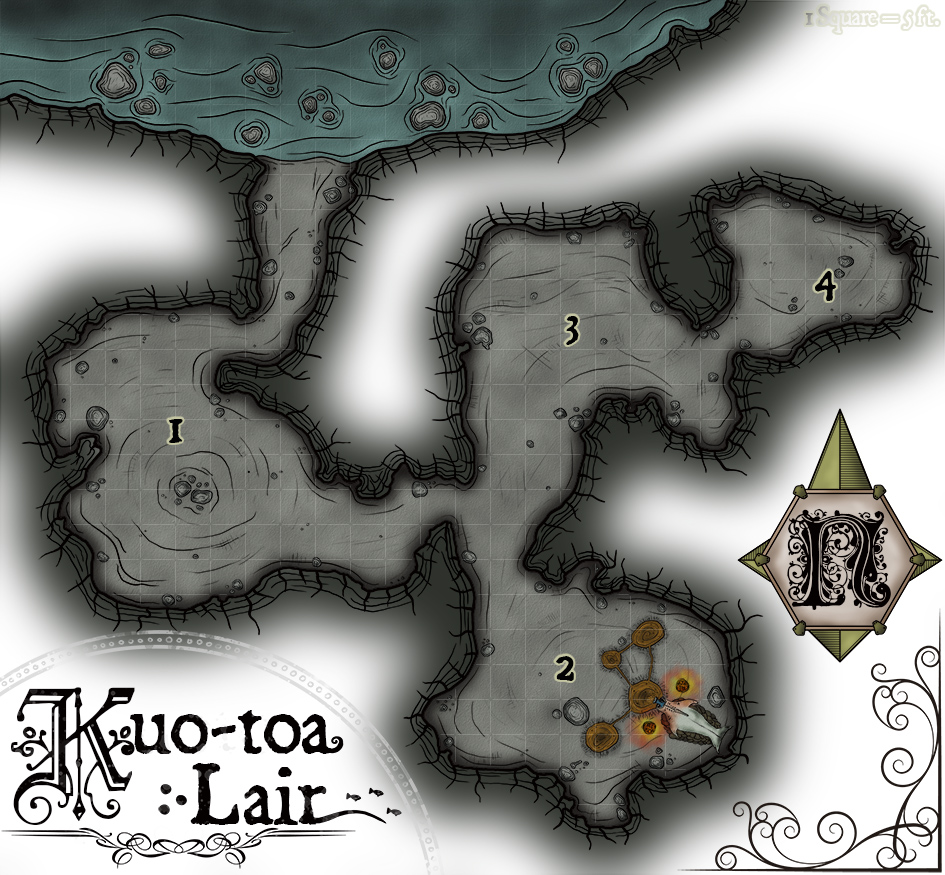
But back to illustration, this is the finished piece for reference purposes and for the Steemit post thumbnail.
Step-by-Step Process
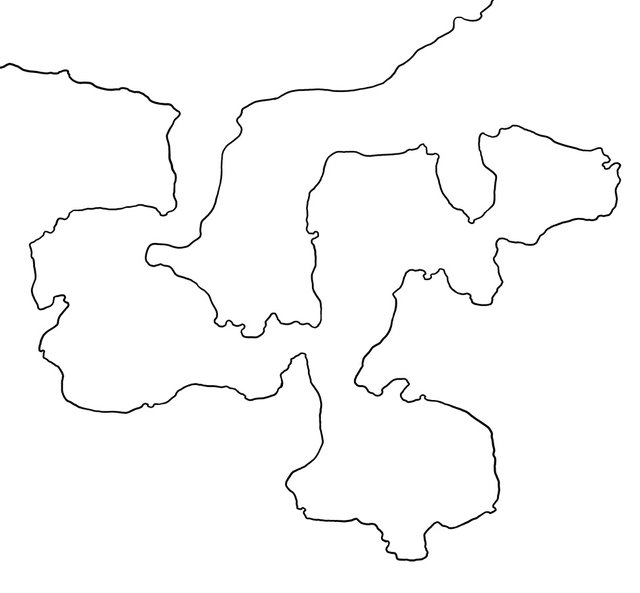
- Since my illustrations have to conform to the Virtual Environment standards, each square in the illustration must be 140 pixels. This is for VTTs like Roll20. So I start with a black document and set the grid in Photoshop to that scale. This illustration is 3780 × 3500px in its full format. Here is the first sketch with the main features on it, the walls.
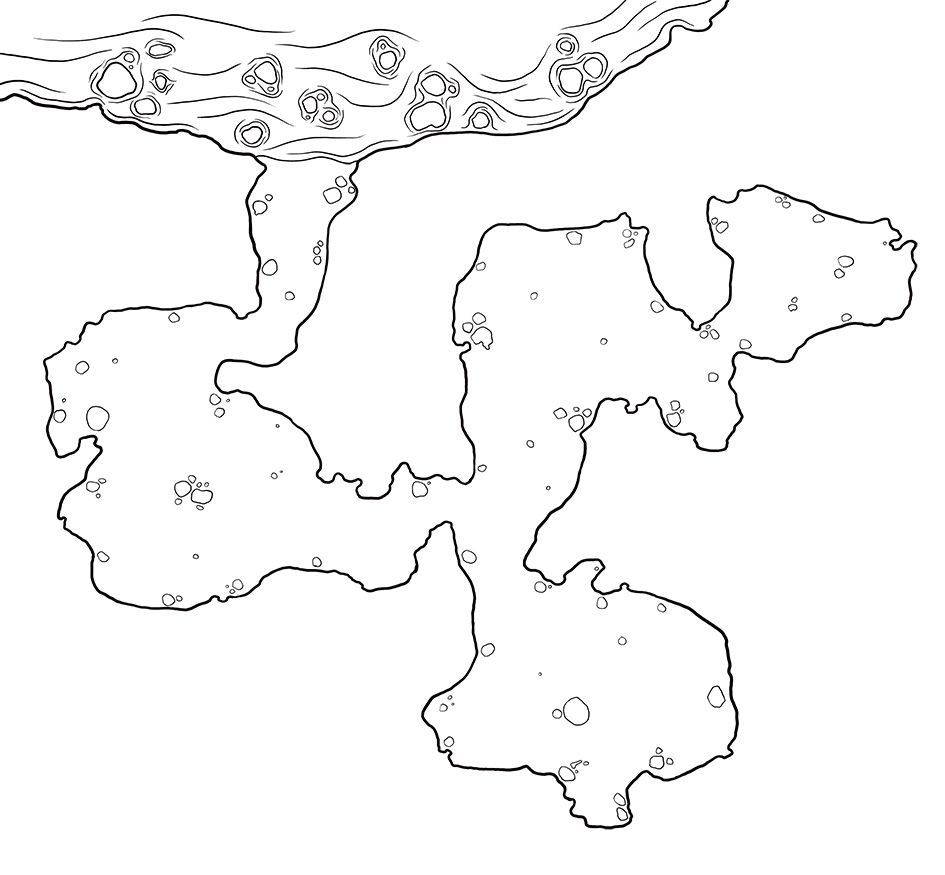
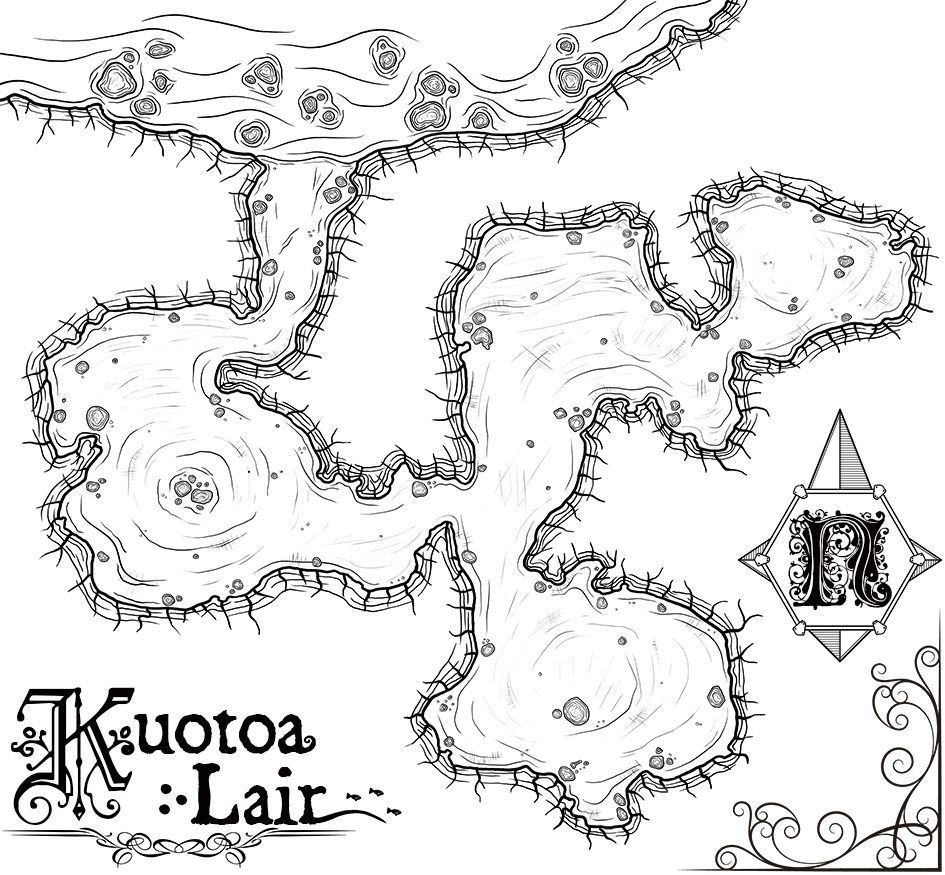
- I draw the outlines of the rocks inside the cave and some water lines in the upper part of the picture.
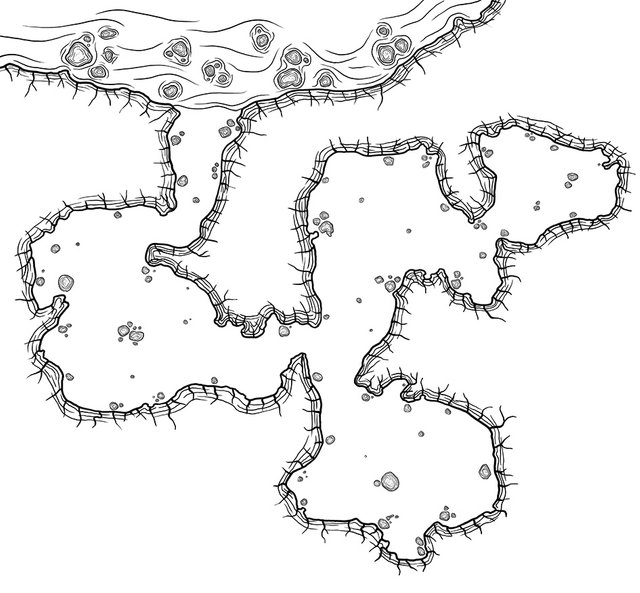
- In a different layer, I draw small lines to give the rocks some texture. I also drew a rocky pattern for the outside of the walls.
- To finish with the B/W lineart, I draw the floor texture in a different layer. I also added a compass rose, and the illustration's title. A kuo-toa is a type of monster in D&D, it's a fish-man monster.
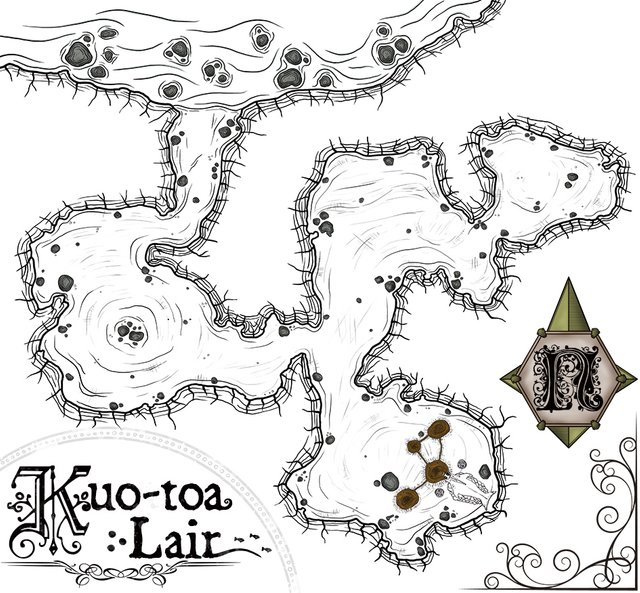
- Each group of colors is in its own layer. I color fill the rocks with grey color and add shading. I also added color to the compass rose and the lava ponds in the bottom chamber.
- In a different layer I add color ftothe water. Remember that water always reflects on the colors of things that are around it. That's why I chose a soft desaturated blue.
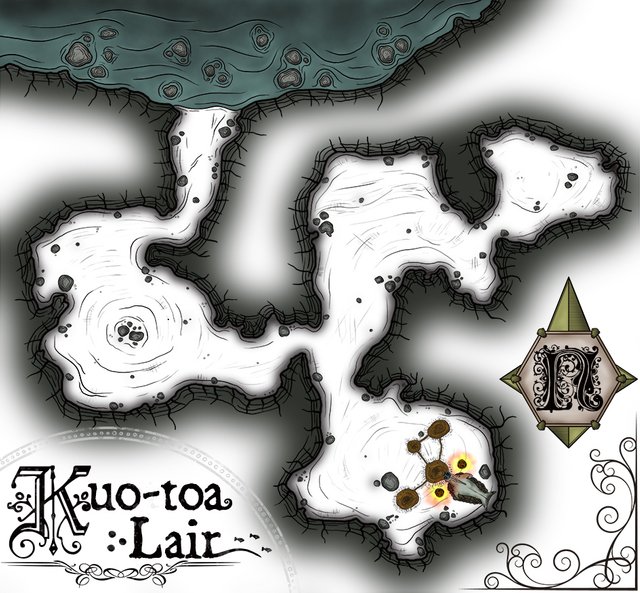
- Select the walls layer and stroke a 40px wide line. Then use a gaussian blur effect to create the effect you see below. After that I erased the section inside the cave.
- Add color to the cave itself. For this one, I used a desaturated grey.
- Background. I simply imported a background parchment picture I have in my library.
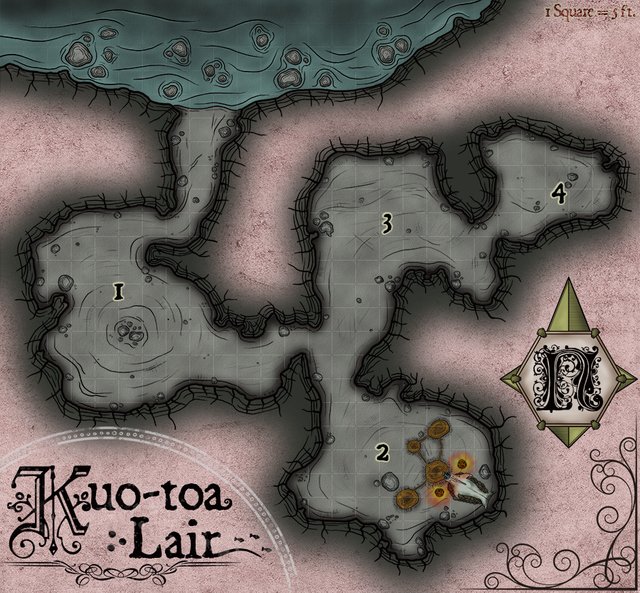
- This is the finished illustration. The only thing different is some decoration elements I add at the end. Must of this is done with ink-drop and grunge brushes I have in photoshop. I always use dark colors like black and dark red and then use a multiply layer effect to blend them in.
All the illustrations above are combined in this short GIF animation. Hope you guys had fun reading this tutorial, hopefully you caught a tip or two to use in your own illustrations.
I'm a graphic illustrator for tabletop RPG games like Dungeons and Dragons.
If you're interested in my work, take a look at my Patreon page
There is a pledge level that gives access to my photoshop source files, in case you wish to see my workflow and learn in the process.

Wow your website is soo cool I love it !
thanks Benoit. I really put a lot of time into it.
Fantastic maps as always
thanks, I appreciate it.